Clay Neubauer
TVWBB Pro
I've had a kettle pizza attachment for some time and come to love the food that could be done with the high temps and wood fire, but was always frustrated that the ideal conditions with it were so fleeting once the fuel was burnt out. Somehow or other a couple winters ago in the midst of a miserable three week stretch of ice and terrible weather, I ran across a site about DIY pizza ovens and got to thinking..... maybe this is something that we could actually build. Been a long long time coming and a lot of work (probably more work than anticipated, if I'm gonna be honest) but I can't think of any finer group of people to share the project with than the fine cooks on the TVWB. And there will be at least some Weber stuff in the background.
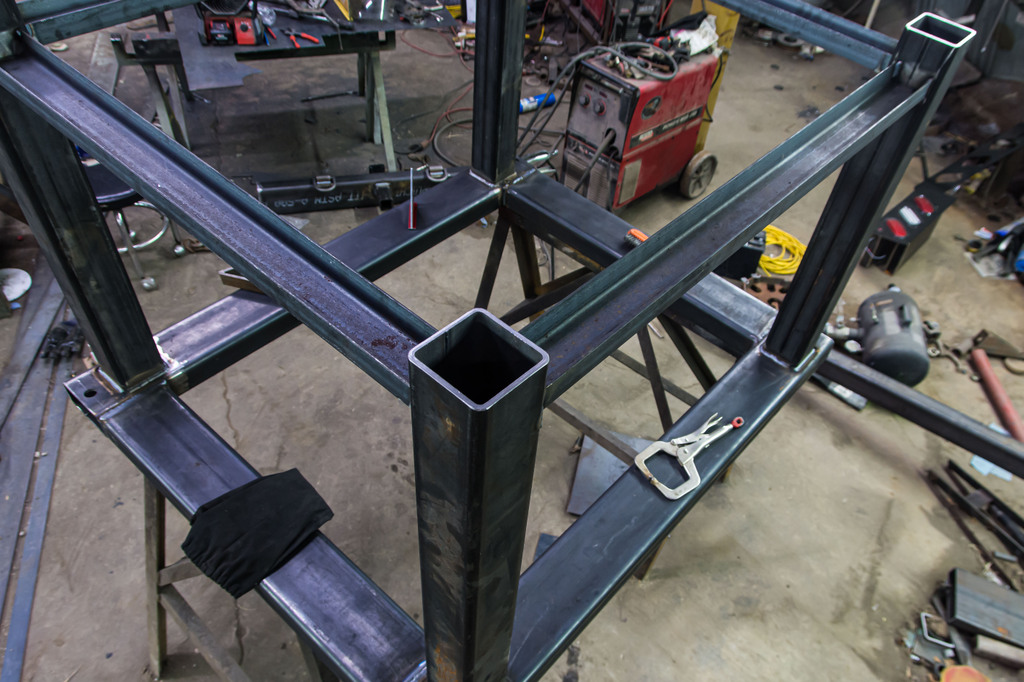
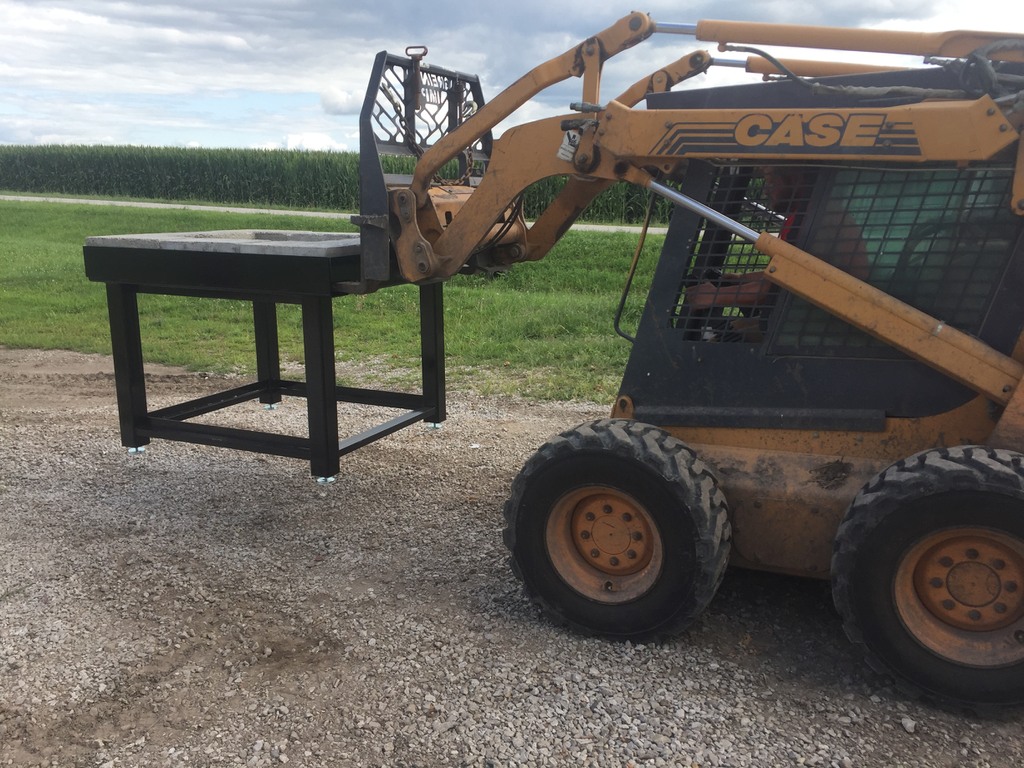
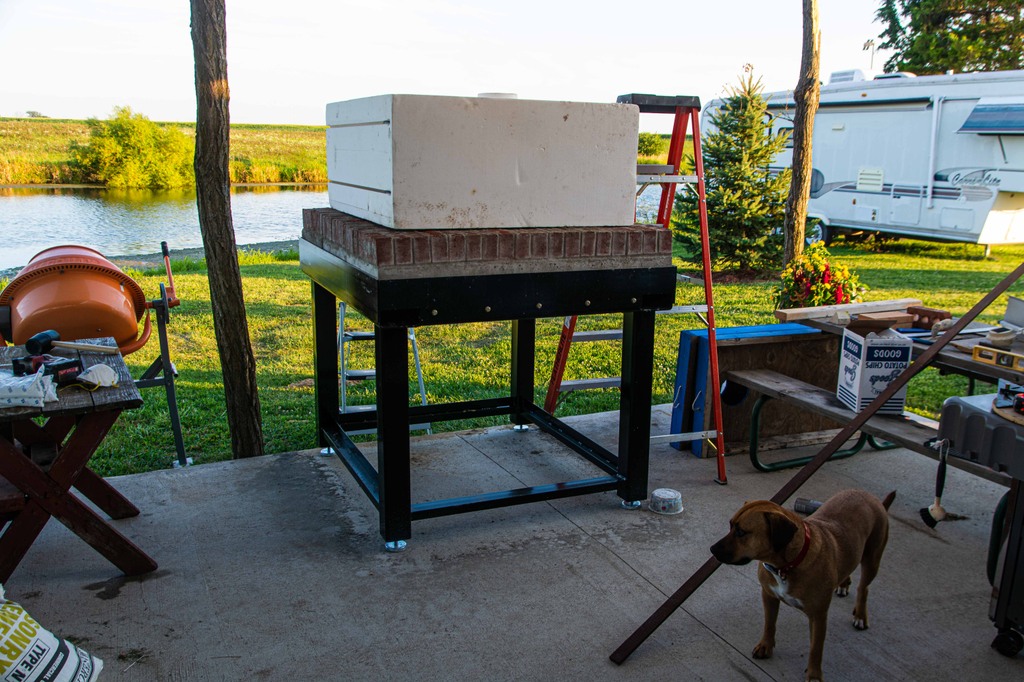
The plans for this oven actually are for a base built of concrete and blocks which any homeowner with no equipment can build, but my brother is a metal fabrication artiste and we have all sorts of welding and cutting equipment so decided that we were going to start with a steel base. It's several hundred pounds lighter that way, stronger, squarer, and we made it forkliftable so it can be moved or even transported.
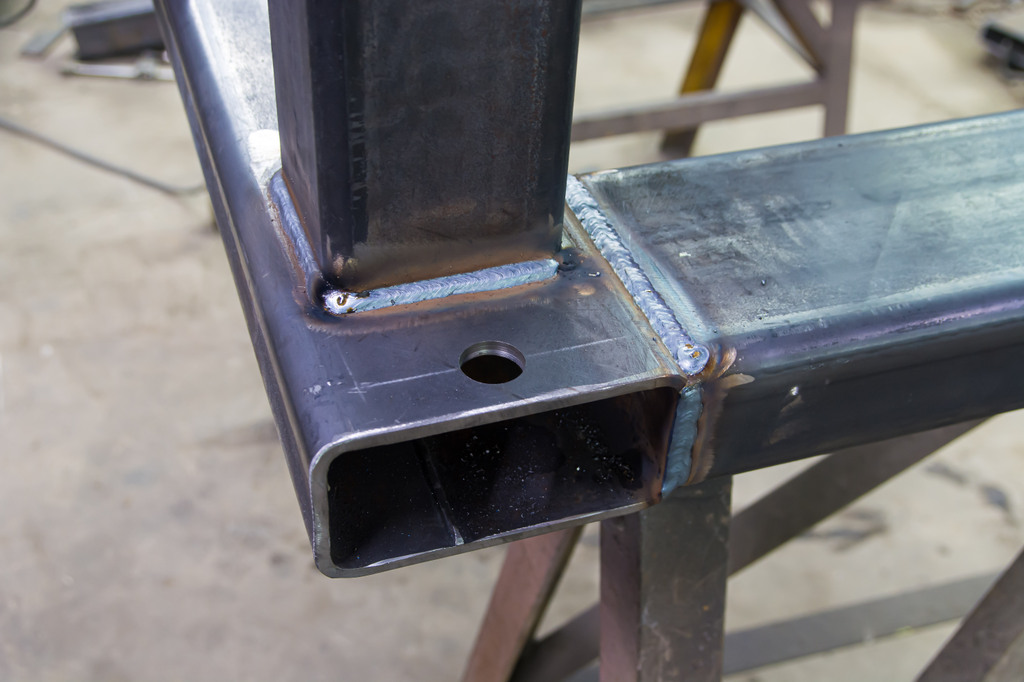
Forklift slots and tie down holes, just in case we ever want to put it on a trailer and go somewhere.
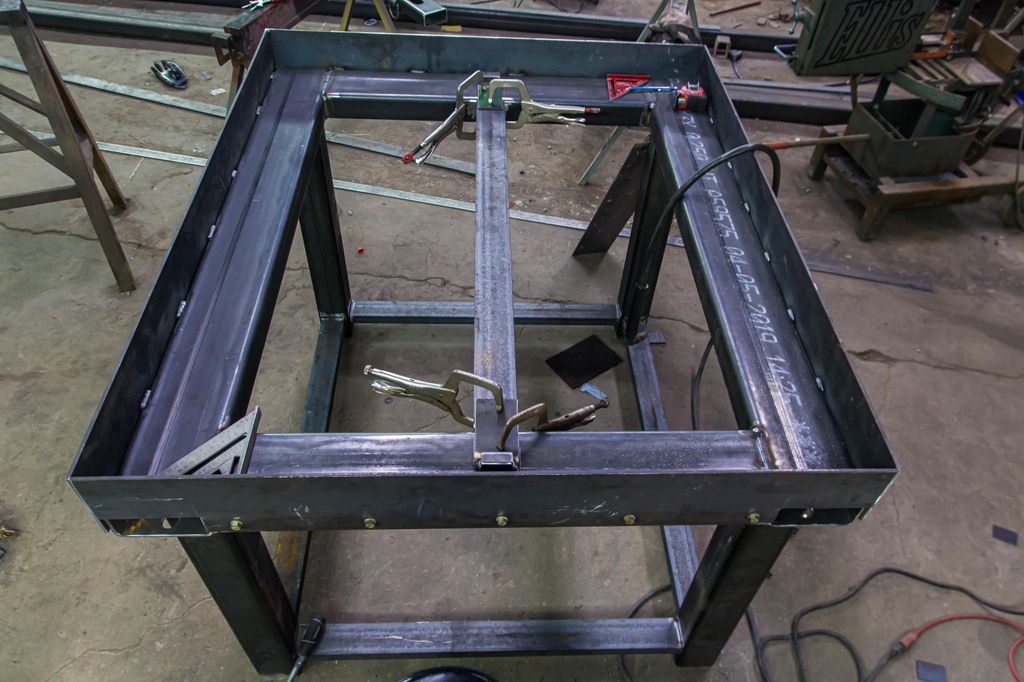
Missed getting a closeup, but note adjustable threaded feet so that it can be adjusted to level no matter where it sits.
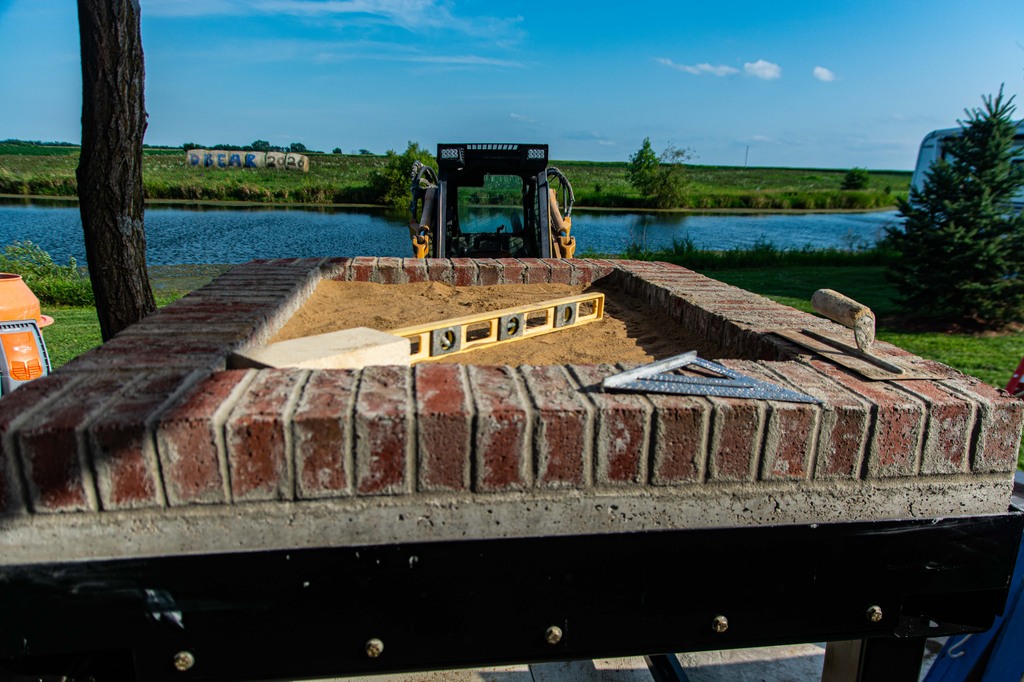
Brick perimeter, insulation base, and leveling sand finished for the firebrick hearth to be laid.
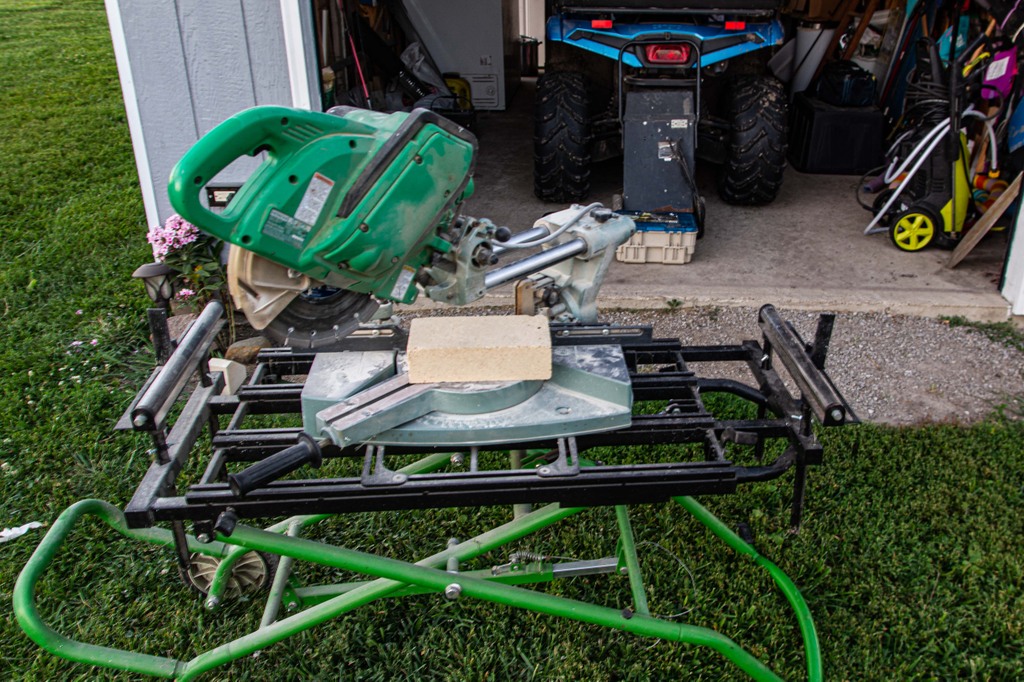
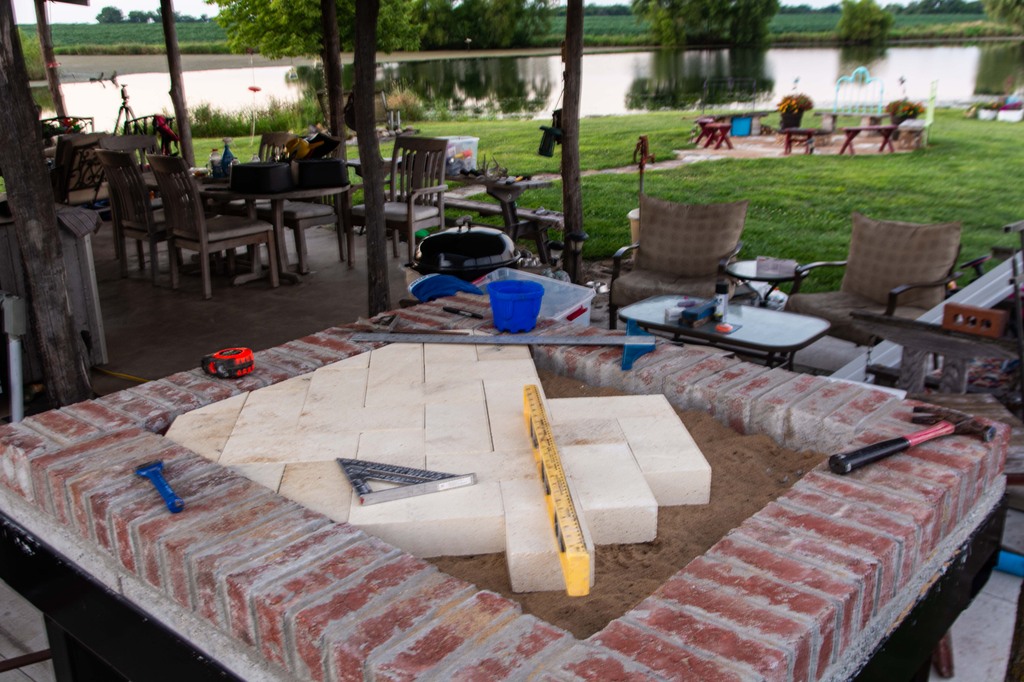
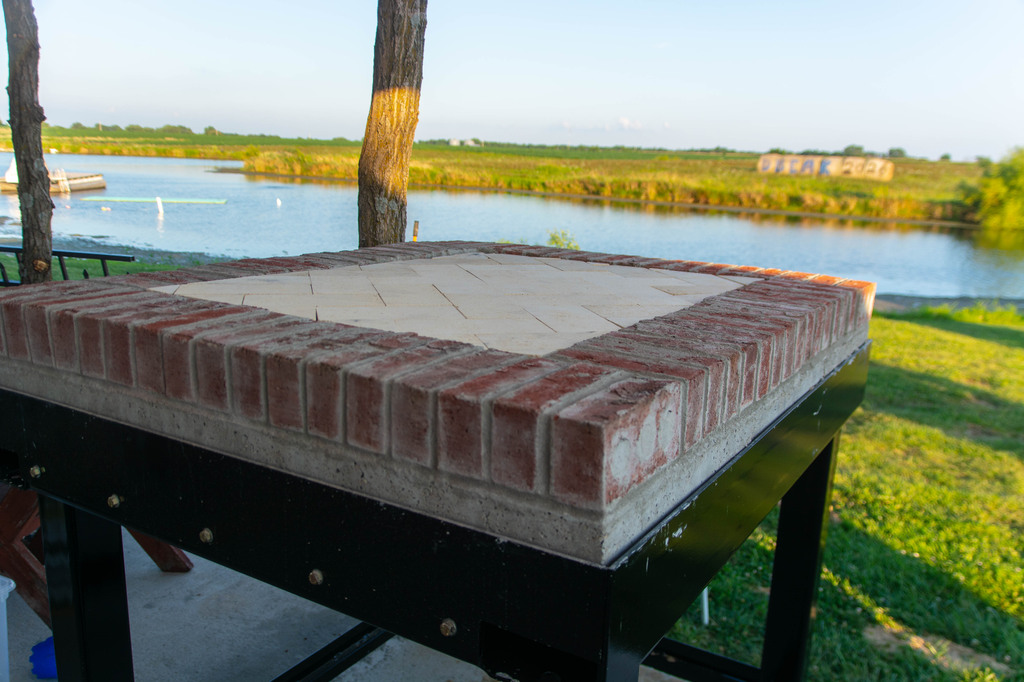
Cutting firebrick. Hearth bricks laid at 45 degree angles, to avoid any abrupt edges that would catch your pizza peel
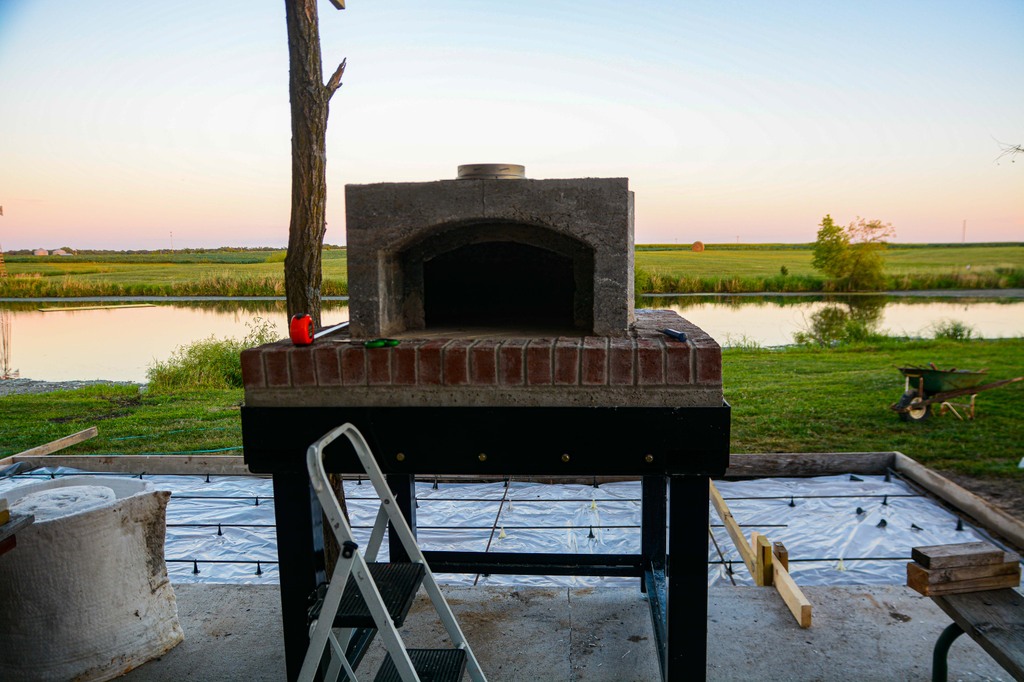
Form in place to pour the castable refractory core of the dome.
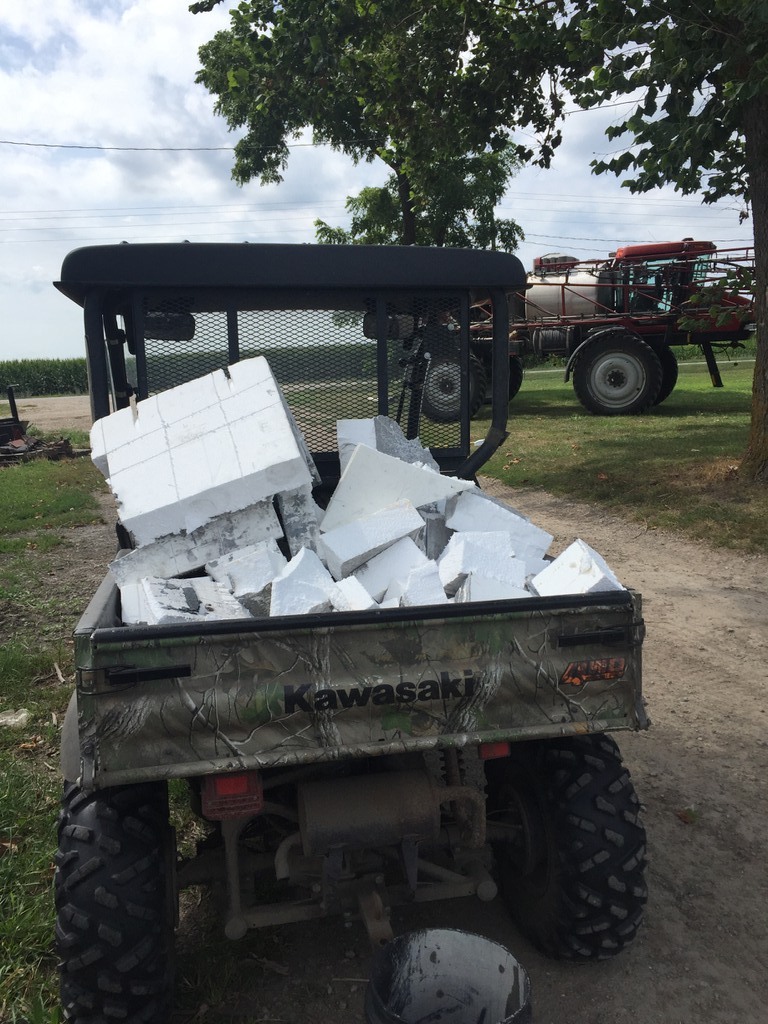
And now, one of the most miserable parts- many hours of chipping away the styrofoam form.
As if that wasn't enough, another pour to expand the patio happened in the middle of all this...
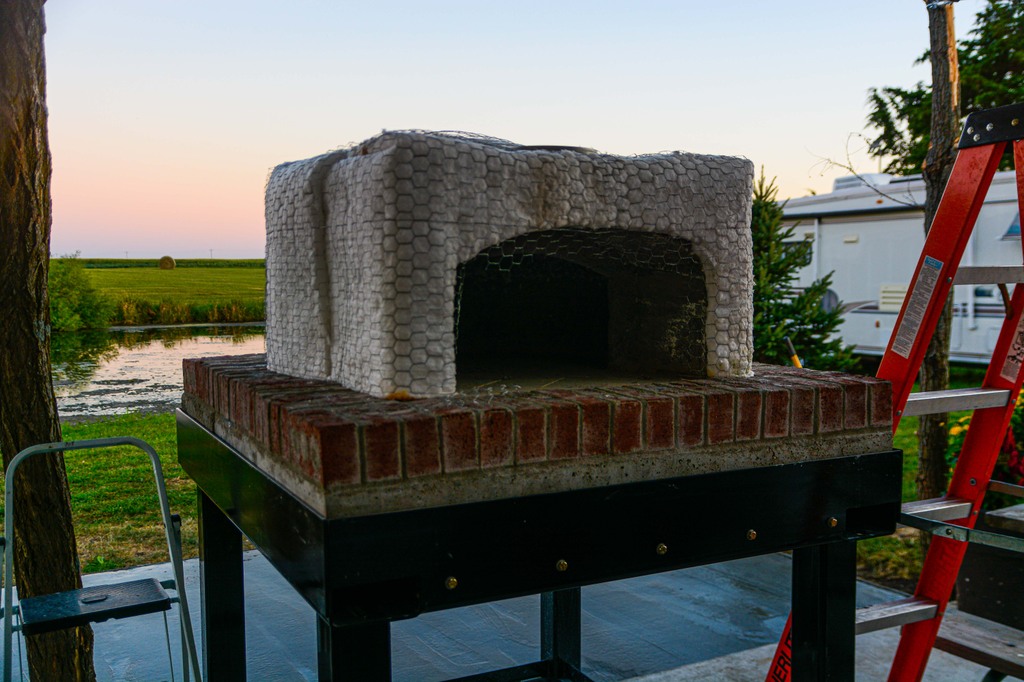
Ceramic fiber insulation wrap.
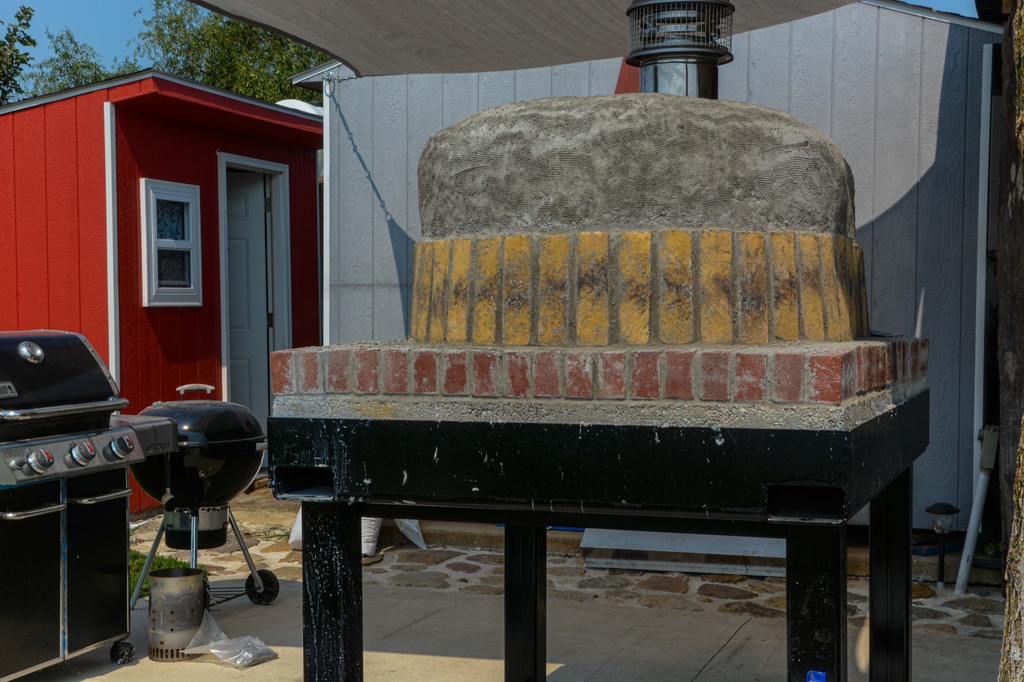
First exterior shell coat of stucco. I am NOT a fan of masonry on vertical faces....


Brick veneer.
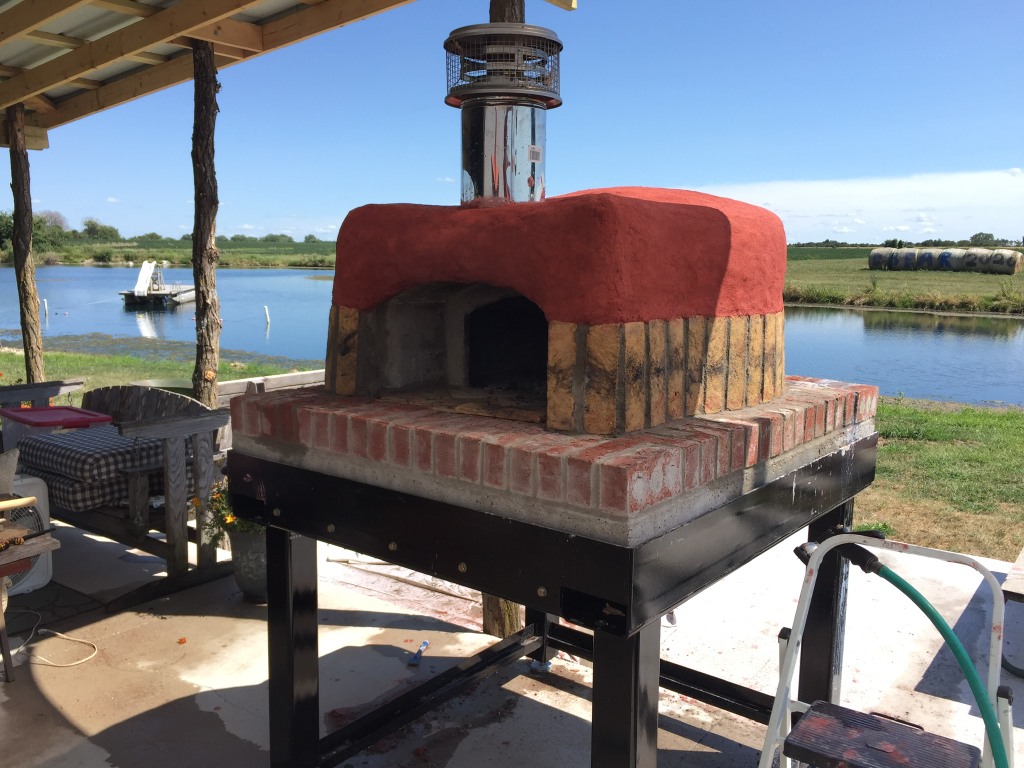
Finish coat of stucco done, ready for curing fires.
The plans for this oven actually are for a base built of concrete and blocks which any homeowner with no equipment can build, but my brother is a metal fabrication artiste and we have all sorts of welding and cutting equipment so decided that we were going to start with a steel base. It's several hundred pounds lighter that way, stronger, squarer, and we made it forkliftable so it can be moved or even transported.
Forklift slots and tie down holes, just in case we ever want to put it on a trailer and go somewhere.
Missed getting a closeup, but note adjustable threaded feet so that it can be adjusted to level no matter where it sits.
Brick perimeter, insulation base, and leveling sand finished for the firebrick hearth to be laid.
Cutting firebrick. Hearth bricks laid at 45 degree angles, to avoid any abrupt edges that would catch your pizza peel
Form in place to pour the castable refractory core of the dome.
And now, one of the most miserable parts- many hours of chipping away the styrofoam form.
As if that wasn't enough, another pour to expand the patio happened in the middle of all this...
Ceramic fiber insulation wrap.
First exterior shell coat of stucco. I am NOT a fan of masonry on vertical faces....
Brick veneer.
Finish coat of stucco done, ready for curing fires.


")