Higher pizza game: achievement level unlocked


Clay Neubauer

TVWBB Pro
I've had a kettle pizza attachment for some time and come to love the food that could be done with the high temps and wood fire, but was always frustrated that the ideal conditions with it were so fleeting once the fuel was burnt out. Somehow or other a couple winters ago in the midst of a miserable three week stretch of ice and terrible weather, I ran across a site about DIY pizza ovens and got to thinking..... maybe this is something that we could actually build. Been a long long time coming and a lot of work (probably more work than anticipated, if I'm gonna be honest) but I can't think of any finer group of people to share the project with than the fine cooks on the TVWB. And there will be at least some Weber stuff in the background.

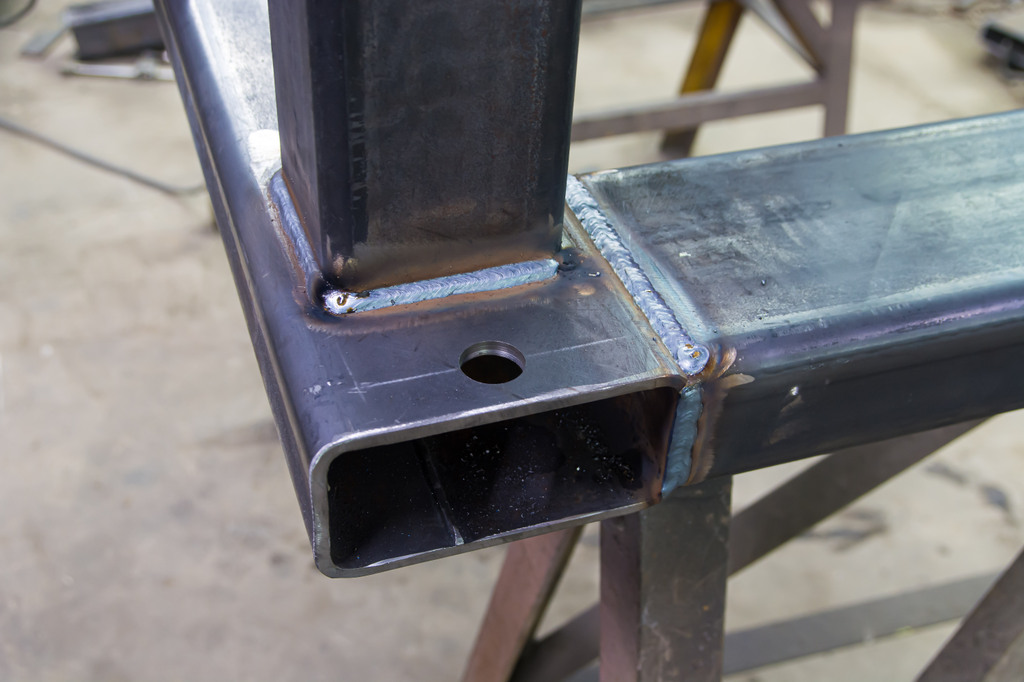
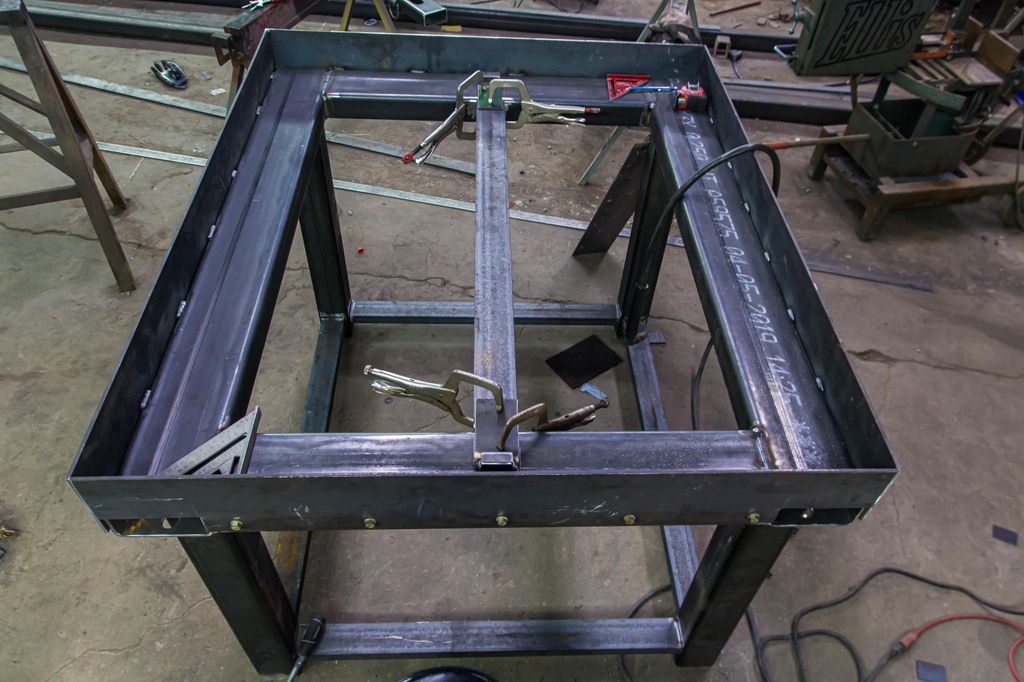
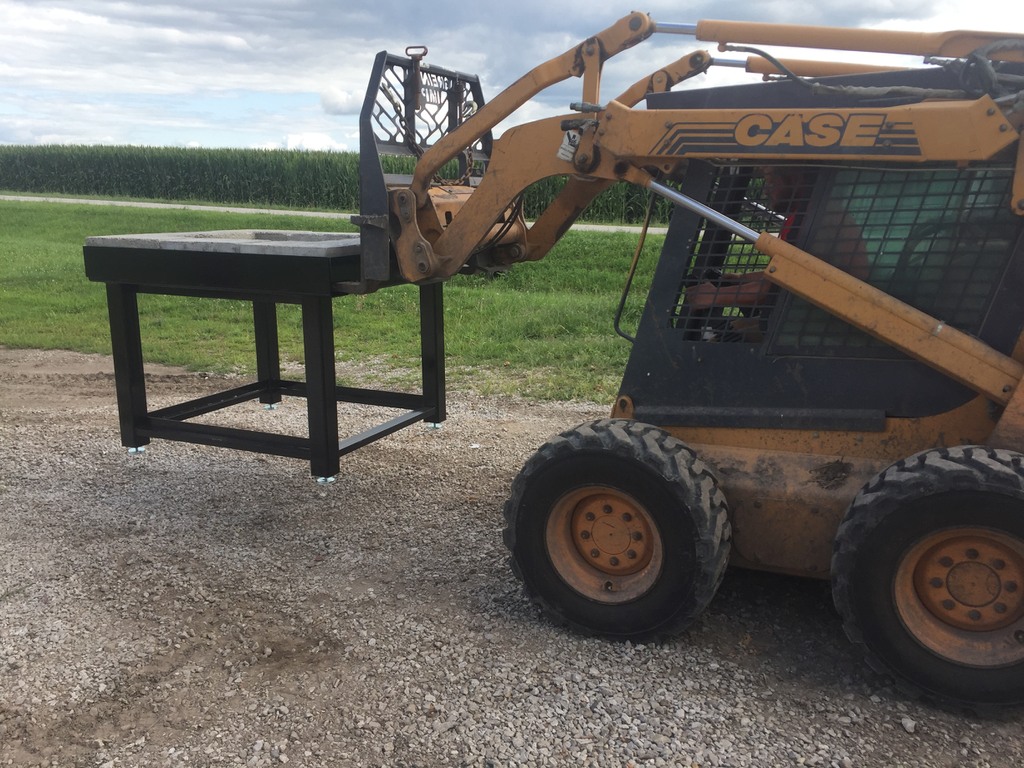
The plans for this oven actually are for a base built of concrete and blocks which any homeowner with no equipment can build, but my brother is a metal fabrication artiste and we have all sorts of welding and cutting equipment so decided that we were going to start with a steel base. It's several hundred pounds lighter that way, stronger, squarer, and we made it forkliftable so it can be moved or even transported.

Frame1.jpg


Forklift slots and tie down holes, just in case we ever want to put it on a trailer and go somewhere.
FrameHolddown.jpg


Frame2.jpg


Missed getting a closeup, but note adjustable threaded feet so that it can be adjusted to level no matter where it sits.
596E9D67-C2CC-4E14-8E30-FD3739AA70CC.jpeg


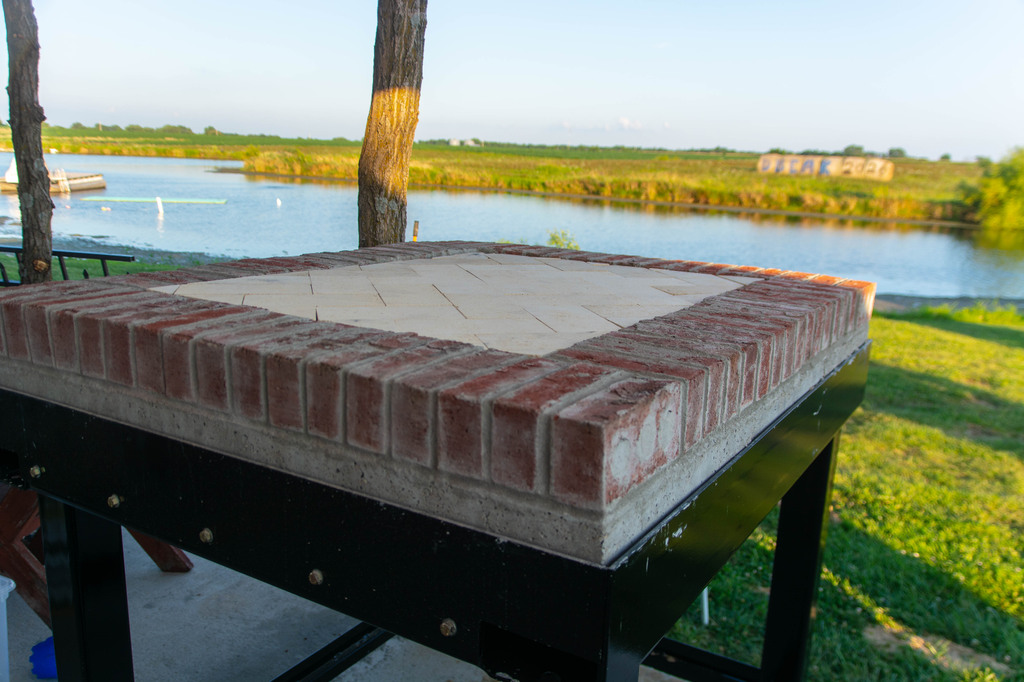
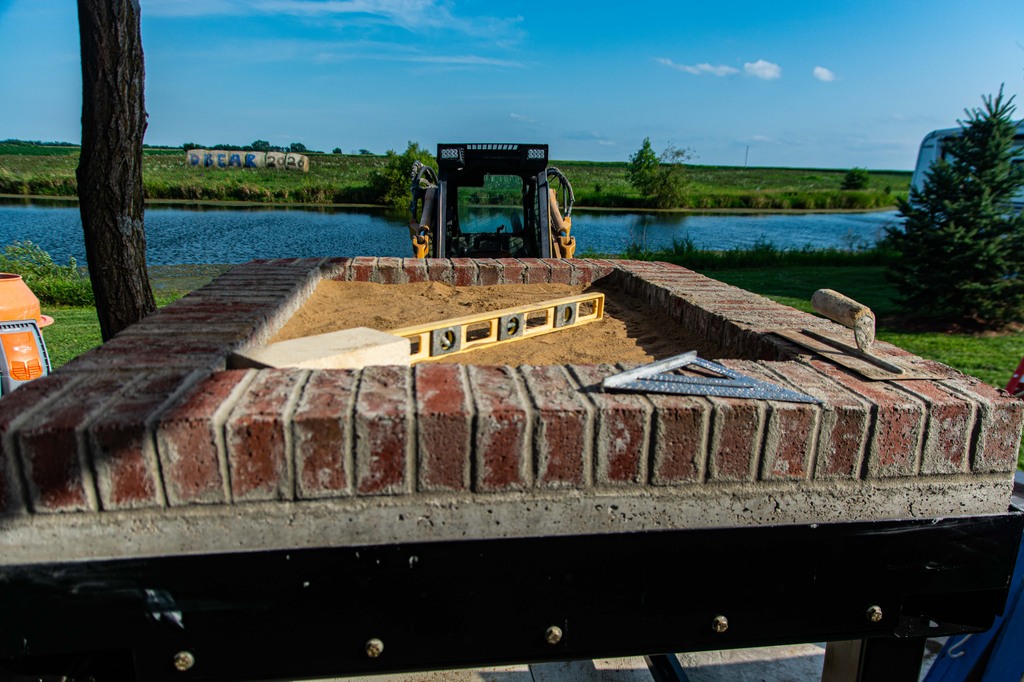
Brick perimeter, insulation base, and leveling sand finished for the firebrick hearth to be laid.
FirstFirebrick.jpg


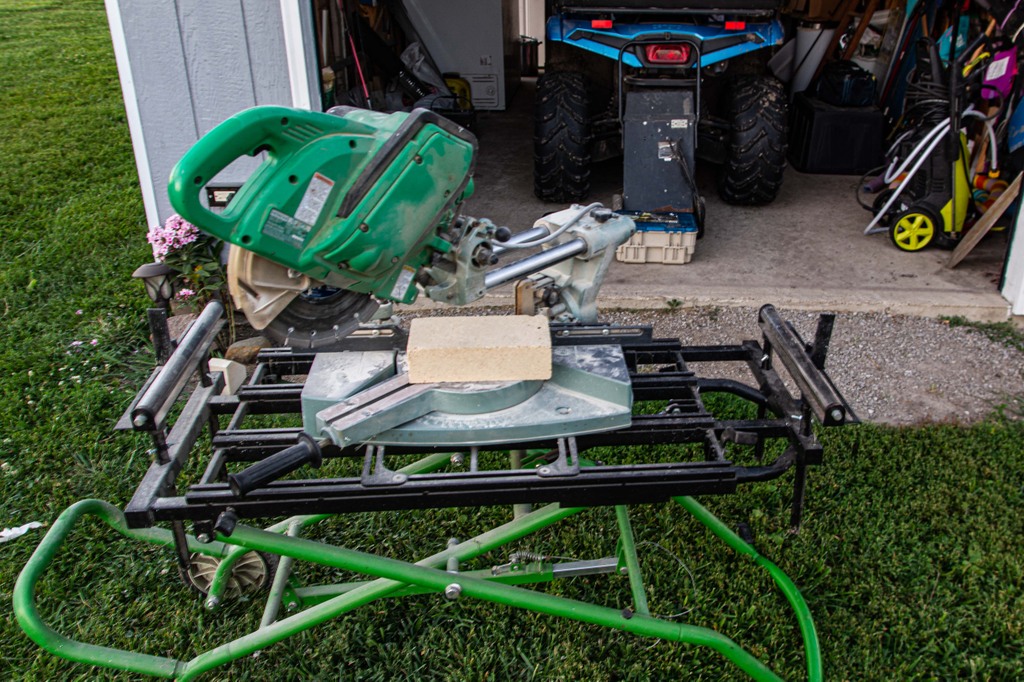
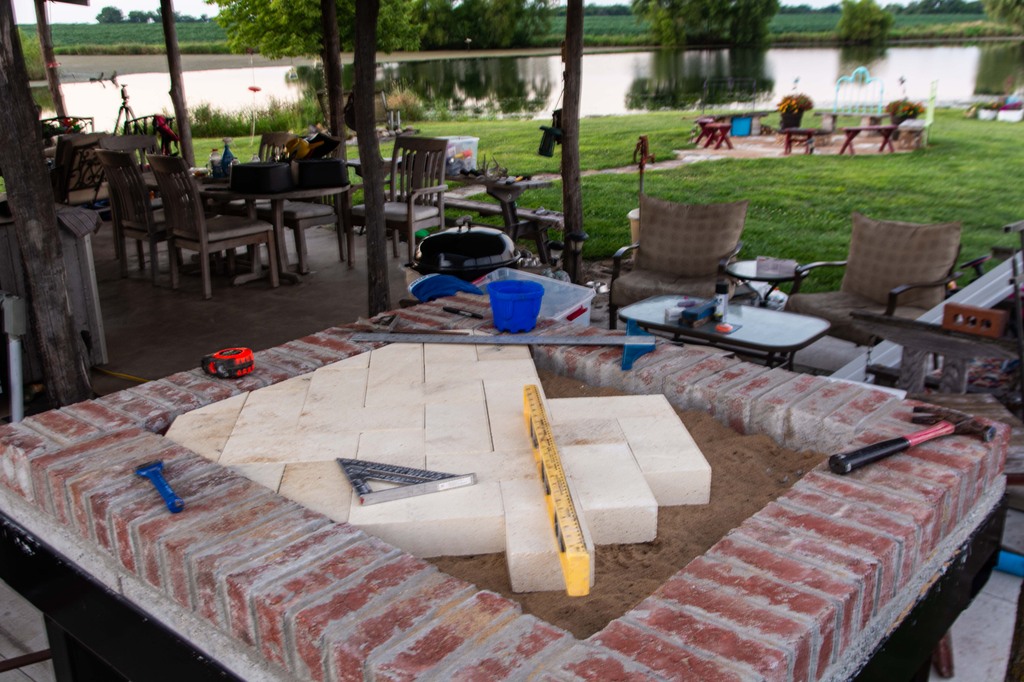
Cutting firebrick. Hearth bricks laid at 45 degree angles, to avoid any abrupt edges that would catch your pizza peel
Cutting%20Brick.jpg


Herringbone.jpg


BaseCompleted.jpg


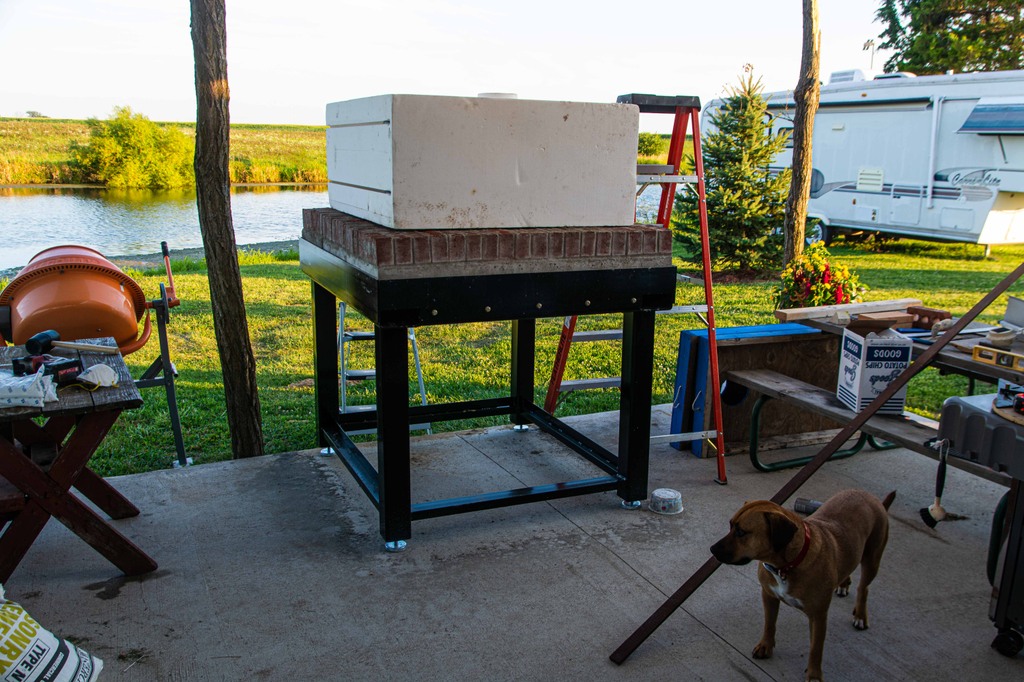
Form in place to pour the castable refractory core of the dome.
Form%20Set.jpg


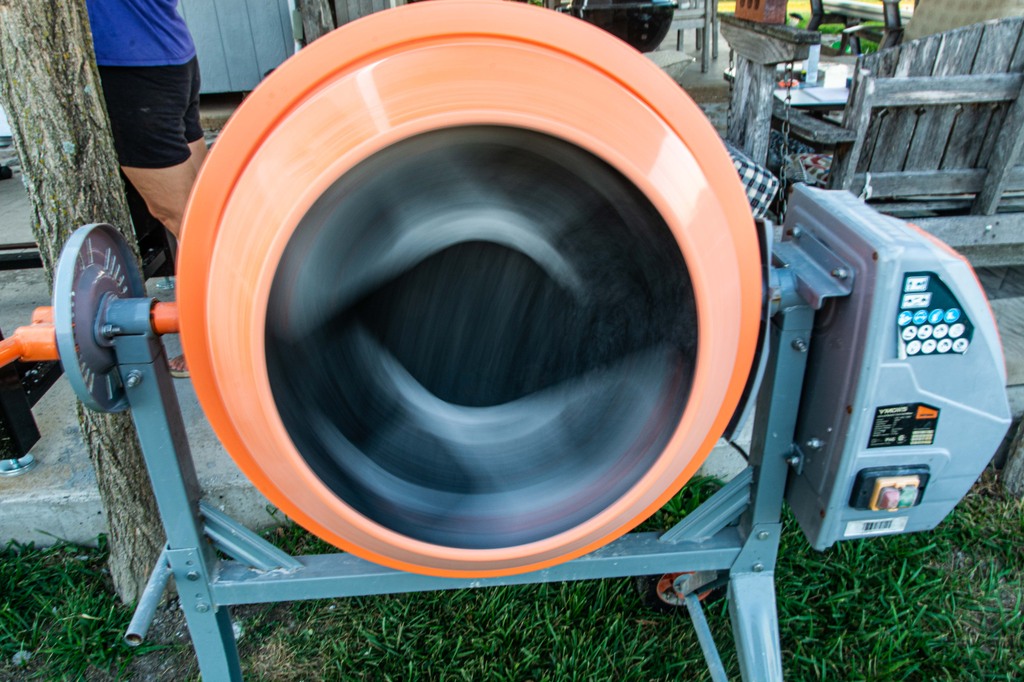
Mixer.jpg


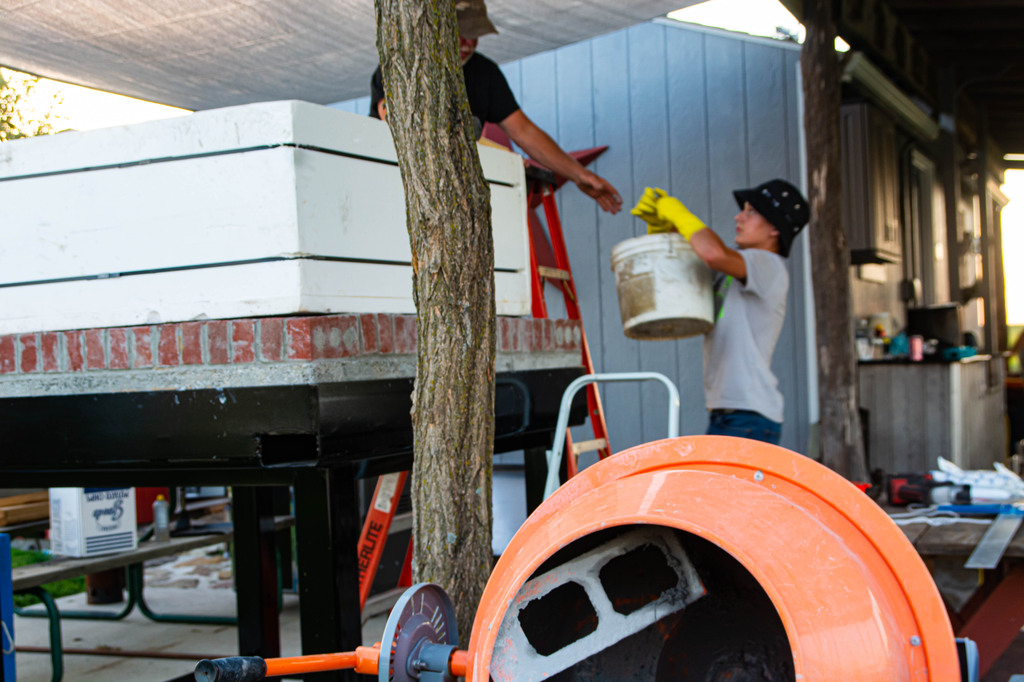
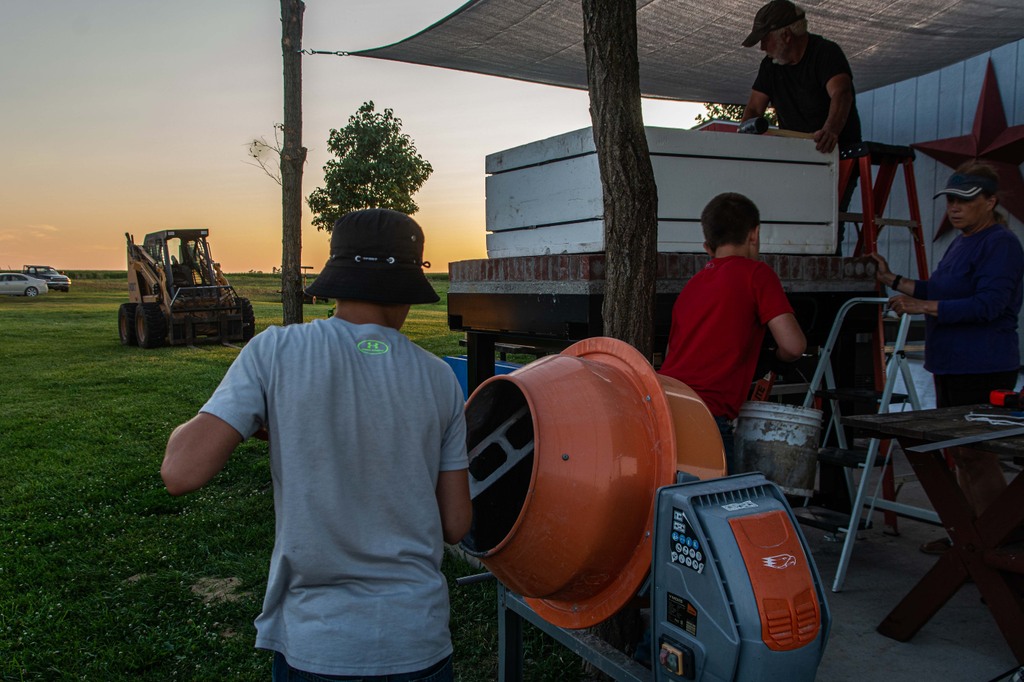
Pouring%20Core%201.jpg


Pouring%20Core%202.jpg


And now, one of the most miserable parts- many hours of chipping away the styrofoam form.
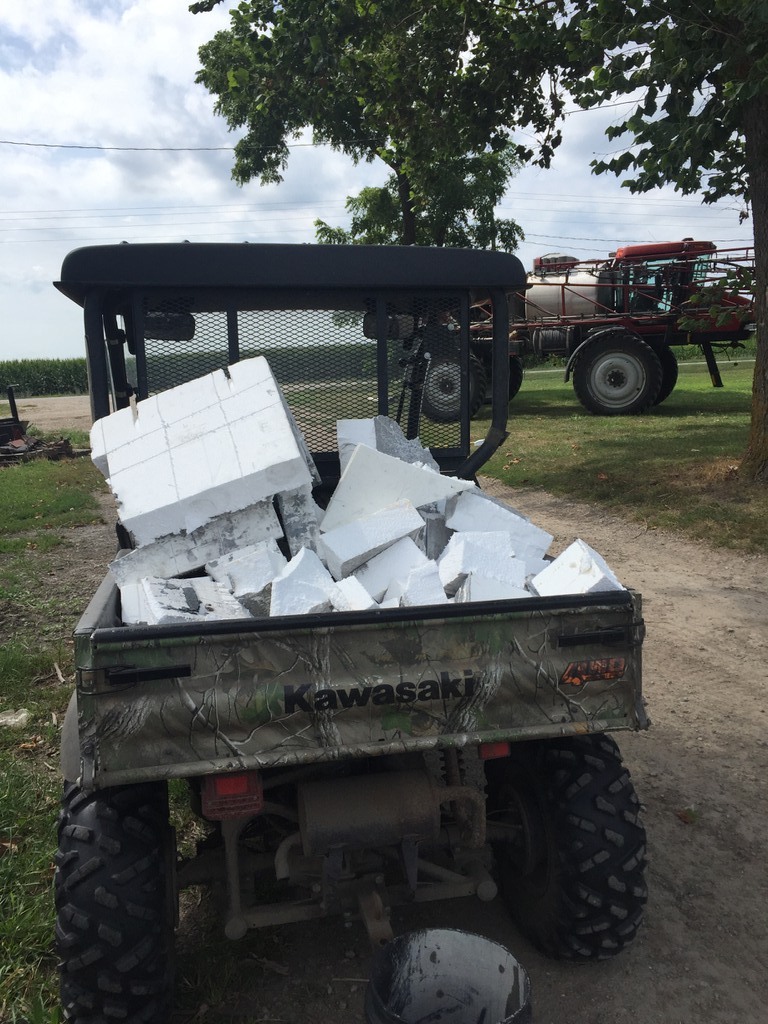
6FD73621-0BB1-470C-ABD7-C69B1CE564A91.jpeg


As if that wasn't enough, another pour to expand the patio happened in the middle of all this...
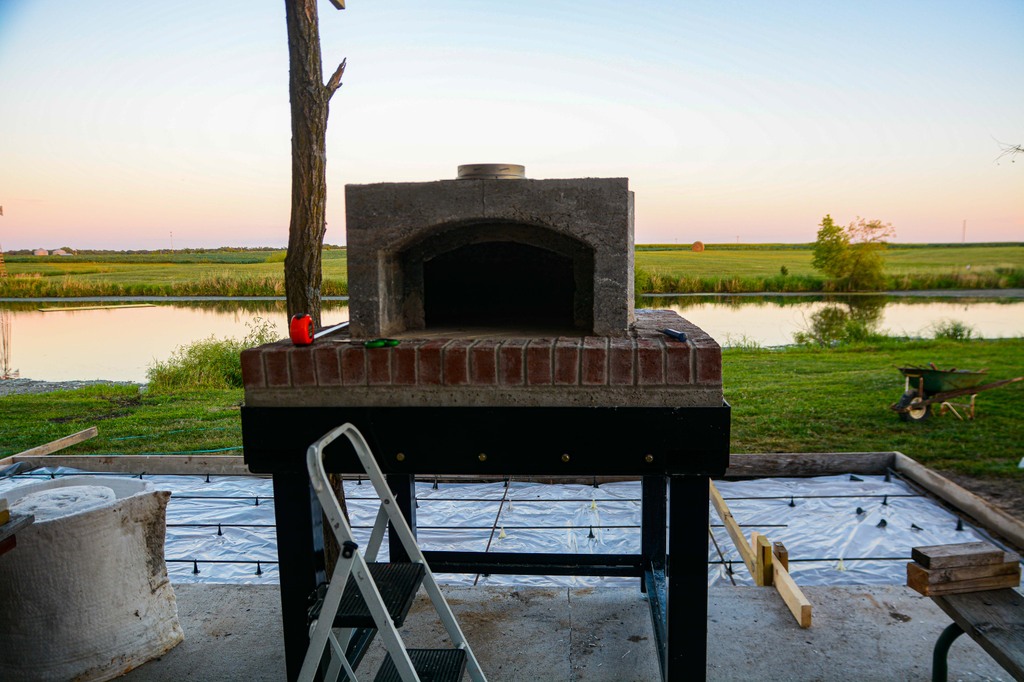
Form%20removed.jpg


Ceramic fiber insulation wrap.

Chicken%20Wire.jpg


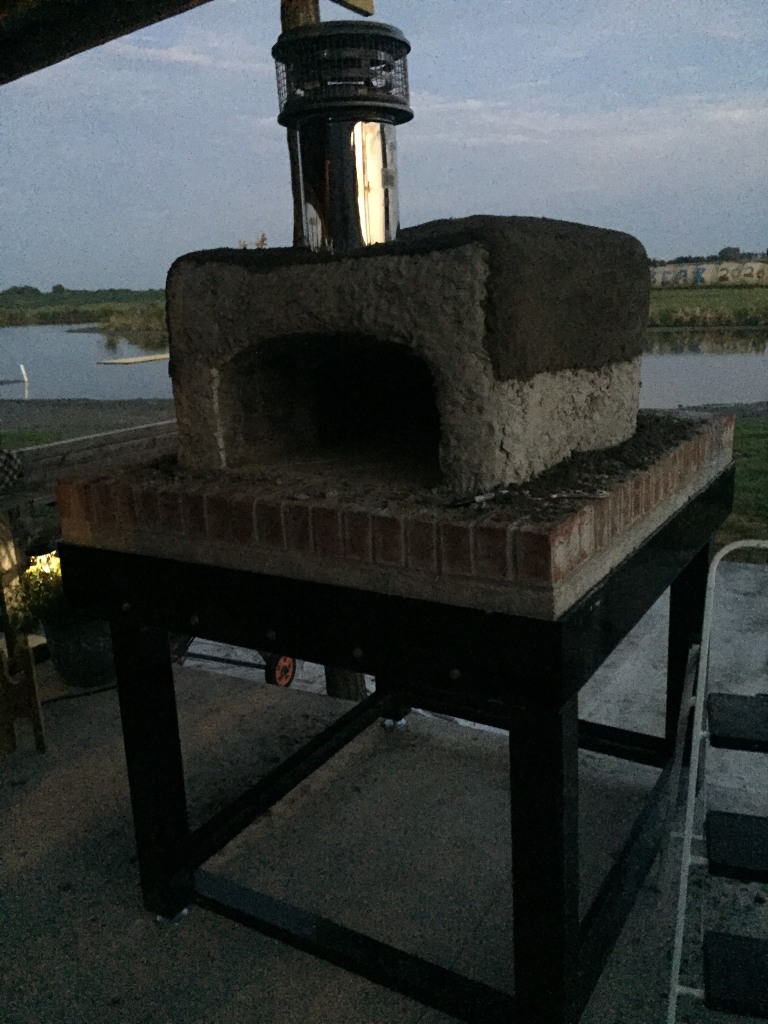
First exterior shell coat of stucco. I am NOT a fan of masonry on vertical faces....
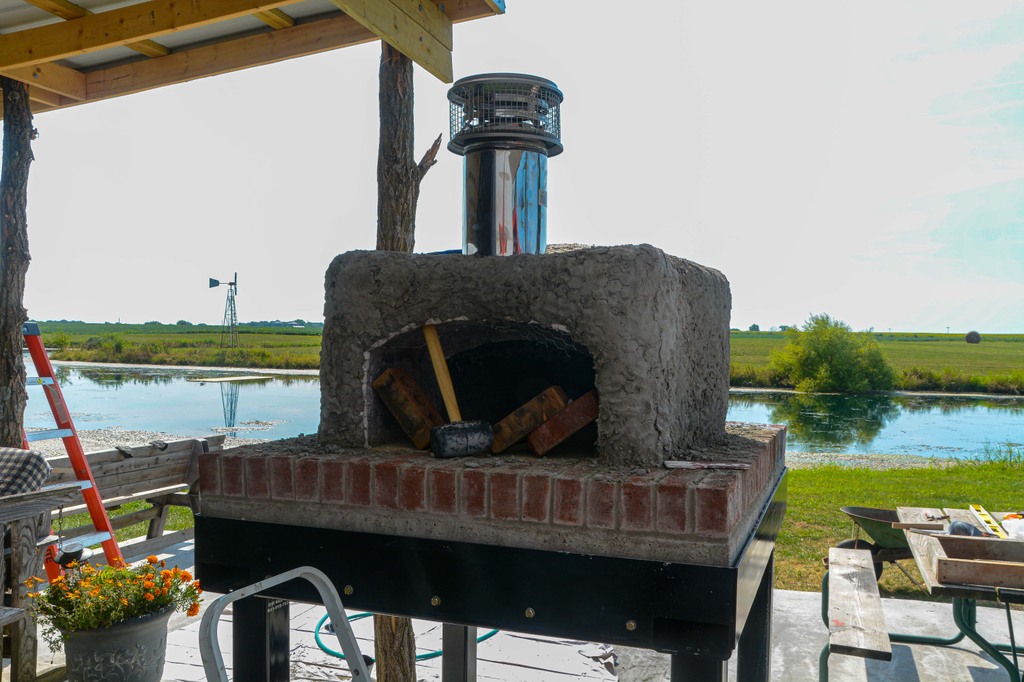
First%20coat%20stucco.jpg


First%20coat%20stucco2.jpg


5616BEA1-7624-4C46-9316-21D35D239EE3.jpeg


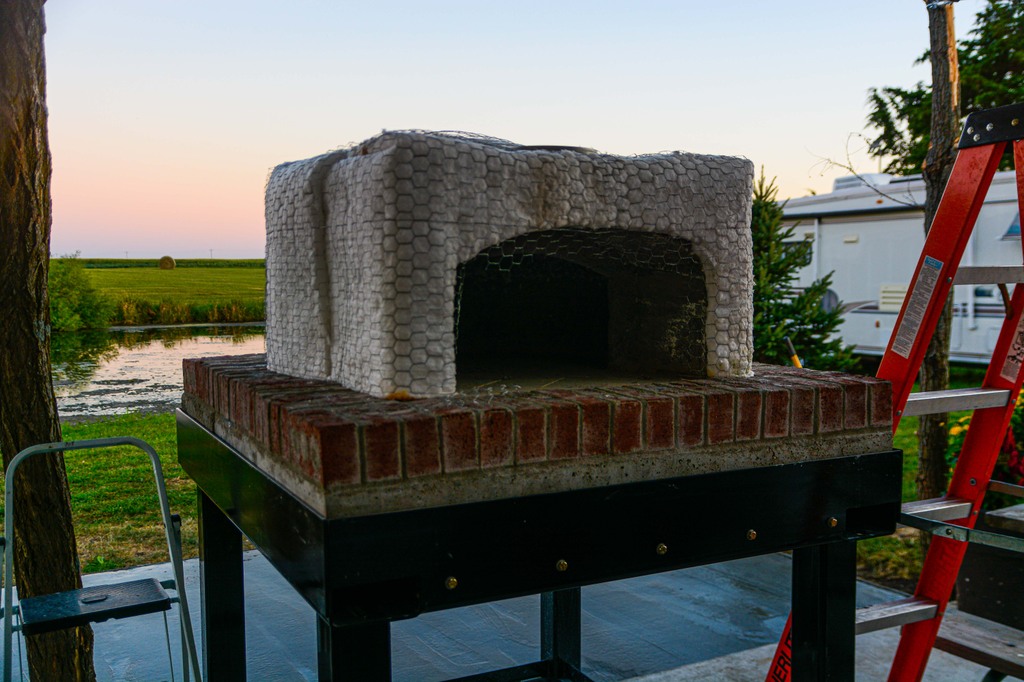
Brick veneer.

Veneer%20Brick.jpg


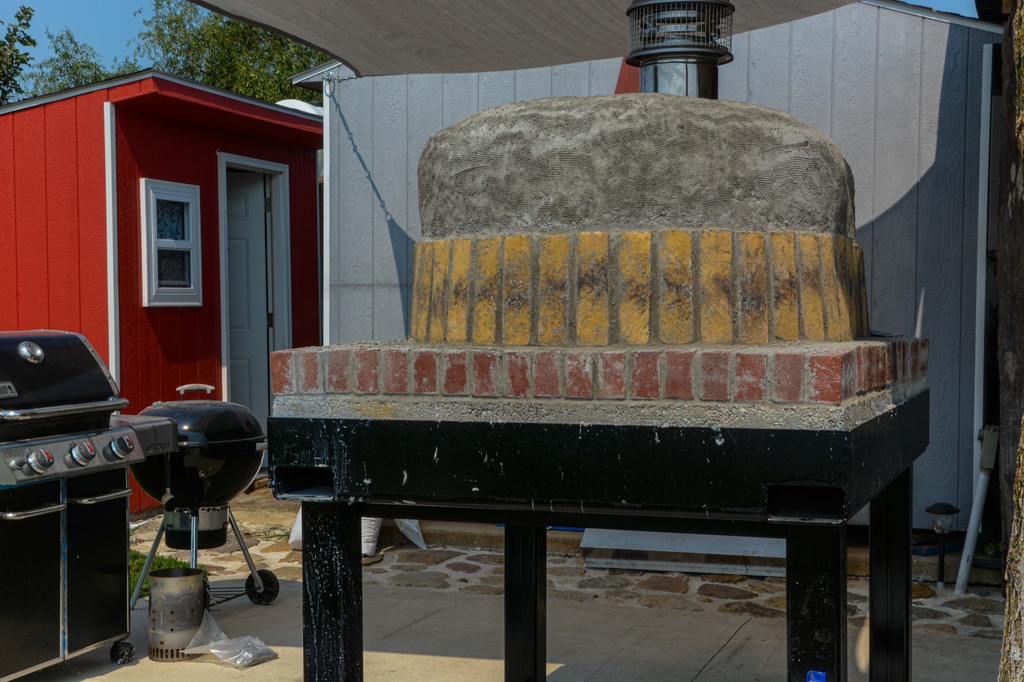
Finish coat of stucco done, ready for curing fires.
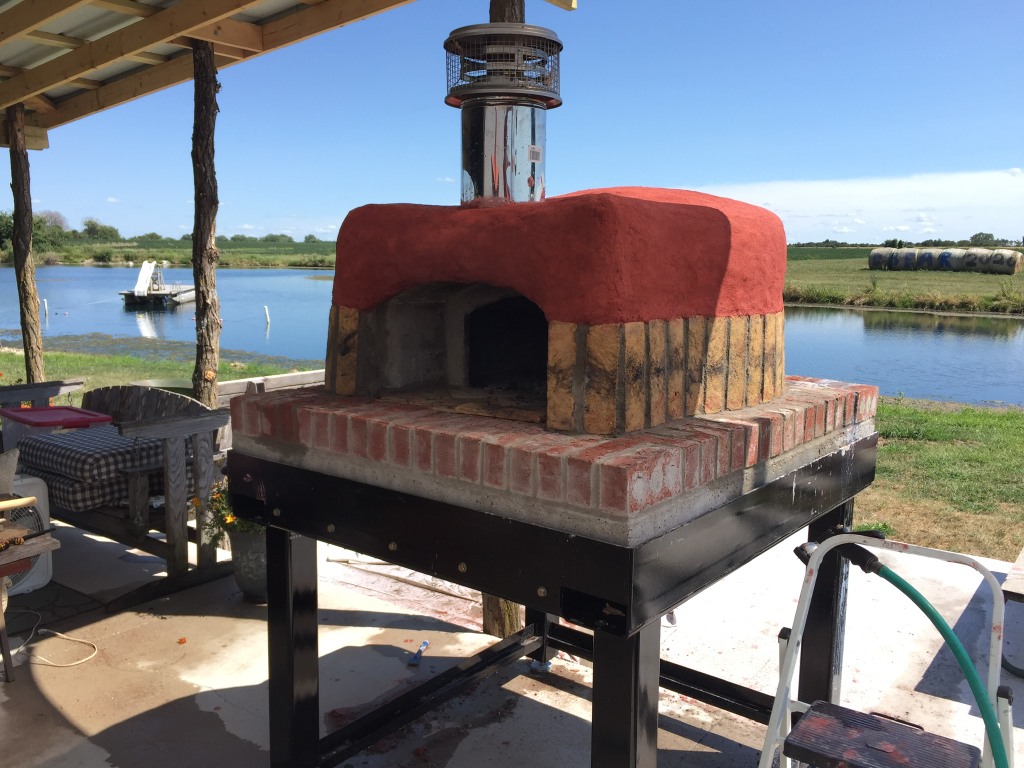
B1B489B6-CCB8-4C84-8909-A7B76679D722.jpeg
 
Jameson says dad, after all that work we better go to the bar and have a beer.

0832E840-5CC8-41F1-850A-FE4490B867C1.jpeg


Then we'll pick some tomatoes and peppers, and fire roast them to make sauce with.

Flame%20roasting.jpg


Floor%20temp.jpg


Pepperoni.jpg


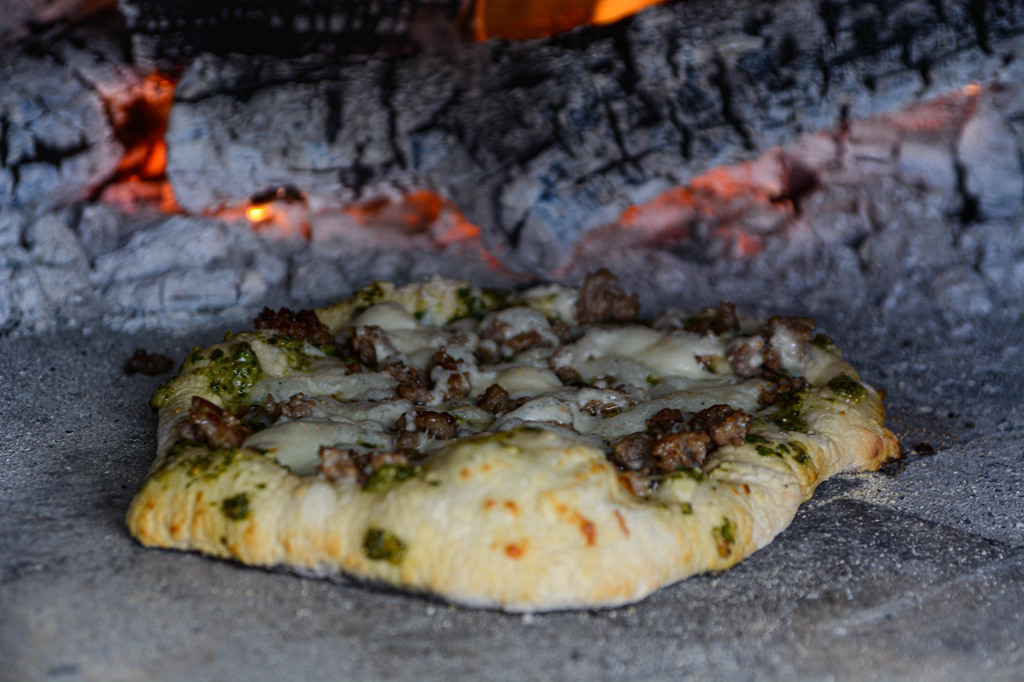
Thee is a tiny Italian restaurant in a tiny town here that does a sausage basil pesto pizza which is sensational, this is my take on the concept- made some pesto with fresh picked basil, sausage, and used gruyere cheese. If you've never tried the combination of pesto and gruyere, you really should.

SausagePesto1.jpg


SausagePesto2.jpg


SausagePesto3.jpg


Swiss chard and pancetta.

Chard%20Pancetta.jpg


A couple of margheritas.

Margherhita.jpg


Margherita%202.jpg


Meat lover pie, with some Canadian bacon that I cured and smoked in the WSM.

Meat%20Lover.jpg


Partly just for giggles, and partly to help them out in the Rona time, another local bar has been making take n bake pizzas. I've heard really good things about their Crab Rangoon pie, so got one to try in the oven. Everybody who tried a piece got big eyes and said "it's REALLLY good!"

Crab%20Rangoon%20Pie.jpg


We weren't really keeping notes, too busy trying to learn how to use this, but think that during Labor Day weekend we cooked approximately 46 pizzas, 50 hamburgers, and one whole pork loin. Fed something around 120 people here, and got rave reviews even though we were sort of still in the experimental stage of operations. Lots of fun after so many hours of sometimes very frustrating building.

Have tried a few other things, too. Cold front came through and it felt like chili weather.

Chili.jpg


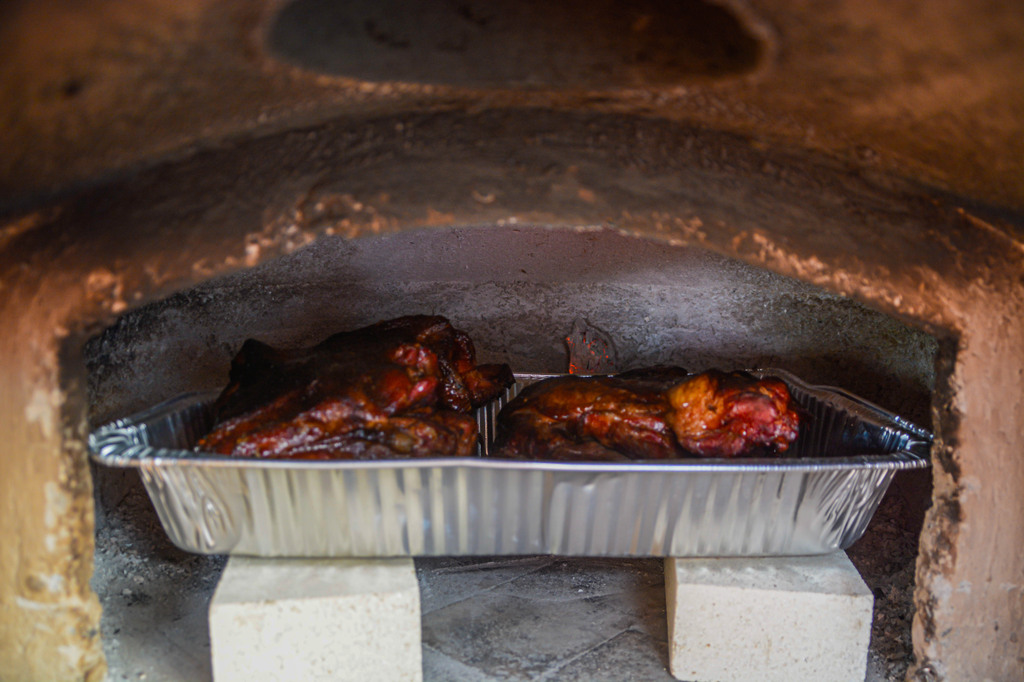
Started a couple of pork butts in my WSM, but with a small load of charcoal just to see how it would work to finish them in here.

Butts.jpg


Cast iron apple crisp.

Apple%20Crisp.jpg


Apple%20Crisp2.jpg


Thanks for looking!

Fire%20Moon.jpg
 
Last edited:
That's an awesome pizza oven, and I like the slots for the forklift. I had thought of building a napolitan oven on steel frame in the past, but never got around to it. My plan was to add a detachable axel and hitch connector, so it can be towed.

Yours look very nice and the red goes well with the bricks.
 
Thats amazing work there. Just curious do you like the size or would you go bigger if you had to do it again? Certainly looks like you have learned to cook in it quickly. All your pies look killler and the apple crisp wow! Look forward to seeing more pics. Ive wanted one for a while now especially for bread. Did you tally costs excluding the steel base?
 
Holy moly, that's some great work - both on the oven and all those good (err, great) eats!
 
wow - what a deluxe setup -! the whole covered patio area - incredible place for the oven - lots of satisfying work - good thing you had the whole team out there,.....
 
Really well-designed oven, Clay! Not many people would've had the foresight to lay the hearth like that. How many man-hours do you think it took?

I see some breadmaking in your future...
 
Thats amazing work there. Just curious do you like the size or would you go bigger if you had to do it again? Certainly looks like you have learned to cook in it quickly. All your pies look killler and the apple crisp wow! Look forward to seeing more pics. Ive wanted one for a while now especially for bread. Did you tally costs excluding the steel base?

This one is 28" wide, really don't think you would need anything bigger unless for a commercial application. I mean, if the prep work is done and somebody else is helping you a dozen pizzas can go through in way less than an hour. Generally find that I'm busy enough that I don't want more than one at a time in there to watch and turn.

No, I don't have a firm tally of expenses. Partly because I maybe don't want to know lol, partly because it was strung out over a long period of time and multiple families contributed to different parts of it, partly because we've got things on hand like a miter saw, concrete tools, always have some rebar sitting around the farm from some other project, etc. that say some dude who is an accountant in suburan Indianapolis would probably have to rent, buy, or beg to get it done. I will say the refractory cement and firebrick cost me close to a grand, that was the biggest lump of the supplies needed.

On the flip side, we kinda did this in the middle of nowhere. If you were that suburban homeowner and added a wood-fired oven to the patio in your back yard, I'd have to think you would be rewarded with a very nice bump to the resale value of your property.
 
Well Clay, I'll never be able to look my KettlePizza in the eye again! What an amazing project and such professional accomplishment. Loved the story and the pictures. Great post and thanks for sharing it.
 
Just........ WOW. I absolutely love it. Really, REALLY love it. One of the first things that caught my eye was your picture of the the welds on your frame. Really nice welds. You just know it's going to be getting good from there.


Back
Top