Genesis Platinum C


Thanks everyone.

Bruce, where do you place the screws in the railing? Do you drill into the cook box? The railing with the tabs that holds the drip tray.
 
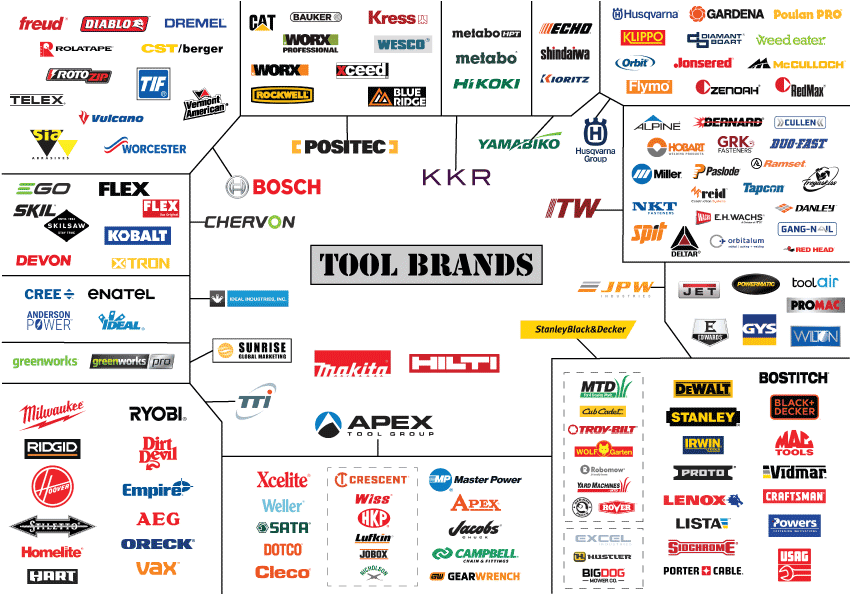
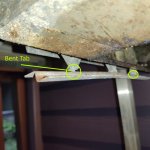
Roy: You don't need to modify the cook box at all. In the situation shown by the OP, you can see the rail is bent in the middle where the single screw holds the rail to the cook box. There are two areas I circled in yellow that show there are also posts like the middle one on the cook box that are on the front and back of the rail. So, Weber, in their ultimate wisdom decided to just use the middle mount post on the cook box instead of the front and back ones or even all three. They cut little tabs in the aluminum drip rail that bend down and match up with the front and rear mounting posts on the cook box. So, by mounting a screw in the middle hole and the tabs in the front and back, it keeps the rail fastened and prevents it from rotating with the tabs. The problem is, just normal wear and tear, not to mention people jamming big drip trays in and out will put pressure on the front and back of the "ALUMINUM" or even steel drip rail....which, obviously, will cause it to bend and sag over time. Had they simply used the front and back holes with screws, this would not be an issue. So, on all my rehabs that are designed like this, I bend the rail back into shape and then reinstall the middle screw, but I also drill the tab out on the front and back where it sits over the mounting posts on the cook box and put screws in them as well. THe front and back mounting posts should already be hollowed out and ready for a self threading screw. Just make sure it is not too big of a screw or you will break the mounting post when you insert the screw.

I hoped I described the issue and fix well enough. If you have any further questions, let me know.


Untitled.jpg
 
How makes what brand of cordless tools see below;
How makes the best tools by consumer votes;
I have had several different brands i use mostly Dewalt now as they are small easy for me to access tight places better, and i like there selection of different tools. But now that i am retired i do not use them as i did before so my needs, and wants have changed. I think what ever floats your boat, and fits your needs, price range is good for you.
That is a great site. Thanks for sharing. Now I am going down a long dark rabbit hole;-)
 
Roy: You don't need to modify the cook box at all. In the situation shown by the OP, you can see the rail is bent in the middle where the single screw holds the rail to the cook box. There are two areas I circled in yellow that show there are also posts like the middle one on the cook box that are on the front and back of the rail. So, Weber, in their ultimate wisdom decided to just use the middle mount post on the cook box instead of the front and back ones or even all three. They cut little tabs in the aluminum drip rail that bend down and match up with the front and rear mounting posts on the cook box. So, by mounting a screw in the middle hole and the tabs in the front and back, it keeps the rail fastened and prevents it from rotating with the tabs. The problem is, just normal wear and tear, not to mention people jamming big drip trays in and out will put pressure on the front and back of the "ALUMINUM" or even steel drip rail....which, obviously, will cause it to bend and sag over time. Had they simply used the front and back holes with screws, this would not be an issue. So, on all my rehabs that are designed like this, I bend the rail back into shape and then reinstall the middle screw, but I also drill the tab out on the front and back where it sits over the mounting posts on the cook box and put screws in them as well. THe front and back mounting posts should already be hollowed out and ready for a self threading screw. Just make sure it is not too big of a screw or you will break the mounting post when you insert the screw.

I hoped I described the issue and fix well enough. If you have any further questions, let me know.


View attachment 45743
I think I understand. Thanks.
 
That is a great site. Thanks for sharing. Now I am going down a long dark rabbit hole;-)
If I was working everyday with these tools like I use to I would seriously consider Rigid for there life time warringty on tools and battery"s all you have to do is register them when you buy them like you do with your Weber. I have used them and like there features,power not all tools are perfect some have one or two features that are alittle bit better. But they do not have the lifetime warranty.
 
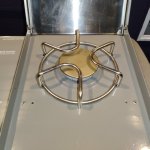
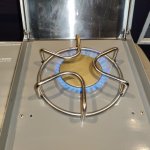
Haven't gotten to the bent rail yet. Spent today installing the new igniter, together with the control panel plate that Samuel sent my way. Ran into problems in that the electrode attached to the side burner was messed up. Thought the igniter kit would include a new one but it did not. So I went online searching for one and couldn't find an electrode that appeared to come with the necessary mounting clip (which was also messed up on the Platinum). Then I realized I have a scrap Summit and sure enough the side burners on that thing use the same system.

IMG_20220219_202509.jpg

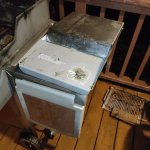
Here's the messed up igniter:

IMG_20220219_202532.jpg

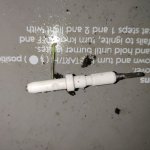
When I put it back together, it came out really nice. Here it is:

IMG_20220219_202425.jpg

While I was pilfering, I took some heavier duty side burner parts from the Summit.

IMG_20220219_202433.jpg

Works great. Everything does. The three east-west bars and the side burner.

IMG_20220219_202450.jpg

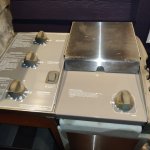
Here are the lesser parts, now paired with the Summit side burner.

IMG_20220219_202520.jpg

One more cool thing happened today. When I began today, was having a lot of trouble getting a screw to release from the bottom of the side burner. Spayed it several times with a penetrating oil. Nothing. Thought it might take days. Then it struck me that since it's metal on metal, I could heat it with a torch. Sure enough, it released easily.

I'm sure this seems like kindergarten stuff to a lot of you fellas but I felt really good, having figured this out for myself.

Now here's a question. What's the best way to get the knobs and the plastic side tables looking good? I've been scrubbing and scrubbing, to no avail.
 
Man Roy that really turned out Great!!!

You can still order the ss side burner lid from Weber if you need one.
New #82747 Weber Side Burner Lid is the part number.
or
here:
 
Last edited:
Ryobi and Ridgid are not the same. I would put them in the same class as probably not top of the line, but better than a lot of Walmart brands.

I am sure both Ryobi and Ridgid make both 3/8" and 1/2" impacts and probably grease gun as well. But they use 18V batteries. One nice thing about them is they have used 18v batteries for a Looong time and all of the tools are all compatible with the new or older batteries. No orphaned tools because the company switched battery platforms. By sticking with all ridgid tools, my batteries are all interchangeable with all my tools.
The 24v xli line got orphaned....

But I agree with your comment, ridgid has kept their 18v line backwards compatible for a very long time. You can use their most current lithium ion battery on an old 15+ year old drill that originally came with nicad batteries...
 
What you've done so far looks pretty
Haven't gotten to the bent rail yet. Spent today installing the new igniter, together with the control panel plate that Samuel sent my way. Ran into problems in that the electrode attached to the side burner was messed up. Thought the igniter kit would include a new one but it did not. So I went online searching for one and couldn't find an electrode that appeared to come with the necessary mounting clip (which was also messed up on the Platinum). Then I realized I have a scrap Summit and sure enough the side burners on that thing use the same system.

View attachment 45780

Here's the messed up igniter:

View attachment 45781

When I put it back together, it came out really nice. Here it is:

View attachment 45778

While I was pilfering, I took some heavier duty side burner parts from the Summit.

View attachment 45777

Works great. Everything does. The three east-west bars and the side burner.

View attachment 45776

Here are the lesser parts, now paired with the Summit side burner.

View attachment 45779

One more cool thing happened today. When I began today, was having a lot of trouble getting a screw to release from the bottom of the side burner. Spayed it several times with a penetrating oil. Nothing. Thought it might take days. Then it struck me that since it's metal on metal, I could heat it with a torch. Sure enough, it released easily.

I'm sure this seems like kindergarten stuff to a lot of you fellas but I felt really good, having figured this out for myself.

Now here's a question. What's the best way to get the knobs and the plastic side tables looking good? I've been scrubbing and scrubbing, to no avail.
What you've done so far looks pretty good. Anything that's stainless steel will clean up as nice as you want it to depending on how long you want to spend polishing it. The plastic parts should come clean if you soak them in bleach for a while.
 
Cool. I was just wondering. Everybody does it differently. The blue lid will look nice.
Thanks Steve. With the blue and black decking, I'm thinking it will be unique and really nice. Most important, that thing gets to 600 degrees in five minutes and then pins the thermometer. I've got to get a real oven thermometer in there to see if that's for real.
 
Yep, that blue lid will match very nicely with the SS frame. Blue and silver is always a good combo even though I hate the Dallas Cowboys.
 
How does one get the wheels clean? Do they need to be removed to soak in bleach? If so, how does one remove them?

Also, how long can this stuff safely remain in bleach?

Has anyone tried acetone?
 
Roy, I use bleach. I have left knobs and igniter switches soaking for days with not ill effects. For wheels, I just wet them down with bleach and then after a few minutes, I use some #000 or #0000 steel wool soaked in bleach to clean them up. You would need a big container of bleach to soak the entire wheel. But you can remove the white parts from the black. Just be careful that you don't crack the white part when you remove it or during cleaning them.

I have not tried acetone.


Back
Top