@LMichaels thank you for the frame parts! Can't wait till they arrive!
Latest Update:
- I picked up some 1"x 2" common board to rebuild the left side shelf and the folding shelf. Going to stain it red with some deck stain I have left over. Cant use it on my deck anymore since we just had it rebuilt with composite.
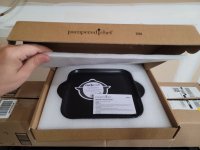
- Scored a grill matt to protect said new deck from grease stains for $32 amazon
- Wire brushed the wire rack on the bottom and got a fresh coat of black paint on it.
- Got the tank scale soaking in solution to remove the rust so I can restore/repaint that.
***Many thanks to
@Jon Tofte for the tank scale decals and "E-F" decals that go on the frame
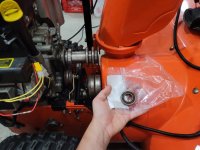
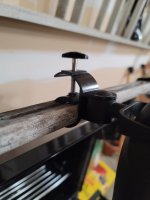
- The right frame part I'm receiving has some rot on it, but the silver lining is the cross pieces that mount the control panel and the tank scale are intact, just the square tubing needs to be replaced. Picking up some
1-1/4" x 1/16" thick x 72" long Square Tubing to replace the rotted portions. This is where I can use my welding skills. Use a reciprocating saw to cut out the good pieces, cut new pieces to size, grind, clean, weld the original cross pieces together, and repaint with the black semi gloss. I forgot to mention that the flat stock where the bolts go to hold to the rest of the frame will need to carve those out and tac weld them in place too.
View attachment 17626
I'll get pictures of the tank scale all cleaned up soon. My wifes birthday is this weekend so till I get the new frame parts its a good break from the project.
")

") .
.
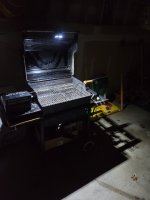

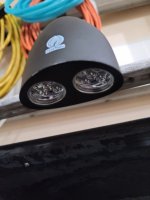
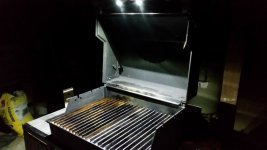
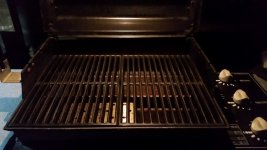
 ) with LED lamps and 18650 batteries on my Gen1200. In pic #2, this is the most recent Weber GO 7661 Light that I adapted to my Silver C. Your light is much brighter than the new Weber light, but I've been using it recently and it's not too bad.