Jeff Hanson
New member
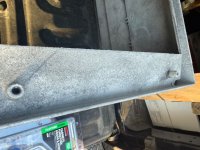
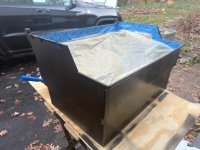
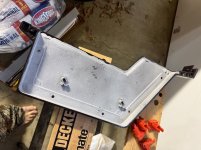
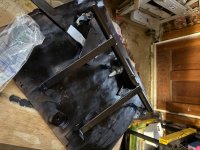
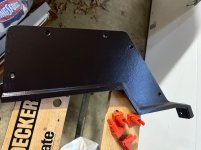
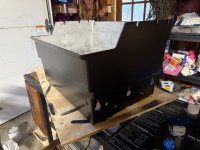
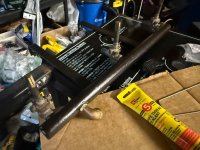
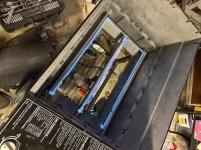
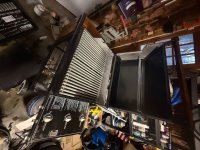
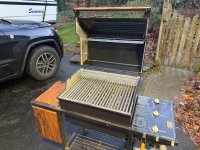
Update I got everything successfully disassembled and didn’t bust or strip and screws other than the hex heads I had to drill out of the manifold bracket. I started to clean the box with a wire brush on my hand drill and also a nifty wire brush attachment for the sawzall, as well as a good old handheld wood handle brush, but i ended up frying the motor on the drill and quickly realized I didn’t really want to do this myself. Found a sandblasting operation 15 min from my house and dropped the box and side panels along with the manifold, Weber logo and the thermometer mount off at their shop. I covered the the valves with masking tape and left them in place.
Quoted $150, which is a little steep but I’m telling myself it will be done by a pro far quicker and better than I could hope to achieve.
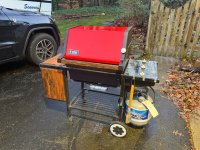
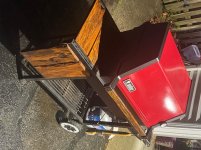
Now on to the cart frame
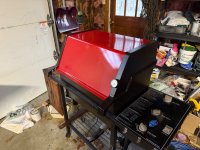
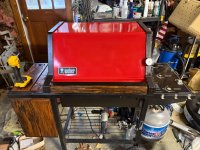
Quoted $150, which is a little steep but I’m telling myself it will be done by a pro far quicker and better than I could hope to achieve.
Now on to the cart frame


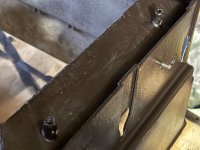

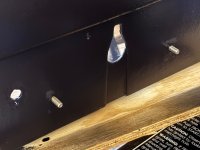
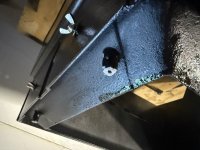
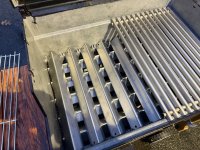
 But looking nice there. So did you build threads into those "bosses" for the rails with the JB Weld?