Kyle in Woodstock
TVWBB Guru
Oh wow, that's nice. Much easier to do photos now!

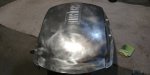
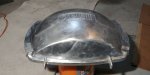
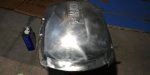
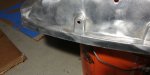
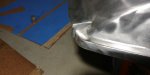
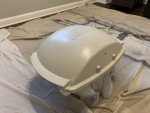

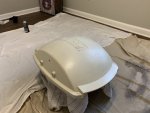

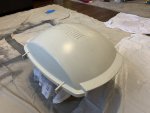

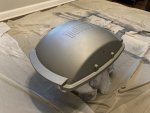
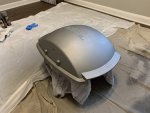
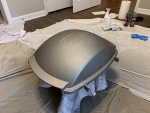
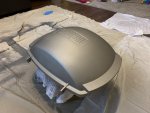
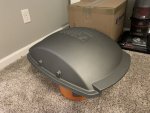
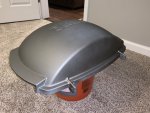
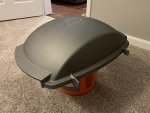
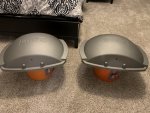
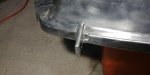
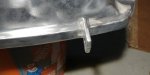
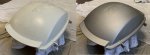
decided against curing the lids in the kitchen oven. So I'm curing them now on the grill. Figured I'll heat it up a few minutes, then off too cool. Heat it up a little longer, off then cool. And then again for a 3rd and final time and let it reach max temp. Then cool.
that sound about right for curing?

Haha, yes your interpretation is right on point!What Kyle said:
"decided against curing the lids in the kitchen oven..."
The rest of the story:
"[My wife] decided against curing the lids in the kitchen oven...."
I pressure washed all three of the carts for my Q200s today. Let them dry then wiped them down with Xylol. Let them dry again the. Used a 50/50 mix of Boiled Linseed Oil and Paint Thinner and applied it to all the hard black plastic areas of each one of the carts. I put it on with a cheap foam brush and applied it very liberally. Let it all soak in for a few hours and then wiped off the excess oil. All I can say is, Wow! That made all my carts look brand spanking new!
I will post some pictures of my carts later this week.
Highly recommend the boiled Linseed / paint thinner mix application.