INTRODUCING: the "Roto Damper"


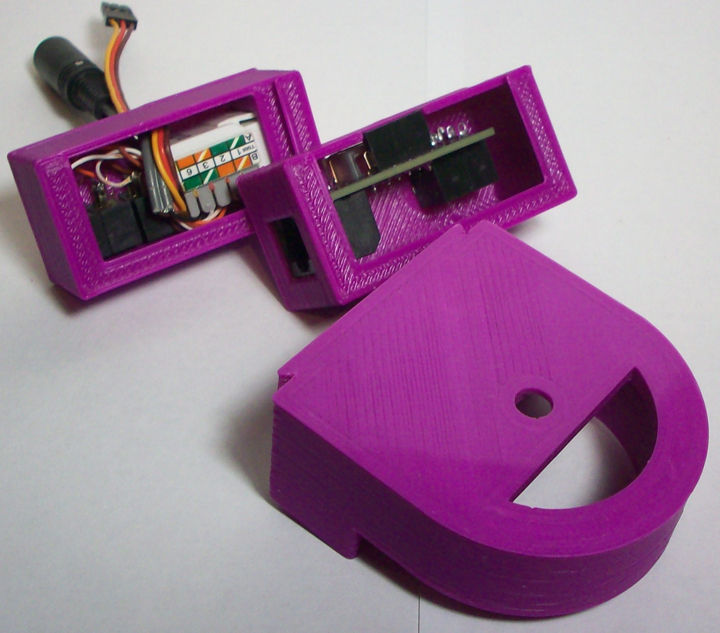
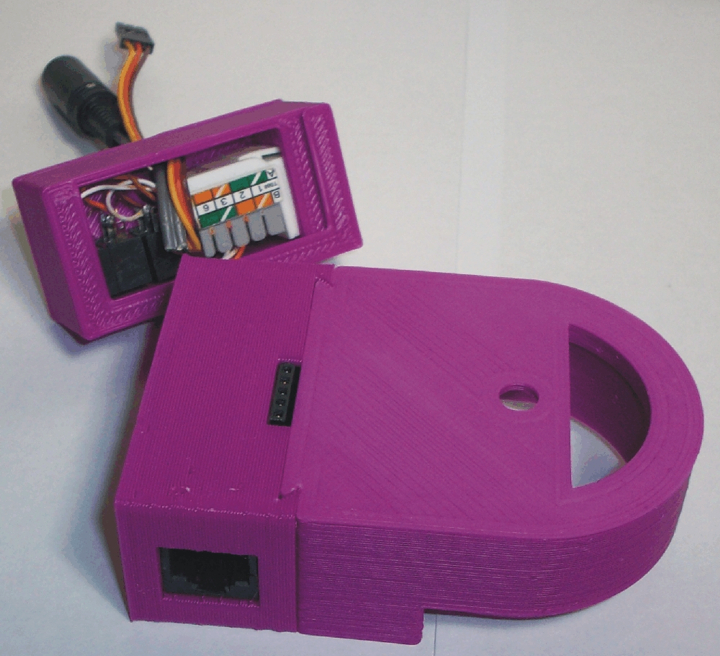
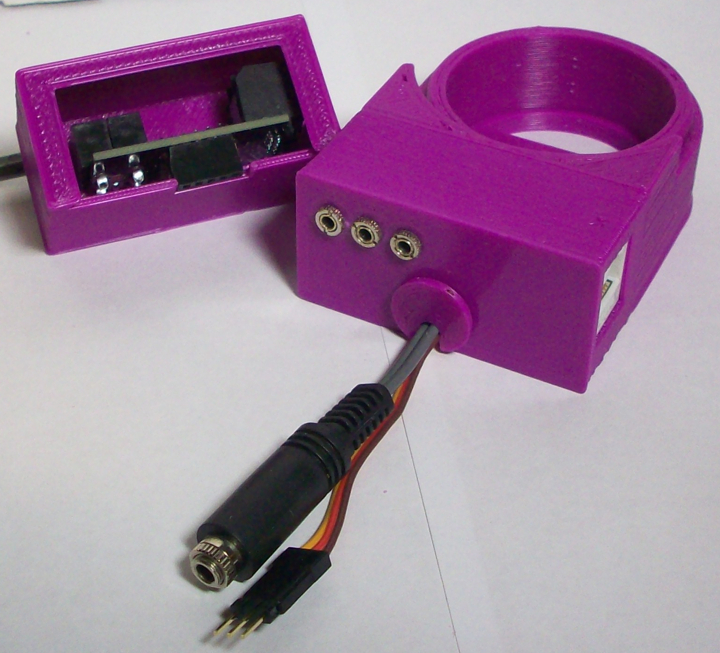
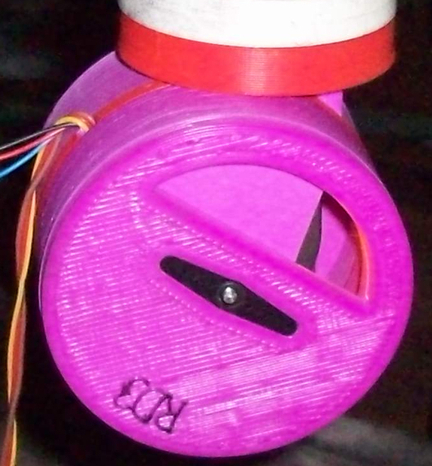
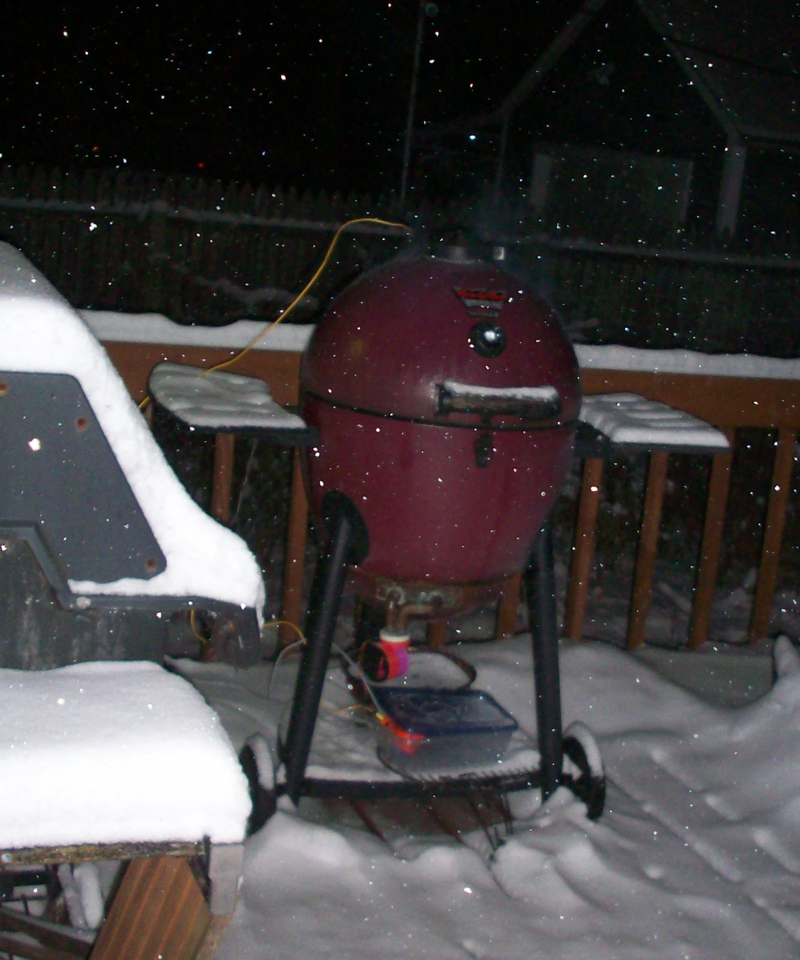
So the weatherman says our lucky streak is about to end in the midwest and sure enough the HM dips down to about 0F, so I say to myself... Why not cook a hand made pizza, on the grill... I throw together some dough then light the trusty "Fauxmado" and attempt to connect the latest damper to my CAT5 cable for a high heat test run... Nothing... I guess when its 30F below freezing you expect these things... So I crimp a new end on the CAT5 cable... BINGO... Off to the races...
WinterPizzaGraph.jpg

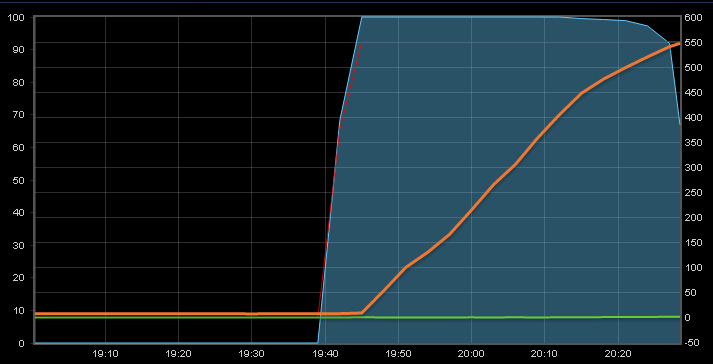
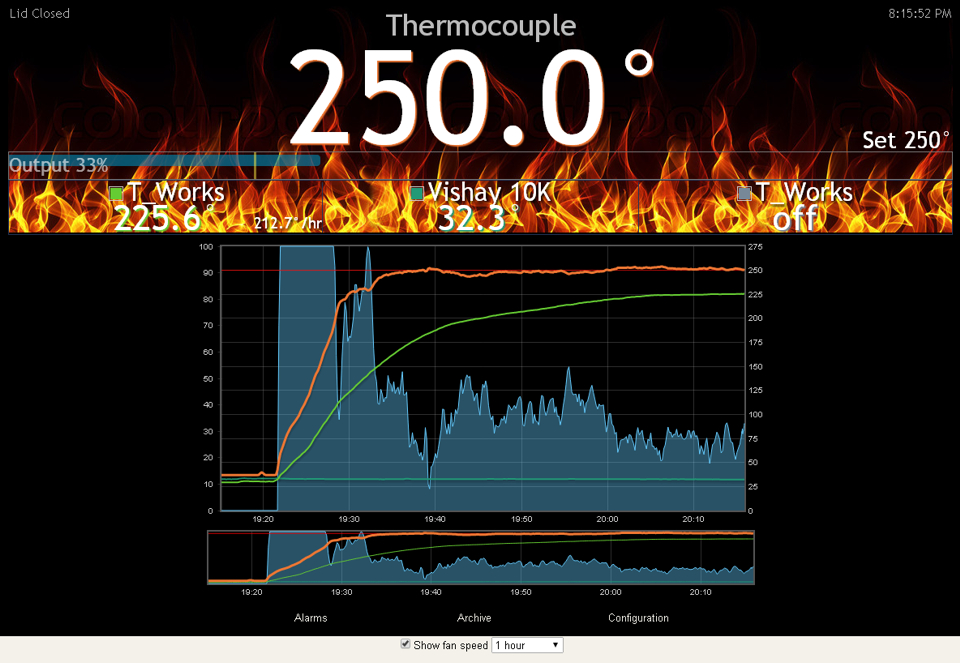
Above is the graph of initial warm up until I had to pull the standard probe out of the pit before it melted... Yah, it goes down to 0F, that is the outdoor temperature right about now...
WinterCook.jpg


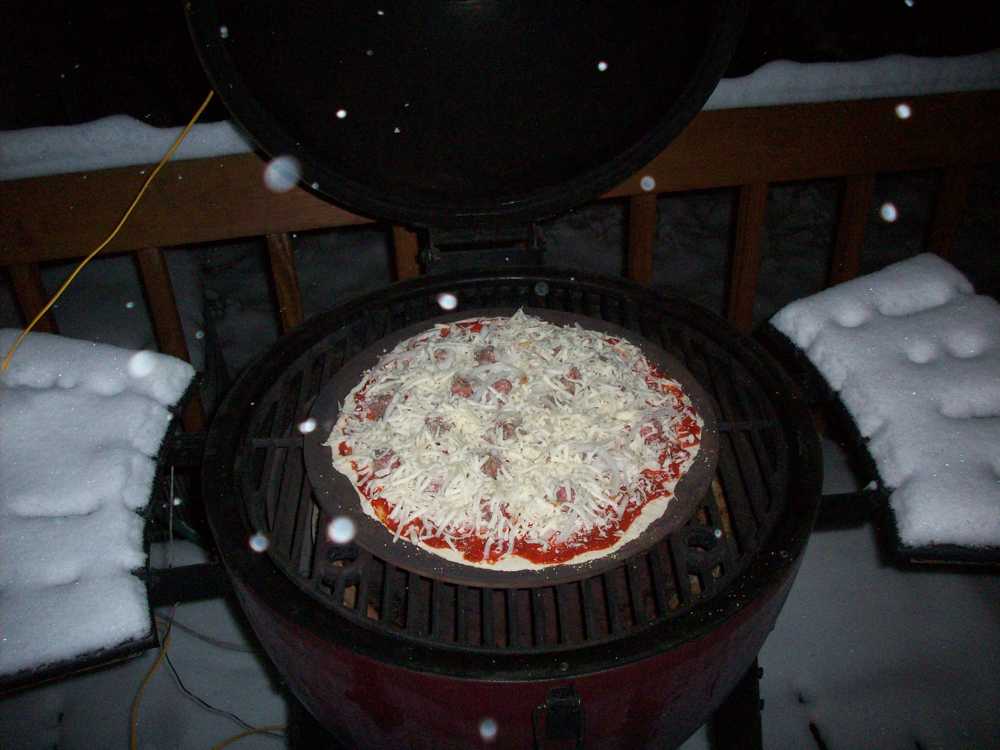
So on goes the pizza...
WinterPizzaRaw.jpg


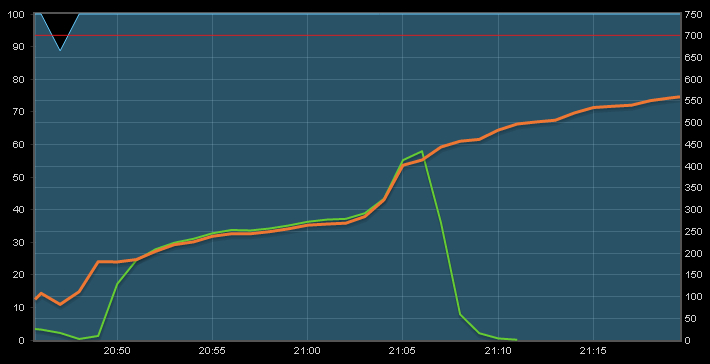
...and 18 minutes later...
ZeroPizza.jpg


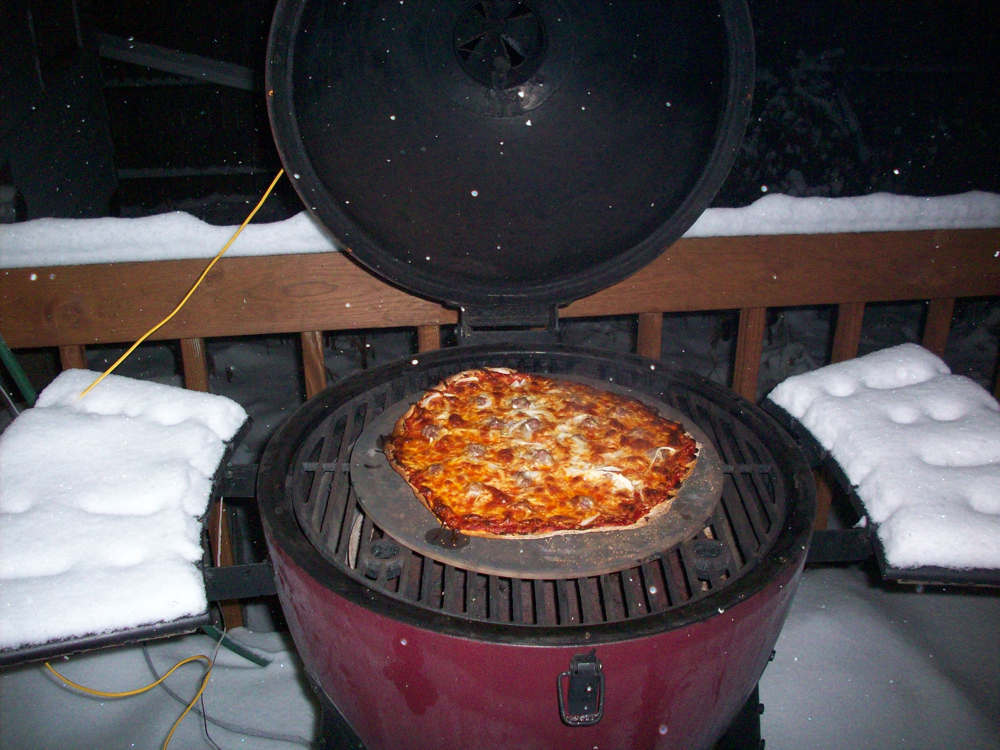
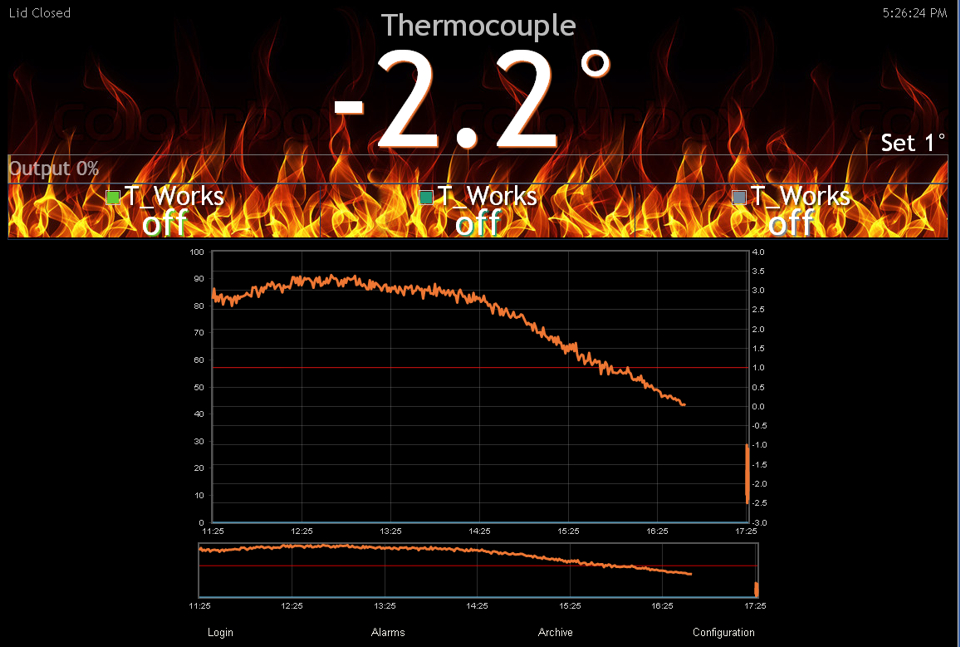
Some serious heat shock happening to that pie when I open the lid to 0 degrees fahrenheit!

WinterPizza.jpg


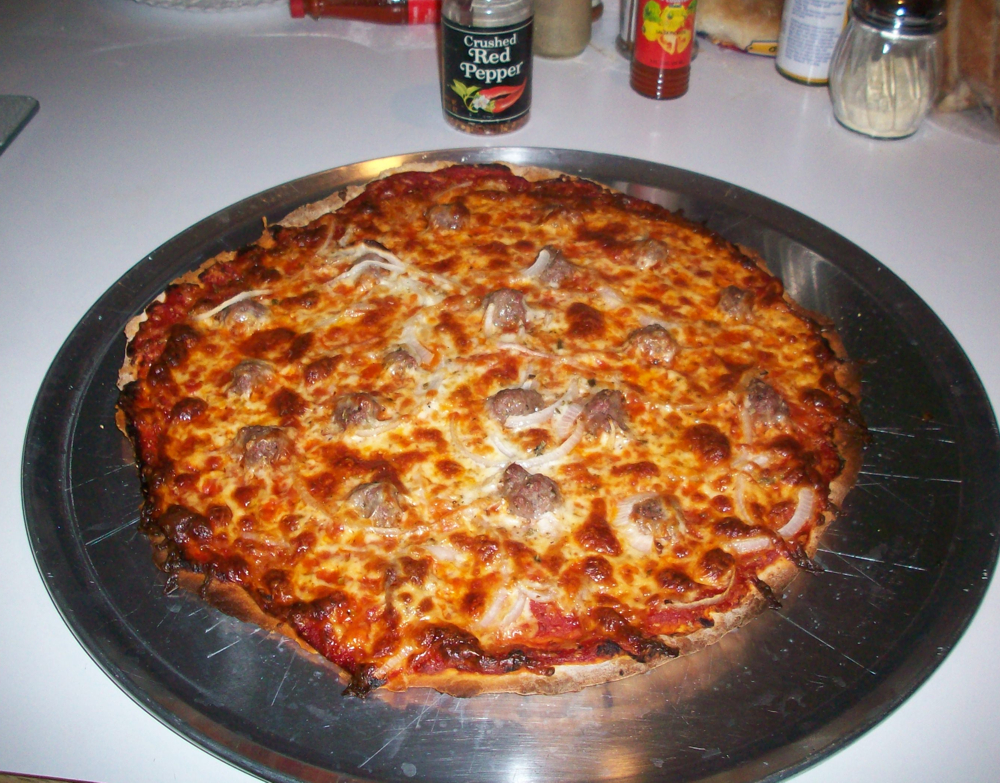
You know I ate the whole thing!
 
You guys are awesome I can't thank you enough. I've been lurking around the forum for a few weeks now and I just finished soldering my board up last night,haven't had this much fun since I modded my nes, just waiting on the pi. Next project will be the roto damper are there any stl files for the damper with the added thermocouple.
 
Anybody have the STL files for the RotoDamper ? I emailed rotodamper at hotmail.com a few days ago but no response...
 
I thought I had replied to you, maybe I just thought I did... I've been getting a lot of emails lately for help with the roto damper and TC support on the heater meter. I will look through my inbox to find your mail and reply asap...
 
The boards for the tc that work with the rotordamper are coming along pretty nicely. I hwas hoping to get a version 3 board next week to test, but looks lile ralph will get his before mine in about 15 days or so.
 
OSHPark has my boards assigned to the Jan 9th panel... I hope these boards work out the way we planned, the fit is gonna be tight, but tight is good as long as it fits....
 
The cold snap hit us in the midwest and temps have dipped hard... In spite of this I have done high heat pizza cooks the past two nights on my Fauxmado to test my latest damper. It seem in spite of the blower being pressed flat against the bottom of the damper it is pushing plenty of air, because I haven't had a problem hitting pizza oven temps even when it is 0F outside... Here is the warm up graph from the cook last night:
Zero.jpg

The poor thermoworks probe got left out in the cold last night...

I find the thermoworks probes read about 5 degrees lower than the TC at low temps like this, but compared to my wall thermometer and the weather report the TC is more accurate. As temps bounce around zero +/- a few degrees I noticed when the thermoworks probe dipped below zero it no longer showed up in the logged graphs, however, it does show up on the graph while you are watching the display live. Tonight it officially dipped below zero and the TC started doing the same thing. Here is a graph showing what I mean:
SubZero.jpg


When I load the HM graph the probes in the sub zero range show no data, but they soon show up in the sub zero region moving forward but if I change the log scale or refresh the page the sub zero graphing disappears....

Not that this is a problem, or something that needs to be fixed, cause who really needs a graph of how miserably cold it really is outside?... but for several reasons I am very glad to report this. First of all, on previous releases of the HM board many probes would drop off the graph in room temperatures let alone sub zero! So having the Thermoworks Pro probe reading down to sub zero is nice to see. The Thermoworks probe actually did drop off recently as it started to read around -5 or so, but I'm not sure if something iced over out there or it dropped because it hit a lower limit or what, I'm not going out there to check tonight! Another reason I'm glad to see this is because with the stock TC amp circuit my Thermocouple used to bottom out at around 37F if I recall properly, no matter how cold it got the TC would read steady 37F. So I built up and added a REFerence offset circuit so I can tune the TC to read below 37F. I tuned my TC offset to -75F, so in theory it should be able to read down to -38F, lets hope we don't have to test that limit! LOL
 
Ralph, you just showed me that there is an advantage to living in Los Angeles. It was about 30 degrees the other night. My blood is just to thin for that. You can have that weather. But then again, I don't remember the last time we have four real seasons out here.
 
Four Seasons is a good name for a hotel, maybe a band, but as for weather I could live with 3... The best thing I can say about winter is it kills bugs! LOL
 
Ralph, you just showed me that there is an advantage to living in Los Angeles. It was about 30 degrees the other night. My blood is just to thin for that. You can have that weather. But then again, I don't remember the last time we have four real seasons out here.

Im about 40 miles from Ralph, and my wife just moved from Malaysia to the chicago area. She has lived in 80 to 90s every day to being in a chicago winter. She is in hibernation mode now. And only leaves the house to go shopping for food, doctor (pregnant) and eating. She likes the snow, but hates the cold and dry air.
 
A couple things I have been working on for quite a while have finally come together tonight. In coordinated effort with John Bostwick I finally have the first integrated I/O circuit board for the Roto Damper. This of coarse includes an onboard thermocouple amplifier, 2 standard food probe jacks, optional 3.3v regulator and optional REF offset circuit. (offset circuit allows adjustment of TC amp to measure below freezing temperatures, TC bottoms out at around 37F otherwise)

I have also been working on the next version of the Roto Damper body which will allow easier customization in the control cavity. I've had the hard wired standard probe version together for a while now and have been testing for durability, I'm confident that the design is solid at this point.
Here's a pic of the new parts:
RDv2i_Parts.jpg


As you can see, I split the control portion away from the Roto Damper body and created a nifty joint that allow it to slide on and off. It goes on easy and holds nice and firm, the whole thing worked out real nice!
Here are a couple more pics of the parts:

RDv2i_PartsBack.jpg


RDv2i_PartsOpen.jpg


RDv2i_PartsTCMated.jpg


RDv2i_STD.jpg


As usual, the design is completely press fit. In fact the board fits so snug I think it would be fine without the nuts on the probe jacks, but it's probably best to tighten them down. I used a female header on the board which protrudes out the bottom, you can use MALE/MALE pins to connect the servo and blower. The standard I/O box has the same options as the original Roto Damper with the addition of a hole for the wires to your blower and servo and a plug to close the hole back up. The rest of the Roto Damper parts are still the same....
 
Last edited:
Looks good, the newer design should fit in there much better. Now im thinking about a side mounted trimmer to make it easier to adjust from the outside of the case via a small hole.
 
Hey Ralph

Can you save me a purple 1 to match the case you built for me. My daughter loves the purple color on my HM and current RD. Thanks again for getting that purple in for me.

Tom
 
Yah, that was my thought on the trimmer initially, but then I think about rain... and snow/rain/sleet... which I always seem to cook through. LOL When I designed the new Roto Damper body I thought long and hard about how the the parts fit together to reduce the possibility of rain getting in, I actually printed up three different designs with different ways of joining the parts together. This one was a winner because even if/when water gets into that junction between the parts the V-channel will funnel it around outside the wiring cavity. So, with that in mind, the best place to put a hole in the control box is right in the bottom where water is least likely to get in. So maybe put the trim pot on the bottom of the board somewhere toward the side where the probes plug in?
I really like the way the header worked out so please keep that in the same position. The reason why the the stand-alone box I made for this board is so tall is because it takes a lot of clearance for the servo plug and header, the way the header pokes out of the Roto Damper box right here is awesome!
 
Hey Ralph

Can you save me a purple 1 to match the case you built for me. My daughter loves the purple color on my HM and current RD. Thanks again for getting that purple in for me.

Tom

Tommy, printing down my last little bits of purple right now, I used the rest of the spool printing out prototypes of these new parts... I have some stuff printed here, shoot me an email, I may have the parts you need here....
 
We could try a lower value mult-turn trimmer, or maybe a single turn trimmer, if we tune the other resistor right we should be able to get the right range in one turn...
 
Received and assembled my RD this evening, the new interchangeable control box works great. I'm looking forward to giving it a try tomorrow night. Thanks Ralph!

VyFyVzO.jpg
 
The other night while I was doing a test run with the new TC board using my latest experimental damper I got the "bright" idea to put some sort of light inside it so you can see in the dark how wide the damper is open. I got that done tonight using stuff I had on hand, two yellow LED's and a 25 ohm resistor wired in series across the 5v power for the servo. Tucked into the damper body they put out fair amount of light, and I can see clearly in the dark how open it is...
Here's a pic of it in pitch dark and another with the flash on:
RDv3Light.jpg

RD3.jpg


At night it kinda looks like the glow of fire in there, which can be alarming at first until you get used to it... I was initially going to use some sort of white light but the bulbs I had on hand didn't fit the bill so yellow LED is what I ended up with.

The damper itself is proving to be a pretty good design. I've been doing quite a few pizza cooks in sub freezing temperatures and getting great results, so it's hitting the mark on the high flow end of things, which was the focus of the design. Initial tests with low and slow were a bit rocky, after some adjustments in the design it's been doing a respectable job at low and slow as well. Here's a screenshot from tonight, fired the pit up at 250F, (old) default PID values, blower at max only, pile of Kamado Joe lump coal in the back half of the grill lit by 1/2 a Weber Starter Cube.
RD3Graph.jpg


It doesn't clamp down as tight as the roto damper on the air flow, so if your fire gets away from you and temps run up you might have a hard time getting back in line at lower setpoints, but I did some ribs the other night and held temps on target for 6 hours with lots of basting... So I am encouraged and work will continue on this damper along side the original roto damper...


Back
Top