Food Photography Tips and Techniques *****


Another point to keep in mind: look past the subject of your pic.

By this I mean, composition. In all likelihood, you're not going to be proficient with a photo editing program ( in most cases, a free one like GIMP) where you can delete that soup can in the background that wasn't there when you took the pic ;) .

Just take a moment to frame the subject and then look "around " your subject and see what shouldn't be in the pic and either remove the offending object--or move your subject to a better location. That may also get you better lighting.
 
I'd be disappointed if this thread disappeared after 60 days of inactivity, not that that's going to happen very soon. I know that I will be going back often for reference. Will the "sticky" keep it locked in?

Rita
 
Another point to keep in mind: look past the subject of your pic.

By this I mean, composition. In all likelihood, you're not going to be proficient with a photo editing program ( in most cases, a free one like GIMP) where you can delete that soup can in the background that wasn't there when you took the pic ;) .

Just take a moment to frame the subject and then look "around " your subject and see what shouldn't be in the pic and either remove the offending object--or move your subject to a better location. That may also get you better lighting.

Great point Len. Now that I have a DSLR, I'm trying to take better pictures and not just 'snapshots'. I'm amazed sometimes at what I miss the first time I take a pic. There can be a lot of distractions in a picture and taking a moment to look at what you are shooting and what's around it can be the difference between a snap and a great photo. Beauty is in the eye of the beholder. Your eyes will focus on the beauty parts almost automatically - the camera, not so much. So you need to direct it to be sure that the people that view your picture see it the way you do in real life.
 
Sorry. Picture 1 looks noticeably better to me.

And thats a perfectly valid comment. You may want to highlight the glaze/finish/whatever and to do that, you need to have a bit of shine on the object.

All in the eye of the beholder, doncha know ;)
 
Another point to keep in mind: look past the subject of your pic.

By this I mean, composition. In all likelihood, you're not going to be proficient with a photo editing program ( in most cases, a free one like GIMP) where you can delete that soup can in the background that wasn't there when you took the pic ;) .

Just take a moment to frame the subject and then look "around " your subject and see what shouldn't be in the pic and either remove the offending object--or move your subject to a better location. That may also get you better lighting.

Great point and sooo true! Been there, done that, guilty as charged. Also, blobs of sauce and other stuff on the plate that are not supposed to be there. Paper towel is your friend when setting up a plate. Professional chefs always wipe your plate after the food is plated. The easiest way to do it is with the camera on a tripod so the view is not moving around. And I'm posting that tonight so I will add you tip to the tripod list !! :).
 
A.?

mjs-bacon03_-nws_-sears_-2-a.jpg


Or B.?

IMG_0133_edited.jpg
 
Sometimes I feel like I need three hands…..

How about three hands and five legs? That’s what a camera tripod gives you, and it’s an invaluable photography tool.

i-Wf4s6nG-XL.jpg

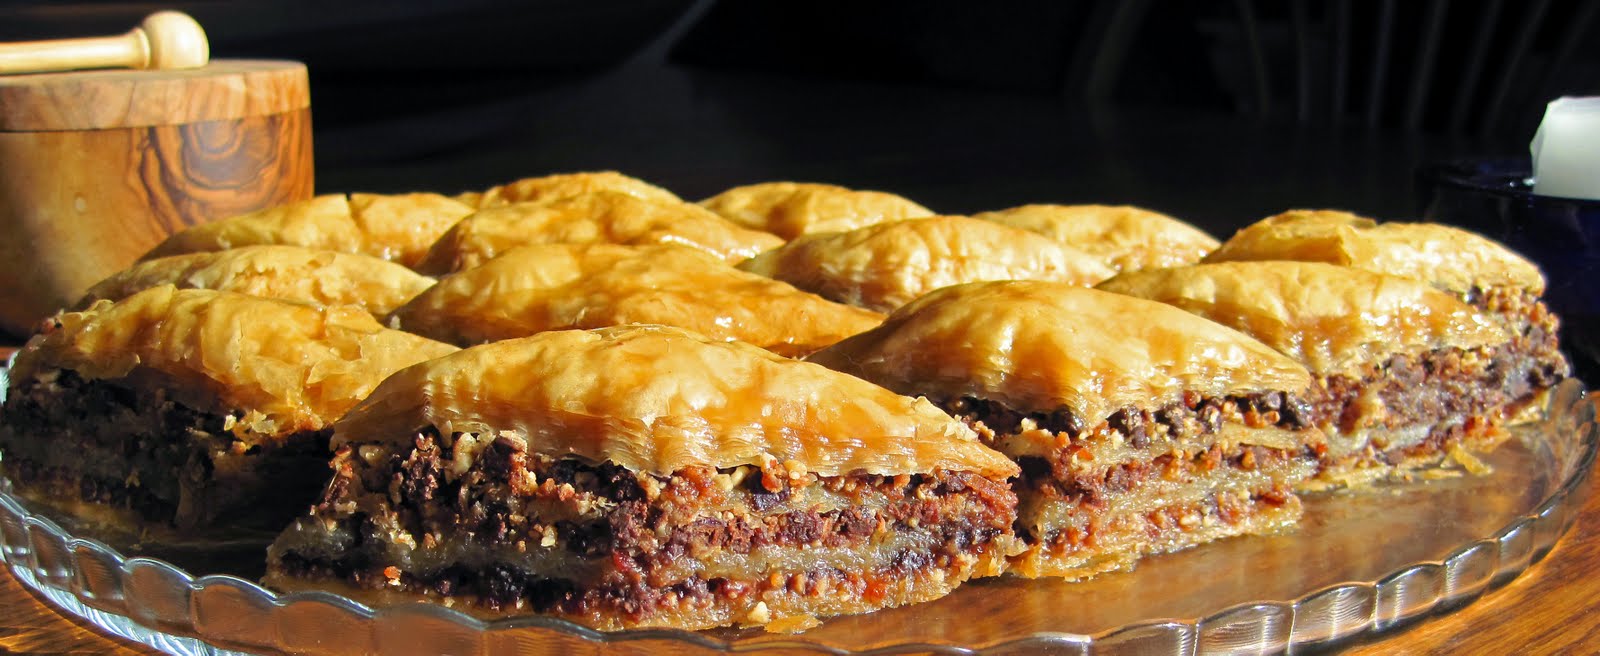
As an aside, please notice the shadows in the image above. They tell you I shot this image straight into the afternoon Sun, and a black subject still shows detail on the shaded side. How is it that possible? Fill flash could do it but in keeping with the “not using flash for food photography” meme here’s what I used:

i-J55J7RL-L.jpg

White foam board is a staple for all food photography. And it’s cheap! All pros use them. I use an 8x10 inch hand held one a lot when I shoot my food to put extra light here and there. More on these boards and lighting later but now back to the subject of this post, tripods. I'm covering tripods now because they are a foundation (no pun) for a lot of other tips and tricks that follow, where you really need three hands :)

They come on all shapes, sizes and prices. Amazon lists 17,164 of them. That should tell you that someone finds them to be a necessity! And they are. It’s the only way to get consistent results. I’ll go through a very short list of what a tripod allows you to do….

Tripods:
- Allow you to hold a precise composition until you are ready to shoot
- Allow you to shoot the same exact composition with different exposures, try that while hand holding and “chimping” in between shots
- Allow you to use lower ISOs without dreaded camera shake and blur and results in less digital noise in the images
- Allow you to avoid using flash by using longer exposures
- Allow you to set perfect focus where you want it
- Allow you to capture excellent grill flames (blurs)
- Allow you to take a moment to frame the subject and then look "around " your subject and see what shouldn't be in the pic and either remove the offending object--or move your subject to a better location. That may also get you better lighting. (Len Dennis tip)
- Once you have a winning shot you can repeat the same setup again and again for different shoots
- Keeps your camera safe from taking a spill when someone swipes it off the table​

The really important thing for us people of the grill is that we not only take pictures of food, we prepare and cook it as well. That is a huge workload and because our priority is the food, the photography part becomes secondary. But, you don’t set out to cook something without some preparation, sometimes a LOT of preparation.

In the same way, tripods allow you to plan ahead too, just like preparing to cook. You can set up two or three different shots long before you begin to cook, days in advance actually, and then when you cook, the camera can be perfectly positioned and the exposure perfectly set beforehand so when you are ready for the shot you can just turn the camera on and make the shot. No rush no fuzz. Professionals all use tripods. As a matter of fact nowadays they don’t even look through the camera when making the shot. They tether the camera to a computer so they can see the shot on the screen right away. Use a tripod, you will never regret it.

Choosing a tripod can be a daunting thing. They come in all prices to high 3 figures. I learned the hard way that I needed those high end ones for my work. The hard way because I spent a lot of money on less expensive ones that just added to the price of the ones that finally worked for me. I need very light and very rigid tripods. That means carbon fiber, and they are expensive. That said, for casual food photography you don’t need to spend more than $100.00, and can get a good tripod for half that.

The important thing in tripods is rigidity and weight capacity. Usually the more weight they can take the more rigid they are. Rigidity is the key. Lack of it leads to vibrations that soften your images, ruining them. The IMPORTANT rule of thumb:

Buy a tripod that will take TWICE the weight that you plan to put on it and you should be OK with rigidity. From my own experience SLIK makes good inexpensive tripods, and they have lots of them at Amazon.

Feel free to post any questions or suggestions!

All the Best,

Jose
 
Last edited:
A.?

mjs-bacon03_-nws_-sears_-2-a.jpg


Or B.?


IMG_0133_edited.jpg


Tough call! And a great post. B has a better composition but A has better light. B also has a white artifact top right. A shows really good light and better color on the filling and dough, especially away from the light source (filling on the left side). I'd re shoot with B's comp and A's light :).
 
B was from my point & shoot. I should have cropped the white thing on the right, but I love that color.

A was by a professional from our newspaper.
 
B was from my point & shoot. I should have cropped the white thing on the right, but I love that color.

A was by a professional from our newspaper.

And you WIN!! Composition to me is more important. Excellent job with the P&S!!!

Ps. Hey JR tell us the story behind the pics and shoot. I am very interested :).
 
Last edited:
And you WIN!! Composition to me is more important. Excellent job with the P&S!!!

you nailed it. I thought "they both look good, but for different reasons", but didn't immediately put my finger on it. One has great light, the other great composition.
 
So, point and shoot cameras. Can you take fantastic food fotos with them? (yes, I misspelled 'photos' intentionally). The answer is absolutely yes. The first step is to NEVER, EVER use the "Auto" setting. Many point and shoot cameras now come with several settings for portraits, landscapes, night portraits, 'sports', and yes, some even have a 'food' setting. These all have the settings adjusted for you, based on what you're shooting. "Portrait" will typically have a wider aperture that'll give you the blurred backgrounds and focus on a narrow/shallow field. 'sports' settings are great for any time you have good light, and fast movement. They have very fast shutter speeds that can freeze the action. Landscape settings will have narrow apertures, giving your much more of the picture in focus.

For food, I like to use wider apertures (a lower "f" number). You can get these on a point a shoot using 'portrait' mode. These will give you tighter focus around the center of the pic, with a blurred effect the further forward or backward you look in the frame. (and the wider aperture lets in more light, allowing you to avoid the flash more often) If your point and shoot has a portrait or food mode, try it out on your food shots, and compare the results to the same shot in "auto". I think you'll be pleased. In fact, experiment a little. Line up the shot of your steak dinner and take the pic several times, each using a different setting. Make note of what you used and find your fave. Try that setting first next time.
 
Last edited:
interesting thread and thoughts - looking forward to adding some more tricks to my bag.
 
Jose,

The Milwaukee Journal-Sentinel had a bacon dessert contest several years ago. My wife entered a recipe for Chocolate Bacon Baklava, that she made up, but had never made.

Her recipe won.

The paper was going to send a photographer so she baked her recipe. The day before he showed up we arranged the baklava on a platter on our kitchen table. It was sitting in direct sunlight when I took the picture. The white thing is a candle that was on the table but outside the subject of the photo.

If you google Chocolate Bacon Baklava you will find her recipe (I don't know how to post a link from my smartphone).

Jim


Back
Top