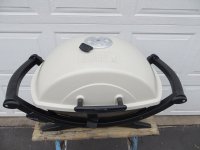
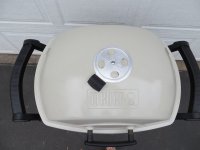
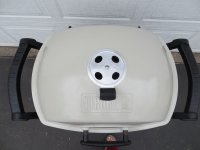
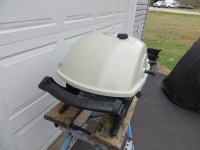
You can call me Josh Dekubber!


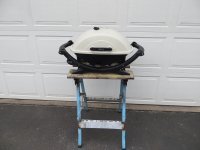
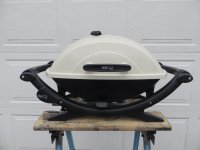
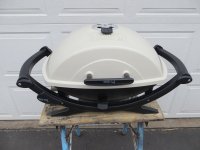
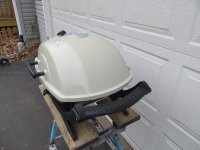
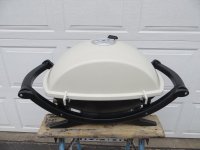
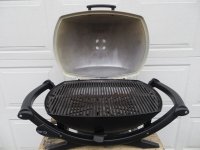
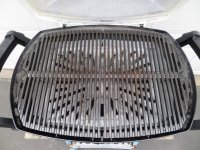
IS that new?! How on earth could it be gotten so clean?
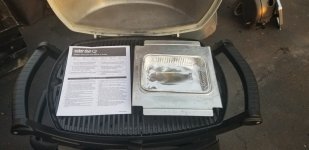
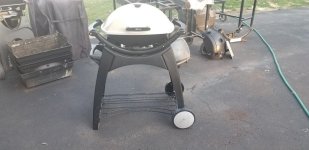
The grease was easy. The paint over spray from the factory in the cookbox I used paint stripper and then etched the aluminum with muriatic acid to give an even looking appearance. Definitely not necessary steps but I like to do it anyway.
 
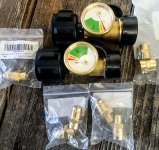
Still waiting on my temp gages but my fittings for regulator delete showed up and I thought I'd try some inline fuel gages with night glow needles.
20241015_161929~2.jpg20241015_162223~2.jpg
 
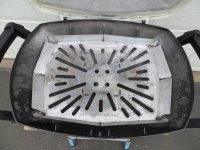
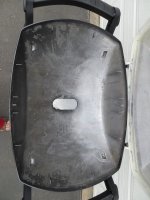
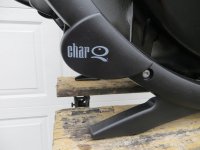
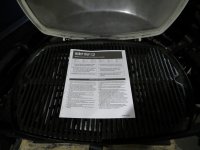
Josh, I think you need a new challenge. Keep your eyes open for a Char-Q.
Char-Q?
Definitely a fist gen performer at some point. Oh and also a smoker.
Maybe I'll make my own version of a Performer. I'm not a big fan of the carts.
 
Last edited:
Opinions about the CharQ vary, but I personally LOVE cooking on one! I think it failed in the marketplace due to the price. It only holds a single layer of charcoal briquettes, so you are talking basic burgers, chops, steaks, etc. However, I have seen some people do some mods and clever adaptations to get more out of it. I just use it to do the hot and fast grilling already mentioned and am totally happy with just that.

Unfortunately, my customized CharQ is laid up waiting on a special handle. Stay tuned!

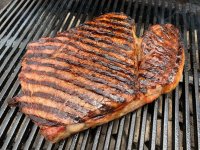
The first time I made a steak on the CharQ, I was transported back to my childhood by that familiar smell back from when my Dad would grill sirloin steaks on his Hibachi grill:

IMG_1072.jpg

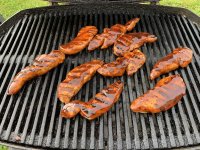
CharQ cooking chicken strips in bbq sauce.jpeg
 
It might not last 38 years like that Genesis 2 you picked up though 😉
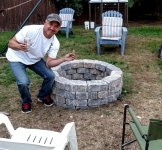
I put this together for my old friend Glen. Yeah that's him in the pic. They are easy to do and work well and last but obviously not very portable if that's needed. Just a dry stack that fit together nicely. No mortar or concrete to crack and break with expansion and contraction from heat. I like to bury about half of the first course. That kind of locks it in place.

Layout one course on the grass. Trace it out. Cut that grass out and dig down about a foot. Fill in a layer of gravel and then a layer of sand on top of that. Level out the sand a few inches below ground level. This will give you a good sturdy level base and good drainage. Then just stack it up half bond.
Screenshot_20241015_204349_Photos~3.jpg
 
I put this together for my old friend Glen. Yeah that's him in the pic. They are easy to do and work well and last but obviously not very portable if that's needed. Just a dry stack that fit together nicely. No mortar or concrete to crack and break with expansion and contraction from heat. I like to bury about half of the first course. That kind of locks it in place.

Layout one course on the grass. Trace it out. Cut that grass out and dig down about a foot. Fill in a layer of gravel and then a layer of sand on top of that. Level out the sand a few inches below ground level. This will give you a good sturdy level base and good drainage. Then just stack it up half bond.
View attachment 102021
Now you tell me. I probably had enough of those blocks to build one of those after ripping out the previous home owners nightmare landscaping. It never crossed my mind to use them to build a fire pit. I can't tell you how long it took me to throw them out in the trash one or two a week, 😂


Back
Top