Wetness


MartinB

TVWBB All-Star
Threw ribs on wsm yesterday, hot sunny day.
Came inside, was doing chores, putting dishes away.....heard what sounded like rain

Yep. Sudden shower. Raining hard. On my non- water-resistant-at-all heatermeter.
pretty much every afternoon this time of year is a good chance of that happening.

I quickly ran out and removed and dried it off.....should have opened it up and dried it but you know I was in the middle of a cook

I set up a tent canopy over the smoker and then put the heater meter back in service.

It was acting mighty strange. Display went blank. Buttons didn't work right. Connected to it wirelessly it kept turning itself to setpoint off.

so I opened it up and dried it out and got display working again but it still didn't work right.
When pushing the right button it would not display the next display. And it still kept turning the setpoint to off periodically

eventually I unplugged the thermocouple and plugged it back in and everything started working right immediately.


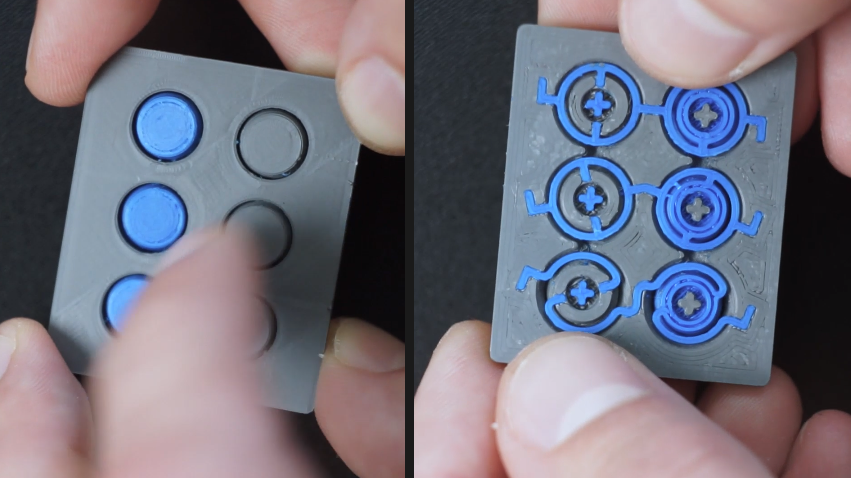
Now the only point of this is..... We really need a splash resistant case produced for these items. They are too expensive 2 be using the leaky printed cases.
 
I can't think of how this could be done with just 3D printing and still have the buttons accessible and the LCD visible. I'm open to ideas though.

One option is to just wrap a piece of cling film wrap around the HeaterMeter, or a piece of Gladware disposable tupperware turned upside down on top. You can also make a case in the NOLCD variant and toss out the LCD/Button board for a solid top. I know HeaterMeters can spend their whole active life in 100% humidity here in Florida so really you just need to keep water out of it somehow. The ports can be extended out with the expansion headers as well and installed into a waterproof case with wet-rated panel-mount ports or cable glands. I guess there are a bunch of options but nothing that can be done with a 3D printer so you can still see the LCD and use the buttons. Holes are a problem!
 
Why couldnt you have a clear plastic window that you glue to the case in front of the LCD display with sealant
and then also have a rubber covering over the buttons that's fastened to the case as well that the buttons go up into.... Or have flat contact switches under rubber buttons instead of raised buttons. Leds might seal with o-rings, or they could be detached from hm and plug in and be attached to the case with a little sealant.

putting a groove in the perimeter of the case for an o-ring which should be no problem at all

Then all you really have less to deal with is a jacks if you wanted to.

but all it really need is some measure of light splash resistance for a few minutes, doesn't have to be immersion proof

This type silicone button with carbon contacts can either be sealed to the case with sealant or simply sandwiched in.

might take actually screwing the board in place to support it rigidly if ssndwiched.


EeTnANXa_o.png
 
Last edited:
I've actually been thinking about this for a while, and thought of maybe designing a membrane for the buttons, and printed from flexible filament. It could be mounted and sealed through the back of the case.
 
It is possible for sure that the design could be improved, and all the HeaterMeter designs are freely distributed so anyone can design whatever they want. I mean you could just take a piece of acetate (overhead transparency film) and glue it on the existing LCD hole to greatly improve its weather resistance. The LED holes could be shrunk down so the LEDs fill the holes completely, or just add some silicone caulk around them. Both of these are easily done by anyone who wants to without having to change the model.

The buttons are a bit of a problem because they have a lot of clearance from the PCB itself to outside the case. The 3D print surface isn't exactly smooth either on the inside so you're going to get leakage I think around the edges, assuming you can find conductive rubber buttons tall enough to meet the requirements. I do like the flexible filament button cover idea, I mean that's certainly doable, although the button holes might need to be enlarged to accommodate the thickness of the print.

All of this goes out the window when the Pi has 4x USB ports and an ethernet port just open to the world, although I've got a small silicone plug in my ethernet jack, so I am sure you can get silicone USB plugs as well.

I encourage you to experiment, I mean this project is all about that! If it is something that can be incorporated back into the original design then everyone can benefit. I can't see myself gluing little windows and silicone buttons into the 3D printed cases though for sale, but maybe they could be included for the user to do if the procedure is easy enough. I'm sort of limited in my manufacturing capabilities of a spare bedroom, and the assembly time required for each case vs my "Is this worth it?" labor investment.
 
I actually like the wrap it in Saran Wrap idea! Cheap and simple two passes would still be clear, buttons would still work, read out would still be legible. I like it.
 
I steal a Tupperware bowl to put over had hope somebody here doesn't see it. Like the saran idea. This is a do it yourself project, and i always am on alert with water and anything electrical. With 30 years working outside for the phone company i know about clouds and rain. When in doubt an ounce of prevention is worth a pound of cure. Wow starting to sound like my Dad.
 
I actually just use the water bowl from wsm, normally
Just turn it upside down and put it over it. Heavy enough a breeze won't blow it either.

Even under a tent canopy you still get some splashes

But just the same I look at it and think....if I pick this up in the store there's no way I'd buy it I'd say what a POS.. ..
The heater meter is great. The printed case.......marginal.

now it's certainly beyond my abilities to modify or even print it so don't get me wrong, very much appreciative and glad to have what I do. It just lacks a commercial quality feel to it.... And it's quite succeptible to rain.
 
I put a quart clear plastic bag over the HM when it's out in the pocket. I can still read the display, and run the buttons.
 
another idea is once the project has been tested and your happy with how it working, then disassemble the Heatermeter and spray the boards with conformal coating spray. You will have to mask connectors and pin header and pushbuttons, but this stuff prevents corrosion when moisture gets on boards when power is one. This works great. You probably could spray the Pi too. Masking is critical here so taking your time will result in a pretty moisture resistant project. I use this stuff for anything that is exposed to moisture and or is used outside. This product works great, but they are proud of the price.

https://www.amazon.com/dp/B001E8BBX2/?tag=tvwb-20
 
I've changed the LED holes to only expose the last 0.5mm of the tip of the LED and shaped them to stop up the against the inside of the case a little better to make them more water-tight, although I don't think the LED holes were ever really a source of problems since the fit was pretty tight. I guess really the reason I did it was to make the jig I have for inserting and soldering the LEDs a little more consistent in depth. Note that if LEDs are already soldered then this case will not fit because your LEDs probably extended more than 0.5mm through the hole.
1597329838221.png
 
I think one of the things we are forgetting is that for the most part this is a diy product. It's not flashy but it does work great. Plus i believe its all open source so you can print a case and modify it, and make it truly diy, and offer it to us. I'm not being critical of anyone i just haven't had my 3rd cup of coffee yet
 
I think one of the things we are forgetting is that for the most part this is a diy product. It's not flashy but it does work great. Plus i believe its all open source so you can print a case and modify it, and make it truly diy, and offer it to us. I'm not being critical of anyone i just haven't had my 3rd cup of coffee yet

Im not critical of anyone. I certainly don't want to come across that way.
For building trail cameras, left in the woods for a month or so at a time, I used to modify waterproof Pelican cases.
Gluing in glass windows for lens and flash, and the plastic fresnel lens for the infrared detector . GOOP is the ticket for gluing parts . Camo texture was hardest part. Started with making a silicone mold of a trees bark.

It would not be hard to just start with a small pelican case.... A clear one.
before 3D printers, we used electronic project cases and mounted PC boards using standoffs.
Still possible to do so.


IMG_20200813_115141696.jpgIMG_20200813_115159129.jpg
 
Last edited:


Back
Top