I also realize this is an old thread, but here it is coming back to life again!
Bruce: Thank you for this information.
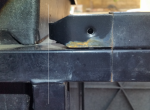
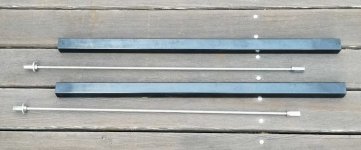
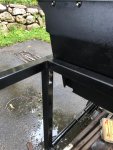
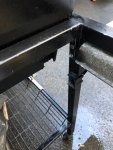
I have a 1000 I'm rehabbing for family friends, and I need to reinstall the lower 1" bar (the one that holds the bottom durawood shelf in the front) and also the cross member is shot. It's almost funny, it is almost completely rusted through in the middle, hanging on by a metal thread. In any event, I went and got a piece of 1 1/4" square stock and McMaster inserts for 1" and 1 1/4" square stock. The 1" inserts fit right in to the lower frame piece that goes from the uprights supporting the big wheel to the little wheel, just have to cut off the old bolts and zip that up. The 1 1/4" inserts I'm using for the cross member by the fire box.
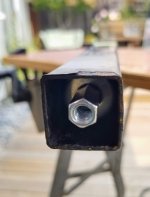
The inserts I have are square on the outside, and like a circular gripping washer type thing that goes inside the tube. Bruce, I noticed in your excellent video that you had some kind of slide in type inserts, is there any consensus on which is better? My thinking is I can tighten them all the way down, and the worst thing that could happen is that the square stock could come off the circle gripper, but otherwise these inserts seem like a pretty good solution.
Anybody used the circle gripper style before? Anything I'm missing before I finally start rehabbing this 1000?
EDIT: The circle style ones are recommended. I should read first. I guess I got all star struck watching that video, and that is not a joke! Anybody who edits those awesome speed-ups is a videographer in my book.
.jpg")
.jpg")