Bryan Mayland
TVWBB Hall of Fame
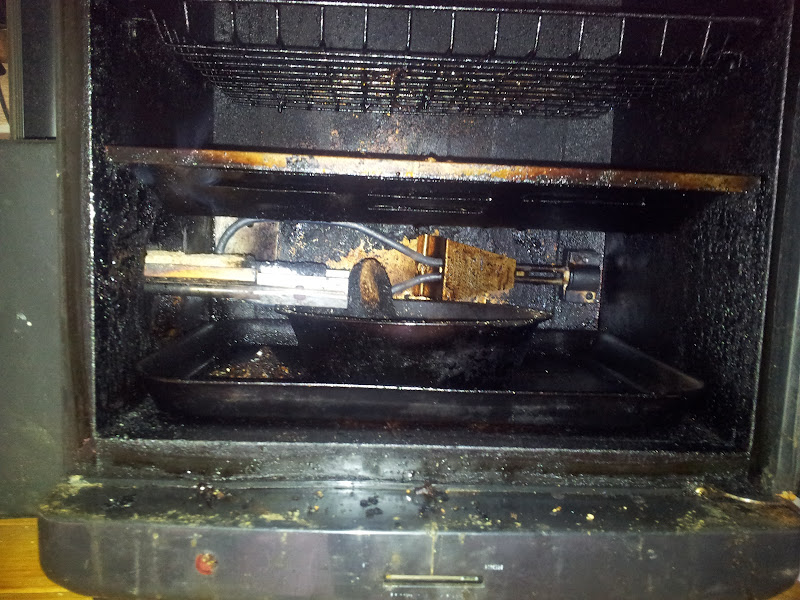
haha wow! Actually, that's the image from the first post in this thread. It was all I had available at the time! Yeah, a nice graph of a running smoke would be a better representation than just my testing graphs. Still pretty cool.
Also, good news everyone! I just was talking with Laen from OSH Park fame and HeaterMeter PCBs are now going to be carried on the OSH Park Store. This means shorter delivery times AND you only have to buy one board if that is all you want. Great news all around. I'll be making a separate post to pimp their store.
John, it is funny that you say that I taught you something. In the programming world, I've always told new hires "If you want to learn something, do a project you enjoy" and that's just what that has been for me. I wanted to learn embedded programming. I wanted to learn "circuits" (my dad was an electronics officer on a P-3C in the Navy and it always fascinated me). Nothing teaches like getting involved in something you really want to do. I'm glad all of you have been here to keep me motivated to keep coming up with new ideas!
") .
.