HeaterMeter Hardware v4.3.3, v4.3.4, v4.3.5, v4.3.6


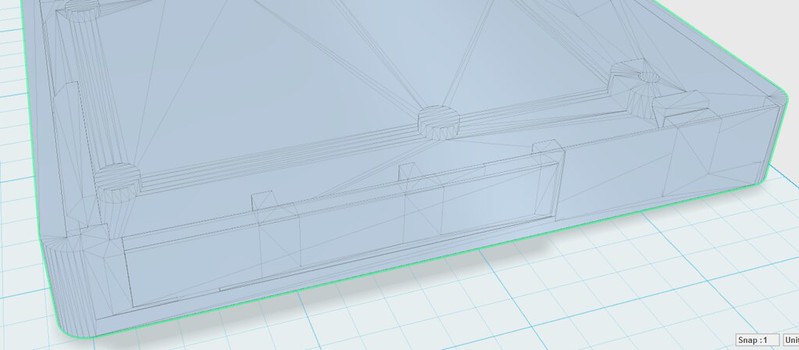
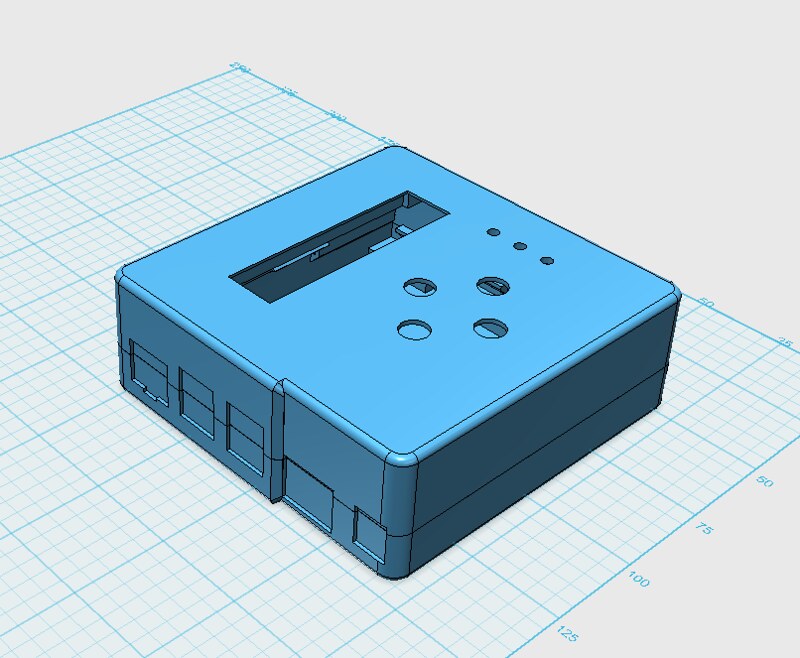
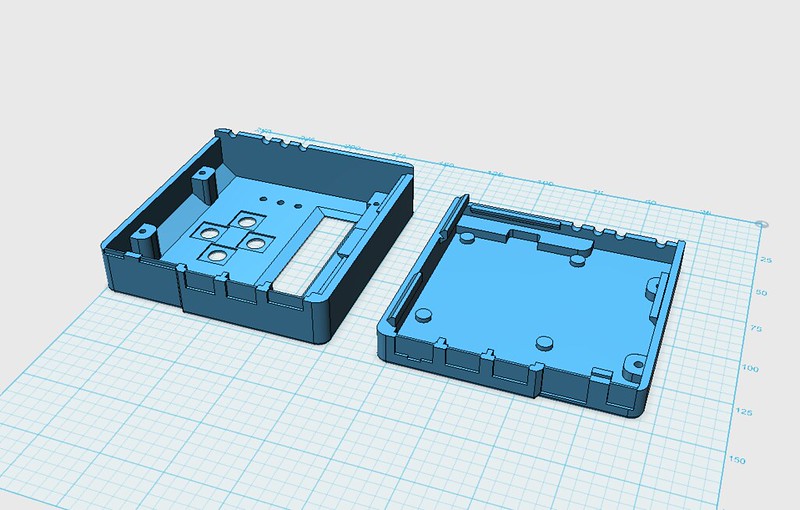
I printed a 4.2 case prior to this case without issue and then printed the 4.3 case. I have yet to get good results. Going to have to use ABS juice on this I think, as hairspray not working. whats making this case hard to print in ABS is the thickness of the walls. If you look at where its flat it corresponds to where its mostly flat and thin.

mmx1c1.jpg
 
Whats making this case hard to print in ABS is the thickness of the walls.
Are you saying they should be thicker? Because the 4.2 case has 3.0mm/4.2mm walls and the 4.3 case has 2.82mm walls all around, so the previous version was thicker than current.

I think what is causing it to be more problematic is the height. Because the top is twice the height of either 4.2 half, the walls create more force when cooling across twice as many layers. I can't think of any way to design a case with these dimensions that doesn't generate these forces, but I am open to suggestions. If you want thicker or thinner walls you can edit the scad file and change the "wall" variable at the top. Let me know if you find a value that works better.
 
I was able to print a case with ABS juice, but the surface is not great(still some small warping in the corners), but it will let me, once I get my boards from OSH put one together and see what can be change, if any thing.

Atm, im printing one upside down, lol.
 
At the moment, im printing a case with a my build platform set at 110c(kapton and hairspray), extruder at 240c and I have a heat gun set at 250f and my enclosure is holding steady at 118f. So far so good. I can up the temp if needed, as I had it up over 130f earlier, but I want to have the heat gun at its lowest setting, just to be safe until i get a heater and build a better enclosure with a heater and a heatermeter controlling the heat.
 
Did you try UHU stick? Works for ABS every time. Just don't buy the sticks with minions on them, those didn't work for me for some reason...
prod_6253_1314781182_UHU-stic.jpg
 
Never heard of UHU, is it the same as Elmers?

Edit: Ah I guess Walmart sales it, hmm Ill have to give it a try
 
Last edited:
It's also a gluestick, but UHU is the only one I've found to work. Tried Pritt and al different kinds (not Elmers as I don't live in the US)...
 
Ahh darn it, its already pulling away from the build plate. I am going to have to print the 4.3 in either PLA or PETg

Ok, just something you could try...
It seems (in the last picture) that you first layer (the skirt) isn't squashed enough. I see a bump, at least I think so because the picture isn't that sharp...
What you can try is the following. Start your print and after the the skirt has finished stop your print. Then try and remove the skirt with your fingernail. If this comes off with to much ease your first layer isn't properly laid down and you need to readjust the printbed screws.
The first layer should look like the right image in the picture below
first-layer.png


And here is a link to a visual troubleshooter which has helped me a lot ;)
 
I will continue to post in the 3d printing thread as I think I have already posted to much on this thread, but the last print looked much better even though it did pull away a bit in the corners, mostly on the top part where the lcd goes, as that part of the case has caused the most issues with all my attempts at printing a 4.3 case.

Since, my postman thought I had moved, for some odd reason, my 4.3 main board were sent back to OSH, last week, so I haven't been able to get a board in the case yet.

Byran, I wonder about the area above the lcd couldn't we cut down the plastic if we make that block of plastic smaller. I think thats what is causing the most major problem with printing in ABS.
 
Byran, I wonder about the area above the lcd couldn't we cut down the plastic if we make that block of plastic smaller. I think thats what is causing the most major problem with printing in ABS.
If that were the case, then it would deform a lot more on that side than the other side without the block I would think. On all my test prints I would get equal pulling on all corners. Also, looking at the model with the pieces separated, it doesn't matter if it goes fully to the edge or not, it would still produce a force when cooling.


As you've noted yourself, the curling really starts happening after the LCD block though. I've noticed the same thing, it is the walls above that area that are the larger problems. If you try just printing an empty cube with those dimensions I think you'd see the same problems.
 
Bryan, I posted a question asking for some help with printing the case on the Makergear forums and they believe the chamfering along the edge is the main reason why the corners are pull up, while printing. Since the walls are above the chamfer and only half of the wall is attached, they will pull the corners up. Removing the 45° chamfer makes sense.
 
I would think the same thing but the bevel is the same height, width, and radius of the 4.2 case. Not sure why it would warp on one and not the other apart from the height.
only half of the wall is attached
What does this mean? Because the external perimeters are outside of the bed contact area?

I just pushed a new version to Thingiverse and Github that adds configuration options for corner radius and chamfer height. Height can be 0 but corner radius needs to be > 0 (even if it is 0.01). The default is still to have them because it prints fine for me. I've also exposed the wall and face thickness properties as configuration items and increased the wall thickness from 2.82mm to 3.0mm.
 
Just got finished soldering up the v4.3.3 board. Holy ground plane, batman!

I had the iron up at 380C and still had some trouble getting solder to flow to a few of the pins that are connected to the large ground areas.

A quick check and I see that using the same probe (TX-1001X), I get 74F on Food Jack 1, but 68F on Food Jack 2 and 3.

I see 3.299v on Food Jack 1, and 3.304v on Food Jacks 2 and 3.

At the ATMEGA pins I get Food 1 = 3.218v, Food 2 and Food 3 = 3.273v

With no probes connected, Food 1 is reporting 4.8F

i think the 0.1u filter cap on Food1 might be pooched.
 
Last edited:
Bryan, I posted a question asking for some help with printing the case on the Makergear forums and they believe the chamfering along the edge is the main reason why the corners are pull up, while printing. Since the walls are above the chamfer and only half of the wall is attached, they will pull the corners up. Removing the 45° chamfer makes sense.

I also have problems printing the case. Especially the little piece between the power jack and the Ethernet connector. It keeps failing on that part. all other fine pieces between connectors are very fragile..
I'm looking into re-designing some push through plates where the connectors are so the printer can continue it's run laying down plastic and doesn't need to stop after every pillar it prints, but as it is it looks that I'm going to have to redesign it from scratch in stead of putting the plates in the stl file...
30032648832_939dc130cc_c.jpg
 
Build order suggestion

Just finished my Heatermeter 4.3 build this past weekend. Everything tested fine, but I have a suggestion for build order. I went step by step with the instructions on the wiki, but I found that installing the two 1x5 female sockets was a pain after the main board was complete. I melted a bit of the MCP1700-33 during the process. I would suggest soldering the sockets fairly early, or even first. They are small enough that they don't block access to any other joints on the board. Just a suggestion. I tried using the blue-tak stuff to keep everything in place while I soldered and it worked really well.
 
I also have problems printing the case. Especially the little piece between the power jack and the Ethernet connector. It keeps failing on that part. all other fine pieces between connectors are very fragile..
I'm looking into re-designing some push through plates where the connectors are so the printer can continue it's run laying down plastic and doesn't need to stop after every pillar it prints, but as it is it looks that I'm going to have to redesign it from scratch in stead of putting the plates in the stl file...
If your printer isn't up to it, and you're building for a Pi 3 with the integrated wifi, you can also just print the "Connectorless" variant. It has the recesses but closes off the end so it would print just as any other wall. I don't know what you mean by "plates", but it might be exactly what you are going to "redesign from scratch" for. Why would anyone redesign something from scratch when they have the source!

@GarretSmit: I completely agree. Someone else has also brought this up but I haven't had time to rebuild and rephoto a new set of instructions.
 
If your printer isn't up to it, and you're building for a Pi 3 with the integrated wifi, you can also just print the "Connectorless" variant. It has the recesses but closes off the end so it would print just as any other wall. I don't know what you mean by "plates", but it might be exactly what you are going to "redesign from scratch" for. Why would anyone redesign something from scratch when they have the source!

Brian,

First let me start by apologizing if I offended you.

I don't think my printer is faulty. Rather the fact that I'm using ABS to print it creates stresses in the material and the weakest points are those little pilars
Have tried your approach with the connector less variant, but I liked the fact that I have access to the USB ports before.
Also I've checked out the source file, but as I'm not a programmer (at least I don't think so ;) ) I wouldn't know where to start to alter the file as to get to the result (see below) I would like.
The program I use to create 3D models is 123D design and this suits me perfectly as this program allows me to create things with primitive objects. And this is what I've done so far...
29541252324_485313f0fd_c.jpg


30135370196_25c432548b_c.jpg

I won't take any credit away from you and offer the 123d/stl files to anyone who want's to use them --> https://www.dropbox.com/sh/l2dgszeukjdonll/AAAEaHj1WpFmOLfxxACuP8aJa?dl=0

I wish you the best things in life and can only hope that you keep up the good work in perfecting the HM.

With kind regards,

Tom


Back
Top