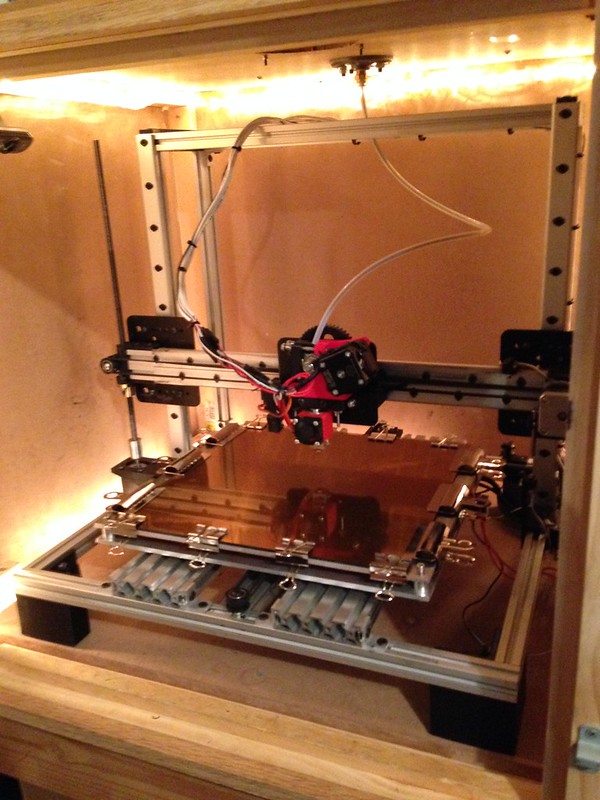
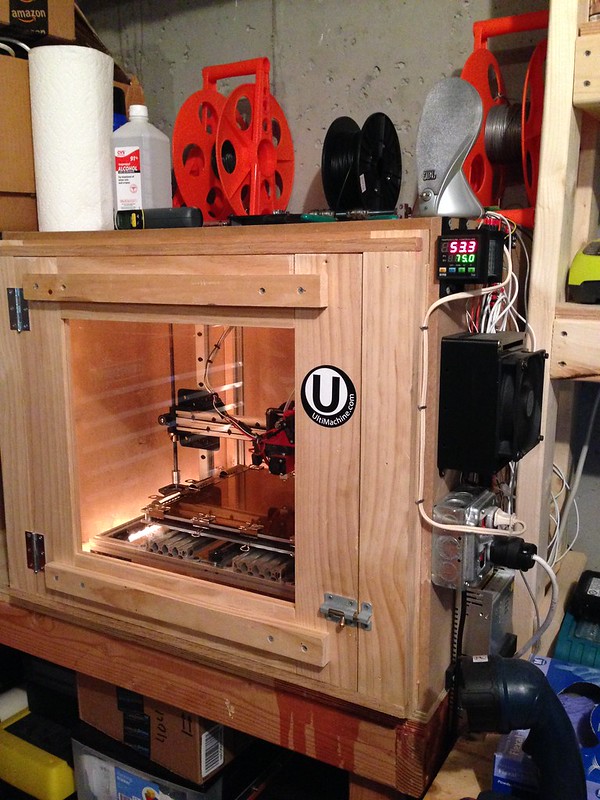
Well, first I added a base and secured the frame to it to stiffen up the structure a bit, cause I noticed the Z-towers wiggle pretty easily and when they do the print head moves up and down pretty dramatically. (home the head on the bed and then touch one of your z-towers while watching the gap) Next I ditched the wooden bed, mine always wanted to hit the y-idler from the get go, and the wooden bed just flexed too much for my liking. I purchased a raw aluminum plate and made my bed from it, using custom linear bearing mounts I designed and printed, I also added spring loaded build platform leveling. I moved to a Hall sensor Z- endstop because the switch wasn't accurate enough, and it was a PITA to adjust the way it was setup. The hall sensor is awesome, super accurate, and I put the adjuster screw right out front (on the left tower) so it is really easy for me to adjust now. I added a fan (used CPU fan) to blow on the RAMPS board and keep my Pololu drivers cool. I designed my own T shaped Y motor mount to replace the wooden sandwich design cause it flexed WAY too much. I ditched the hospital tubing as the Z motor to rod coupler after they wore out and started to slip. It was a late night emergency situation, I dug up some plastic water tubing (refrigerator water line tube) which fit tight as hell and worked great. I was skeptical about this and was going to design and print some couplers (I printed the nopehead coupler but it didn't fit my motor and rod, and it was too big, it would have hit my smooth rod as it turned), but after using the plastic refrigerator line a while on one side it worked great so I switched over to it on the other z tower as well. So far so good, I've done a lot of printing and my z axis movement is rock solid. I added an articulating arm with a 40mm blower and funnel that can direct air flow directly on the extrusion as it comes out of the J-head, I use this to rapid cool filament when printing bridges so I can bridge longer gaps. The articulating arm design is available on Thingiverse, although I ditched the fan funnel part and designed my own cause my fan couldn't push air through the funnel as designed. I purchased a .35mm J-head to do finer work, at that time I designed and printed a quick release mount for my hotend so I could swap J-heads easily without dismantling the extruder. I also added a molex connector on my hotend(s) so they are quick release. I am using a ceramic heater cartridge on one of the J-heads now instead of the resistor. (six of one, half a dozen of the other here, they both get hot fast and that's all they need to do). Most recently I added a sheet of Ultem as the build surface which is freakin' awesome....
I think that's all the mods for now. I had thought of going for the auto leveling, but when I got to thinking about how it worked I decided to pass on that mod. I just don't like the idea of my Z axis going up and down during the print of a layer, to me that seems to be asking for trouble as the z-axis is the least accurate of all, and the the z threaded rods are the first to wear and get slop so I would prefer not to over use them. I know Bryan has done this mod, I'm pretty sure he was having some issues, getting skips when the hotend would hit high spots on the print as it moved around on some objects with the auto leveling enabled. I like the idea of having the switch there to measure bed height all over to aid you in manually leveling the bed, I don't much care for the idea of printing on an un-leveled bed and having the z-axis move up and down to compensate. Your call on that one though.....