Hello Everyone,
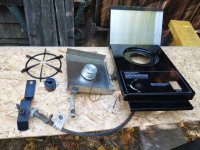
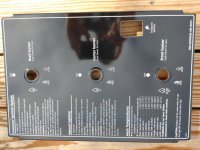
Sorry been busy with stuff and have not posted recently. Here are a few more photos of the progress on the Cranberry Silver C. I cleaned up the side burner parts and got the burner back on the grill.
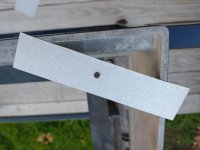
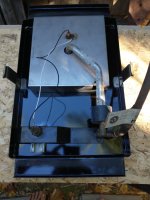
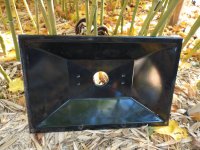
I managed to clean up the threads on the gas valve and still have enough there for the nut to grab (they had basically dissolved into white dust). I greased the remaining threads up when I reassembled the burner. To remove the two little Philips screws which secure the stainless burner tray to the porcelain panel I used an impact driver. They were rusted and I thought would snap if forced with a screwdriver. But the impact driver rattled them right out. These screws, which I greased during reassembly, have tiny little nylon washers under them. I oiled the steel "blast tube" which feeds the burner, as well as the igniter "spark plug" mount.
This side burner has the "snap-in" stainless mounting clips attached with screws. I'm pretty sure the other Silver C I stripped had them mounted with rivets. This is a very early Silver (test date on the gas hose tag is 01-27-00).

")
 .
.
