WB Zipf
TVWBB Pro
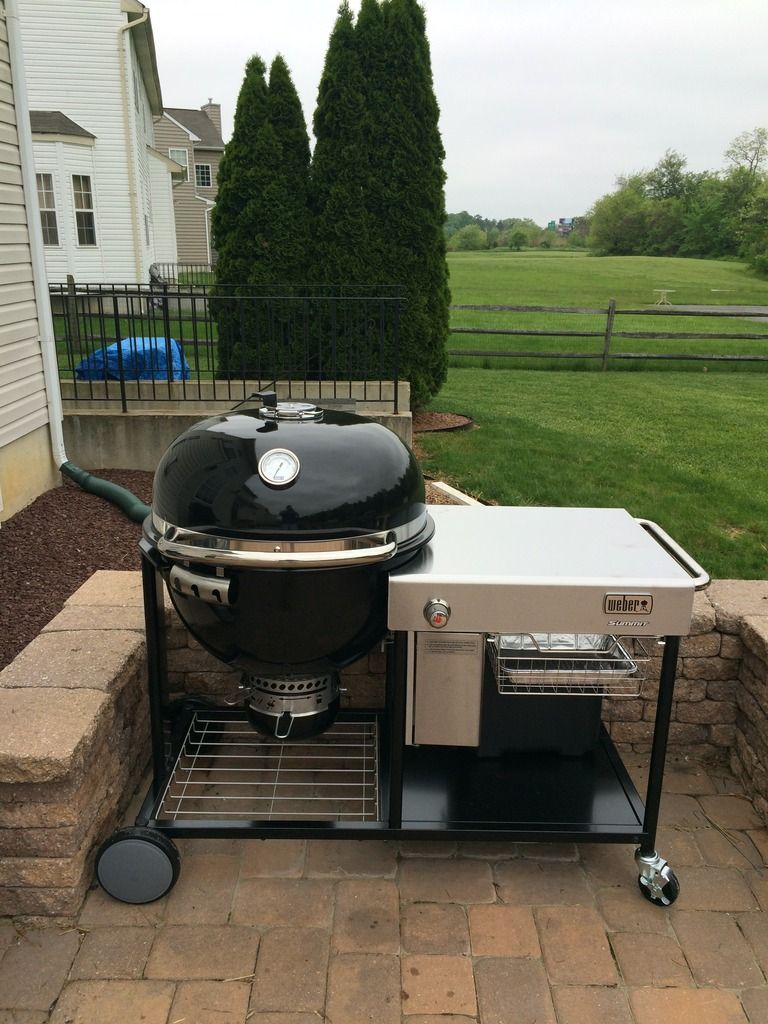
so I just finished getting mine all set up. I was cruising along pretty quick and on pace to finish assembling in about an hour and 1/2, but then I ran into a problem. It took me a while to figure out how the ash catcher ring was supposed to attach to the bowl. In the process one of the rivet fasteners came apart (see picture).

I thought I was dead in the water, so I made a call to Weber and they were eager to make amends for my dilemma, Weber offered to overnight a replacement part to me for free, so I should get it tomorrow.
I then took a break, but got to thinking that this wasn't a "mission critical" part. I tried to see if I could get it serviceable until my replacement arrived. Well, I was able to both get it service able, but proved to myself I could easily replace the broken one when the new one arrived. I then proceeded to put together the remainder of the grill. Again, total assembly time, minus the break for the mishap.
Now, as I was assembling the remainder of the grill I noticed the following items that I would correct (warning I am being a bit nit picky here).
1) Frist, I obviously found issue with the construction of the ash catcher ring. I know its not a mission critical piece, and it doesn't really have a structural requirement, but they shouldn't make it so easy to break. Maybe two more rivets will do the trick
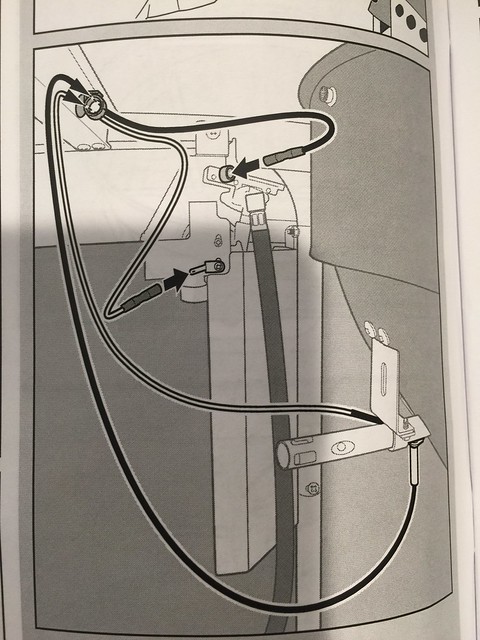
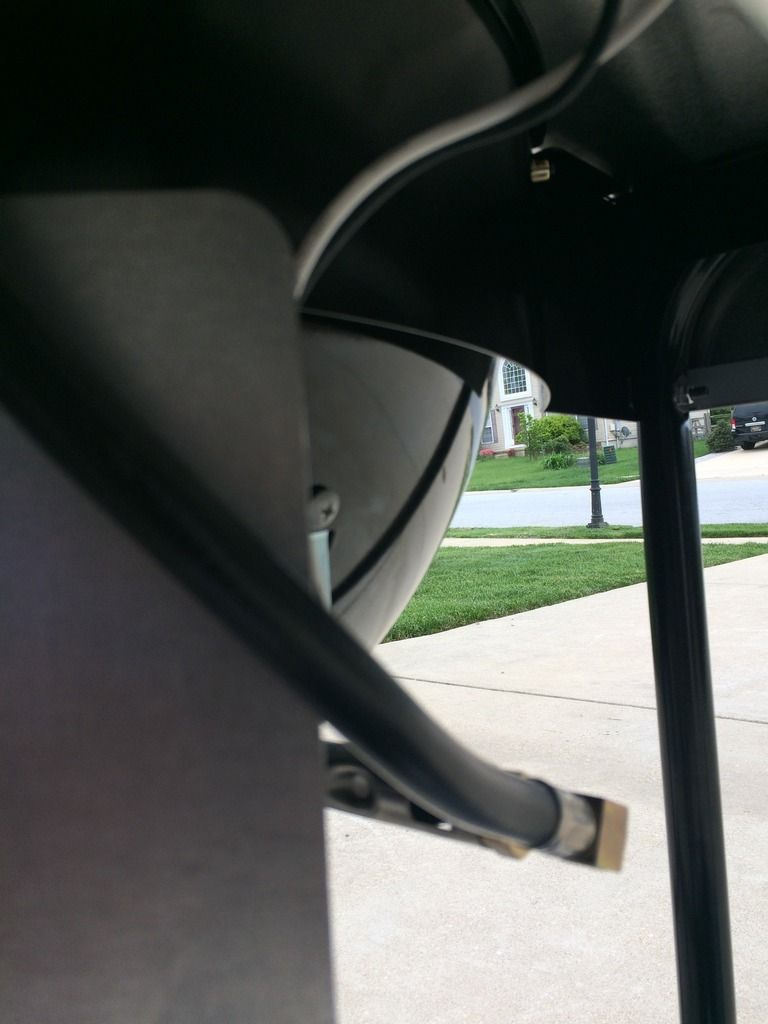
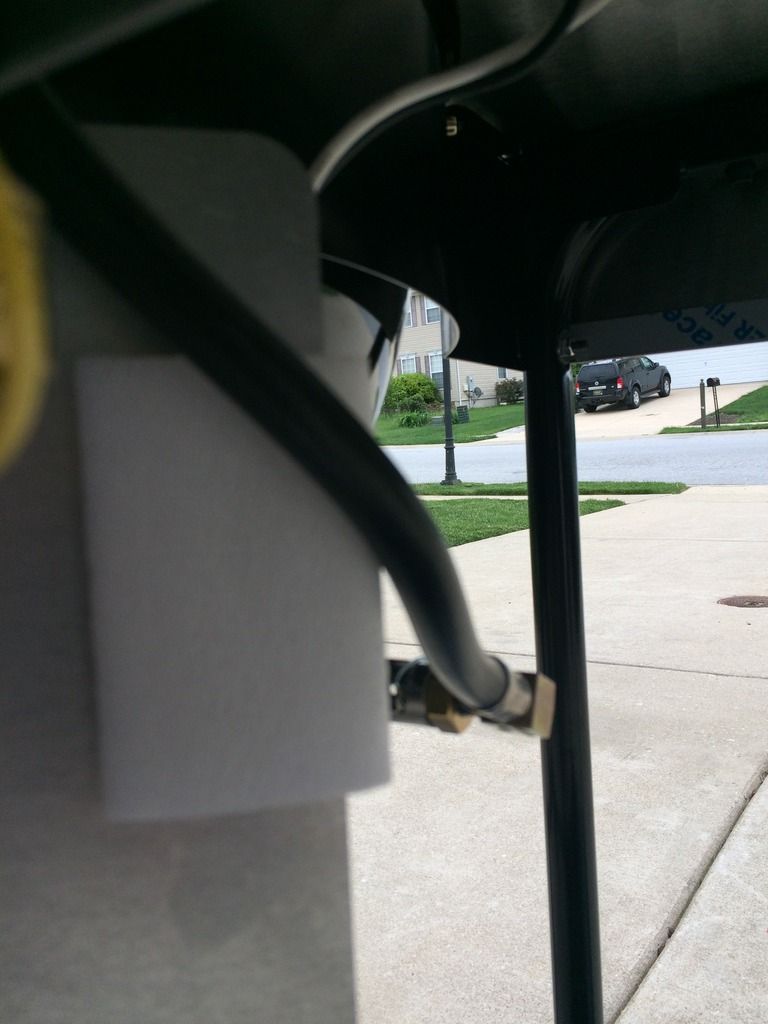
2) Second, as I read somewhere else, the gas line that connects the propane tank to the gas burner has to wrap around a sharp steal edge. Now it shouldn't move so there should be little issue, but to be on the safe side I used some foam that I found in the packing material to separate the line from the sharp edge (see pictures). I suggest that Weber cut out a round notch in the steal so the line can pass through without being in contact with the edge.
3) When the lid opens an closes, the support ring that the bowl rests in deforms very slightly. Now this doesn't provide an issue with functionality, but it does appear a bit less than sturdy. I am wondering if Weber could make the ring more rigid.
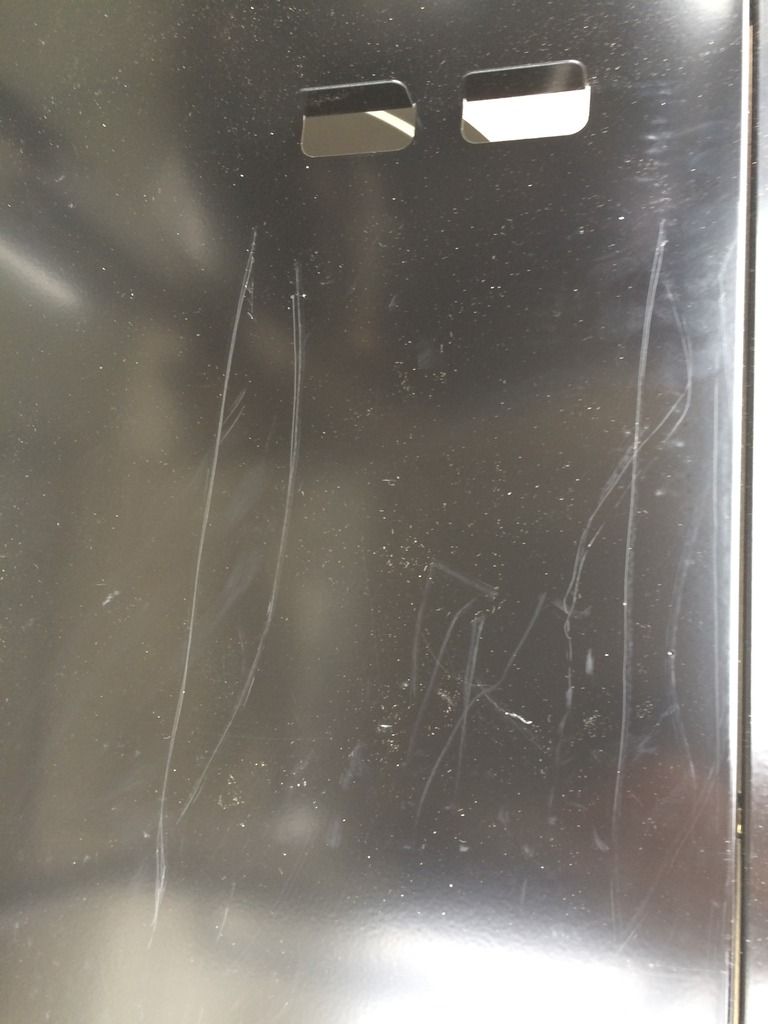
4) The charcoal bin, I have a couple issues with this. First, I was hoping it would be a tight seal. When I saw the videos and pictures it looked like it had metal clasps that would seal the container shut. What I found is that what I saw wasn't clasps, but handles (or at least that is what I figure them to be). It would be nice to have this close more securely. Second, and this is the big issue I have with the charcoal bin, is that it scratches the bottom shelf that it rest on. I literally slid the bin in an out twice, and you can see how many scratches in the finish it produced (see picture). I will say that this is the most annoying issue that I came across. Not sure why Weber didn't discover this, because I have read others having the same complaints. I would ask Weber for a replacement part, but I just don't see how this won't happen again. This was disappointing.
5) The basket doesn't slide in and out smoothly, could be better.
Now for what I appreciate about this grill.
1) Directions were straight forward and easy to follow (except the attachment of the ash catcher ring, but that may just be me).
2) All tools necessary to assemble were included, although I did use my own 7/16 socket wrench, which made it go quicker.
3) I like the charcoal bowl, and how Weber included approximate amount of charcoal needed for different cooks in both number of briquette and number of charcoal bowls.
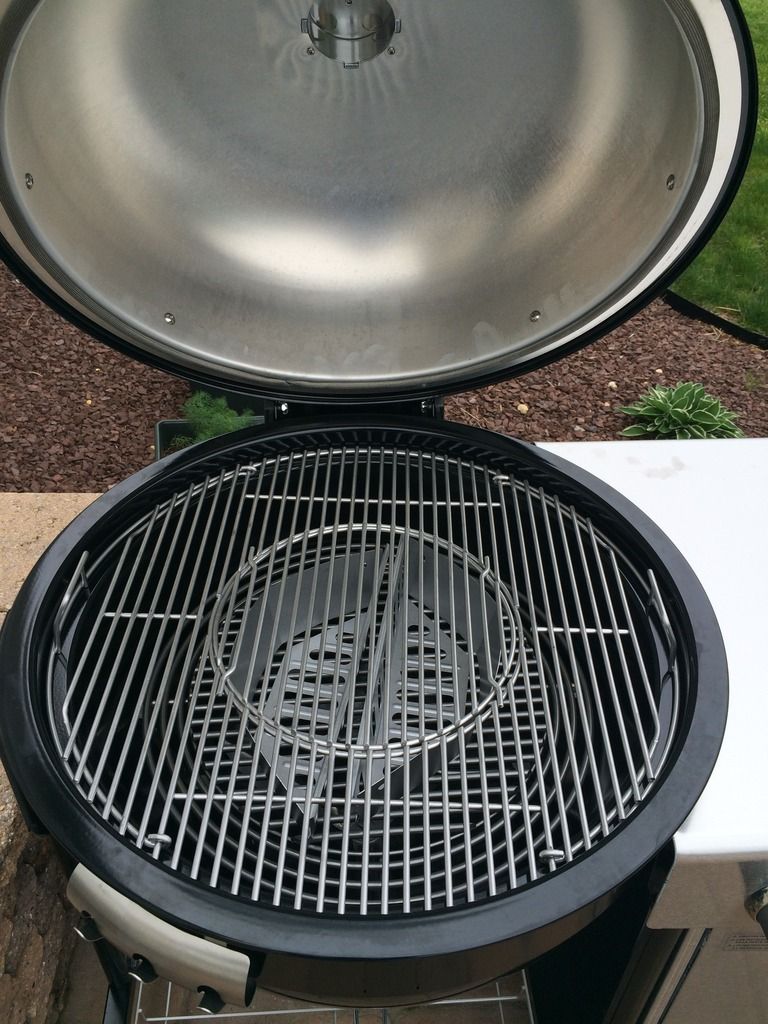
4) I love, love, love, that the internal grates are all thick stainless steal!!! I never liked the need to replace the chrome plated stuff every so often when the chrome wore off and the steal began to corrode.
5) The two tiered charcoal grate placement options is awesome! I can't wait to cook on the different levels
6) I love the markings on the ash catcher ring that indicate closed, smoking, and fully open positions of the vents. That saves me from having to mark the ring with permanent marker, like I did on my performer.
7) I love the port for the ATC. I will be hooking my BBQ Guru DidgiQ Dx 2 and smoke a pork butt later this weekend!
8) The braided SS gasket is a great addition
9) I love the ignition system. I never did like the battery required system on the performer, seams less than elegant. This ignition system is elegant as it doesn't require a battery to start.
10) Last, but certainly not least, I love the Rapid-fire Lid Damper. They really took this to the next level. In my opinion it is a significant evaluation from the age old wheels Weber has used in the past, this offers a greater level of precision and the ability to open wide should prove very valuable.
Well. that is it for my review of the assembly of the WSCG center. I do have a few more pictures for you and I will be sure to post my experiences with my cooks.

I thought I was dead in the water, so I made a call to Weber and they were eager to make amends for my dilemma, Weber offered to overnight a replacement part to me for free, so I should get it tomorrow.
I then took a break, but got to thinking that this wasn't a "mission critical" part. I tried to see if I could get it serviceable until my replacement arrived. Well, I was able to both get it service able, but proved to myself I could easily replace the broken one when the new one arrived. I then proceeded to put together the remainder of the grill. Again, total assembly time, minus the break for the mishap.
Now, as I was assembling the remainder of the grill I noticed the following items that I would correct (warning I am being a bit nit picky here).
1) Frist, I obviously found issue with the construction of the ash catcher ring. I know its not a mission critical piece, and it doesn't really have a structural requirement, but they shouldn't make it so easy to break. Maybe two more rivets will do the trick
2) Second, as I read somewhere else, the gas line that connects the propane tank to the gas burner has to wrap around a sharp steal edge. Now it shouldn't move so there should be little issue, but to be on the safe side I used some foam that I found in the packing material to separate the line from the sharp edge (see pictures). I suggest that Weber cut out a round notch in the steal so the line can pass through without being in contact with the edge.
3) When the lid opens an closes, the support ring that the bowl rests in deforms very slightly. Now this doesn't provide an issue with functionality, but it does appear a bit less than sturdy. I am wondering if Weber could make the ring more rigid.
4) The charcoal bin, I have a couple issues with this. First, I was hoping it would be a tight seal. When I saw the videos and pictures it looked like it had metal clasps that would seal the container shut. What I found is that what I saw wasn't clasps, but handles (or at least that is what I figure them to be). It would be nice to have this close more securely. Second, and this is the big issue I have with the charcoal bin, is that it scratches the bottom shelf that it rest on. I literally slid the bin in an out twice, and you can see how many scratches in the finish it produced (see picture). I will say that this is the most annoying issue that I came across. Not sure why Weber didn't discover this, because I have read others having the same complaints. I would ask Weber for a replacement part, but I just don't see how this won't happen again. This was disappointing.
5) The basket doesn't slide in and out smoothly, could be better.
Now for what I appreciate about this grill.
1) Directions were straight forward and easy to follow (except the attachment of the ash catcher ring, but that may just be me).
2) All tools necessary to assemble were included, although I did use my own 7/16 socket wrench, which made it go quicker.
3) I like the charcoal bowl, and how Weber included approximate amount of charcoal needed for different cooks in both number of briquette and number of charcoal bowls.
4) I love, love, love, that the internal grates are all thick stainless steal!!! I never liked the need to replace the chrome plated stuff every so often when the chrome wore off and the steal began to corrode.
5) The two tiered charcoal grate placement options is awesome! I can't wait to cook on the different levels
6) I love the markings on the ash catcher ring that indicate closed, smoking, and fully open positions of the vents. That saves me from having to mark the ring with permanent marker, like I did on my performer.
7) I love the port for the ATC. I will be hooking my BBQ Guru DidgiQ Dx 2 and smoke a pork butt later this weekend!
8) The braided SS gasket is a great addition
9) I love the ignition system. I never did like the battery required system on the performer, seams less than elegant. This ignition system is elegant as it doesn't require a battery to start.
10) Last, but certainly not least, I love the Rapid-fire Lid Damper. They really took this to the next level. In my opinion it is a significant evaluation from the age old wheels Weber has used in the past, this offers a greater level of precision and the ability to open wide should prove very valuable.
Well. that is it for my review of the assembly of the WSCG center. I do have a few more pictures for you and I will be sure to post my experiences with my cooks.