A few photos from first dance with the KettlePizza


Chris Conro

TVWBB Fan
So many people have been posting their DIY pizza ovens lately, I'm actually feeling a bit sheepish about posting the one I simply paid for. Major kudos to the DIYers, but I thought this kit offered a lot of versatility, and bought it as a bit of a present to myself around Tax Day.

I assembled it to my older 22" OTS, which is still is fine shape after 5 Midwestern winters outside.
I am excited about the BakingSteel, which can be used as a cooking surface in this configuration, or could be used without the KettlePizza, as a drop-in replacement for a standard cooking grate. I haven't checked yet, but I'm also hoping it fits in the oven! EDIT: it does not.
17010062657_b489597602_b.jpg


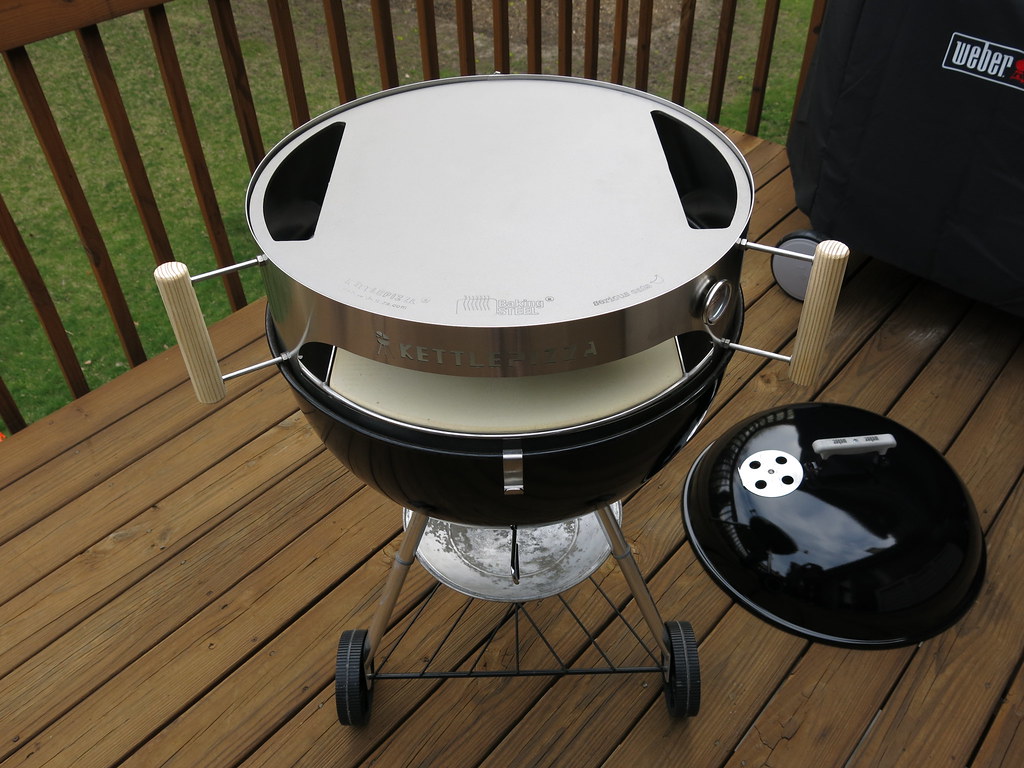
Nice and shiny for now!
16597310603_a2b7fc2439_b.jpg


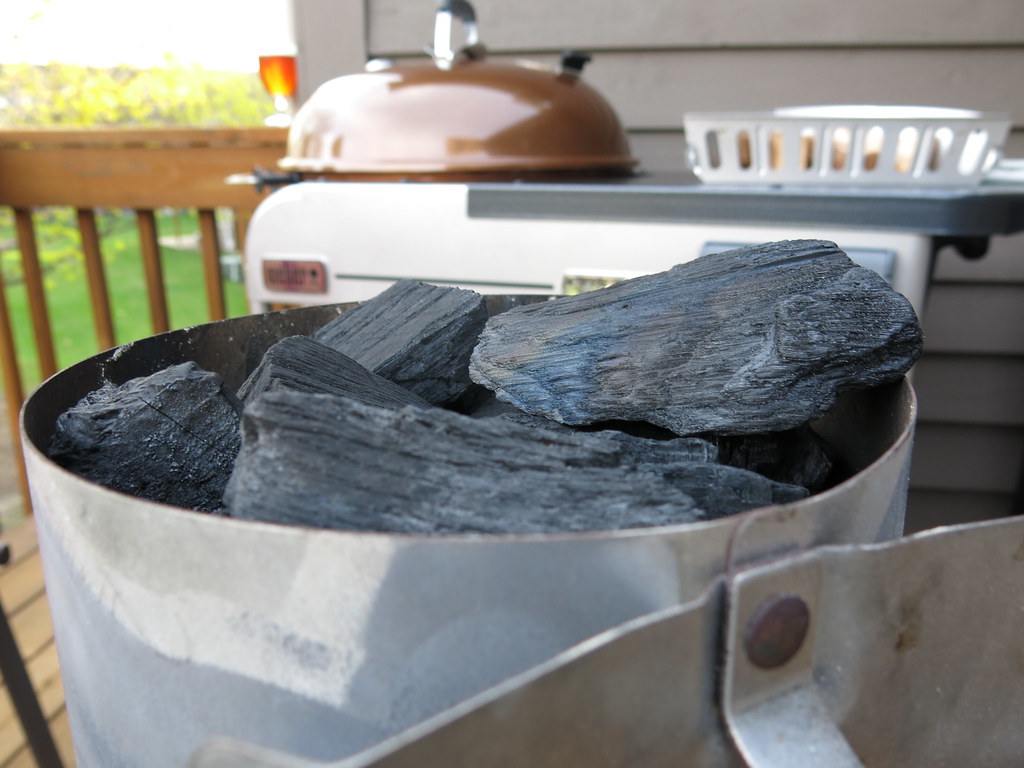
For my first run using the oven, this is the amount and general size of pieces of Royal Oak I used. I arranged the lit coals into a C-shape, with the opening of the C facing the mouth of the oven.
17216936701_52e109c5c3_b.jpg


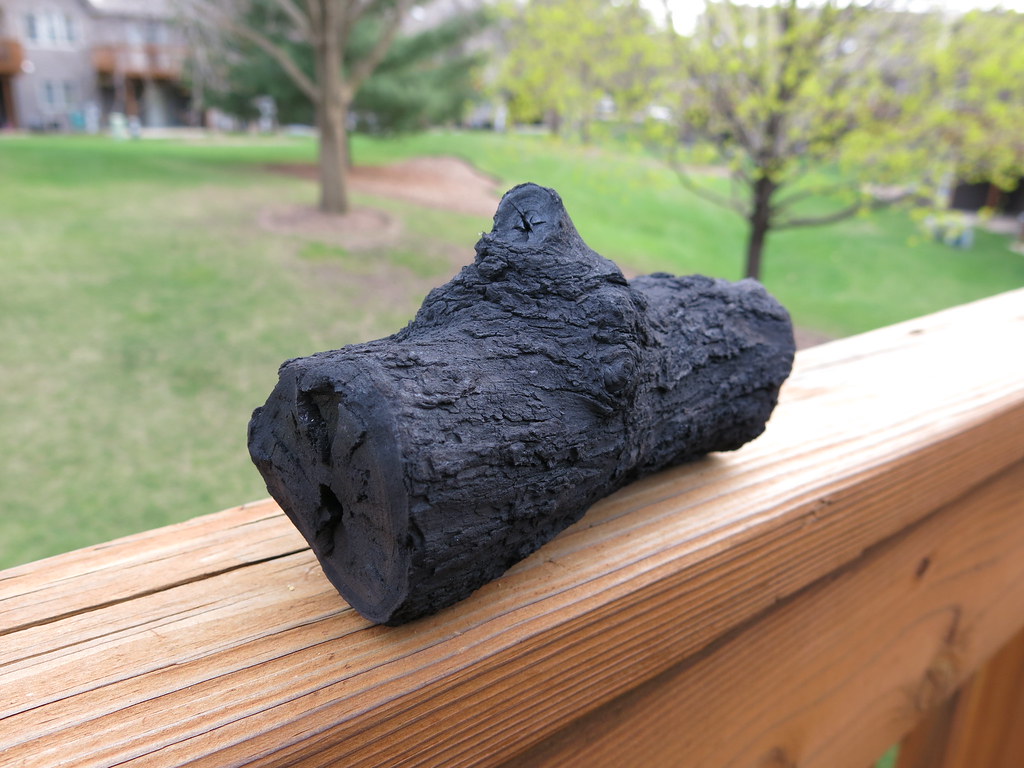
I found this little gem while sorting out some larger pieces of lump to use in this cook. Aint it cute?
17010063917_82370b6d5c_b.jpg


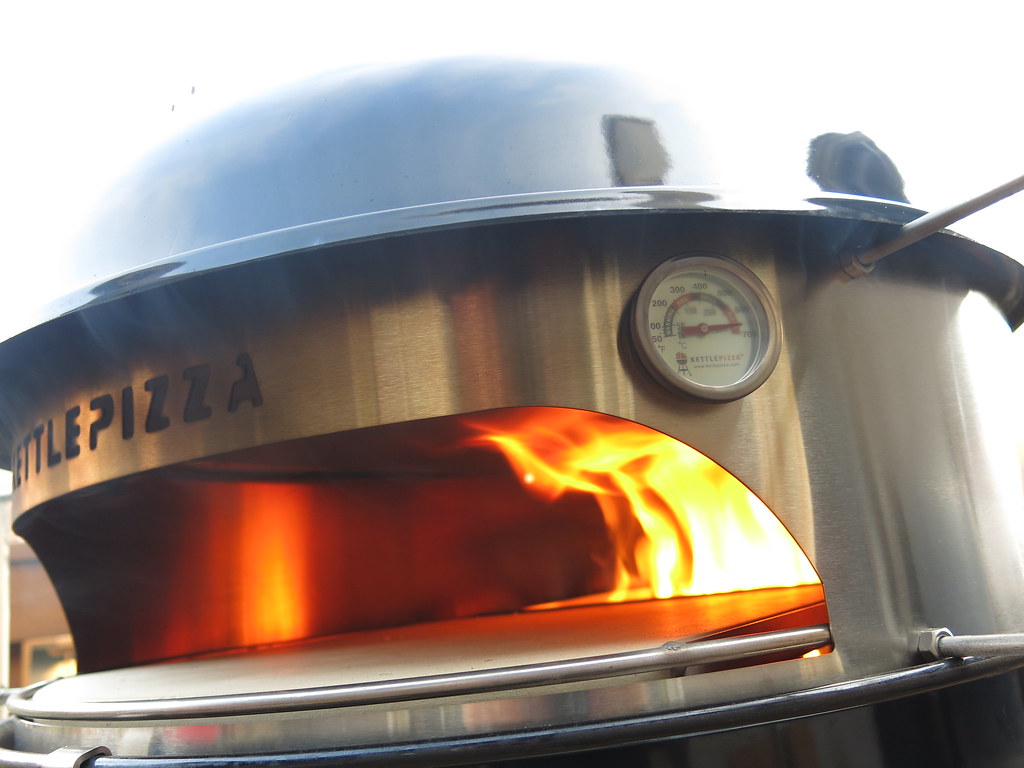
Up and running, nice and HOT! The flames are coming from some chunks of oak that are in a CharBasket right behind the pizza stone.
17216943661_678a71eeca_b.jpg


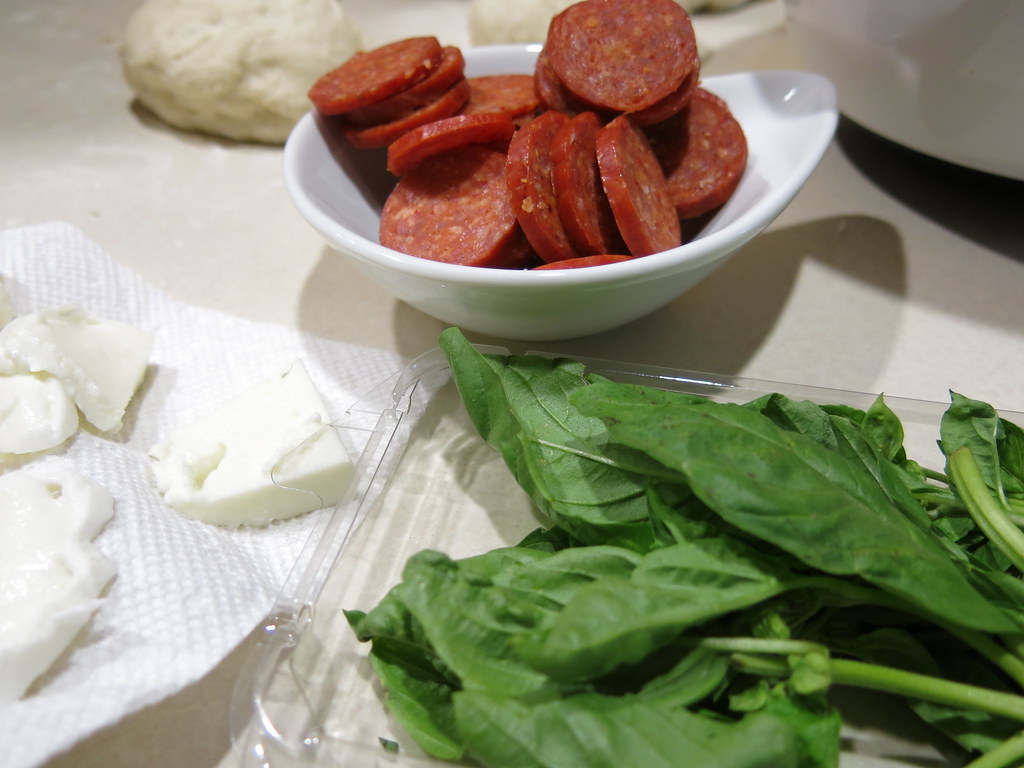
Some of our ingredients. Boars Head natural casing pepperoni is the bomb.
17191579336_ee9bf4b7fb_b.jpg


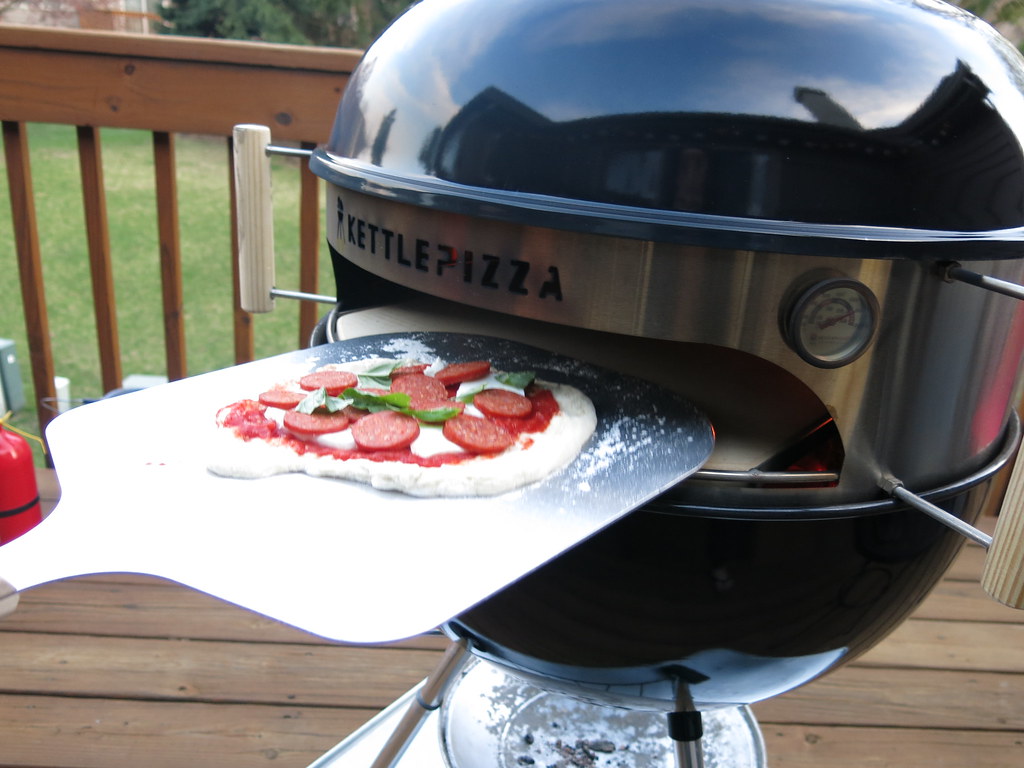
Going in - you can see the temp has already dropped a fair amount.
17029998780_55e547615c_b.jpg


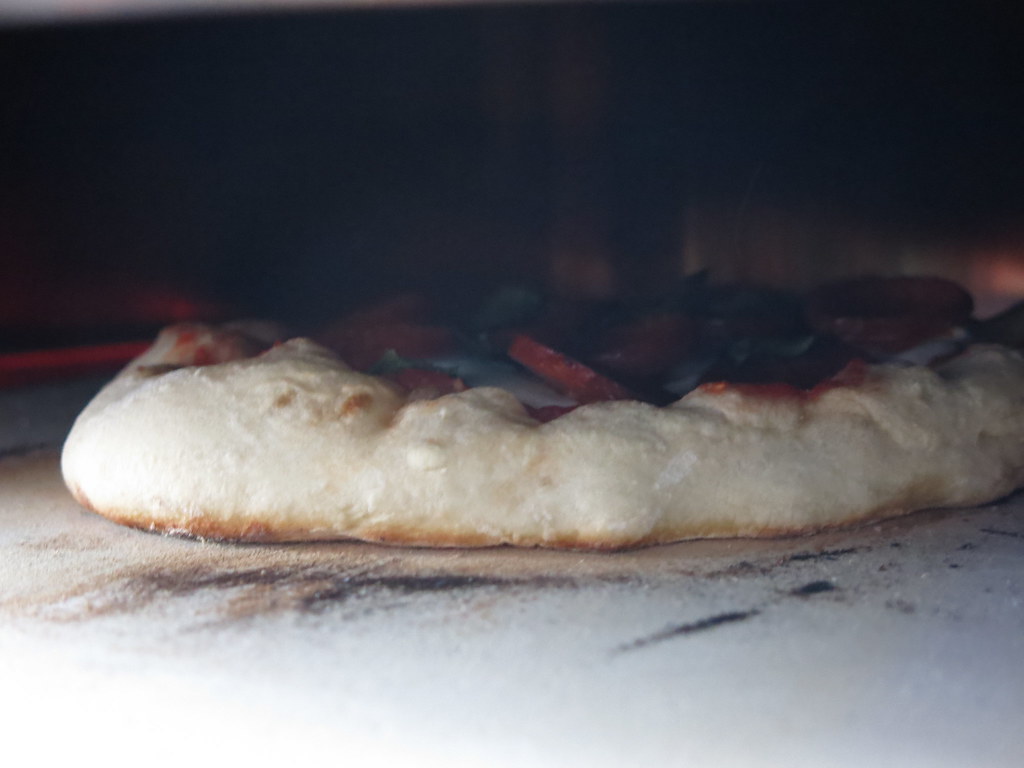
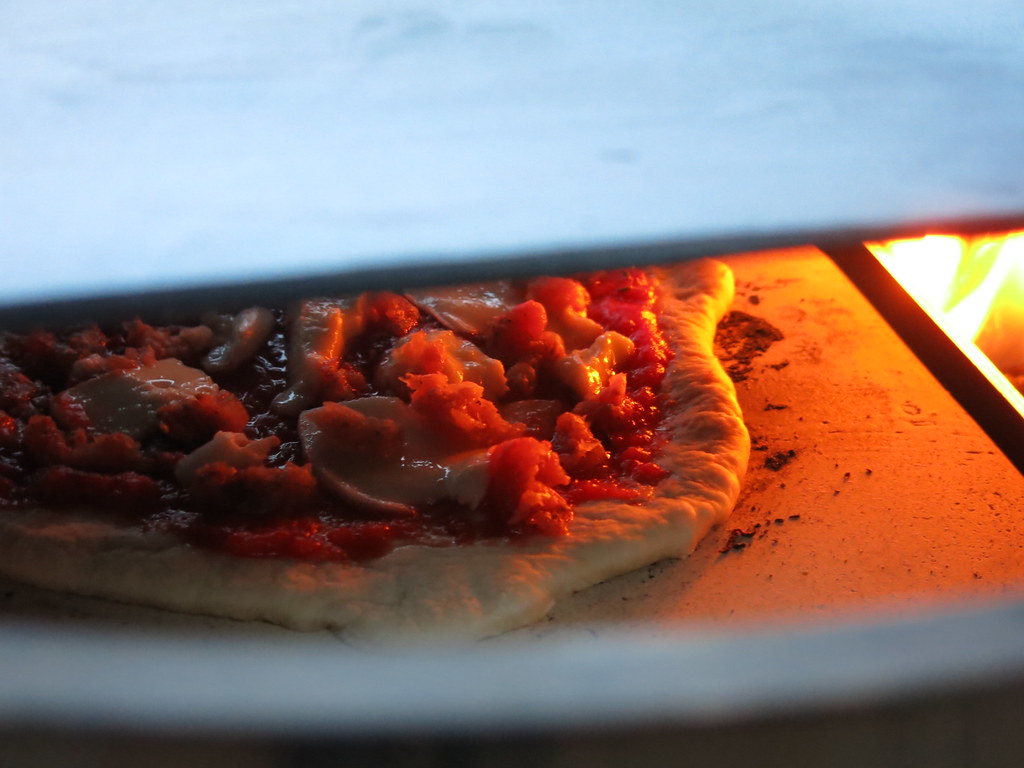
Inside the oven - bottom looking great, but not enough heat or convection to get the top done to my liking.
17031364339_61b1319420_b.jpg


Another pie in the oven, viewed through the opening in the BakingSteel.
17031371029_2c306718d1_b.jpg


Action shot.
17029767548_8d43ee0659_b.jpg


Sorry, no photos of finished pizzas. None came out looking all that swell. We cooked 4 pies, and by the last one, I'd guess the oven was at about 400 - 450. I feel like I learned several things though, and can take those lessons into my next attempt.

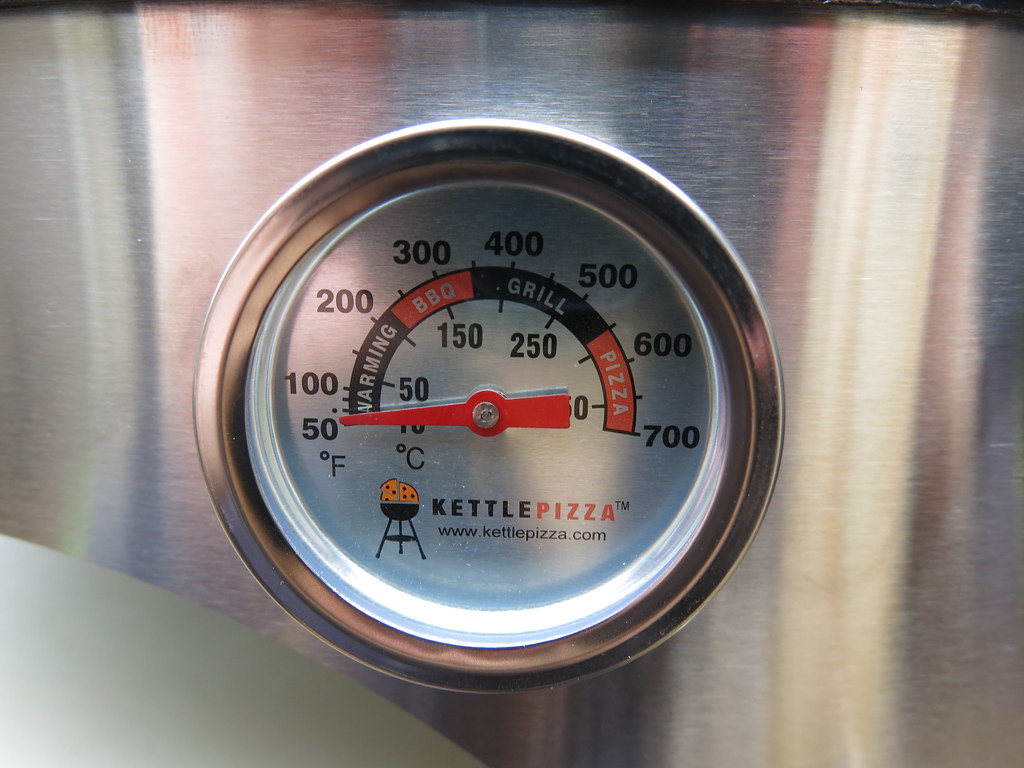
- The amount of charcoal I used was enough to get the oven temp above 700F, but only briefly. Next time, I'm using more lit charcoal.
- I think I should cover those openings in the BakingSteel. They are intended for adding more charcoal to the fire, but in operation, they are cavities that allow heat to get in between the BakingSteel and the kettle lid, where it's not doing any good.
- I should have the pizzas closer to oven-readiness when lighting off the KettlePizza, and not spend so much time taking Glamour Shots of the grill with flames coming out of it.
- I'm going to try experimenting with using Comp K instead of or in addition to the lump charcoal I used for this test.
- I've also thought about using aluminum foil to try to seal up some of the extra openings between the KettlePizza and the kettle itself. This might not lead to big improvements, but anything I can do to force more of the convection flow to go out through the oven mouth (instead of allowing heat to escape through openings at the perimeter of the grill) should be a good thing.

Thanks for reading, I hope y'all enjoy the photos.

Chris
 
Last edited:
thanks a lot. thinking of making the plunge myself. does seem like you have to use an awful lot of charcoal and wood to get it going hot.
 
thanks a lot. thinking of making the plunge myself. does seem like you have to use an awful lot of charcoal and wood to get it going hot.

Using the amount of charcoal shown in my 3rd photo plus the chunks of oak, it got above 700F on the KP's built in dial thermometer fairly quickly, especially while the flames from the hardwood were going strong. My goal was to be cooking pizzas HOT and FAST, and ultimately I'm hoping to achieve as close as I can to 900F. I'm still figuring this out, though. Since there is so much airflow going through the wide open grill mouth, the charcoal does burn hotter and burn up faster, so yes, I think you do need to use quite a bit if you want to hit high temps and sustain them for long enough to cook a few pizzas. If I was planning on cooking pizzas longer and at a lower temp, I think I would have been happier with my first results. My next attempt will probably be with 2 chimneys of lit coals, and I may even pour those lit coals over some unlit ones, in hopes to sustain the temps for longer as the initial charcoal starts to burn out.
 
Last edited:
It got above 700F on the KP's built in dial thermometer fairly quickly, especially while the flames from the hardwood were going strong. My goal was to be cooking pizzas HOT and FAST, and ultimately I'm hoping to achieve as close as I can to 900F. I'm still figuring this out, though. Since there is so much airflow going through the wide open grill mouth, the charcoal does burn hotter and burn up faster, so yes, I think you do need to use quite a bit if you want to hit high temps and sustain them for long enough to cook a few pizzas. If I was planning on cooking pizzas longer and at a lower temp, I think I would have been happier with my first results. My next attempt will probably be with 2 chimneys of lit coals, and I may even pour those lit coals over some unlit ones, in hopes to sustain the temps for longer as the initial charcoal starts to burn out.

that's the temp I'd want as well. when you play around with it and figure out how to do it, I'd appreciate an update.
 
Chris, thanks for your write up. I have a brand new kettle pizza and 18.5 kettle. I haven't been able to use as the winds here are ferocious 40-50 mph gusts and have been this way for weeks. So I've been reading all the kettle pizza threads to see what works and what doesn't so when I do get the chance to use it I'll have a good idea where to start.
You offered some good insights and that helps.
 
nice post. Grill-baking pizza is cool stuff.
I don't own one of these or any DIY pizza things.

Maybe this could help you on top to cover those openings. On clearance for $10 plus shipping. I know they come in 21" too. Heavy duty aluminum. Use the pan as a lid. (You might even be able to use it as a griddle for stuff if it sits right in that ring).
If it doesn't work out, you might use the pan as a post cook holding area to finish the tops off after the crust has set (maybe the 21" so there's some airflow up put the pie on the pan and then add the weber lid as the next pie cooks off on the stone). The 22" would be good to close it all off (hopefully). :confused:
Again... I haven't tried this method or owned this stuff but I just wanted to help.


pizza pan LINK
 
Chris, thanks for your write up. I have a brand new kettle pizza and 18.5 kettle. I haven't been able to use as the winds here are ferocious 40-50 mph gusts and have been this way for weeks. So I've been reading all the kettle pizza threads to see what works and what doesn't so when I do get the chance to use it I'll have a good idea where to start.
You offered some good insights and that helps.

Glad I could help a little Rich, and you're welcome. I can say that running the thing exactly as I described, the pizza stone was hot enough to give me pretty much the result I'm looking for on the bottom of the pizzas. I just need to get the oven to have a bit more convection, I think, and I need to get the pizzas in there when the oven is at its prime, not after it starts to die down. By adding coals to the dying fire, I was never able to get it back up to the peak temps I had in the first place, even trying to whip the coals into a frenzy with a hair dryer.
 
Last edited:
nice post. Grill-baking pizza is cool stuff.
I don't own one of these or any DIY pizza things.

Maybe this could help you on top to cover those openings. On clearance for $10 plus shipping. I know they come in 21" too. Heavy duty aluminum. Use the pan as a lid. (You might even be able to use it as a griddle for stuff if it sits right in that ring).
If it doesn't work out, you might use the pan as a post cook holding area to finish the tops off after the crust has set (maybe the 21" so there's some airflow up put the pie on the pan and then add the weber lid as the next pie cooks off on the stone). The 22" would be good to close it all off (hopefully). :confused:
Again... I haven't tried this method or owned this stuff but I just wanted to help.


pizza pan LINK

Thanks Joe, that's a good suggestion and I appreciate it!
EDIT: Interesting selection from that website.. Have you shopped them before?
 
Last edited:
Your pizza looks great Chris. There is a learning curve on these Kettle Pizza's. I use one full chimney of KBB and a few fist size chunks of very dry oak and have had decent success.
 
Your pizza looks great Chris. There is a learning curve on these Kettle Pizza's. I use one full chimney of KBB and a few fist size chunks of very dry oak and have had decent success.

Thanks, Cliff. Do you put the chunks of oak right on top of the lit charcoal, so that they catch fire, or do you have the tombstone shaped stone and the grate that lets you hang a CharBasket at pizza level, like I have? I've thought about using hardwood down at the charcoal grate level, too, but only used wood in the CharBasket on this first attempt.
 
I want to take the plunge as well. Thanks for the insights. I will keep watching and hopefully figure out a technique that will give me a head start, when I get mine.
 
Thanks Joe, that's a good suggestion and I appreciate it!
EDIT: Interesting selection from that website.. Have you shopped them before?
No. Looked up 22" pizza pan on amazon. That's where I wound up. That price is great if its a good thick aluminum. I have a lot of restaurant suppliers and friends in the business in this area so most of my stuff I get at brick and mortar shops.
 
Spread KBB in a horseshoe against backside of kettle. Standard Weber Stone. Throw oak chunks directly on charcoal. Repeat if temp drops.
 
Your first attempt looks great. There is a learning curve for the KettlePizza. My setup is pretty much the same as Cliff's. I will put some unlit coals down first though. Then a full chimney on the coal grate with a couple of oak splits on the lit coals. I cut my own DIY baking steel with no holes in it and I like the convection it creates but it is a pain to reload the fire. The fire gets hot enough to peg the thermometer and this temp will stay for about 20 minutes. I usually will cook 4 pizzas and after the 2nd pizza I'ill add another split or two then have a beer while the temp comes back up. Its a fun but hurried process as I assemble the pizzas as well. trial and error is the best when the errors taste as good as these pizzas do. Even if they dont look so good they still taste great. just remember to have fun. and thanks for all the glamour shots :cool:
 
Thanks Ken, I appreciate the feedback and input.

Its a fun but hurried process as I assemble the pizzas as well.
This was my experience as well, and I underestimated the "hurried" part a little bit too much.

trial and error is the best when the errors taste as good as these pizzas do. Even if they dont look so good they still taste great. just remember to have fun.
This is another good reminder. I did have a lot of fun with this, but I was also taking things too seriously. You're exactly right, while they may not have looked beautiful, they were delicious, and probably as good as any I've made in the indoor oven. I'm confident my next attempt will be another step in the right direction.

Thanks for the feedback and encouragement, everyone. I will keep posting updates as I make progress.
 
Please comment on the taste. Is it better than one cooked in the kitchen range? Is it like a pizza in a wood-fired oven? Have you ever had one cooked on a pellet grill?

Also, what is the ideal pizza temperature? I would think 500° F would be fine.
 
Please comment on the taste. Is it better than one cooked in the kitchen range? Is it like a pizza in a wood-fired oven? Have you ever had one cooked on a pellet grill?

Also, what is the ideal pizza temperature? I would think 500° F would be fine.

My goal would be to imitate the pizzas from a wood-fired oven, be it classic Neopolitan or Margherita style pizzas, or modern interpretations with more exotic ingredients. Either way, my opinion is that this is not so much about imparting a particular flavor to the pizza (a smokey flavor for example) but about achieving higher temps in the 700F - 1000F range, and getting as much heat energy into the pie, as quickly as possible. The dough is super lean, with no fat at all, so they need to cook very quickly in order to avoid being overly dry by the time the top is cooked. My indoor oven only goes to 550 and does not have convection. The grill with these type of mods is my best chance of getting closer to what I am seeking, short of building or buying a real wood-fired oven, and my current home does not allow for that. Not all pizzas should be cooked at this high temp, though, and 500 is plenty hot as long as the dough is not so lean that it will dry out over a longer cooking time.

FWIW, I am an avid amateur baker and I intend to experiment with this setup a lot, for baking at many different temperatures, from 350 to as hot as I can get it running. :)
 
Last edited:
AWSOME pictures Chris!!! I especially like the last two shots.

As everyone has mentioned, there is a learning curve with the KP. I recently purchased the baking steel and have only been able to use it once. I'll have to do a couple more cooks before I think about making a couple removable covers for the holes. These holes defineatly make it easier, for me, to add fuel. I was using other methods prior to the baking steel to get a lower lid height.

I don't have the tombstone grate like you have so my stone is probably about one inch closer to the baking steel. So here's my setup. I use a standard grill grate placed in the kettle. This is used as my charcoal grate. One full mounded lit chimney of kbb dumped at the back of the kettle. I take some of those lit coals and spread them out under the pizza stone. I set the KP on to the kettle. Put some wood on the lit coals. I let that catch fire then I put the baking steel on. Before I had the baking steel I used my Mojoe griddle or a piece of 1/8 steel I had laying around to bring the roof down. The grate I have the stone sitting on is the hinged cooking grate with one of the hinged sections removed. This is at the back of the kettle where the fire is. So basically, the majority of my fire is at stone level or higher. The last thing is to make sure you allow enough time for your stone to preheat. I check with an IR thermometer, stone and roof temps.

My fastest cook was under 2 mins.
 
Last edited:


Back
Top