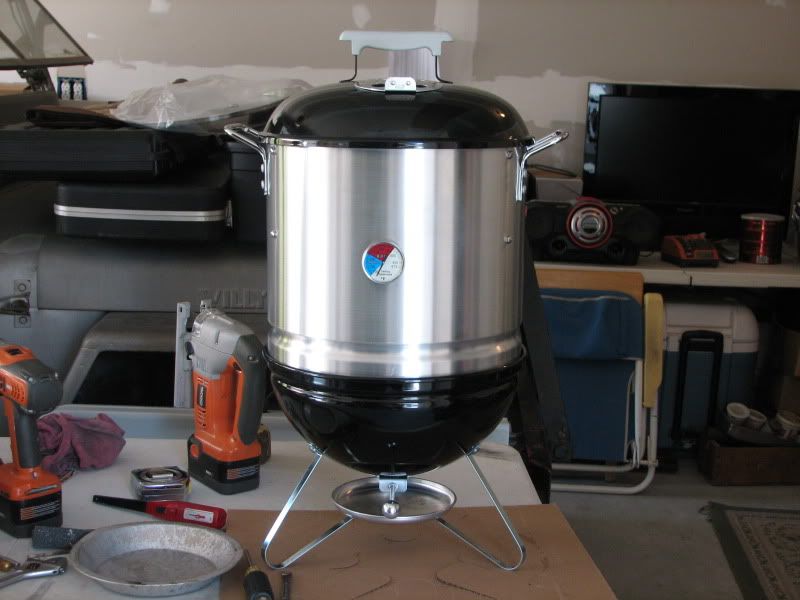
Thanks to everyone's help on this page I was able to construct my mini smoker
I bought the
Vasconia 32qt tamale steamer from Amazon and it's a perfect fit (thank you
Ruben Z for the tip):
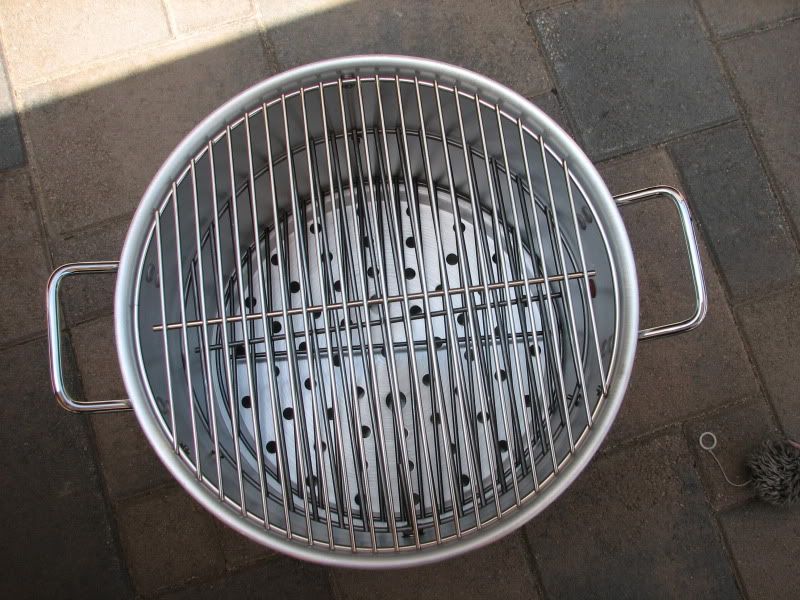
My original plan was to cut the bottom off then after reading feedbacks from others decided to try drill holes first; then if I find it's not enough I can still cut the bottom away. So I measured, and halfed, and measured, and halfed until I came up with 32 holes of 3/8" diameter each. Why 3/8" you ask? Because that's the largest drill bit I have lol.
Then looking at the circle of holes I said to myself: "This ain't enough, I need more!" so I eye-balled the next inner circle of holes, in between the outer circle (to try and leave as much material as possible for strength). Then after that second ring I was on such a roll I decided to drill yet a third ring of holes! So I ended up with close to 100 holes at the bottom - DEFINITELY enough space for the smoke to get through now!
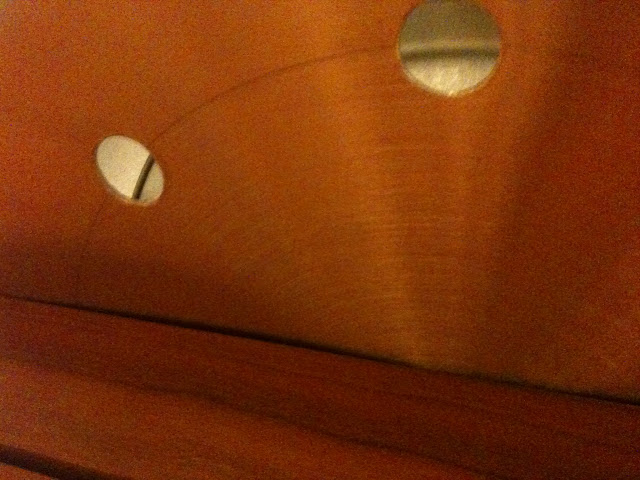
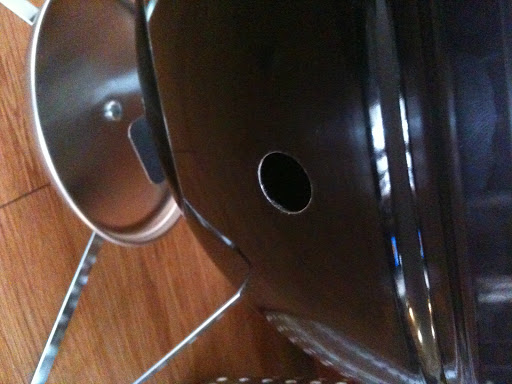
After all that hard work I then worked on drilling the holes for the layers and thermometer. I decided on a 3-layer setup (bottom grate would rest on the indent where the original steamer tray would go -> then about 4" up is the middle grate -> then about 4" up is the top grate). This would leave me with options to move around the grate depending on what I will be cooking.
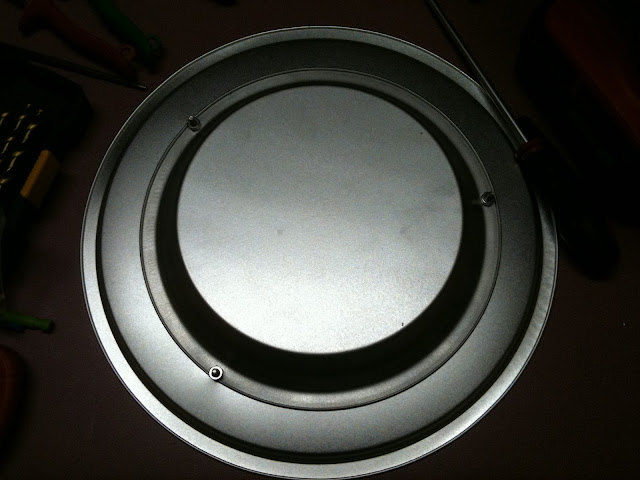
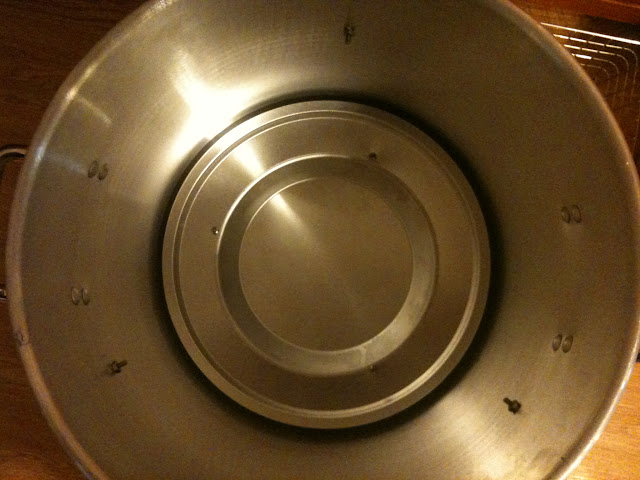
My idea with the rings of holes along the outside was so that I can fit a clay saucer at the bottom to act as heat sink. It's low enough that it will clear the bottom grate with the thinking to try and even out the temps for multi-layer cooking. You can see in this picture that the clay saucer would sit at bottom and the holes are around it and not blocked.
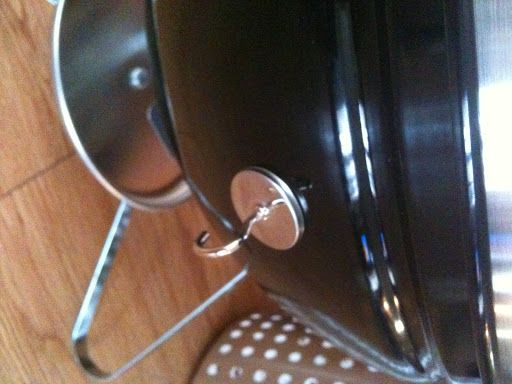
Once the holes are drilled it's time to put in the bolts & nuts and washers. I put washers in between the nut/bolt and the wall because I don't trust the relatively thin aluminum wall. Call it paranoid, call it over-engineering, all I know is it only cost me pennies extra with those washers
Now it's time for paint! I used high-temp engine paint like others and chose to go with black. One thing I learned is that aluminum doesn't like to get painted. I ended up with a "matte dark gray" look to my pot but it's just cosmetic so I left it alone.
With the paint dry it's time to put everything together! For my initial "break-in" I decided to do 5 lit + 22 unlit (brigs). Steamer tray in bottom position, and 2 Joe grates in the top positions (one old one new). I put the clay saucer on top grate to simulate a payload and see what temps I would get. BONUS: my
Weber 6406 rib rack for my kettle fit inside the pot!
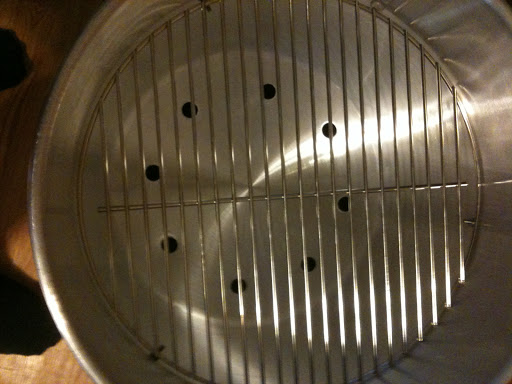
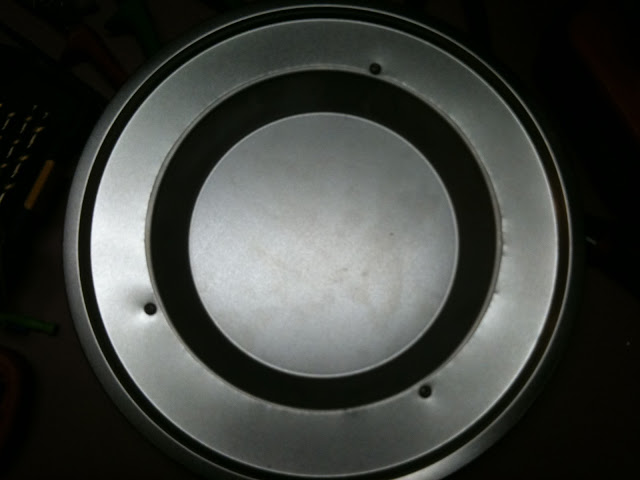
To my relief, there are plenty of holes for the smoke to get through:
I must admit the sight of the mini smoker is awesome! Now it's time to put her to good use this weekend!
