Outdoor cooking tables, bbq prep area.


My home was brand new when I purchased it with a deck made of treated wood with 4 x 6 posts with a walkout basement to bottom of the deck. After years of having to power wash it & apply sealer, I opted to give it a facelift with composite decking & a vinyl railing system. Knowing that I had a small footprint below the deck, I wanted to utilize every square inch of it for grilling & entertaining. I added a ceiling to trap the excess water & released it via a gutter system to the back yard. Prior to adding the ceiling, conduit & electricity was installed, also added were three light fixtures, a ceiling fan with an additional light & 4 GFCI outlets.

After many hours of deliberation, not to mention countless libations, I was able to design a floor plan. The framing consisted of treated 2 x 4’s, deck screws & backer board, with stainless steel cabinetry. The posts were squared off with 2 x 2’s & backer board. The exterior is a product called AirStone, it is a faux stone veneer which gives it the rustic look I was going for.

View attachment 88041

I have (2) 22” kettles with modified legs on the lower portion of the island. I like the ability to have one kettle for protein & the other for appetizers & side dishes such as veggies.

View attachment 88042

A long countertop to accommodate storage underneath for a SS rolling cooler & additional bar stools as well as ample space on top for food & beverages.

View attachment 88043

All the pizza accessories are stored in a large tote underneath the two kettles when not in use.

View attachment 88044

Here is another angle of the “L” countertop.

View attachment 88045

Here is a view of the back or front side depending on what side you are facing. Porcelain tile was used to block the north wind. Toward the top right side, you can see where awnings have been installed to enlarge the grill space below when it is raining. This didn't happen overnight & was a long drawn-out process, but I am very happy with the results.

Great setup!
 
My home was brand new when I purchased it with a deck made of treated wood with 4 x 6 posts with a walkout basement to bottom of the deck. After years of having to power wash it & apply sealer, I opted to give it a facelift with composite decking & a vinyl railing system. Knowing that I had a small footprint below the deck, I wanted to utilize every square inch of it for grilling & entertaining. I added a ceiling to trap the excess water & released it via a gutter system to the back yard. Prior to adding the ceiling, conduit & electricity was installed, also added were three light fixtures, a ceiling fan with an additional light & 4 GFCI outlets.

After many hours of deliberation, not to mention countless libations, I was able to design a floor plan. The framing consisted of treated 2 x 4’s, deck screws & backer board, with stainless steel cabinetry. The posts were squared off with 2 x 2’s & backer board. The exterior is a product called AirStone, it is a faux stone veneer which gives it the rustic look I was going for.

View attachment 88041

I have (2) 22” kettles with modified legs on the lower portion of the island. I like the ability to have one kettle for protein & the other for appetizers & side dishes such as veggies.

View attachment 88042

A long countertop to accommodate storage underneath for a SS rolling cooler & additional bar stools as well as ample space on top for food & beverages.

View attachment 88043

All the pizza accessories are stored in a large tote underneath the two kettles when not in use.

View attachment 88044

Here is another angle of the “L” countertop.

View attachment 88045

Here is a view of the back or front side depending on what side you are facing. Porcelain tile was used to block the north wind. Toward the top right side, you can see where awnings have been installed to enlarge the grill space below when it is raining. This didn't happen overnight & was a long drawn-out process, but I am very happy with the results.
EricV for the win!
 
My home was brand new when I purchased it with a deck made of treated wood with 4 x 6 posts with a walkout basement to bottom of the deck. After years of having to power wash it & apply sealer, I opted to give it a facelift with composite decking & a vinyl railing system. Knowing that I had a small footprint below the deck, I wanted to utilize every square inch of it for grilling & entertaining. I added a ceiling to trap the excess water & released it via a gutter system to the back yard. Prior to adding the ceiling, conduit & electricity was installed, also added were three light fixtures, a ceiling fan with an additional light & 4 GFCI outlets.

After many hours of deliberation, not to mention countless libations, I was able to design a floor plan. The framing consisted of treated 2 x 4’s, deck screws & backer board, with stainless steel cabinetry. The posts were squared off with 2 x 2’s & backer board. The exterior is a product called AirStone, it is a faux stone veneer which gives it the rustic look I was going for.

View attachment 88041

I have (2) 22” kettles with modified legs on the lower portion of the island. I like the ability to have one kettle for protein & the other for appetizers & side dishes such as veggies.

View attachment 88042

A long countertop to accommodate storage underneath for a SS rolling cooler & additional bar stools as well as ample space on top for food & beverages.

View attachment 88043

All the pizza accessories are stored in a large tote underneath the two kettles when not in use.

View attachment 88044

Here is another angle of the “L” countertop.

View attachment 88045

Here is a view of the back or front side depending on what side you are facing. Porcelain tile was used to block the north wind. Toward the top right side, you can see where awnings have been installed to enlarge the grill space below when it is raining. This didn't happen overnight & was a long drawn-out process, but I am very happy with the results.
What is the under deck ceiling product for the dry space under the deck...your outdoor kitchen? Do the deck joists get adequate ventilation?
I ask because we have similar product at our beach house. Not entirely pleased with it and I believe the company is now out of business. It's called DrySnap. We plan on tearing out the existing deck and going with a composite...Trex or similar. I know Trex has it's own ceiling system but boy does it look awkward in function.
 
Perhaps you have seen this guy. I think he's great. He's in SD...but his setup is interesting. Might be some takeaways from Sam:
 
What is the under deck ceiling product for the dry space under the deck...your outdoor kitchen? Do the deck joists get adequate ventilation?
I ask because we have similar product at our beach house. Not entirely pleased with it and I believe the company is now out of business. It's called DrySnap. We plan on tearing out the existing deck and going with a composite...Trex or similar. I know Trex has it's own ceiling system but boy does it look awkward in function.
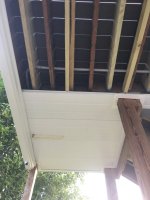
Yes the ceiling is above the outdoor kitchen & is made of aluminum, I am attaching a picture to illustrate how it resides. Tamko Building products who produce shingles is located close to where I live, they also have a composite decking company called Envision, that is the brand of composite decking that I have. I don't recall the name of the ceiling company as it was part of the decking & ceiling contract. I do remember that they are located in the greater Kansas City area. IMG_1175.JPG
 
Yes the ceiling is above the outdoor kitchen & is made of aluminum, I am attaching a picture to illustrate how it resides. Tamko Building products who produce shingles is located close to where I live, they also have a composite decking company called Envision, that is the brand of composite decking that I have. I don't recall the name of the ceiling company as it was part of the decking & ceiling contract. I do remember that they are located in the greater Kansas City area. View attachment 88066
Looks good. Although, it was always my understanding that aluminum and PT lumber didn't play well.
 
Looks good. Although, it was always my understanding that aluminum and PT lumber didn't play well.
They usually don't. Normally one would use a nylon washer or strips of Ice/water shield to isolate the PT from direct contact.
Some brands of AC2 can come in direct contact with aluminum. You have to read the strip on the end of the board to make sure.
I know when they switched from CCA to AC2 we had to change our framing methods.
 
Does your builder (or other builders close by) have any models that you could look at in the way of outdoor areas?
I viewed a couple high end model homes the other week in Scottsdale and was very impressed with all the options that were available.
Being able to pick and choose options from something while you are staring at built available options from people that specialize in it seems like a good way to go.
My buddy is not very creative and he built his place like he was ordering Dim Sum.
He used a large builder rather than a developer because his area is rural/remote.
 
Not particularly elegant but, I’m limited on space.
View attachment 88054View attachment 88055
This NUUK cart was a gift last year for my birthday, it works very nicely for my purposes. I’d love to have more space but, I just don’t see that happening very easily.
I picked up a couple of those acacia pastry boards from Menards and one will sit very nicely on the brick counter.
The cart was from Amazon.
Nice use of a small space. Keep working on it when funds and materials become available.
 
Nice use of a small space. Keep working on it when funds and materials become available.
The only thing I might do is commandeer the small flowerbed opposite the current brick “counter” and shift the “Overperformer” a little closer to the driveway and then I can move the rotisserie unit and place the cart more “centered” in the space as an island but, I’m not ready to lose that flowerbed (well, my wife isn’t ready to lose it). Now that we are both retired, I don’t think I will be doing anything too involved, this has proved to be very effective for my needs, I kind of like the separation of lounging area from “work” area. I can successfully avoid the lip banging of some guests and hang by the grill smoking and drinking with the more dedicated outdoor cooking enthusiasts.
Waiting to see a slab of granite or maybe bluestone to reset the bottom shelf. But, that’s really all I’d want to do, there’s a countertop place not too far from me (across the street from the last local butcher!).
 
So, we're in the design phase of our new home build and I finally got some preliminary looks at what my "cook shack" (name is still in the design phase too lol) will look like.

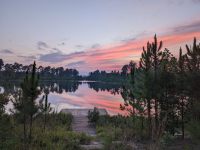
We already bought our lot. It's half an acre and we have our own tiny dock on the lake. This is the view from the backyard that we are trying to maximize.

1711033129927.png


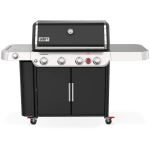
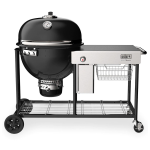
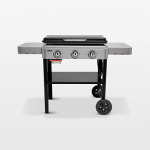
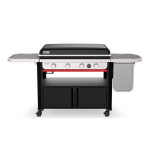
So, the 3 main grill features of my outdoor kitchen are my Genesis E-435, Summit Kamado, and my current 3 burner Gen 1 Weber Griddle which might be replaced by the larger Slate Griddle.

1711033337036.png

1711033429272.png

1711033484879.png
OR

1711033911918.png

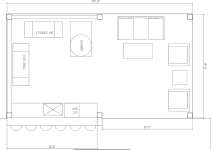
We decided on this layout so far.... Might be some tweaks, but not sure yet.

1711034016219.png

Countertop includes and undercabinet fridge and a 30" standard large kitchen sink (with disposal) so I can get any and all parts of my grills in there if I want to clean them that way as well as do full cooking prep out there if I want to. Rest would be cabinets. He has the two walls currently as pony walls but we might go full wall on the one facing the future neighbors, but haven't decided for sure yet.

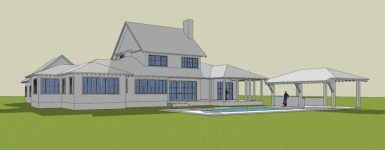
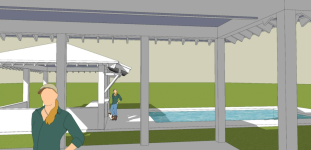
Here's the proposed elevation with a possible future pool shown for reference.

1711034276302.png

View from the screened in back patio of the house.

1711034434456.png

My thoughts are that I like the freedom of arranging and moving the grills around at will. It also allows for easy upgrades or changeouts of any of the grills without costly renovations or structural changes. If we go full wall on the left side of the kitchen, it would allow for wall mounting of multiple TVs but I can just as easily have them mounted from the ceiling but they might not look as good that way. Again, still in flux on that decision.

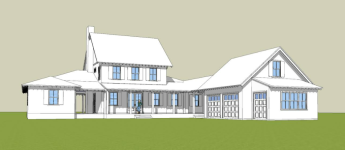
This is the front of the house and you can see the wrap around porch will offer views of the outdoor kitchen/pool/lake from the front as well. The portion of the house to the left of the "breezeway" is a small guest house for my 80 year old mother that lives with us. She will have her own space but can walk through the screened in, covered patio to the main house for dinner each night. In retirement all she said she really wanted was to never have to cook again, and now she doesn't have to. lol. She worked 54 and 1/2 years for the federal government so she's earned the rest.

1711034997577.png

We are meeting with the architect again next week to go over some things and make some more decisions so we'll see what comes out of that. I'm just so damn happy to finally (hopefully) get my dream outdoor cooking area. I don't get to make many decisions on the rest of the house, but that part is MINE. lol. If folks are interested on this thread I will keep updating the design and construction of the "cook shack" as it's happening. I'd love to hear any opinions or feedback from y'all about it and maybe come up with some cool ideas that I haven't thought of.
 
Last edited:
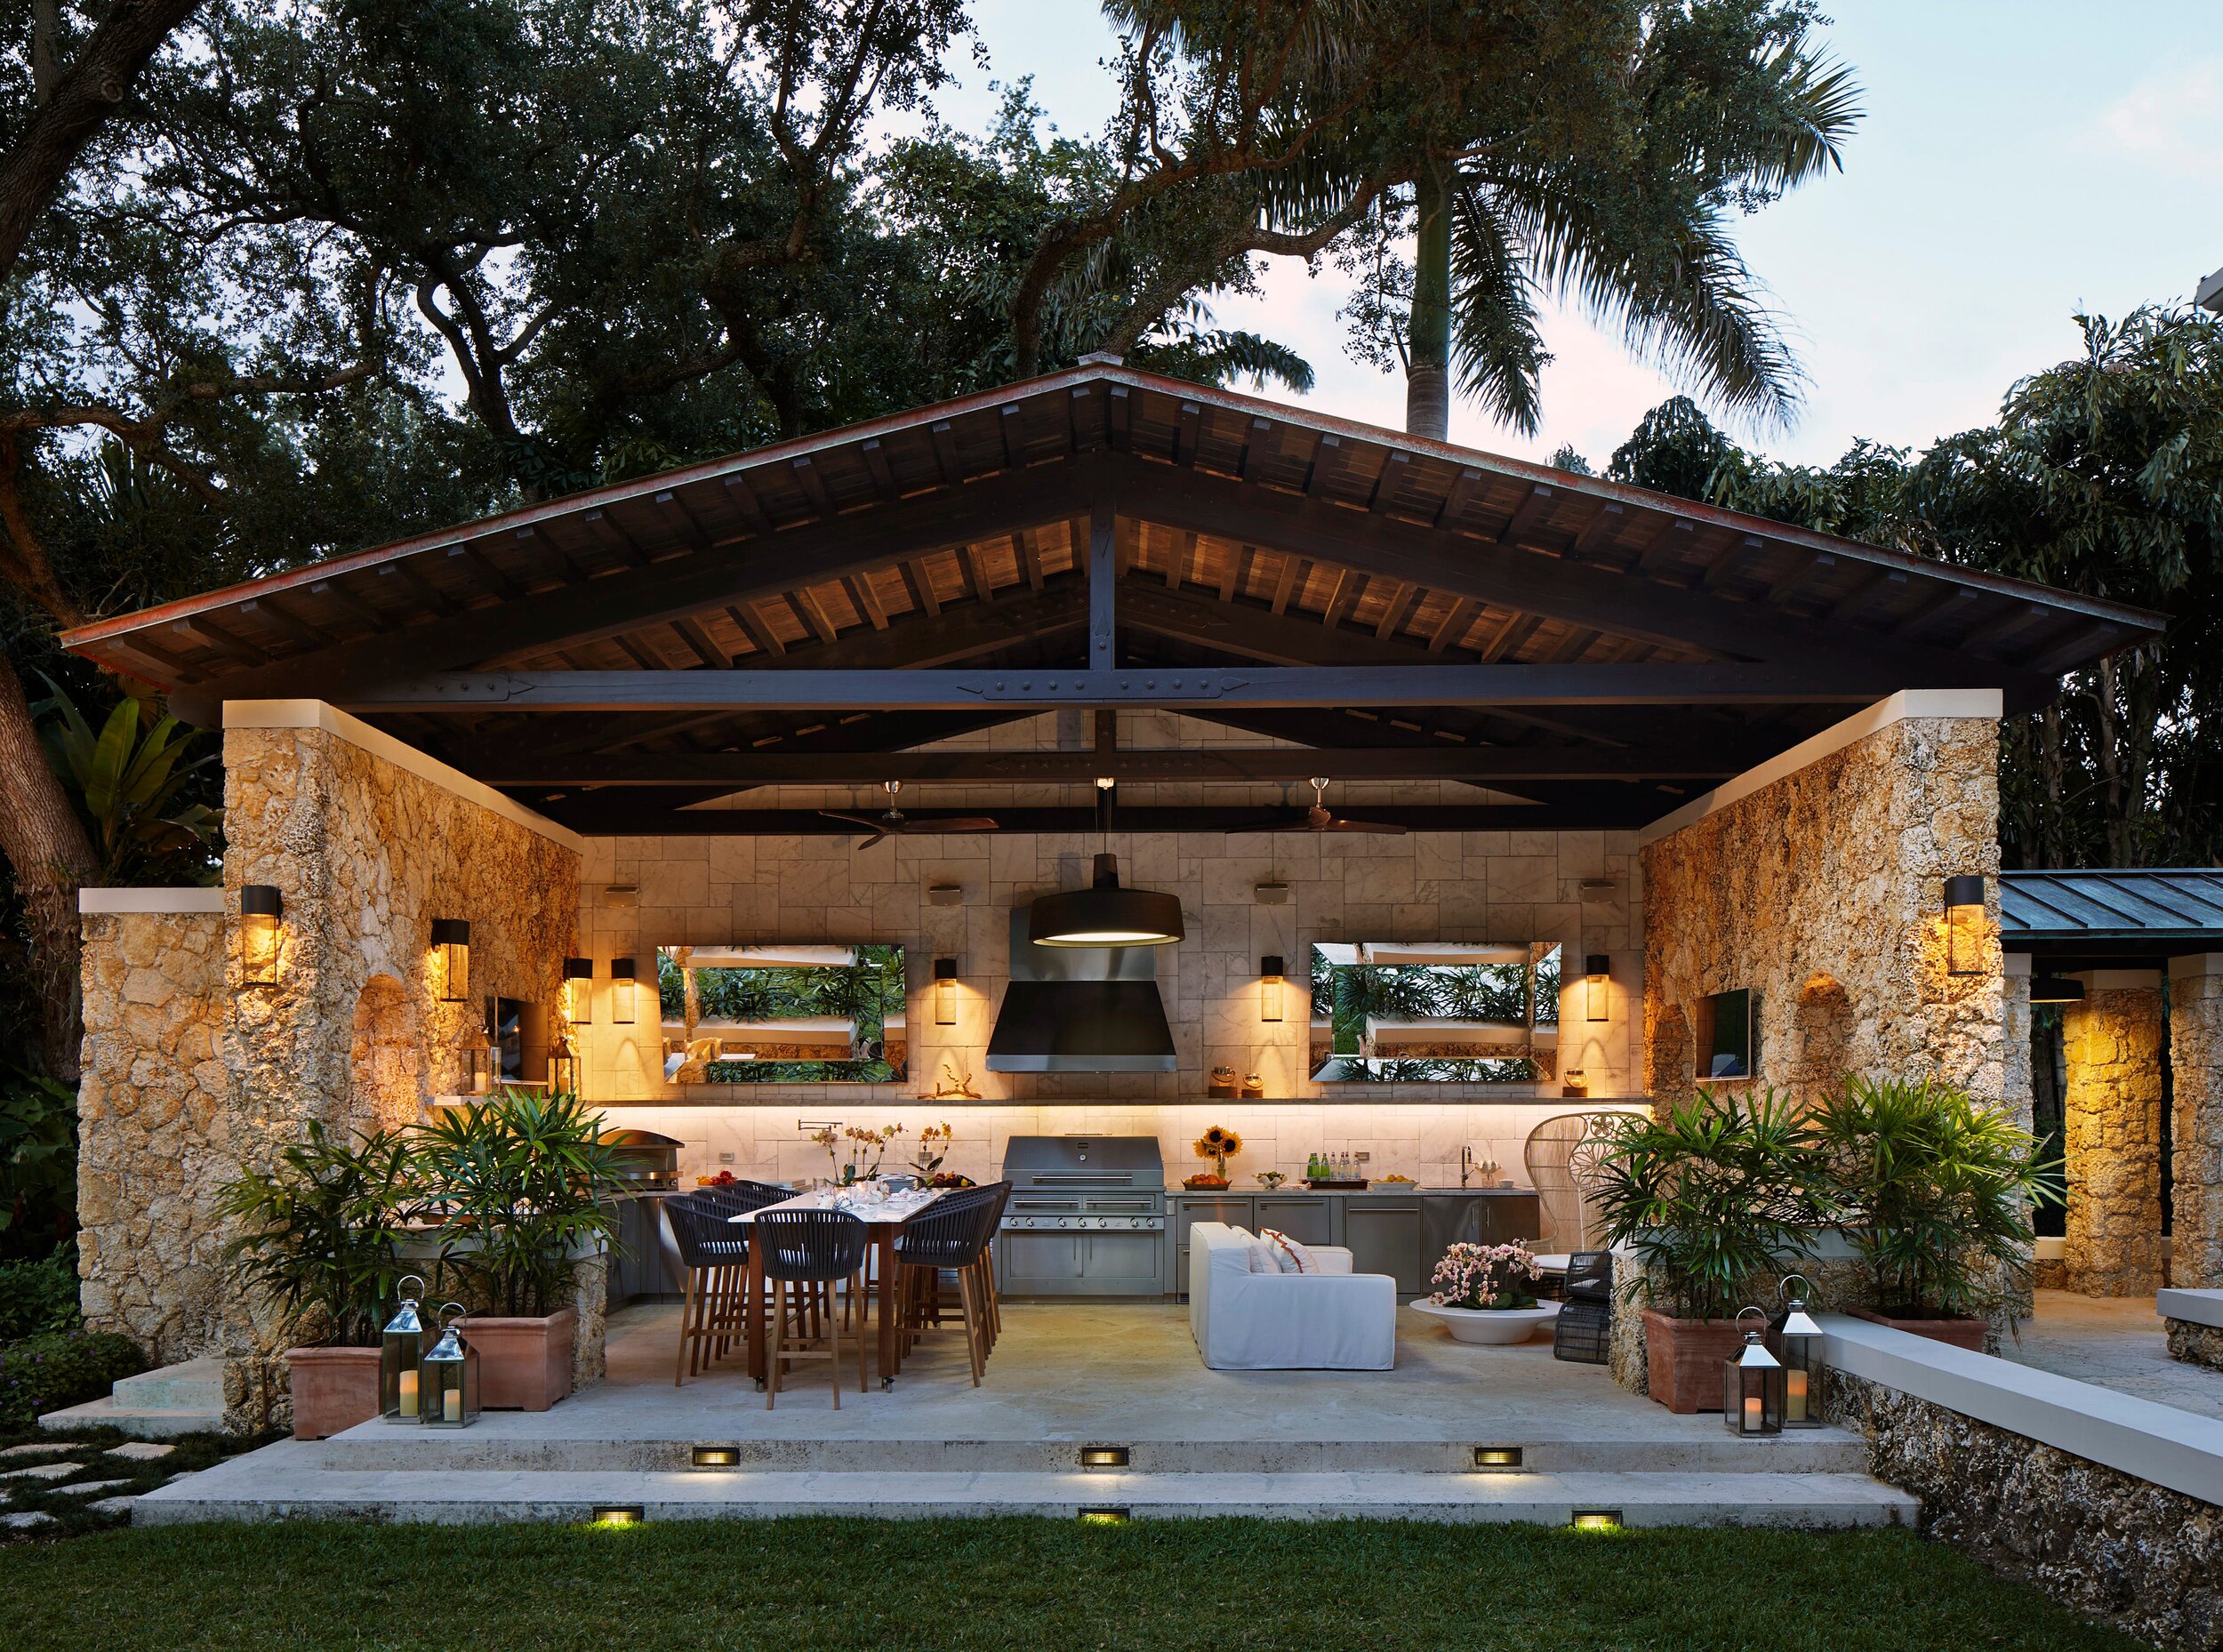
As you know, I'm retiring soon and hope to buy a retirement home in the $300K range. Then I'm going to have something built hopefully similar to this

backyard+kitchen.jpg


My budget is $100K, and it should be doable, a lot of the work I can do myself
That is quite impressive. Unfortunately I don't get to allocate as much of our home budget to my outdoor kitchen as you will be, but anything close to that would be amazing. I love the idea of what I call a "carving table." meat goes straight from the grill to the table to be carved for dinner where the family and all the rest of the meal awaits. Very nice.
 
My home was brand new when I purchased it with a deck made of treated wood with 4 x 6 posts with a walkout basement to bottom of the deck. After years of having to power wash it & apply sealer, I opted to give it a facelift with composite decking & a vinyl railing system. Knowing that I had a small footprint below the deck, I wanted to utilize every square inch of it for grilling & entertaining. I added a ceiling to trap the excess water & released it via a gutter system to the back yard. Prior to adding the ceiling, conduit & electricity was installed, also added were three light fixtures, a ceiling fan with an additional light & 4 GFCI outlets.

After many hours of deliberation, not to mention countless libations, I was able to design a floor plan. The framing consisted of treated 2 x 4’s, deck screws & backer board, with stainless steel cabinetry. The posts were squared off with 2 x 2’s & backer board. The exterior is a product called AirStone, it is a faux stone veneer which gives it the rustic look I was going for.

View attachment 88041

I have (2) 22” kettles with modified legs on the lower portion of the island. I like the ability to have one kettle for protein & the other for appetizers & side dishes such as veggies.

View attachment 88042

A long countertop to accommodate storage underneath for a SS rolling cooler & additional bar stools as well as ample space on top for food & beverages.

View attachment 88043

All the pizza accessories are stored in a large tote underneath the two kettles when not in use.

View attachment 88044

Here is another angle of the “L” countertop.

View attachment 88045

Here is a view of the back or front side depending on what side you are facing. Porcelain tile was used to block the north wind. Toward the top right side, you can see where awnings have been installed to enlarge the grill space below when it is raining. This didn't happen overnight & was a long drawn-out process, but I am very happy with the results.
I love your setup. Great use of your available space. And, I love all the little Weber touches like the lantern and metal signs. Very nice.
 
Looking for ideas of what others are using for outdoor cooking tables, grilling pre areas. I am working on a new bbq cook/prep area and don't have a well formed idea of what I want and need.

So, any pics to share of what you like or don't like in your bbq area/tables, setup that you have going?
In my grilling area, I ordered 3 stainless steel food service carts with locking wheels from Amazon. You can order as many as you think you need and configure them in an arrangement that works for you and your space. They're inexpensive, portable, and easy to clean. I'll add links of what I purchased.

1 each - https://www.amazon.com/gp/product/B08BP2VX5W/?tag=tvwb-20
2 each - https://www.amazon.com/gp/product/B081R6M97F/?tag=tvwb-20

I have a 270 GS smoker/grill sitting on the shorter table. I use the two taller tables for prep, cooked food staging, etc.

I also ordered 2, 32 gallon trash cans on wheels from Lowe's where I keep charcoal, charcoal chimney, wood chunks, bbq tools, a small stainless steel shop vac, lighters, etc.


Additionally, I have a Step-On trash can from Lowe's that I keep a liner in to dump ashes, used aluminum foil, and anything else I don't want to throw away in the house.


Good luck! Hope this gives you a few more ideas to ponder for your grilling playground!


Back
Top