RalphTrimble
TVWBB Diamond Member
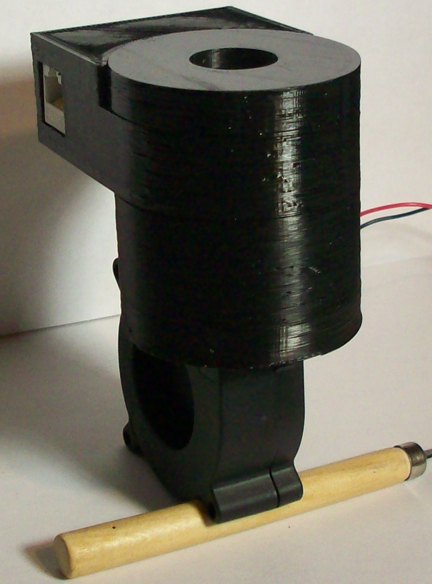
I put all the junk in the top part so the bottom only holds the blower, and the output is out the side so I can hook it to the grill using a 80 cent 1" electrical conduit connector. Your design looks cleaner from the front because mine has the input jack messing up that smooth curve. It works ok, but I still need to make the bottom piece, which will be pretty small because it just needs to hold the fan.
I debated on where to put the servo, I decided that I would use the bottom half because I wanted the top half to be as sealed off as possible, cause a leak on the top half undermines the effectiveness of the valve. The servo would fit into the top half of my design, but there would have to be a hole for the servo wire to come out. I guess the hole could be sealed off with silicone, but I put it down below cause a little leak down there will not effect the valves performance at all.
If I put the servo up top the bottom half could be much smaller (like your design), which is another reason I put it down below. I kinda like having the bottom half large enough so you can see it rotate as it does it's thing. One of the motivations for this design came from my experience with my flap valve damper, the flap was all internal and so I could never really tell what position it was in (FOR SURE). The Roto-Damper has a true WYSIWYG design, when you see it's position you KNOW how much the valve is open. And this all makes the Roto-Damper easy to set manually if you don't have your HM hooked up for some reason...


