Roto-Damper V2
In response to initial feedback from those whom I've sent Roto-Damper parts I have come up with the Roto-Damper V2. The most common feedback said the support material was a PITA to remove. Although I thought the same initially, I eventually got really good at removing the support material so this was not a huge motivation for me to re-design the parts, but the support material was also difficult to print well. At first I decided to just clean up the parts myself (remove the support grid) before I sent the parts out to anyone... Thinking that over again I decided I would prefer to modify the model to eliminate the cleanup rather than scrape out these parts over and over again, so I set out to re-design the parts....
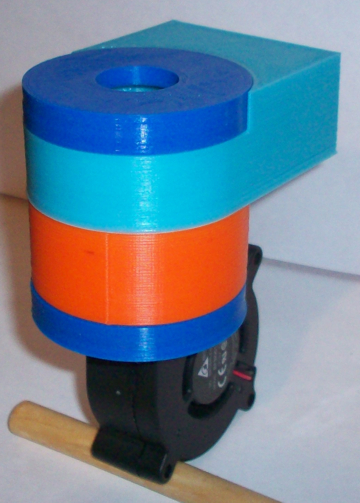
Introducing... Roto-Damper V2:
I had always planned to split the bottom half into two pieces mainly because I have several different blowers that I like to use at times (that are not the standard HM blower or size, bigger blowers for high heat Pizza cooks). Splitting the bottom half allows me to make different blower mounts to fit whatever blower I want to use. Splitting the bottom half was pretty easily done, while I was at it I streamlined the standard Heater Meter blower mount a bit so it can be printed face down with minimal support material, and adjusted the opening for the servo so it fits better. With v2 parts the only cleanup required on the bottom half is removing the small support grid from the channel that grips the blower, everything else mates perfectly right off the printer bed...
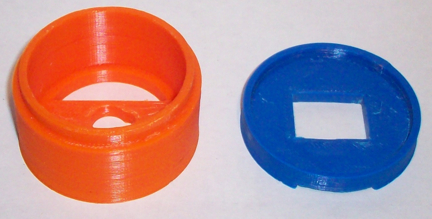
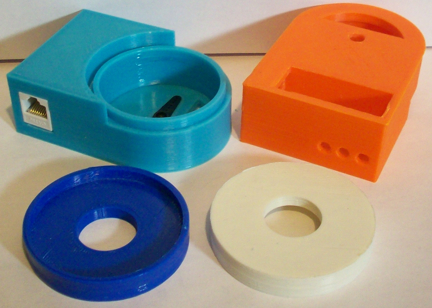
Here are the new parts for the bottom half:
Here is a picture of the blower mount with the small support grid in place and also removed:
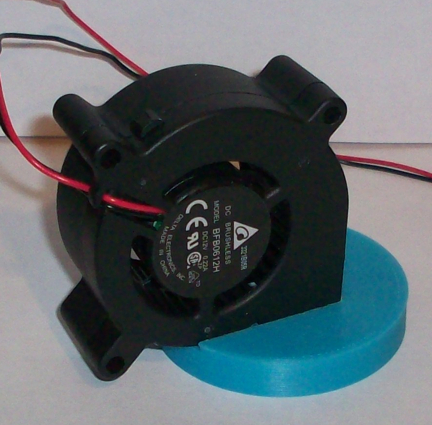
Here's a shot of the standard Heater Meter Blower pressed into the mount:
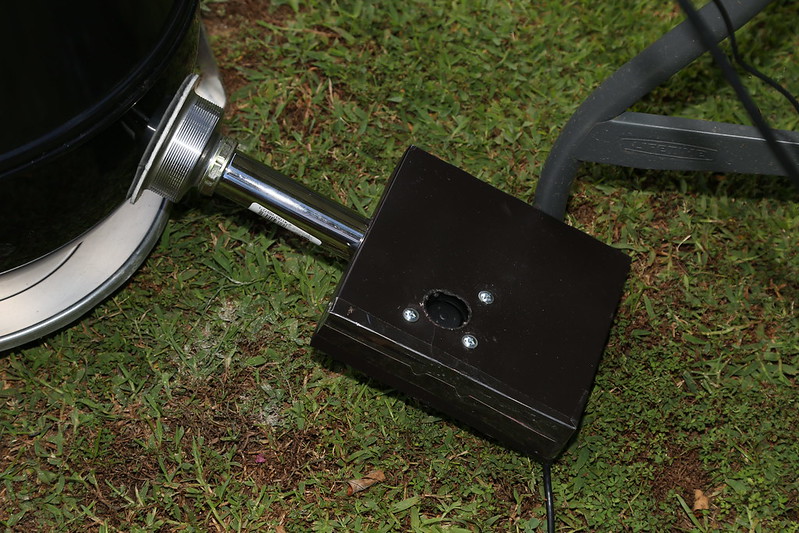
Once I had that done I decided to take a look at the top half of the unit. Most of the design of the top half is centered around the wiring cavity, fitting in the CAT5 jack and probe jacks and making the structure solid enough to hold up to use and abuse. I wasn't able to lift off the entire top of the object without weakening the CAT5 jack mount, so I decided to lift off just the top of the round portion where the air flows. I was motivated to do this for a couple reasons, first off I can now make different tops that snap on the unit that have different output options. I've been using copper pipe to connect my damper to the grill adapter, but I think other Kamado users might prefer a square output, or WHATEVER... Now I can accommodate connection to just about any grill adapter by printing a different cap. The other motivation was, again, eliminating support material and post print cleanup of the parts. I still print support material inside the wiring cavity, but my new improved support material comes out super easy leaving very little cleanup to be done on the part.
The final motivation for splitting (both of) the parts was ease of assembly. With the one piece parts assembling the unit was a bit like a game of "Operation"! (maybe you've got to be an "old timer" to remember that game...) I am good at this sort of thing but I could see how it might prove frustrating for some. The new design is super easy to assemble 'cause the unit is wide open with the cap and blower mount removed. While I was at it I made some adjustments to the opening for the servo lever, it now fits into the slot perfectly with no cleanup required.
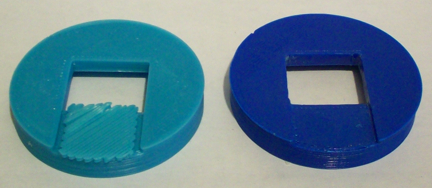
Here are the new parts for the top half:
The cap on the top and bottom half snap right into place, no screws or glue required. The seal is pretty tight, on the bottom half a little leakage isn't a big deal since the top surface makes the valve close off tight irregardless, so a little leaking wont effect the valves ability to tamp down the fire. The seal of the cap on the top half is a bit more critical, if the top half leaks the fire may continue to stoke itself and hamper the Heater Meters ability to control the pit. With the new 2-piece top I can tell it leaks just a tiny bit more than the one piece part, but the valve still closes extremely tight and I don't expect it to have a hard time tamping down a fire. If leakage does become a problem for someone (which I highly doubt) you can seal the cap on the top half with some silicone and that would eliminate any extra leakage from the 2-piece part.
In the end I don't think the re-design and elimination of all that support material really shaved much time off the printing since there are more parts to print now. It did eliminate a lot of the post print cleanup and made the unit much more versatile in that it can be mated to just about any blower or grill adapter by printing a custom cap. It's nice to have near ready to use parts come off the printer, I've nicked my fingers a few times scraping out support material and that's no fun!
Speaking of no fun, my first attempt to re-design the blower mount turned into a major PITA. I had simply cut the existing blower mount off of the barrel portion and then extended a ring on the bottom side so it fit into the barrel, easily enough I thought... but the ring on the bottom and blower mount on the top mandated the use of support material on the part, one side or the other... I tried printing it both ways, either way removing the support material from this small part was a nightmare, way worse than cleaning out the original 1 piece bottom half ironically. So I ended up streamlining the blower mount so that side is flat and can print face down, this way the inside portion can be printed face up and hollow without any support material. As the saying goes, "there's more than one way to slice a damper", or something like that! LOL
Here is a picture of a couple of the nightmare first draft blower mounts I printed:
I just got the first v2 unit together today, so I haven't tested it out with a real cook yet. The outdoor thermometer near my FauxMado grill says 9 degrees right now and we are at the warmest part of the day so I'm not sure WHEN I will get around to doing a real test cook! Anything close to 30'ish and I am good to go outside, but when it gets down to single digits I tend to stay indoors...

