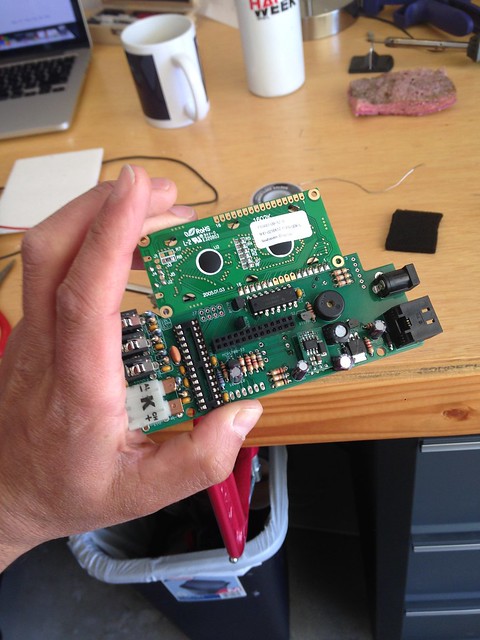
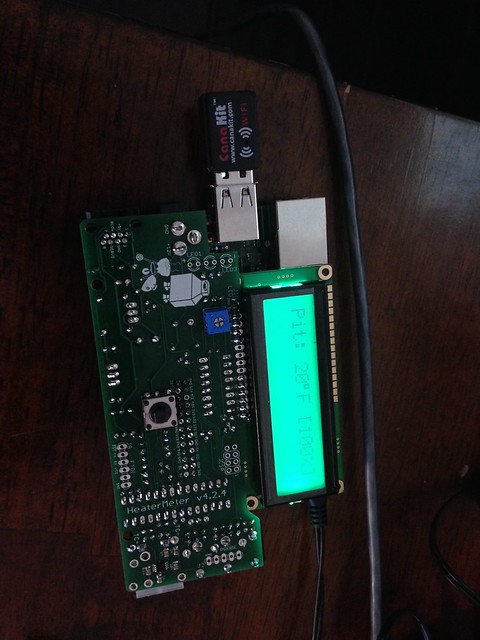
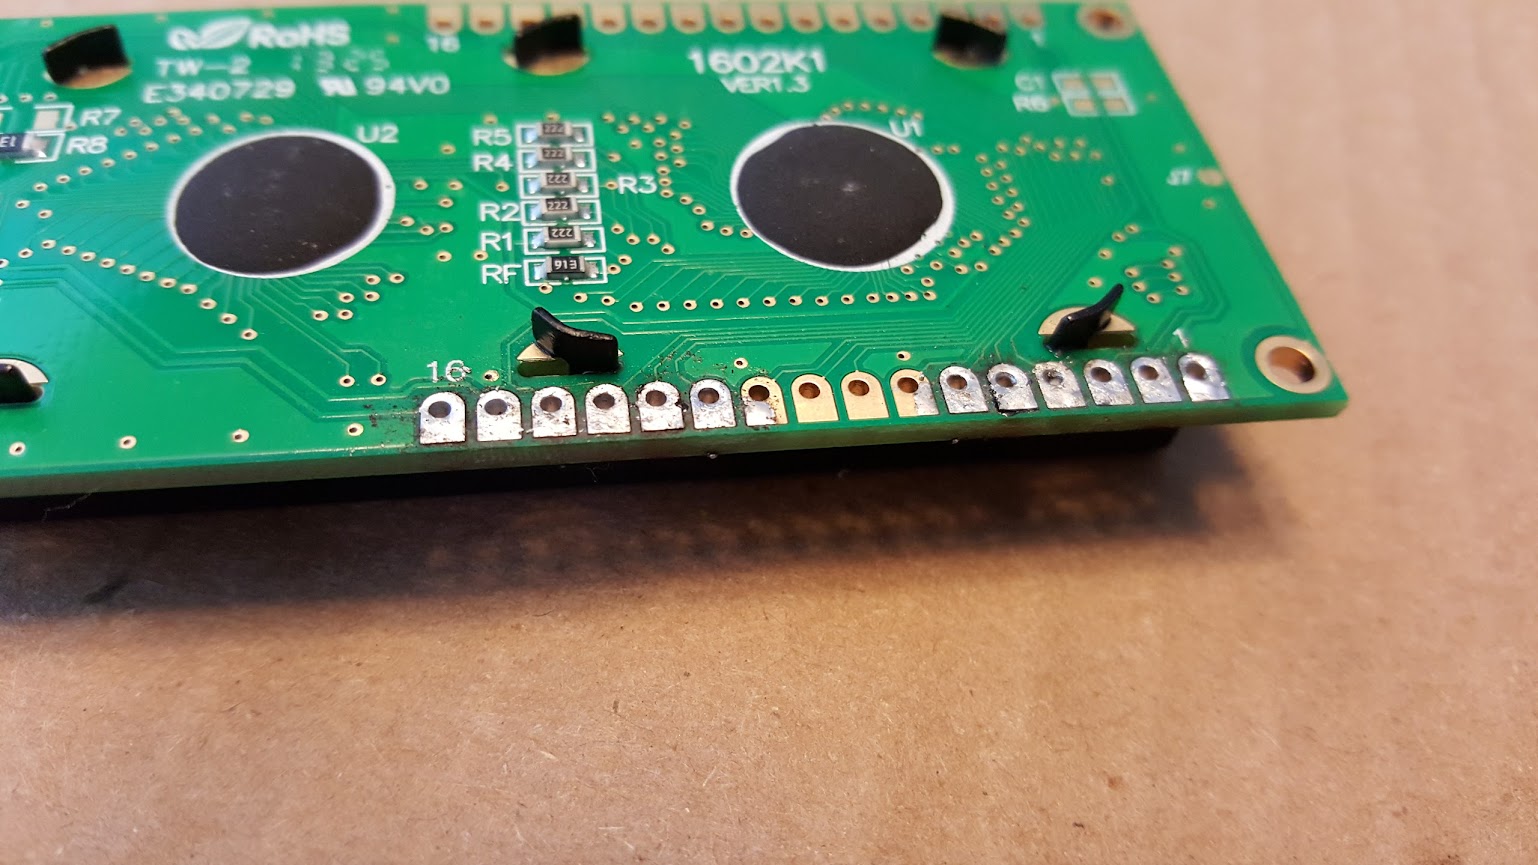
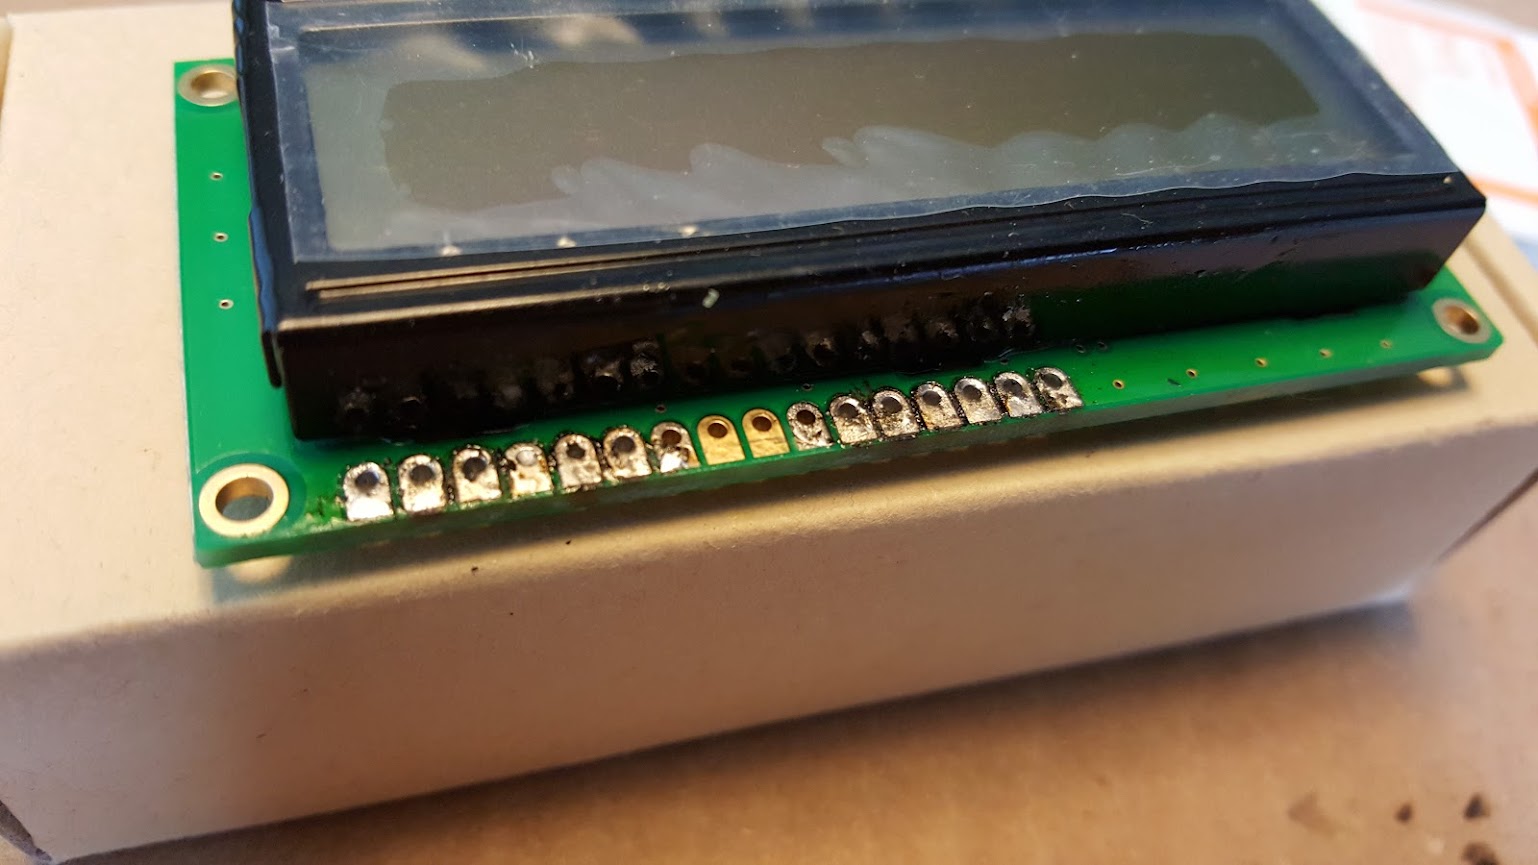
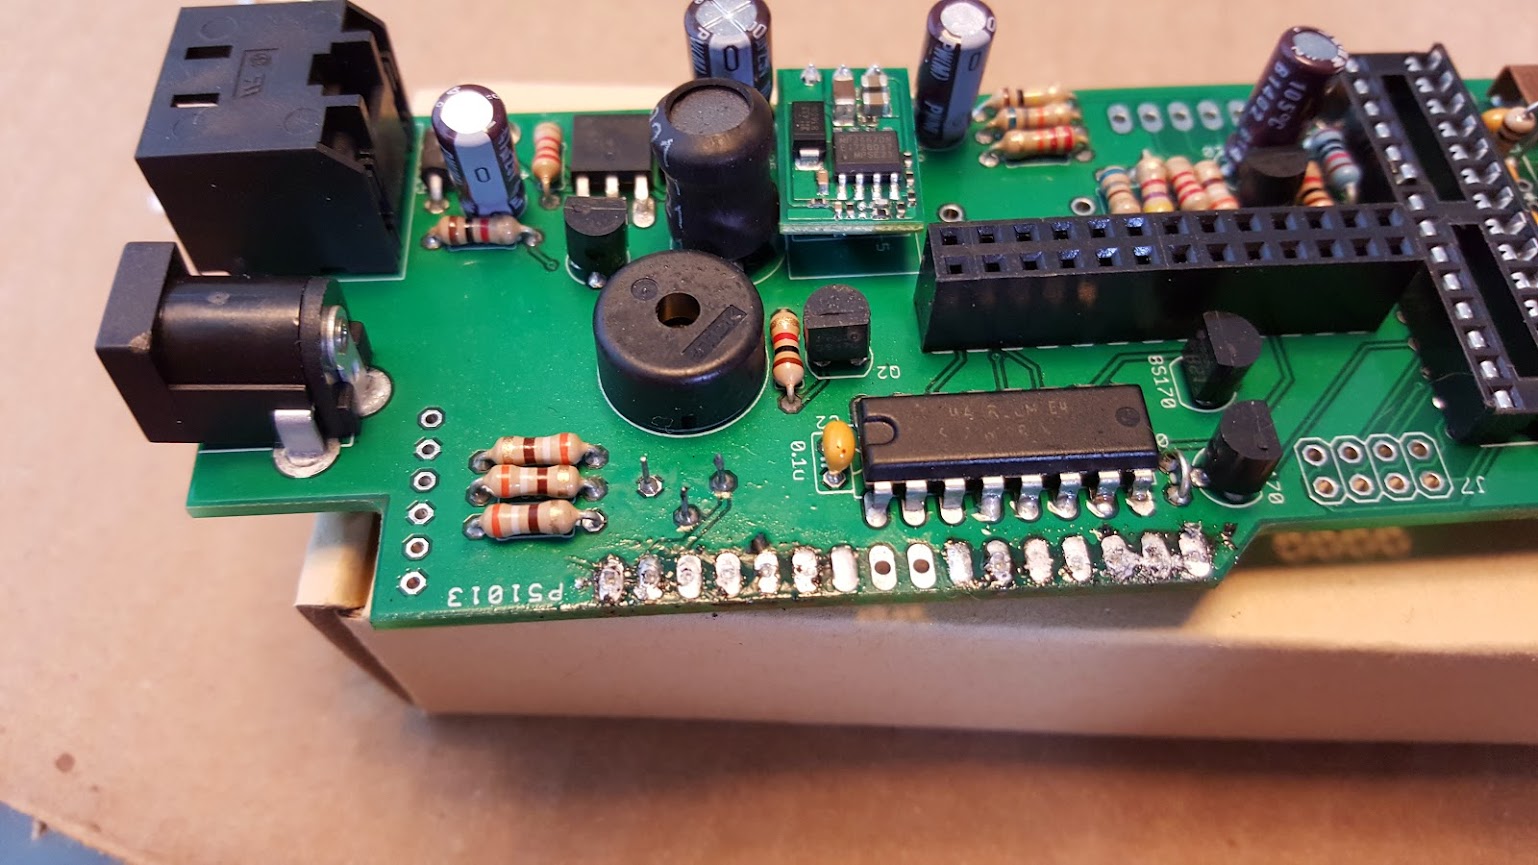
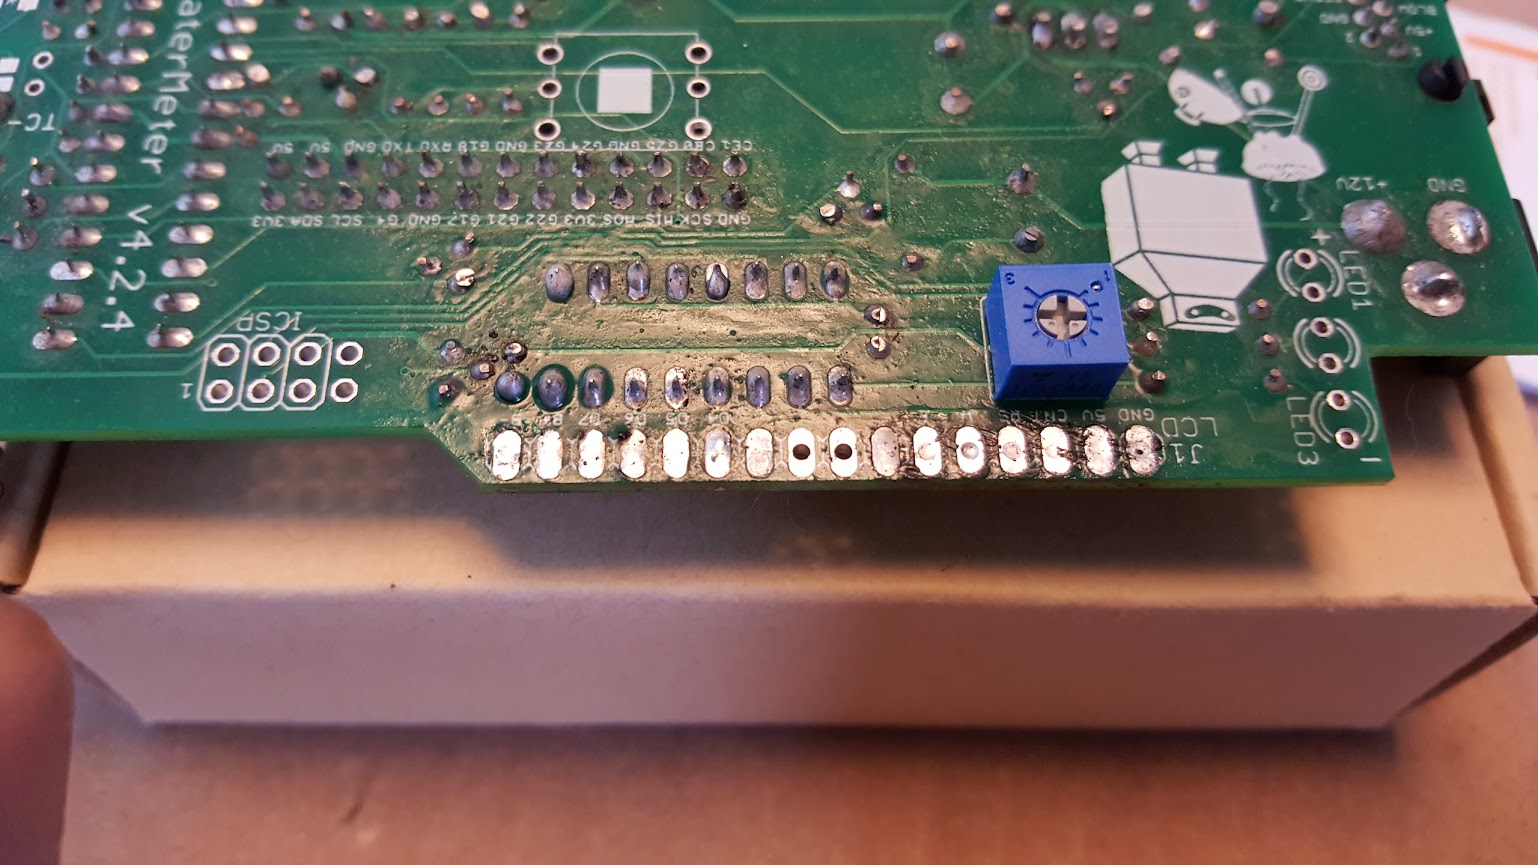
This was my first PCB, so thought I'd share some images of the project and some feedback. First of all, the instructions were unparalleled. Better than most things I've purchased. There were a couple spots where the resistor housings (not stripes!) were different colors, etc. but that's to be expected.
* the helping hands were less necessary than I thought. I could have done the whole thing without them.
* a small soldering tip and small soldering wire were very helpful
* some of the PCB solder points spilled over to holes right next door--the board was designed for this, but a little diagram of "where this is ok, and where it's the end of the world" would have made me feel a little bit better
* The LCD step-by-steps were perfect. That said, my pattern for reading directions/doing was pretty solid for a NOOB and I still made 2 mistakes.
Here was my process. All in, I'd guess I spent 4-5 hours soldering and the "extra steps" took a total of 45 minutes on top--well worth it to remove NOOB risk:
1. Read all the directions through even the parts that aren't necessary--e.g., I read about the Raspberry Pi A even though I used a B (15 minutes)
2. Do one section (1-2 steps at a time). Read the 1-2 steps before, those 2 steps and then the 2 steps afterwards. If I'm starting after a break, skim all of the instructions again to re-orient.
3. Have the laptop about 1.5 feet away at all times (close enough to check, but not too close to get solder on everything).
4. Don't drink too much coffee--my hands wiggle when I solder after 2+ cups of coffee.
5. For each 1-2 steps, pull out all the components and label them (the kit with the printouts is helpful, but I further separated using scrap paper). That way you're only tracking 3-5 small parts at a time.
6. Double check the components vs. the instructions again: resistors can move around, capacitors look similar. Desoldering is a bugger for a first-timer.
7. Do a dry run of the components for the 2 steps. Ensure they're all in and look like the picture. Spend an extra 30 seconds here--it's worth it to prevent a mistake. Clip the leads.
8. Put them back on the paper --re-sorted
9. Solder them 2 at-a-time. Every time, check the label on the paper, the stripes/labeling on the component, and glance at the instructions.
10. Repeat.

