JasonMansfield
New member
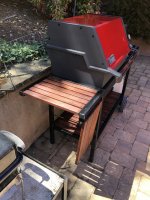
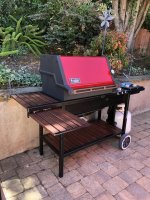
Thanks Jon. Luckily this is no where near the quality restorations I see on here, so I have no problem getting it dirty! But it does feel so new and fresh.
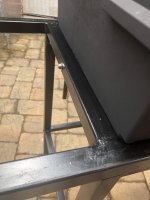
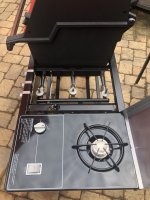
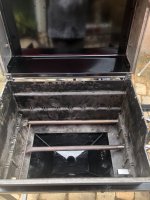
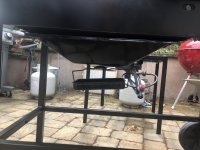
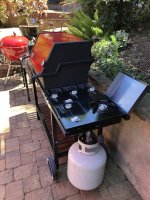
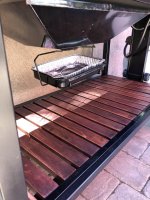
If anyone in the Bay Area is interested in a Genesis 3000 redhead (now 2000 cuz I stole the side burner), let me know. Otherwise, my buddy will probably just put it to the curb with a free sign on it. Frame is solid, grates are toast. He already pilfered the flavorizor bars and ignitor, and drip pan has a bit of rust. Otherwise it seems like a good candidate for a restoration, or even just a good cleaning and replace the usual items.
If anyone in the Bay Area is interested in a Genesis 3000 redhead (now 2000 cuz I stole the side burner), let me know. Otherwise, my buddy will probably just put it to the curb with a free sign on it. Frame is solid, grates are toast. He already pilfered the flavorizor bars and ignitor, and drip pan has a bit of rust. Otherwise it seems like a good candidate for a restoration, or even just a good cleaning and replace the usual items.