A BURNER SOLUTION:
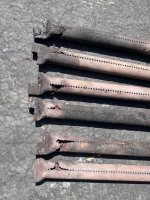
Since there are no original Vieluxe burners available for sale any longer, if - like me - you cannot refurbish your originals, the only semi-viable fix is to use 1st generation Summit burners that are a half inch too short. Even this is starting to get iffy, as I noticed that GrillParts.com has warnings of low stock on these burners

. It could become very difficult to even get them in the not-too-distant future...
What others have shared and commented on is that if you push the Summit burner all the way in on a Vieluxe, the front part barely touches the valve. Understandably, some expressed concerns about the potential danger of going this route, since the fuel flow may not all stay contained in the burner tube.
THIS PICTURE SHOWS JUST HOW CLOSE TO THE EDGE THIS WOULD BE. A SECOND SHUTTER HAS BEEN OVERLAID TO ATTEMPT TO HOLD THE BURNER IN PLACE. THE VALVE IS JUST BARELY INSIDE THE BURNER TUBE:
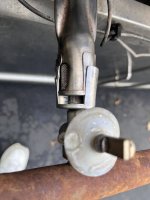
So, to avoid this risk, the alternative idea is to add some extensions to the end of the Summit burner tab to allow it to go into the back of the grill but also allow the front of the burner to be fully connected to the valve:
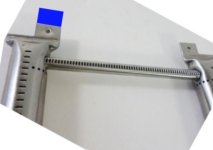
There are some problems with this approach, however. When installed this way, the holes for crossover do not line up and the openings are way too close to the front of the grill:
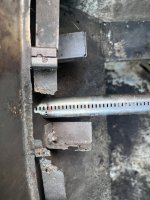
But, if you put the Summit burner all the way in, things line up much better, and the end of the burner fits perfectly into the Vieluxe back:
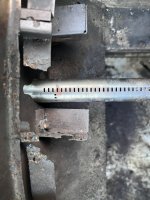
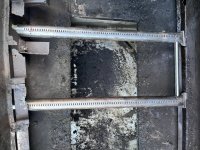
I pondered some dubious ideas that I shared with my friend
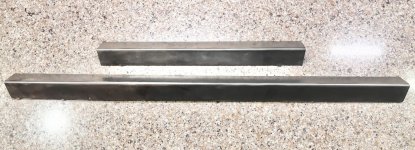
@Bruce. Leave it to Bruce to come up with a really clever and elegant fix to this problem. It is safe and doesn't require complex parts. It does take some of his welding talents, however. Bruce recommended that we try welding on a tube extension to the burner shutter end piece. Fortunately, this part is identical on virtually all Weber burners, so using some old Silver B ones he has in overflow leftover stock will work fine. Here's what Bruce came up with as a prototype:
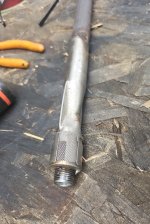
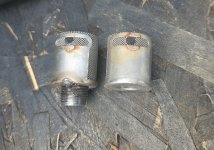
The really cool thing about this fix is that since the end piece/shutter is not subjected to so much heat being outside the firebox, it will last a long time. When a burner fails beyond restoration, you can just take out the small screw and pop this customized piece off to substitute on a new burner! I think this safely solves a lot of issues, keeping the gas channeled into the burner tube while the burner is also in right location, well seated and with its openings lined up where they should be.
THANK YOU, BRUCE!

 www.anotherpintplease.com




 !
!