James Cowell
New member
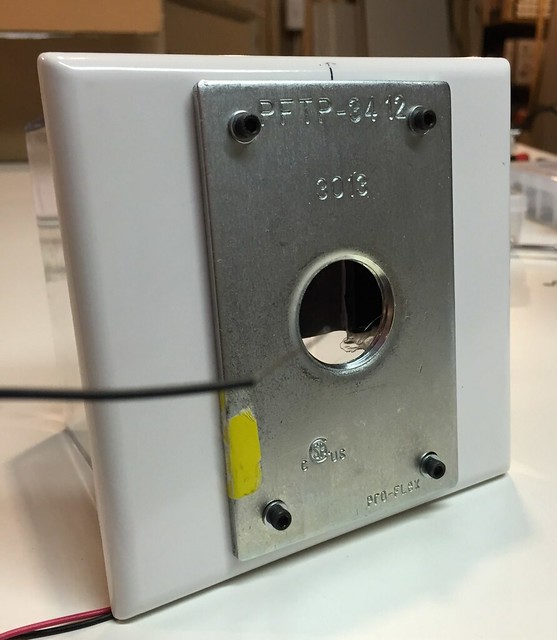
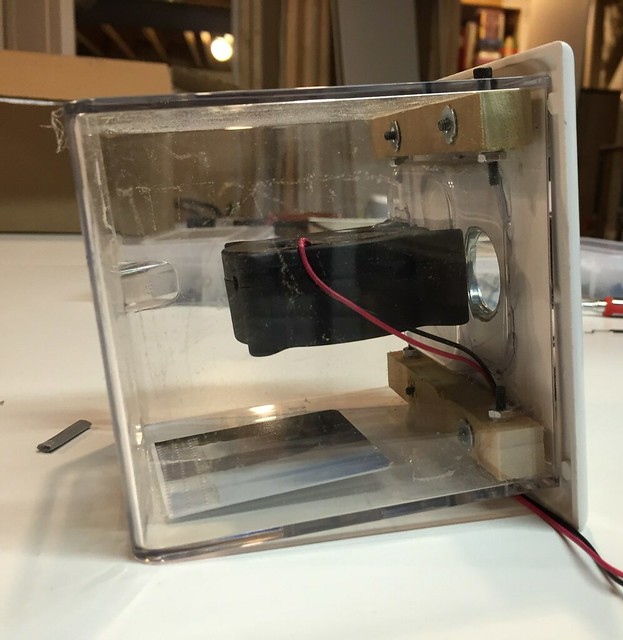
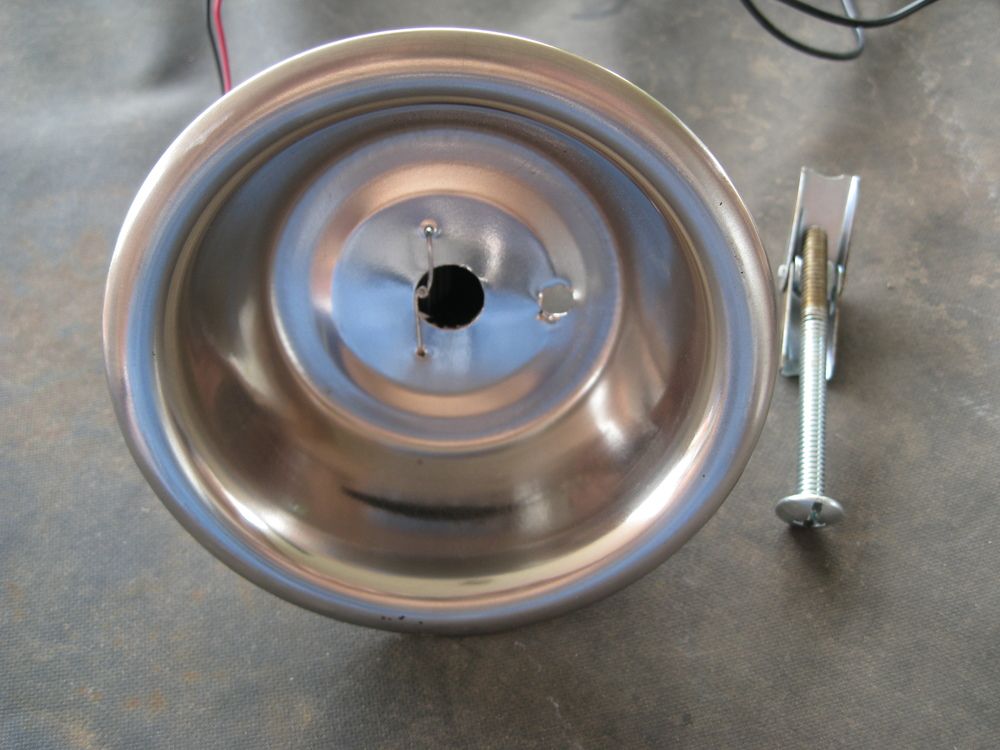
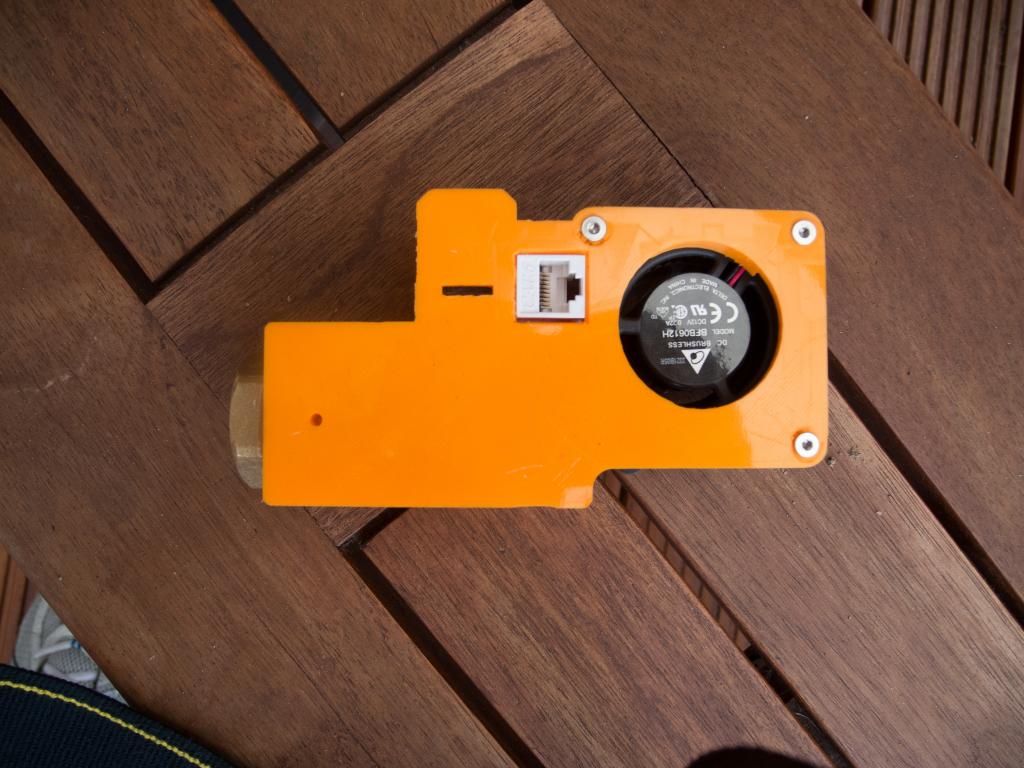
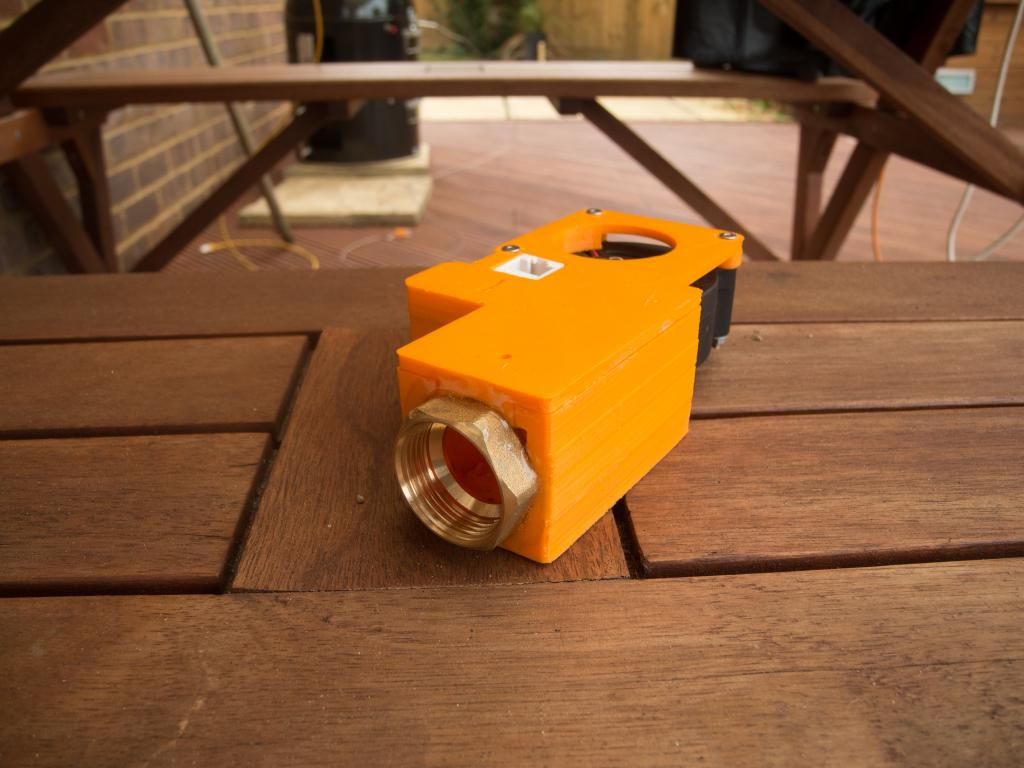
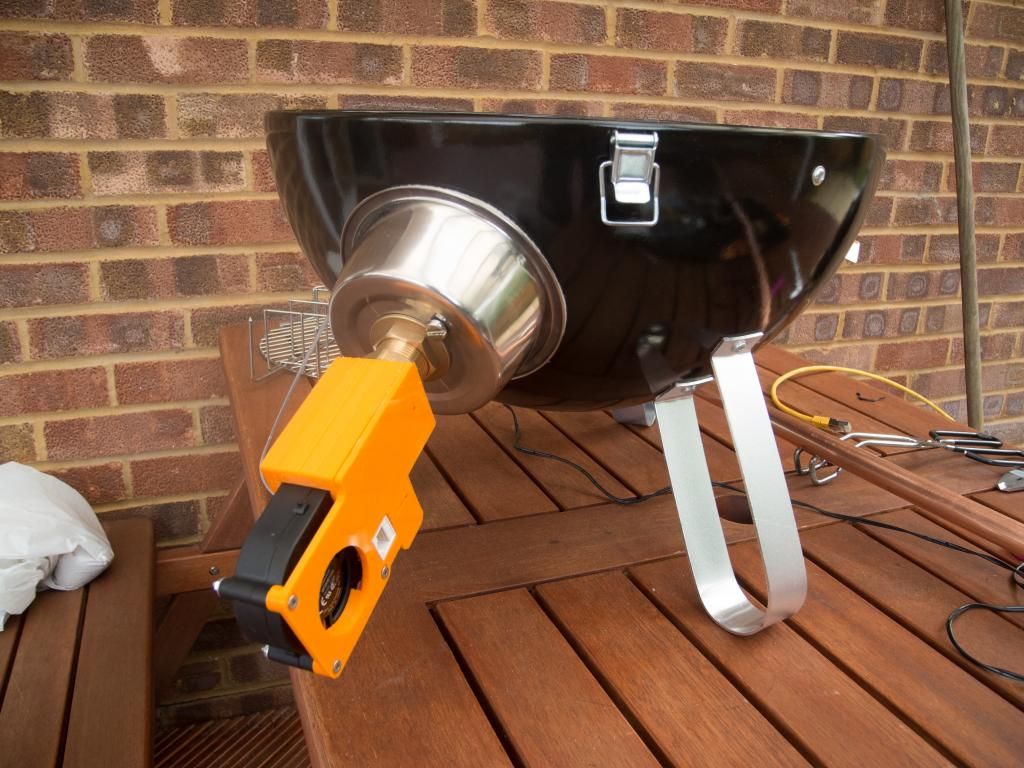
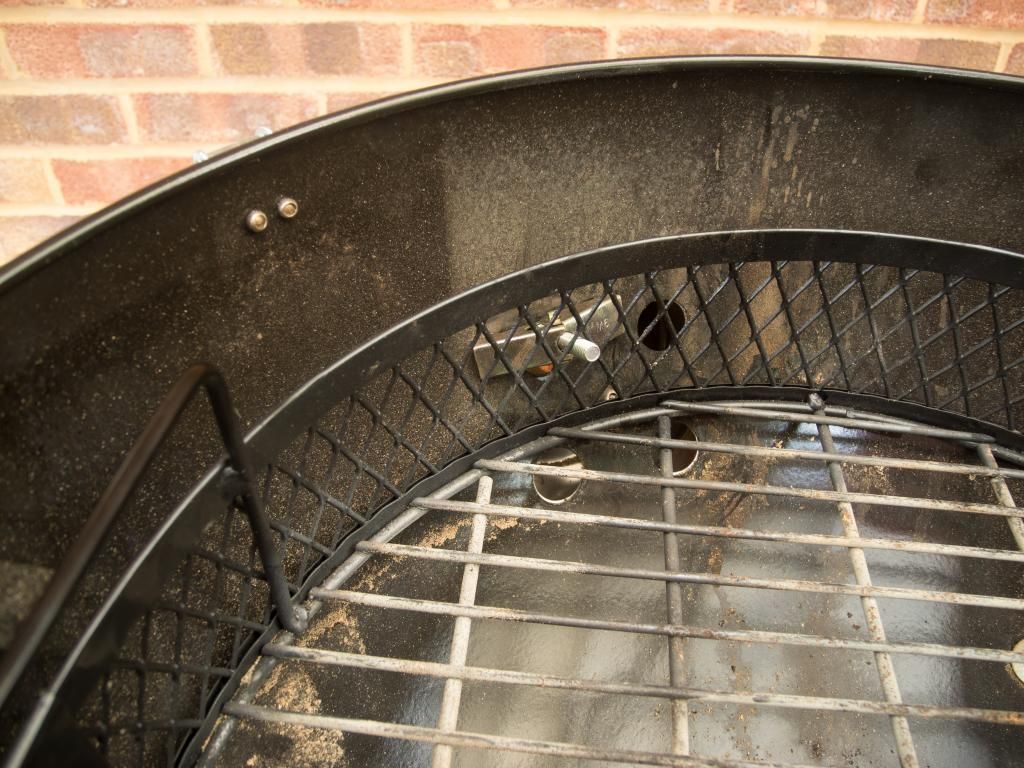
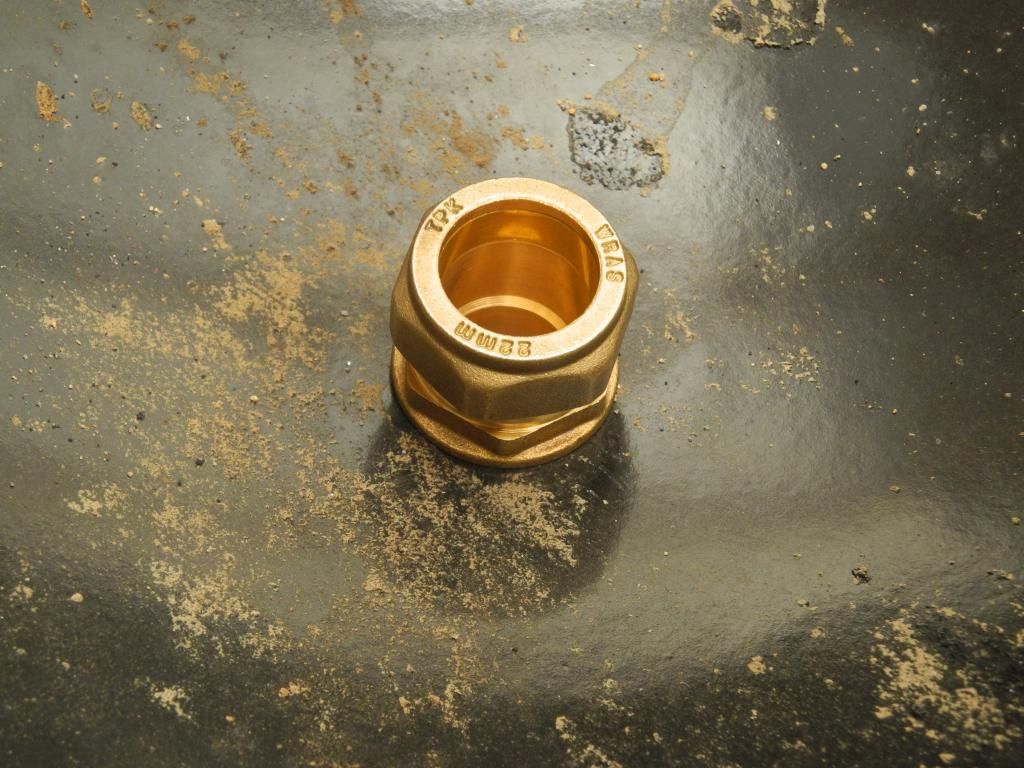
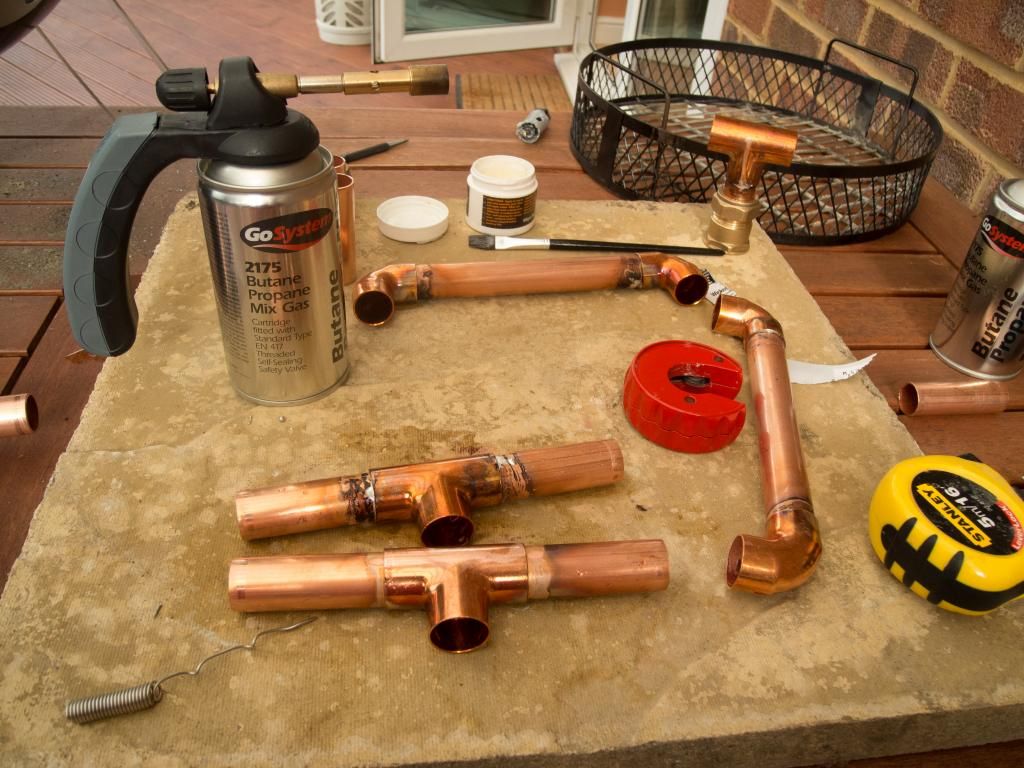
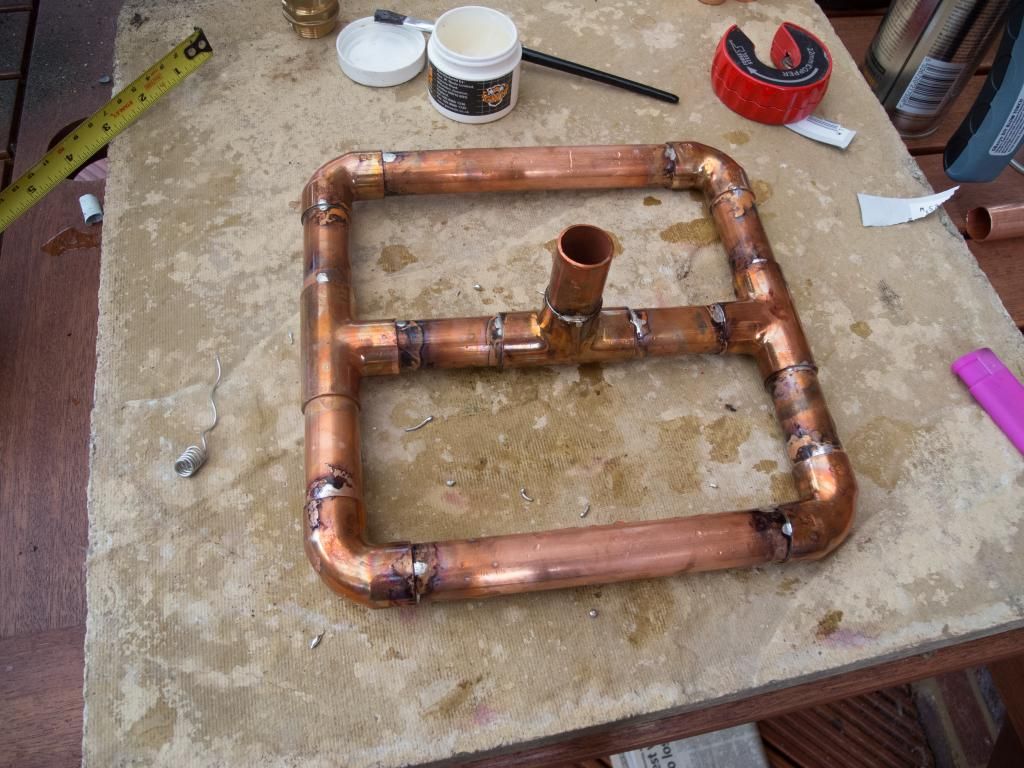
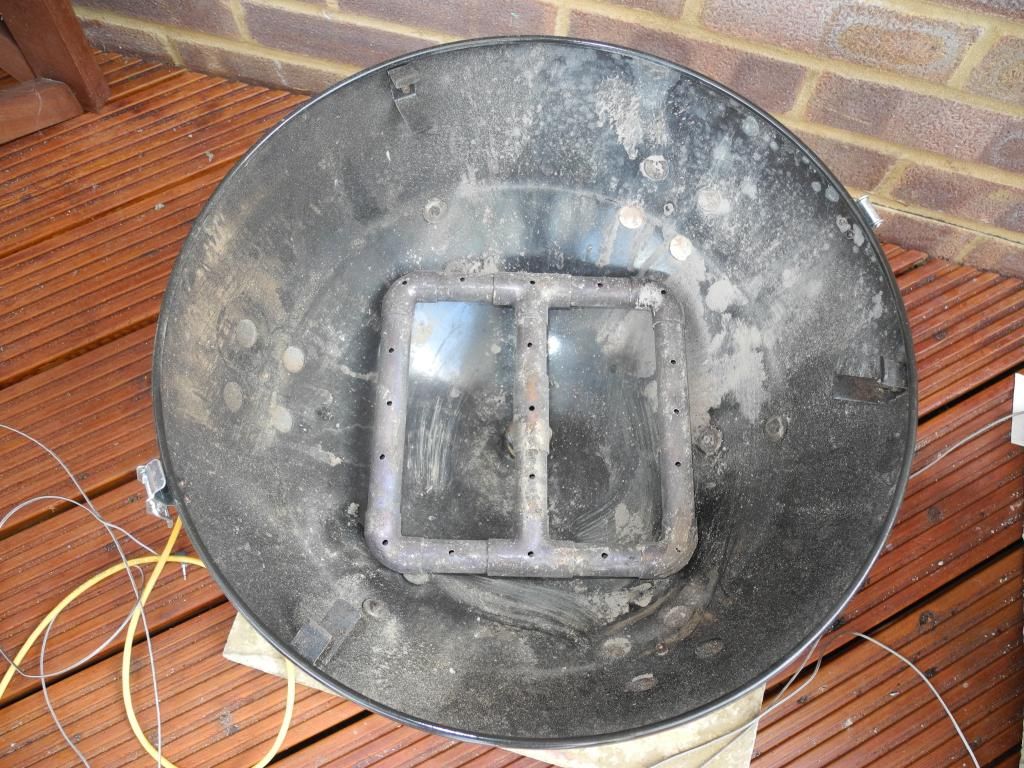
I think I have around 16 or 17 holes at 6mm each, I would need to go home and check to be sure. I'd read the post about overshoot so I started off with with about 12 3mm holes, then added more, then made them 4.5mm, then made them 6mm and then decided the bottleneck was the 15mm input pipe. At 6mm I could hold 120C but go no higher and the fan had to remain on 100%, plus it took around an hour to reach target. Once I added the second input pipe it was much faster to get to temperature and then it held it steady with the fan < 20% so the fire wasn't drawing through the injector. I know you only had the one input pipe Ralph which I why I started out with that but my tests suggested that's where my issue was, maybe the 57cm WSM needs a bit more air?
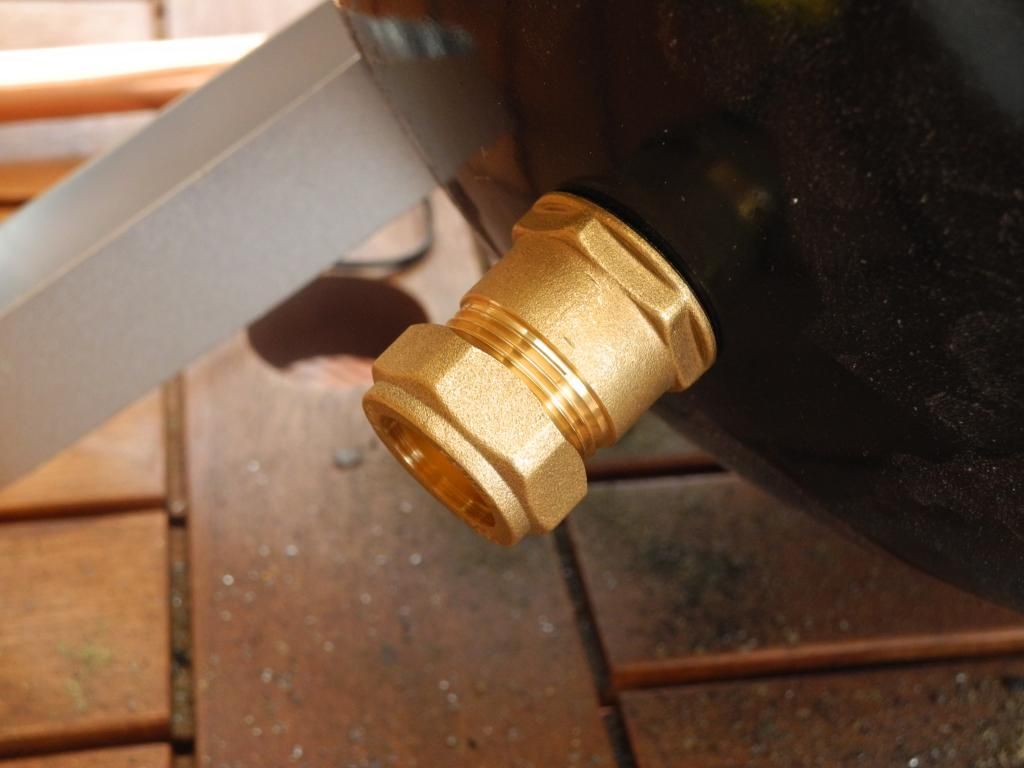
I should add that my WSM has little to no air leakage, the door and top have a nomex gasket installed and the other vent holes are covered in aluminium tape. I also tape around the input pipes as they go into the vent holes on the front. I'll probably have it on again at the weekend as a final test before my next big BBQ on the 16th for the boy's 2nd birthday.
I should add that my WSM has little to no air leakage, the door and top have a nomex gasket installed and the other vent holes are covered in aluminium tape. I also tape around the input pipes as they go into the vent holes on the front. I'll probably have it on again at the weekend as a final test before my next big BBQ on the 16th for the boy's 2nd birthday.


")