Jumbo Joe build into a Jumbo Mini ...Introducing the "Jimmy"


KeithFWI

TVWBB Fan
A month or so ago i picked up a Jumbo Joe on clearance from Target for 19 dollars with the hopes at best for making an efficient smoker out of it or worst i'd have a great grill. After some searching i settled on a 80 Qt stainless steel pot i found on Amazon. I contacted the seller asking he or she to take measurements for me, they responded with it's a 17.5" bottom (perfect fit) and a 18.5 top fit (perfect) They were also going to honor a sale that had just ended....PERFECT, let's order this thing!!!

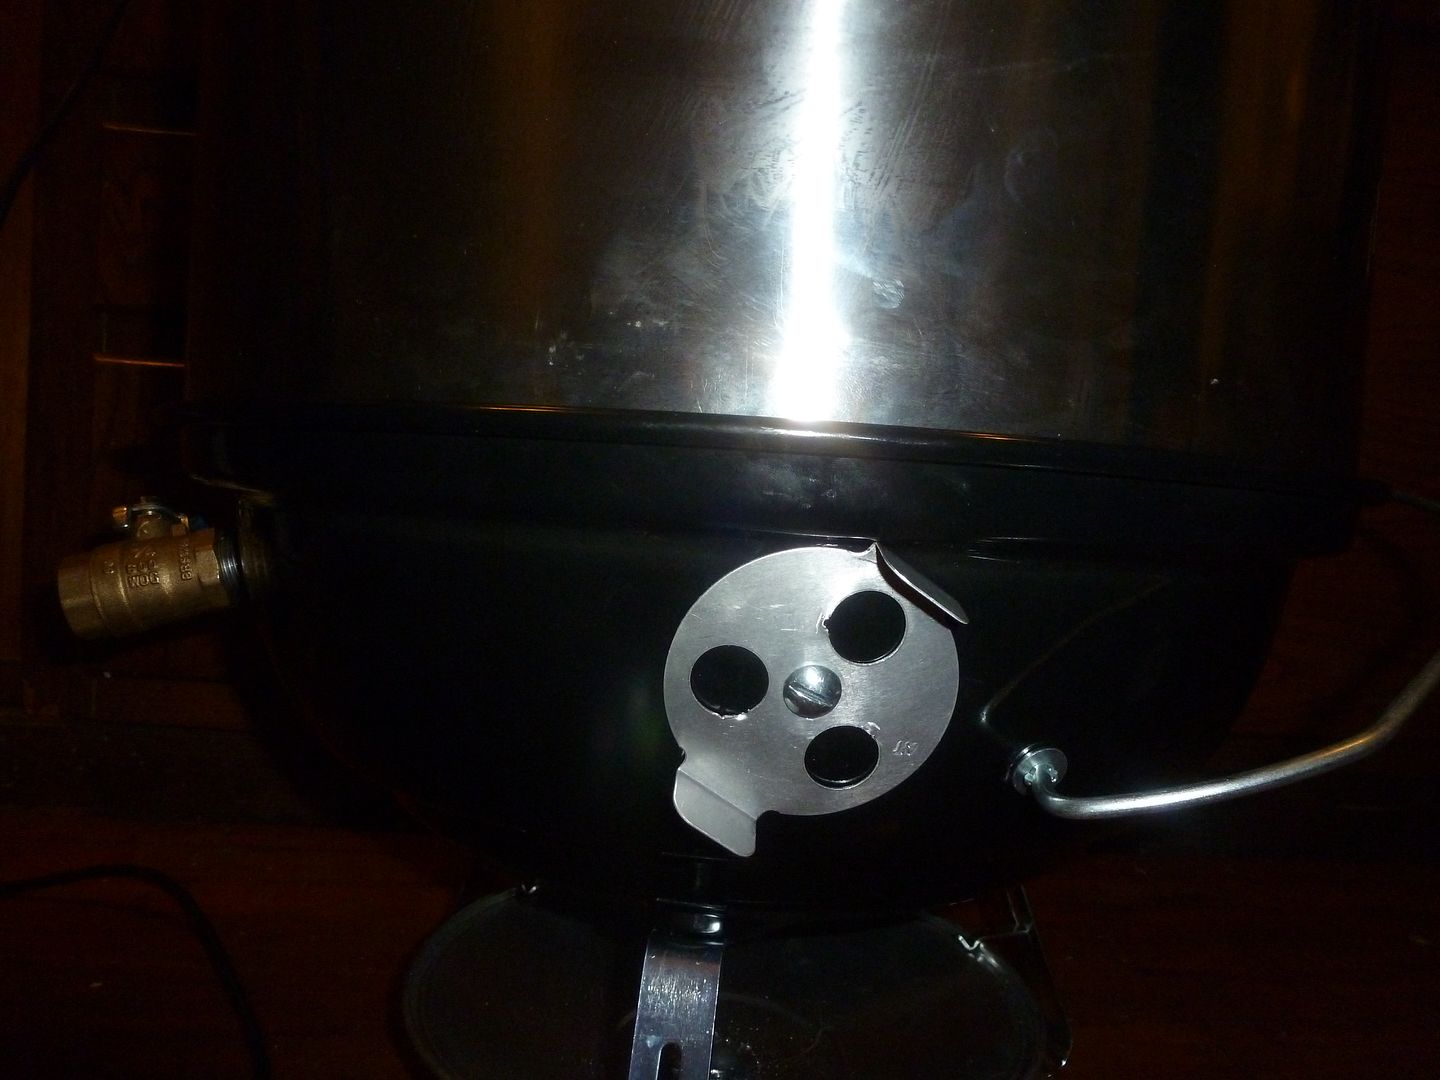
Before it came in i knew that i wanted it to have a 3/4" ball valve for my PitmasterIQ or BBQ Guru because i have 3/4" for both of them so i went ahead and did that first.


For other air vents i considered nipples and caps but i really like the controls like my Smokey Joe Gold so i decided on WSM style vents.


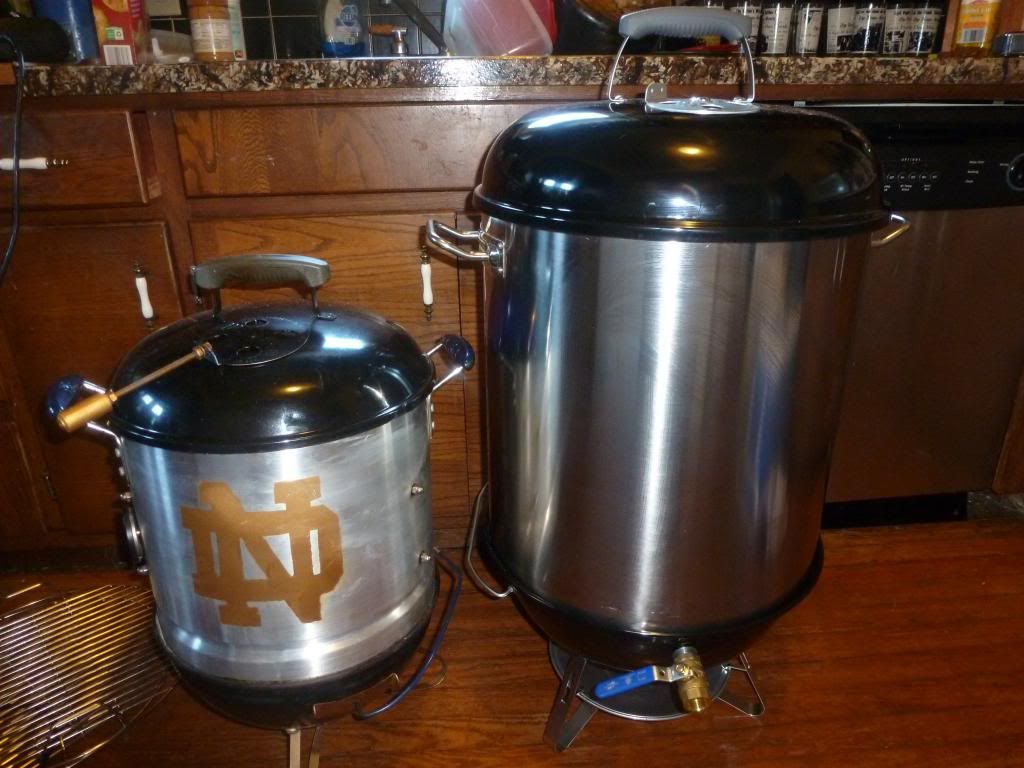
A little size comparison to the mini WSM here. This pot is 19" high which is HUGE for a pot....lol I can't imagine cooking with this thing on a stove!


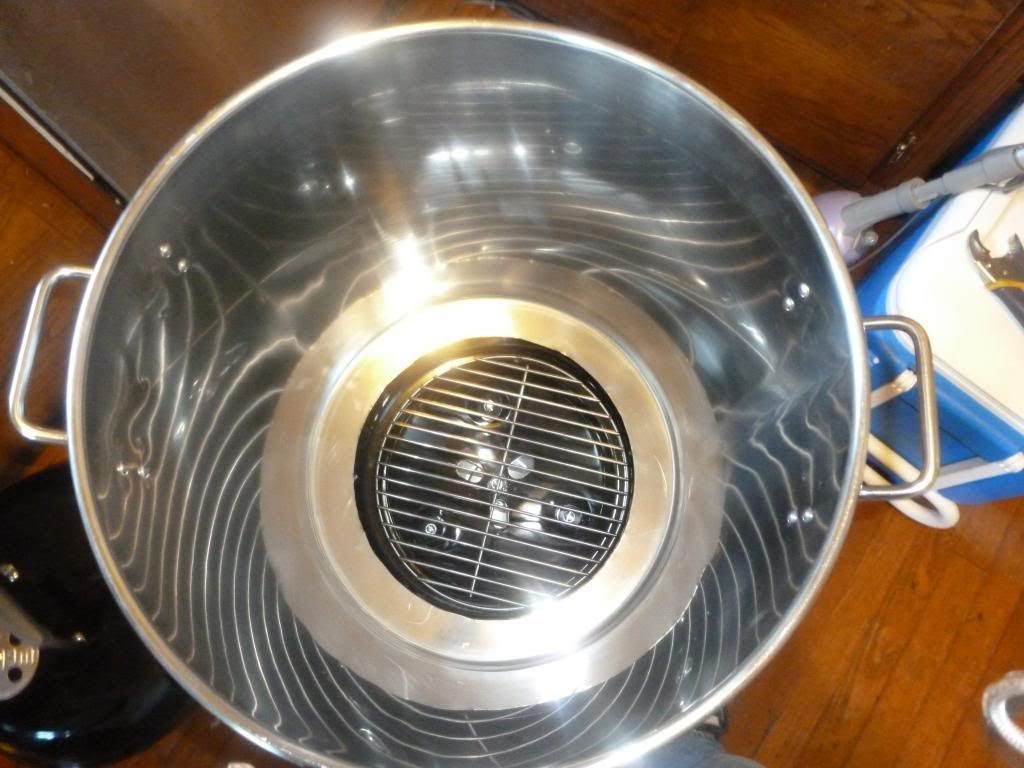
I found from the mini that it's best to have the bottom cut out so that you can stack the charcoal basket and not have it interfere with the pot sitting in the base. I used the Jumbos charcoal grate as template to trace my cut out on the bottom of the pot.


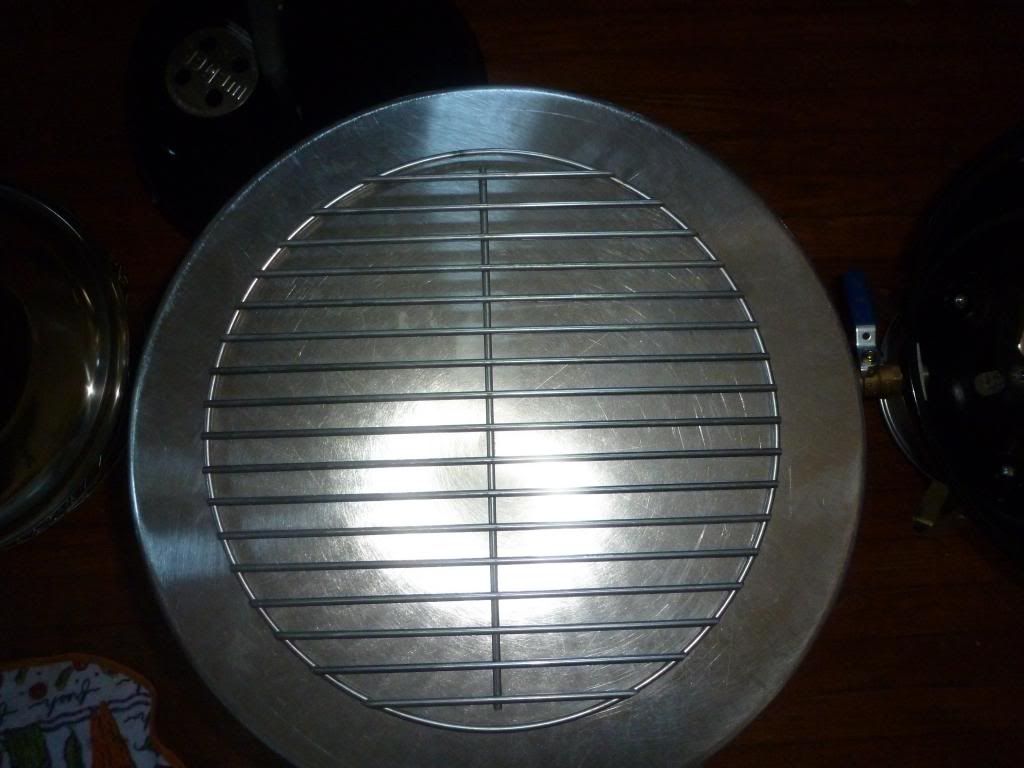
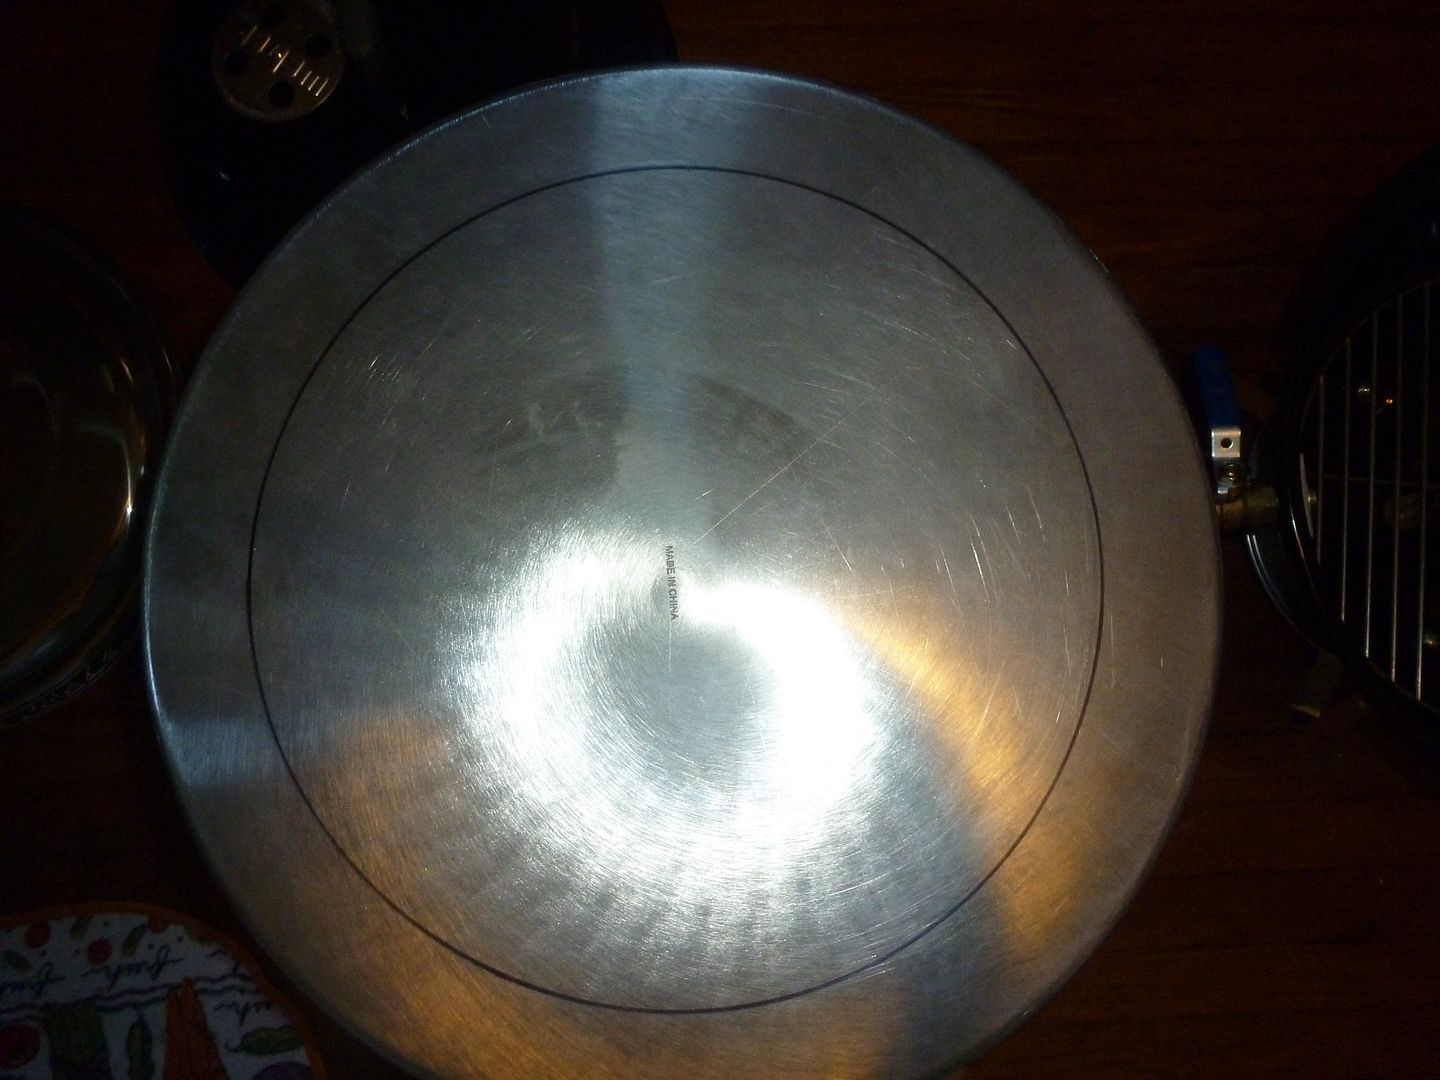
Ok it isn't easy cutting stainless steel compared to aluminum! Tip: Use a jig saw with good metal blades and dish soap makes a good lubricant for the heat.


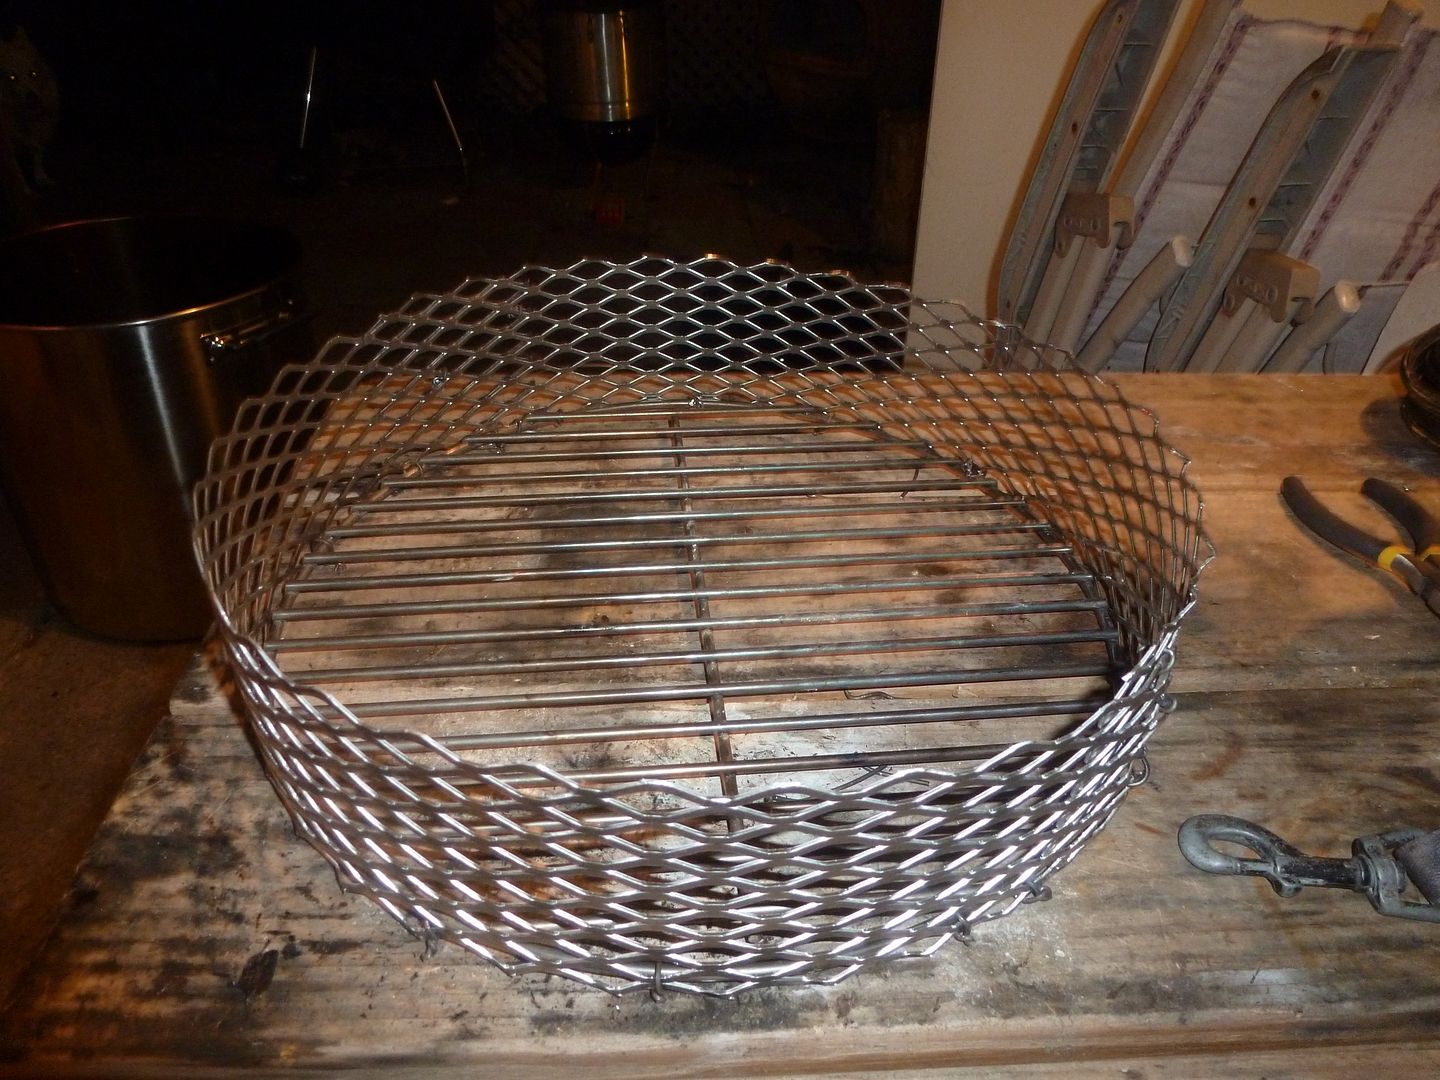
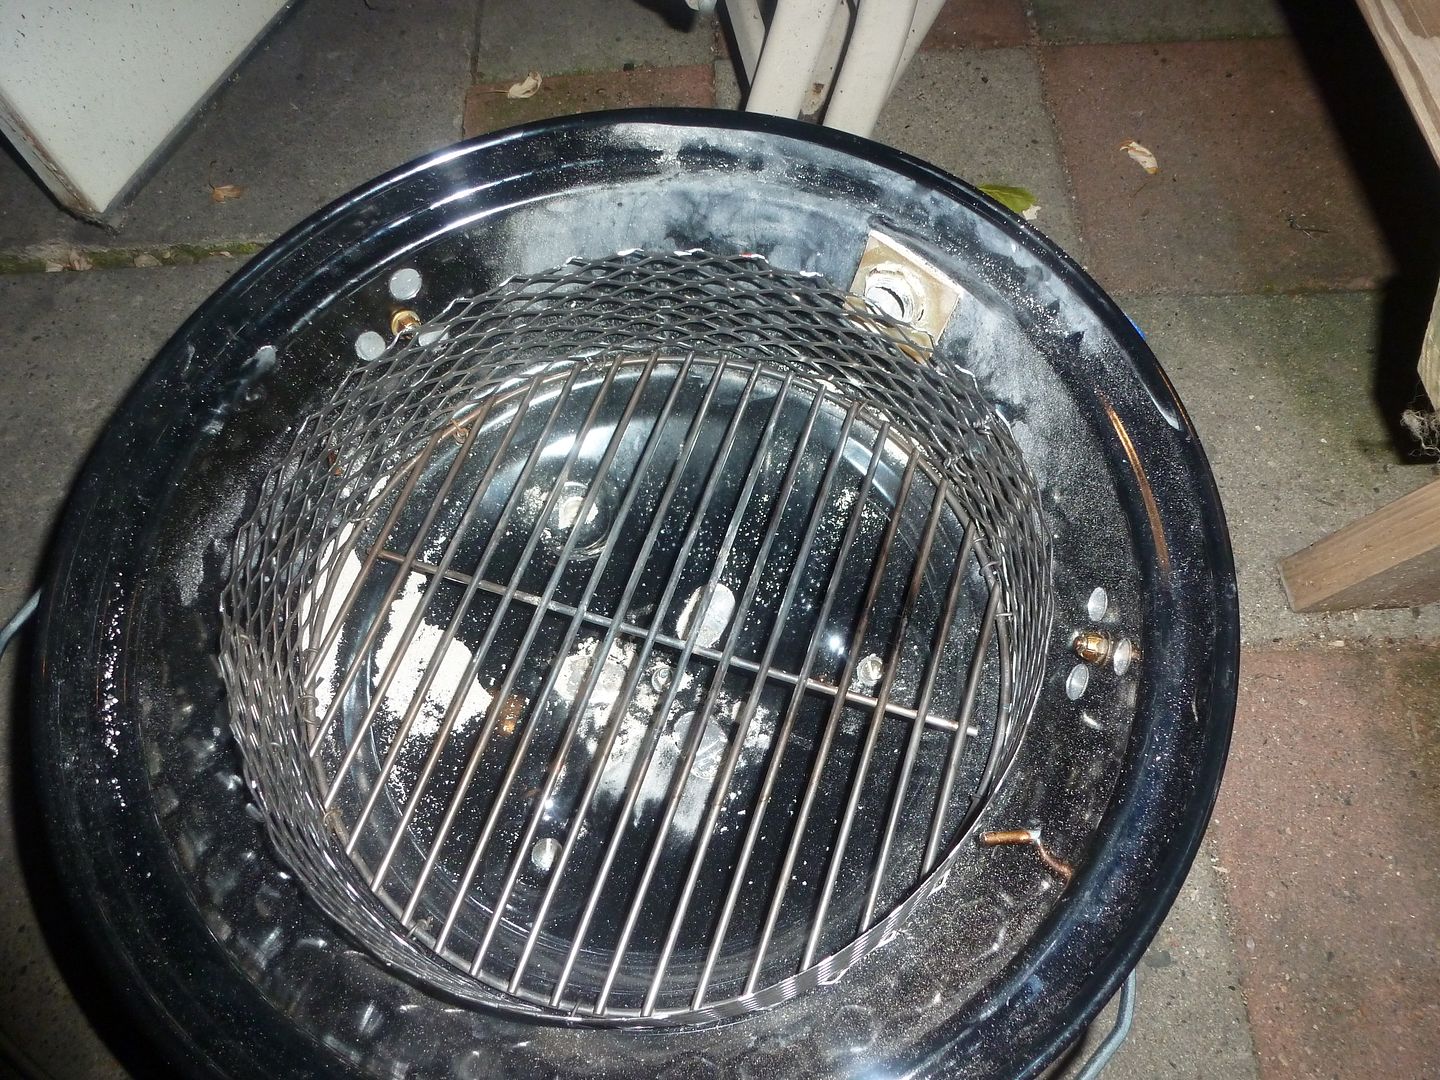
If you haven't made a charcoal basket for your mini then i highly suggest to do it..and use the charcoal rack. This basket needs to be just at 3 1/2" high as to not interfere with the pot sitting in the base. I went to Lowes and got some expanded steel and formed this out of two sections appx 3.5 " s high and wire tied them to the rack. Tip: Rebar wire makes great ties.


Last edited:
This makes a nice little fire box so that when you have side air vents the whole basket gets air all around the perimeter.


I wanted a two rack system so i decided to put the first rack 1 1/2" s from the top and the second 7" s down from the top. Tip: Use a big step bit to start the holes (dish soap) as a lubricant and i used a smaller step bit once it got started. I burnt out a step bit quickly not using lube or the bigger one first so learn from my mistakes...lol Tip 2: You need leverage so put the pot on it's side or you'll never get it started...i just put a blanket down and went to drilling. Use 1/4" bolts or shorter. Tip 3: I went to Menards and got 1/4" fiber washers to put on the outside with the acorn nuts. I got so sick of oil and grease seeping out of my mini's holes... This solved that problem!!!


The Jumbo has that bottom vent but i didn't want to use that for my primary air control but wanted to still use it. I also have a Big Poppa Drum Smoker which has a adjustable basket for searing...when you bring that basket up to sear it burst into flames. The reason it burst into flames is because after smoking and you bring it up and air comes at it from the sides and from the bottom. I wanted to try to duplicate that for this build so i put a handle on the vent ...calling it the sear handle. I only want to really use this to warm up the smoker and open it to sear.

I used a 6" carriage bolt, a cut piece of dowel rod which i counter sank and some lock washers and bolts...all 1/4"


Therm i went with a River Country because i wanted something accurate and didn't want to depend on my Maverick all the time. It got installed right below my 2nd grate at about 7.5 to 8"s down from the top.


I like my Q drippings to reach the coals so i decided to put a diffuser pan that i use in my drum in the Jimmy. I used longer bolts but you can use shorter ones if you want your diffuser to sit on a grate.. or if you want a water pan (no thanks for me anyway)


Ok the seller that took the measurements for me was off by about 1/4" on the dimensions of the top of the pot. The pot was a tad smaller at the top than they said by 1/4" which means the lid is a little looser than i would like. The bottom is the most important so i figured i could work with the lid. Not sure if i needed it or not i went ahead and picked up some 3/8" stove gasket and with some RTV high heat sealant put the gasket in the lids lip.


It seats really good imo, This is a pre burn before i had the build really started.


Here's a family portrait of my 14.5" , 18.5" and 22.5" smokers. It's nice to have versatility!


Ok this is what i have learned so far about this smoker.

1) It's SOLID and easy to clean! A little stainless polish and it's good to go

2) It holds temp like a champion, even better than the mini. The stainless was still hot after shutting down when the base was cool!

3) This is going to be waaaay hotter than normal for the first smokes...it's the shiny stainless. I've only had three short smokes so far and as it gets build up it's getting better.

4) The sear setting really fires things up!! Introducing air from the bottom does work well.


I highly recommend this smoker...man is it nice! Stainless is the way to go and i have about 185 into it which is way less than a WSM....but i just like making my own anyways. Thanks for looking
 
Last edited:
Looks fantastic! Instead of a UDS, you've built a BPS...which could mean something entirely different in Colorado & Washington State ;)
 
The pot is a Concord model # S4548S. The best price i see is 85 with shipping but hopefully someone can find better. It's 19" high stainless monster....very solid. Stainless is the way to go imo ...great heat retention and easy to keep clean. I wouldn't paint this thing.
 
Lid hook update... a little 2 dollar flat bar made a dandy little lid hook. I just hooked it up with the top vent bolt and nut.


[/UR
 
Love that hook for the lid. Its a pain in the but looking for a place to put it when cooking. Thanks for sharing!
 
A little update...this thing is performing incredibly. Cooking a chicken about zero degrees and not fluctuating from 350* where i dialed it in....didn't budge from this spot.

 
Really impressive setup and equally impressive posting with the great pictures and write up. A very fine looking self made smoker!


Back
Top