Bruce McLeod
TVWBB Member
It's too bad that while a cover for the 18.5 WSM is included, the seams aren't waterproof.
Seems to defeat the purpose of having a cover in the first place.

Every time I open my WSM after a rain, it's wet inside with a puddle of soggy ash in the bottom.
So, I've had enough of that!

Normally, it is simple to seal seams at the factory by heat welding or applying vinyl glue/seam tape in the seam as it's being sewn. But that might add another $2 to the cost of making the cover.
Waterproofing the seams of an existing cover is possible, but requires using the right sealant and covering all possible points of water ingress thoroughly.
Here's my effort to achieve just that.
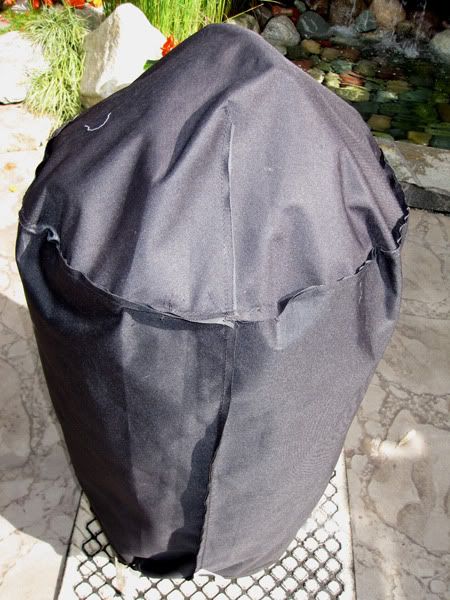
First, I removed the cover, turned it inside out, then covered the WSM with it. Here the single-stitched seams are exposed and relatively easy to work on.
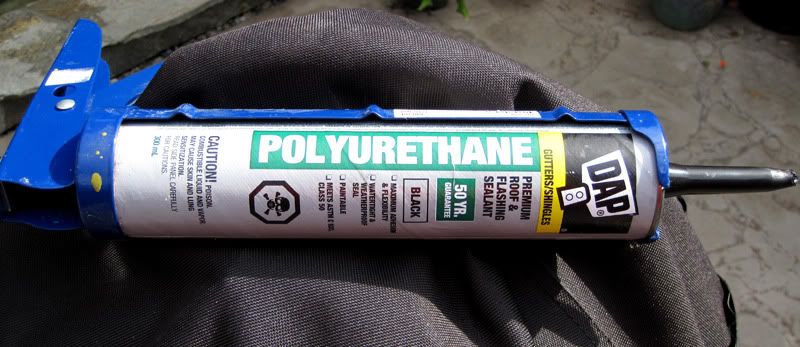
Then I got out the DAP polyurethane flashing sealant and went to work. After the fact, sealing stitched seams is a bit messy to do, but this polyurethane sealant sticks and cures well, remaining flexible (and hopefully waterproof). Using nitrile or latex gloves is essential when working with polyurethane. Cleanup is easily done with ordinary paint thinner before the sealant cures.
The first thing to do is lay a bead of sealant inside the seam (shown here on the dart seam that tapers the cover to allow for the shape of the dome) between the two layers of material.
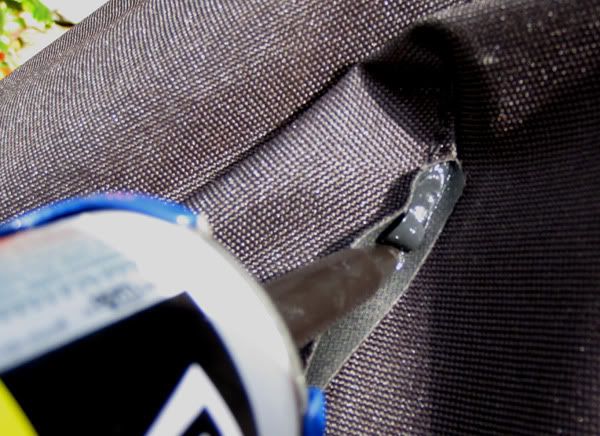
Then apply a bead to the stitching on each side of the seam, press it over onto the side it's naturally folded and smooth with your finger (gloves are essential when working with polyurethane).

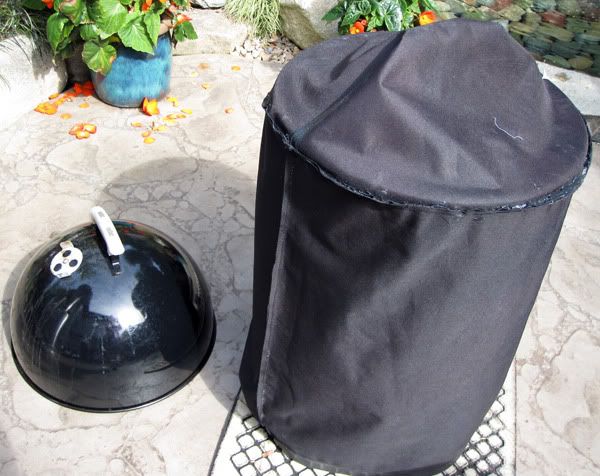
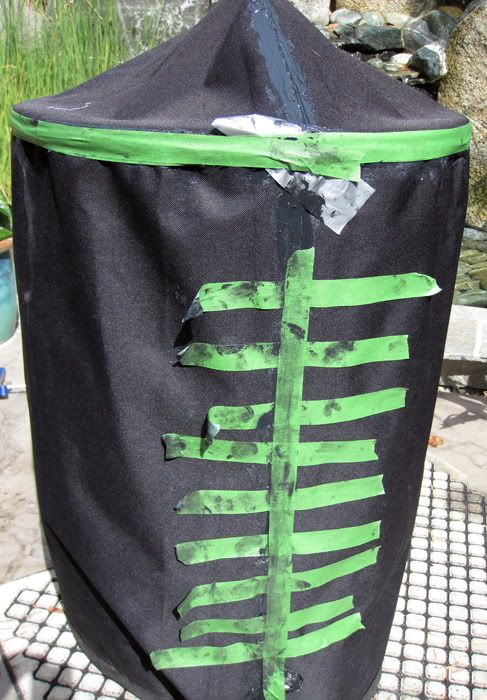
Now, carefully remove the cover, lay it aside and remove the domed lid from the WSM. Replace the cover with the horizontal seam positioned on top of the top rim of the middle section of the WSM. Doing this makes the circumference seam much easier to work on by preventing the wrinkles (see the first photo) that occur in the cover when the domed lid is on.
Repeat the application of sealant, being careful to get enough into the seam and on the stitching for it to glue together. I used masking tape (and a piece of duct tape) to hold all the seams flat while the sealant cured.
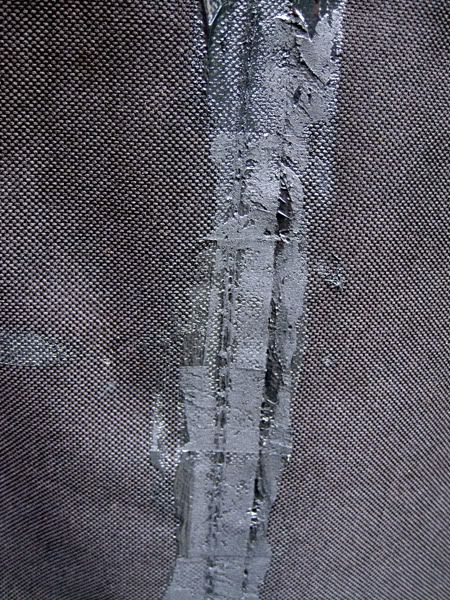
Here's the side seam after the Polyurethane sealant cured:
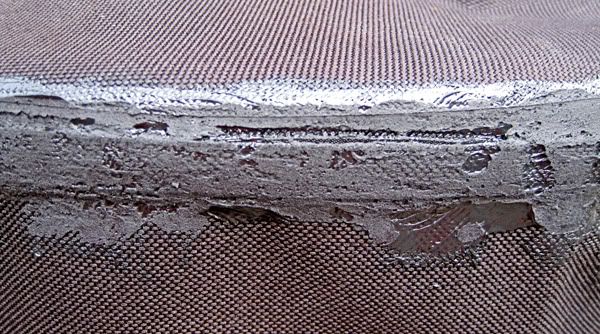
....and the top seam:
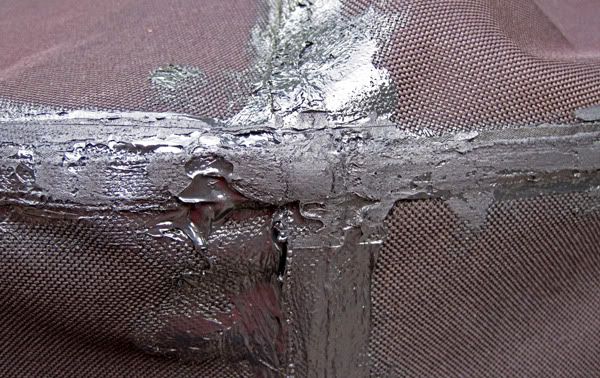
The only place it got pretty ugly was where there are four layers of material all folded over each other (8 layers in total). Here it is important here to have lots of sealant along the stitching and between all the layers:
In the end, the cover still looks the same from the outside, but now I'm confident that the seams are watertight.

The test for this will be the rain predicted for tonight.

Seems to defeat the purpose of having a cover in the first place.
Every time I open my WSM after a rain, it's wet inside with a puddle of soggy ash in the bottom.
So, I've had enough of that!
Normally, it is simple to seal seams at the factory by heat welding or applying vinyl glue/seam tape in the seam as it's being sewn. But that might add another $2 to the cost of making the cover.
Waterproofing the seams of an existing cover is possible, but requires using the right sealant and covering all possible points of water ingress thoroughly.
Here's my effort to achieve just that.
First, I removed the cover, turned it inside out, then covered the WSM with it. Here the single-stitched seams are exposed and relatively easy to work on.
Then I got out the DAP polyurethane flashing sealant and went to work. After the fact, sealing stitched seams is a bit messy to do, but this polyurethane sealant sticks and cures well, remaining flexible (and hopefully waterproof). Using nitrile or latex gloves is essential when working with polyurethane. Cleanup is easily done with ordinary paint thinner before the sealant cures.
The first thing to do is lay a bead of sealant inside the seam (shown here on the dart seam that tapers the cover to allow for the shape of the dome) between the two layers of material.
Then apply a bead to the stitching on each side of the seam, press it over onto the side it's naturally folded and smooth with your finger (gloves are essential when working with polyurethane).
Now, carefully remove the cover, lay it aside and remove the domed lid from the WSM. Replace the cover with the horizontal seam positioned on top of the top rim of the middle section of the WSM. Doing this makes the circumference seam much easier to work on by preventing the wrinkles (see the first photo) that occur in the cover when the domed lid is on.
Repeat the application of sealant, being careful to get enough into the seam and on the stitching for it to glue together. I used masking tape (and a piece of duct tape) to hold all the seams flat while the sealant cured.
Here's the side seam after the Polyurethane sealant cured:
....and the top seam:
The only place it got pretty ugly was where there are four layers of material all folded over each other (8 layers in total). Here it is important here to have lots of sealant along the stitching and between all the layers:
In the end, the cover still looks the same from the outside, but now I'm confident that the seams are watertight.
The test for this will be the rain predicted for tonight.
