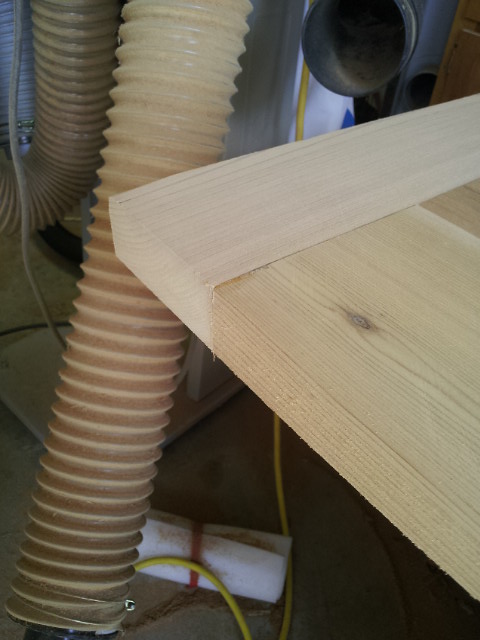
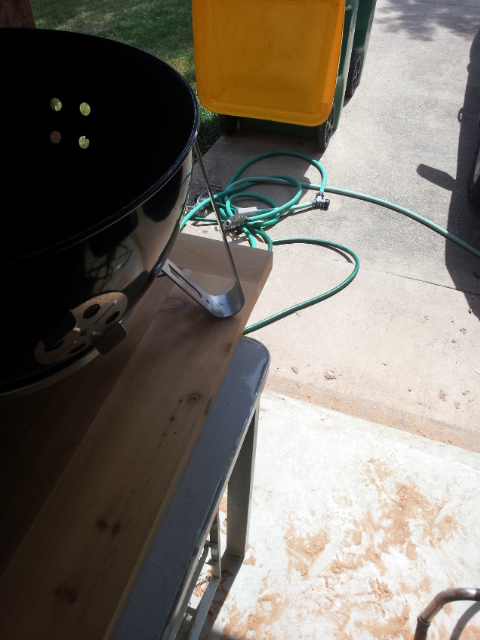
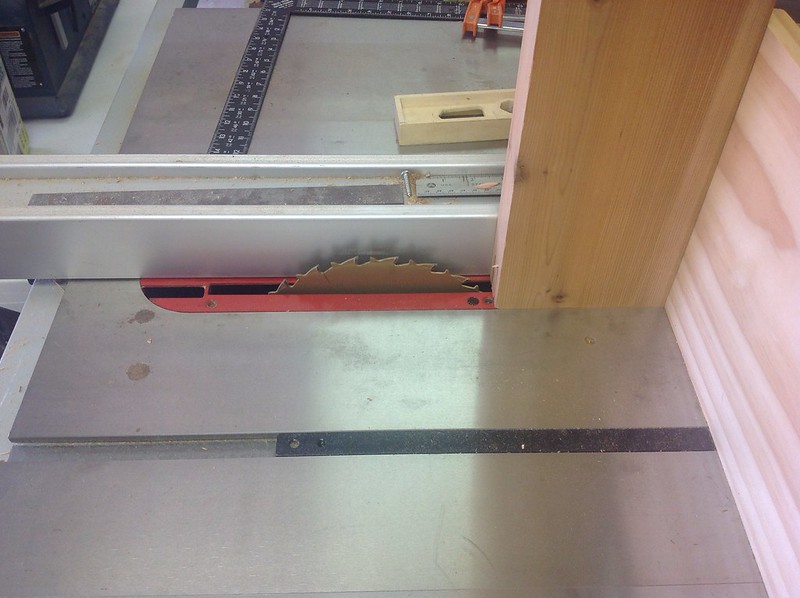
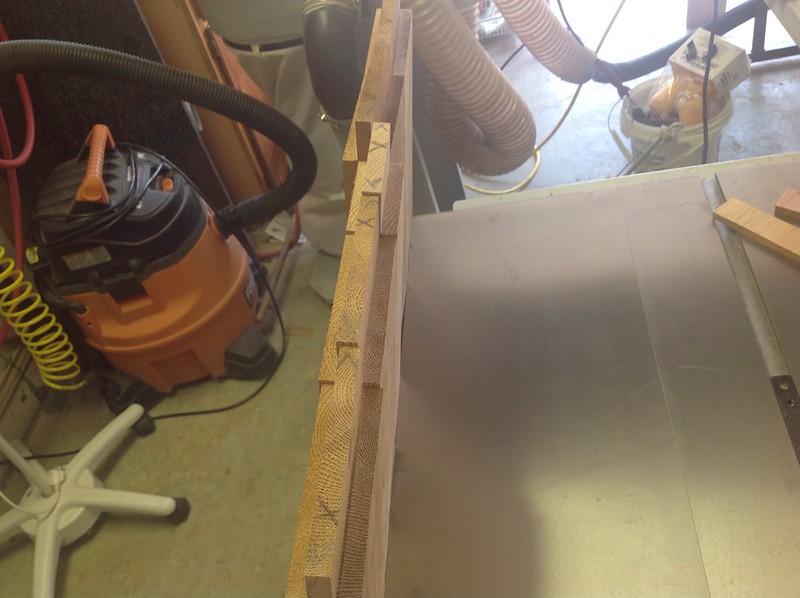
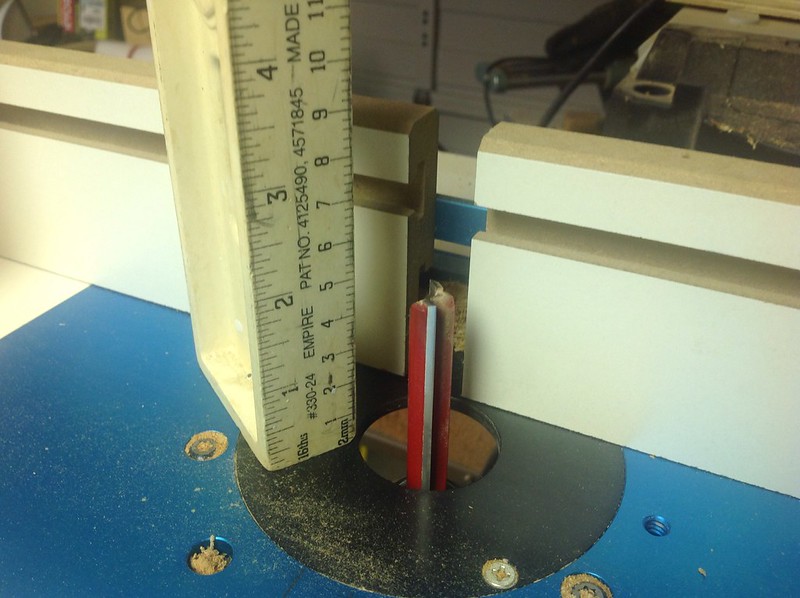
Since I was not satisified with the quality of the stacked dado I will use a router to cut the mortise in the end board.
There is a point of curiosity for me, all of the tenons on the 2x6's are just a thinner than .5" which is fine.
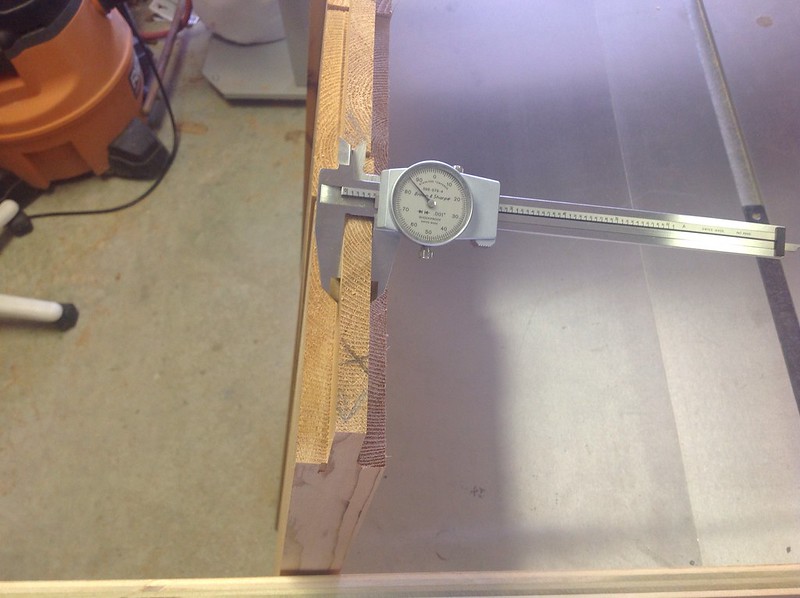 image 6
 by
chashint1, on Flickr
Not sure how or why the tenon on the 2x4 came out >.5" since all the boards went through the thickness planer together and the same fence setting on the table saw was used to make all the cuts.
Both ends of the 2x4 came out >.5"....very odd to me.
I will sand it to fit once the glue up is complete.
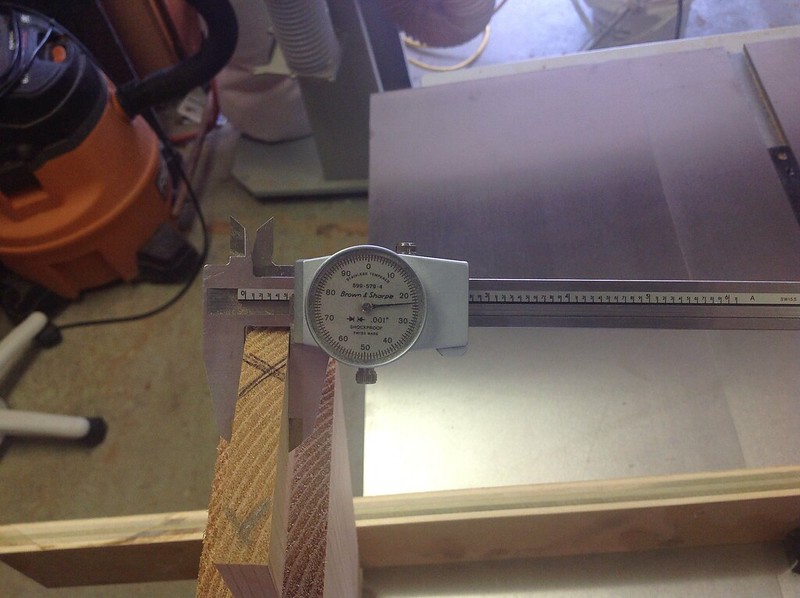 image 7
 by
chashint1, on Flickr
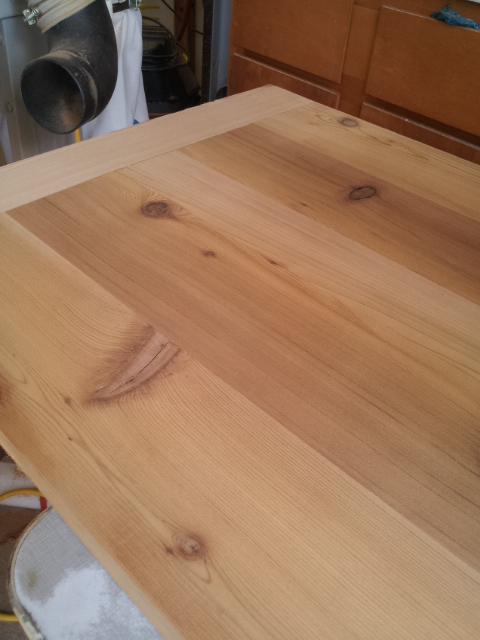
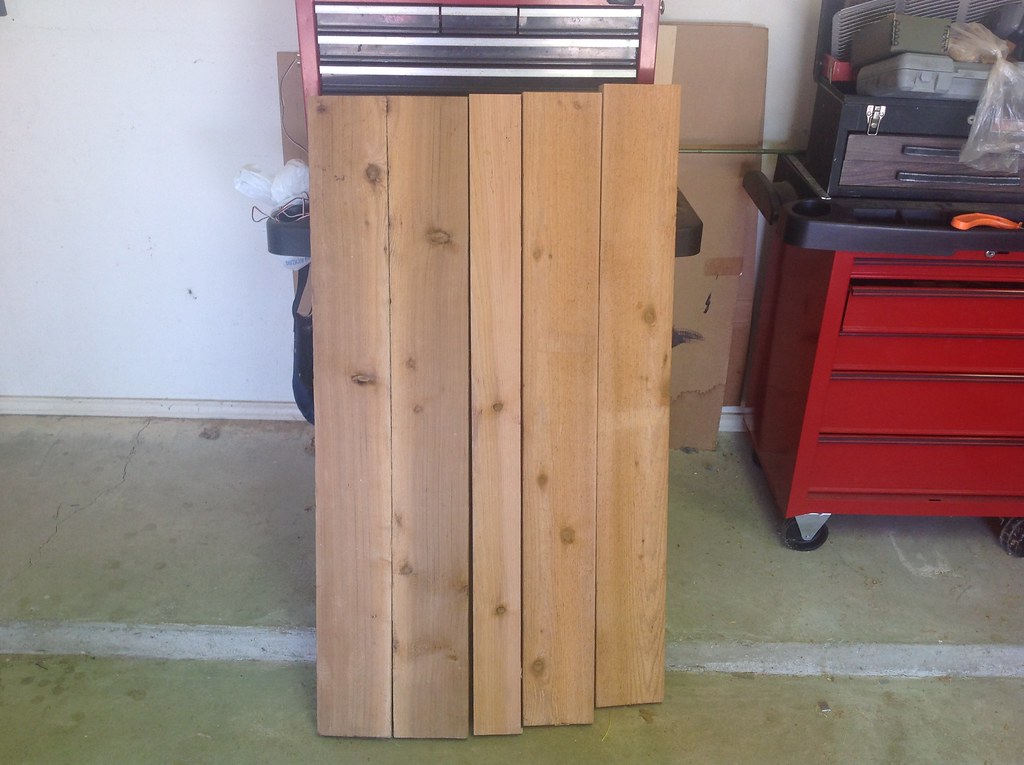
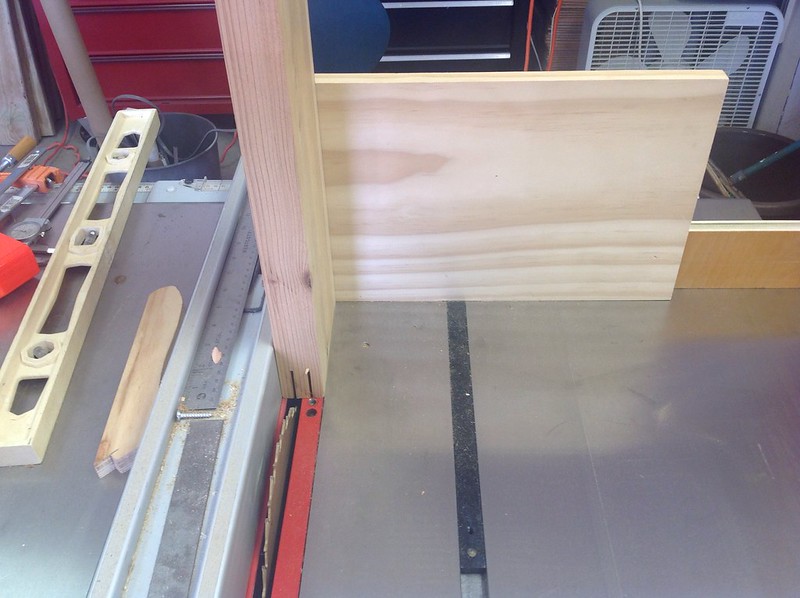
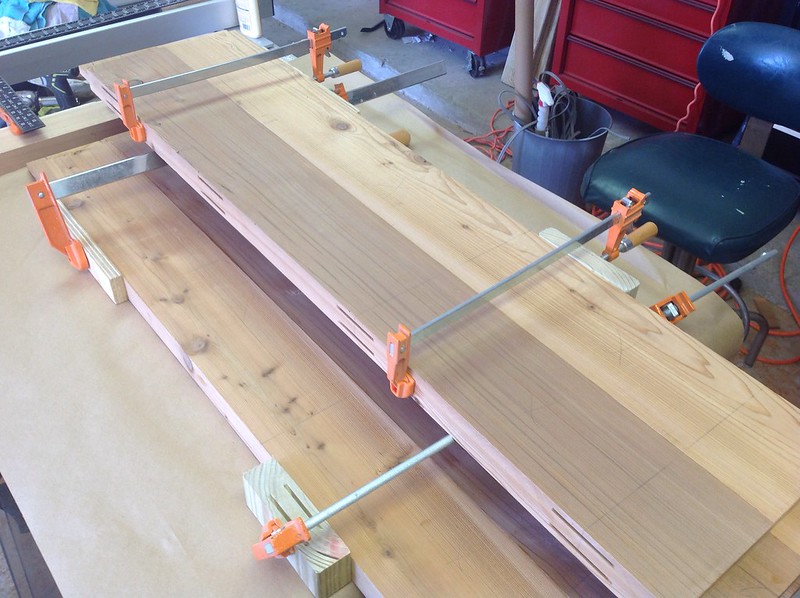
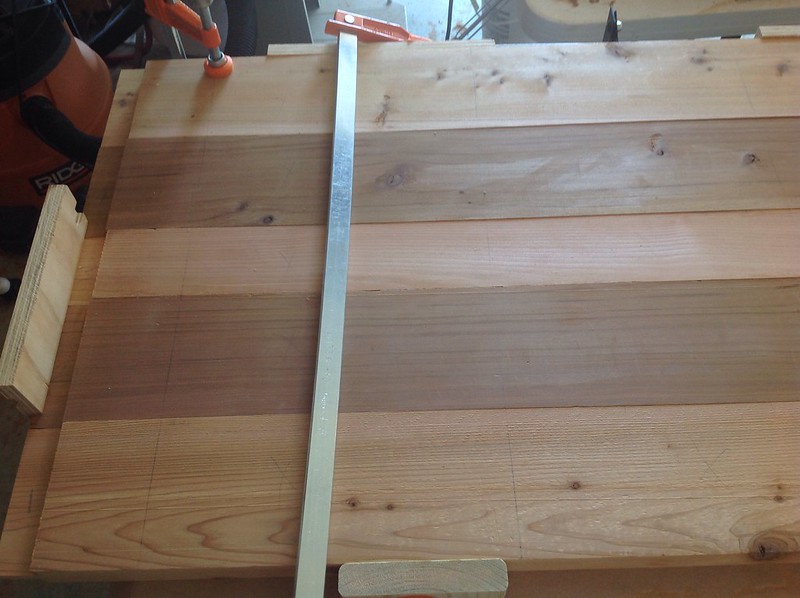
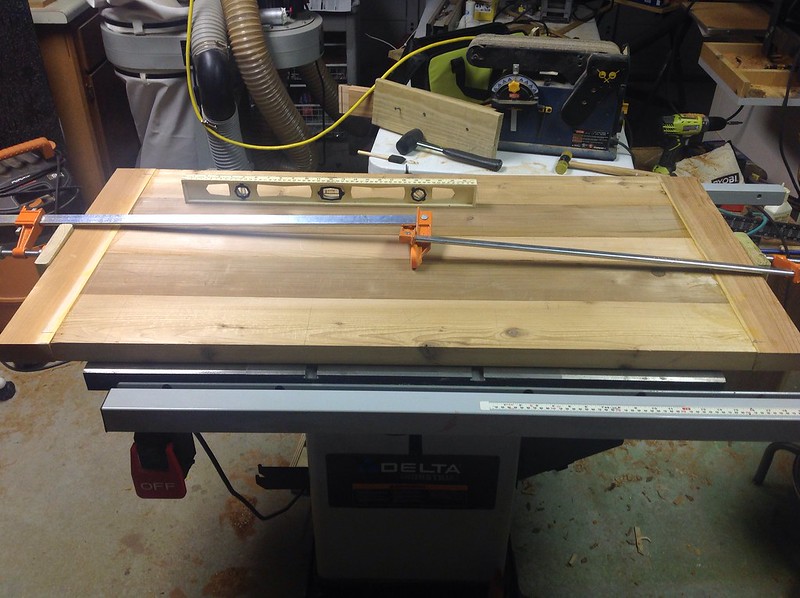
Here is a picture of the boards laid out on the table saw.
I don't know if the picture shows it well but they don't sit flush with each other.
I will probably have to try to true the edges up by running them through the table saw again.
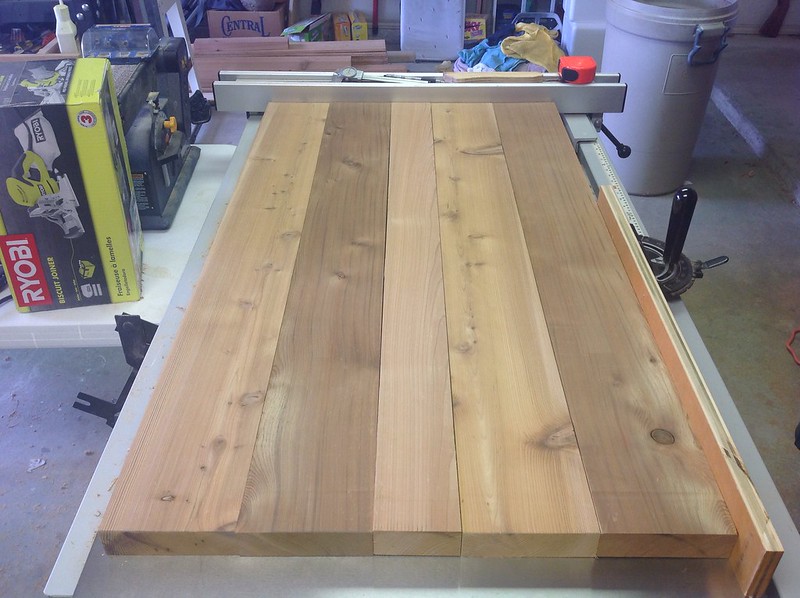 image 8
 by
chashint1, on Flickr
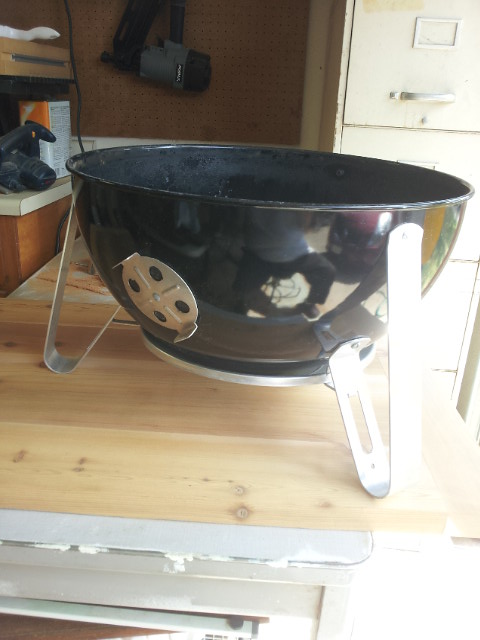
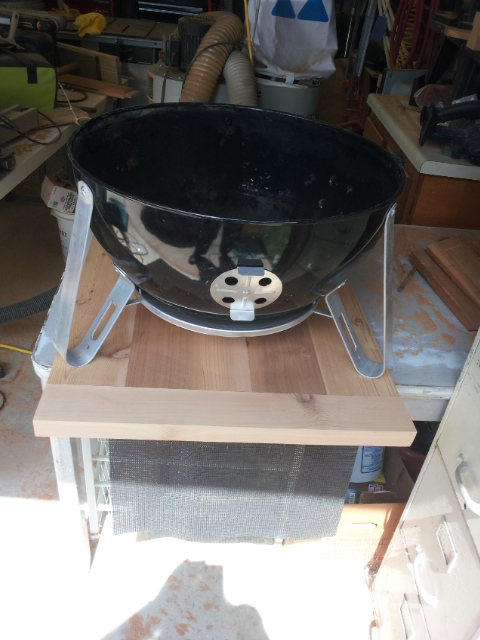
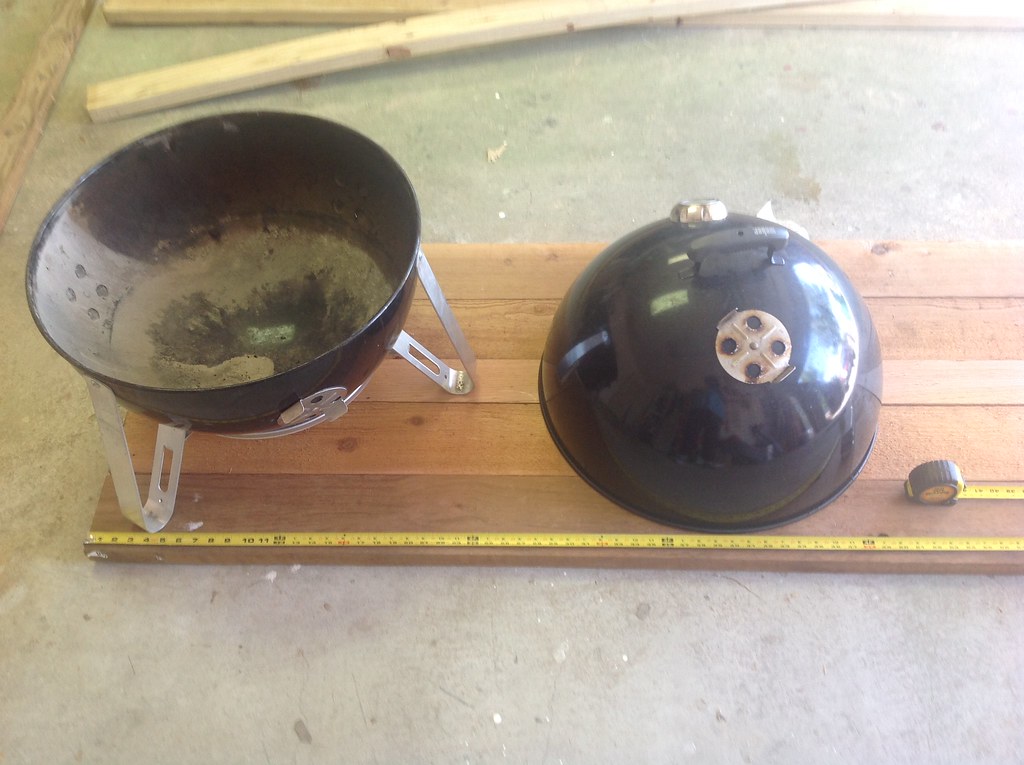
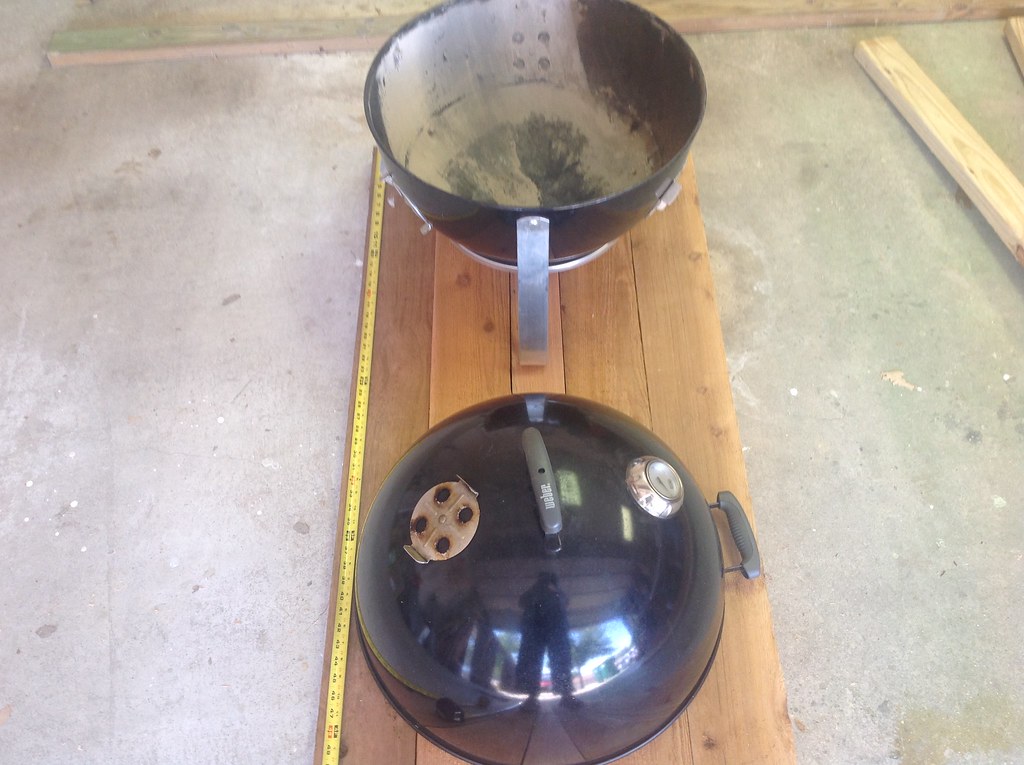
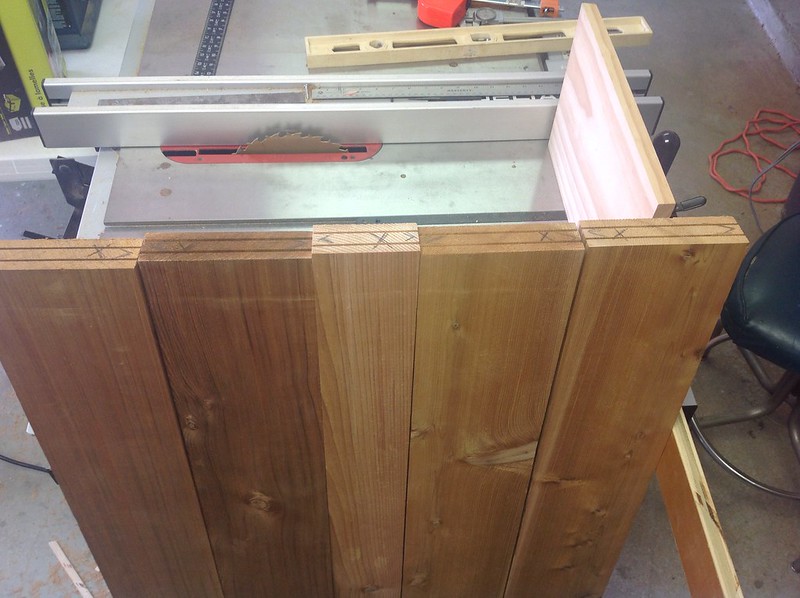
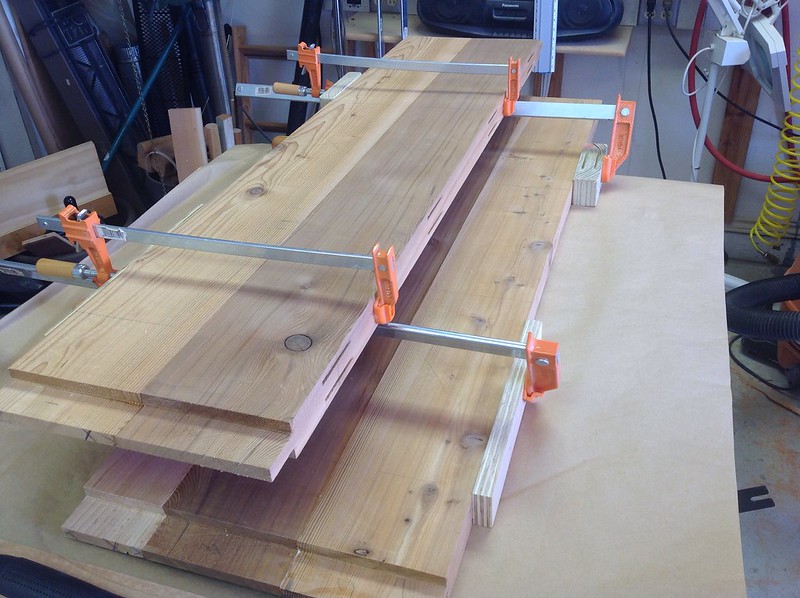
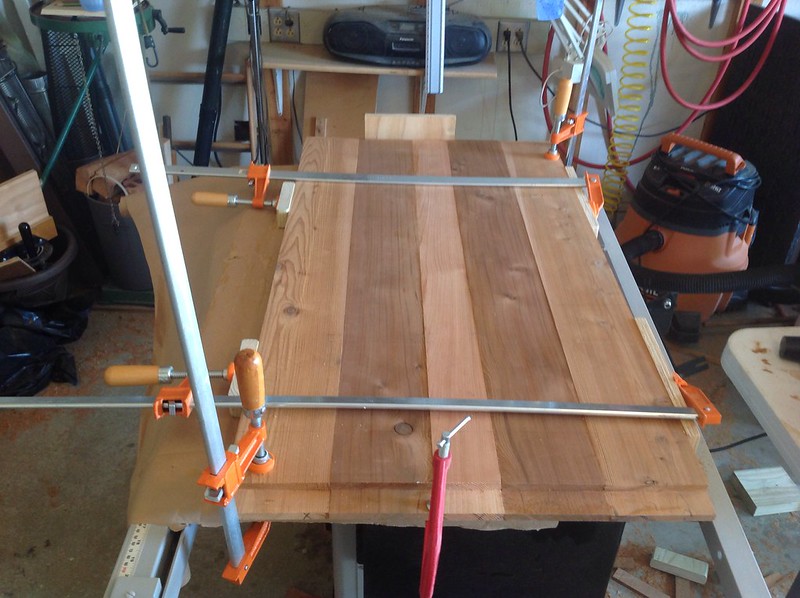
This cart is wider than I really want it to be so for a sanity check I sat the WSM on the boads again to see if I can get rid of the 2x4 in the middle.
As you can see it really needs the 2x4.
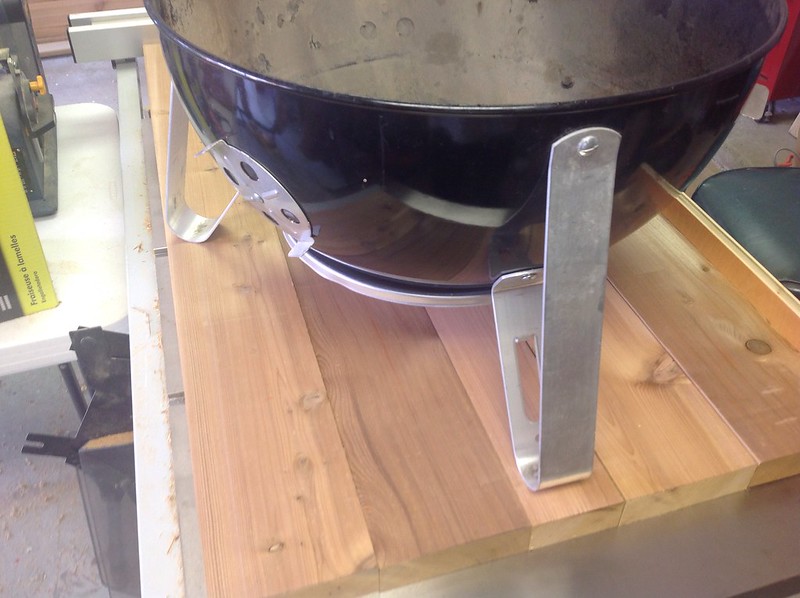 image 9
 by
chashint1, on Flickr
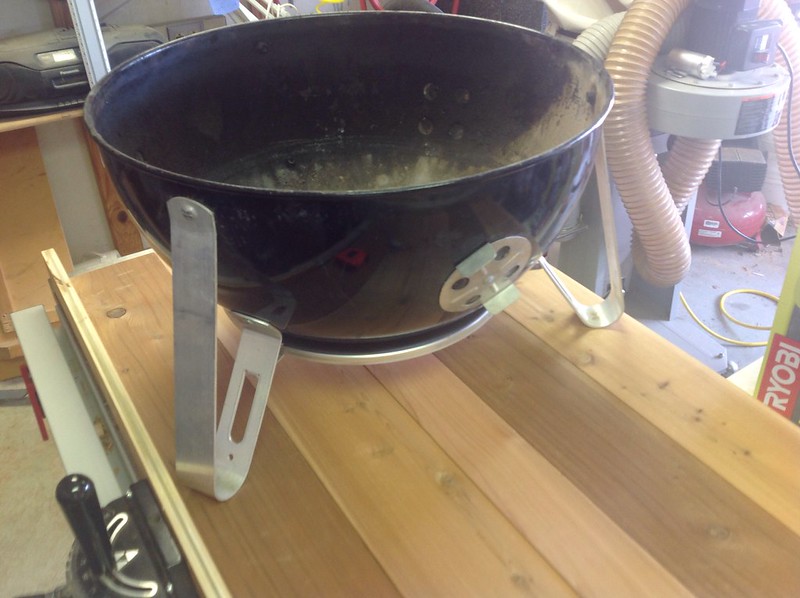 image 10
 by
chashint1, on Flickr
- - - Updated - - -
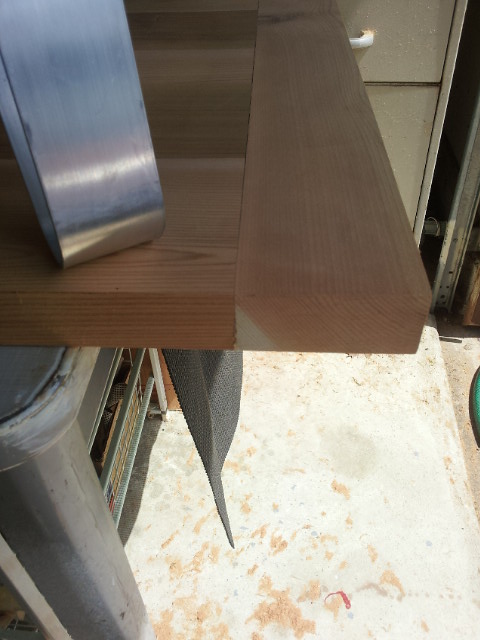
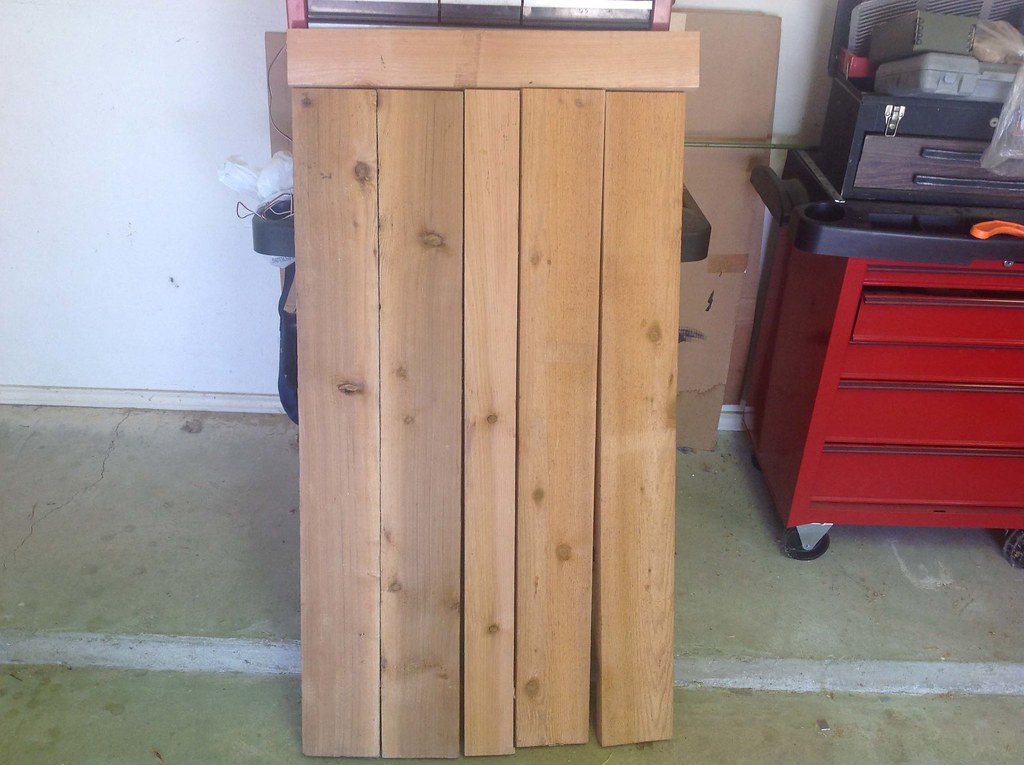
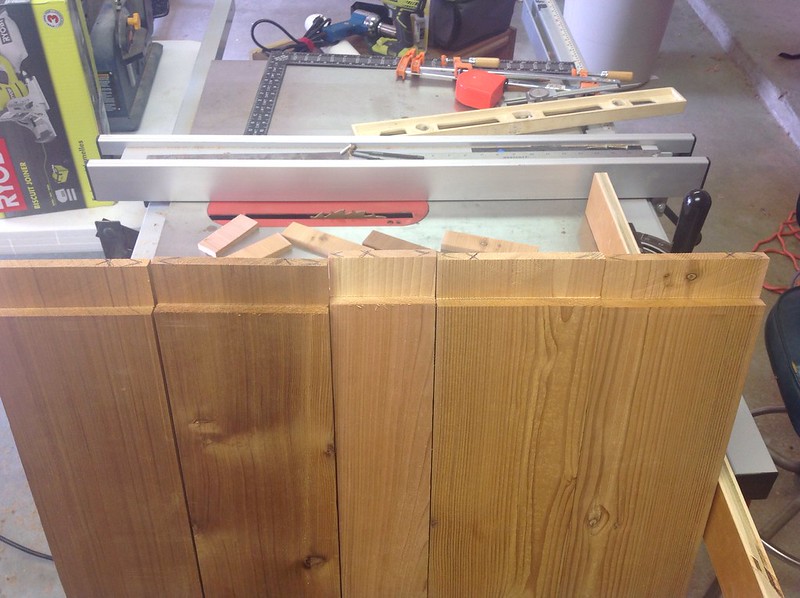
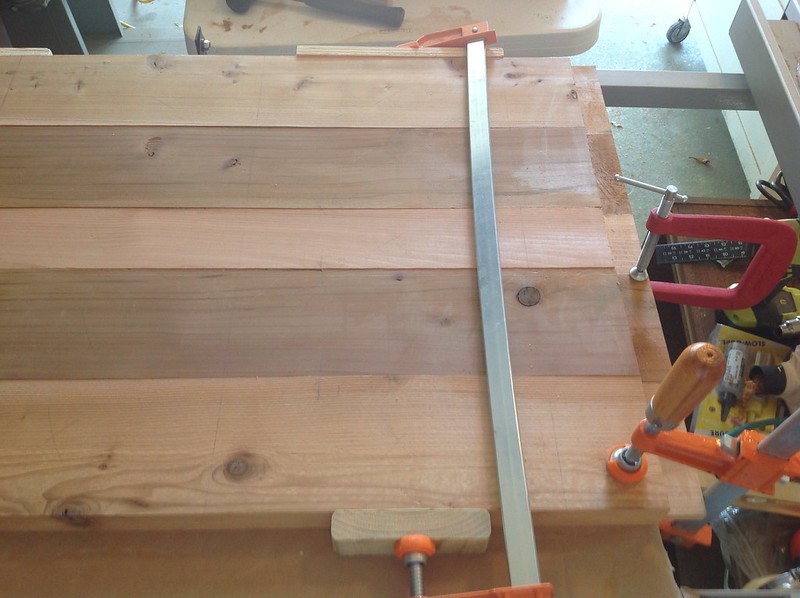
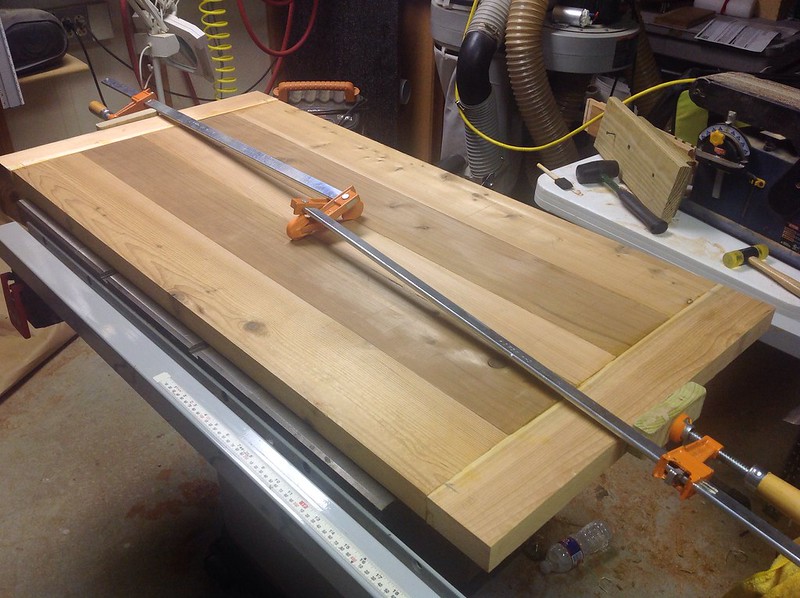
I knew I was going to have to rip the boards again to get clean edges so I just went ahead and did it.
I picked the flattest/straightest edge of each board and ripped a sliver off the other edge. They all lie next to each other much better now.
Unsure if the edge alignment really shows up in the picture or not but there are hardly any gaps now.
A couple of the boards are kinda twisted though and they are not very flexible.
It does not really matter since this is just a BBQ cart, but i still want it to fit together nicely or I would have just screwed it together using cross beams and it would probably be finished by now.
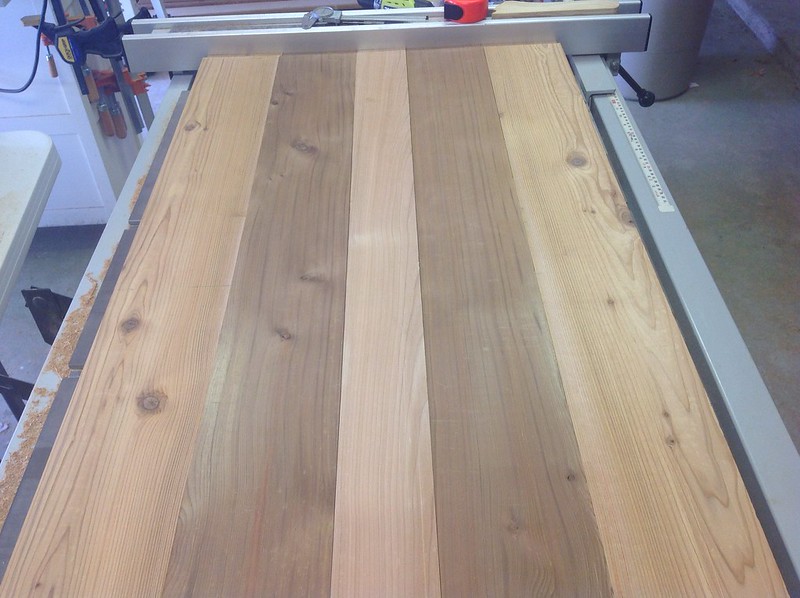 image 11
 by
chashint1, on Flickr
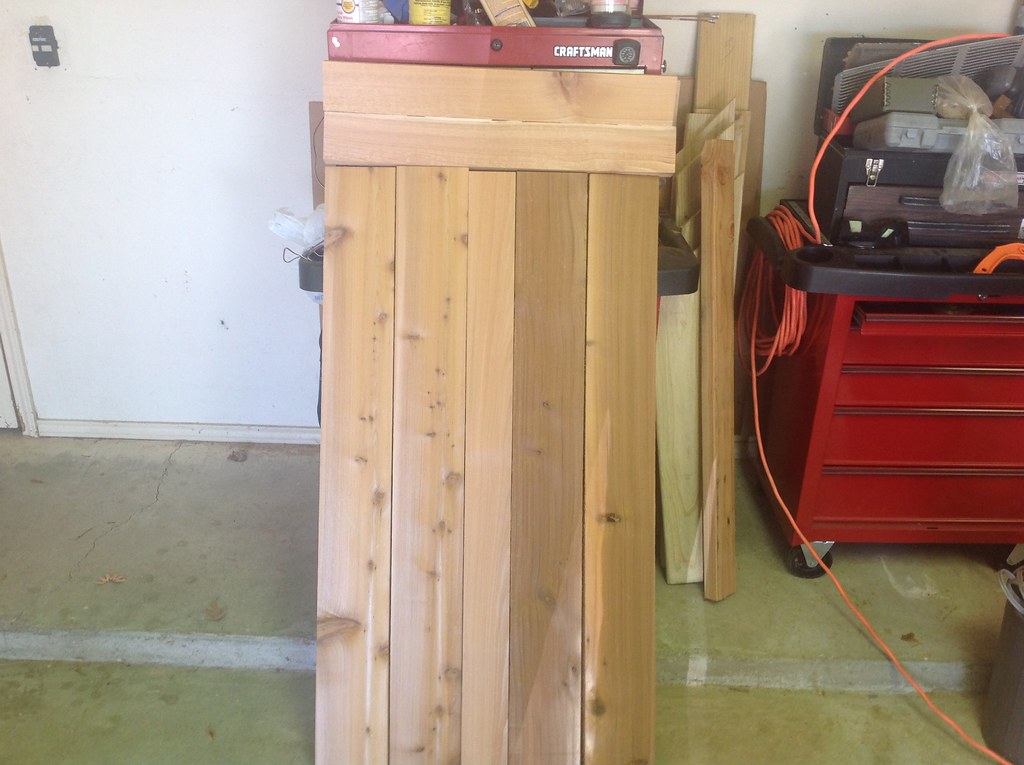
I ended up splurging on a new tool, I have never used a biscuit joiner before so I got one.
Home Depot only had the Ryobi so that is waht I got.
I don't know if I need a biscuit joiner but it is easy to use and the biscuits seem to help with aligning the boards.
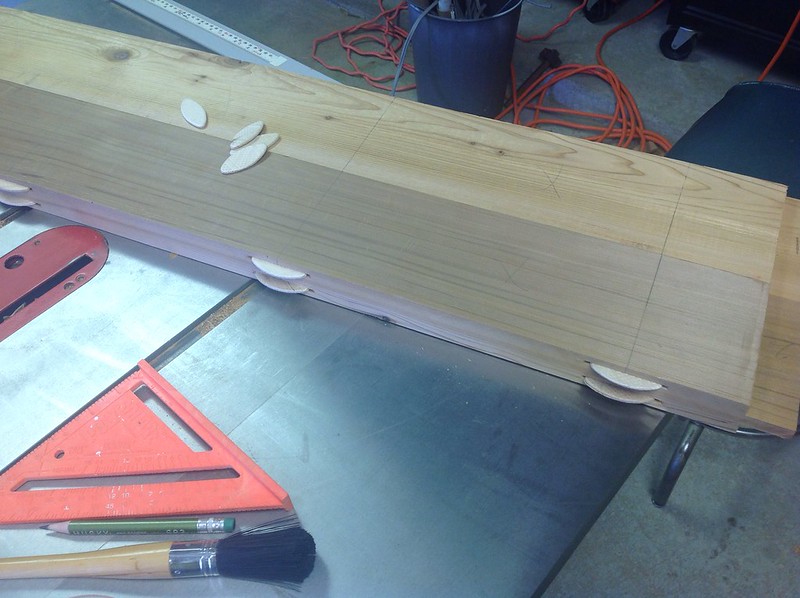 image 12
 by
chashint1, on Flickr
I don't know if I will work on it anymore this weekend or not, wifey may need some attention.
Thanks for looking and my apologies for moving so slow on this.


") )
)