Originally posted by glen jones:
Welcome Alan....that little rascal is looking good.Can't wait to see some pics of some meat.
Alan is there a reason you made your charcoal basket 8 inches and not 12 inches?Does the basket come above the rim?
Thanks
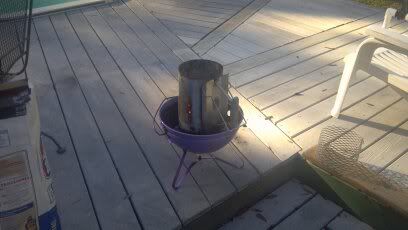
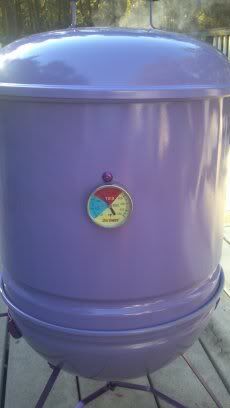
Glenn, the bottom charcoal grate is only 10 1/2 inches itself. I made the basket 8 inches in diameter, and 5 inches tall. This gives great airflow around the coals, and the top although above the rim, is still beneath the bottom of the cooking grate that I have on the "ridge" to hold the Folied 8 quart SS bowl and 6 inch clay saucer inside. I am using this for small cooks such as single meals, and will only use a single grate for actual cooking. I put that 3 1/2 inches down from the rim, amd used four 1/4-20 SS screws that are 1/2 inch long with 1/4 inch ss lock washers and 1/4-20 ss cap nuts on the inside to hold the grate. The thermometer is just below grate level.
On my first cook today, the big themometer is steady at 250, while my digital thermometer at the actual meat level is reading around 230. This thing is very stable with just using the dampers and the clay saucer method. When I put the sausage chubs on, it came right back to temp in less that 2 minutes. I will post some more pics shortly.
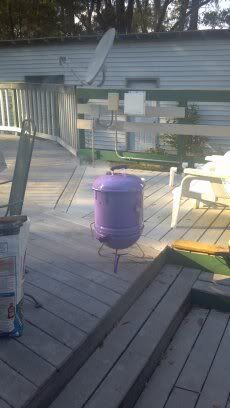
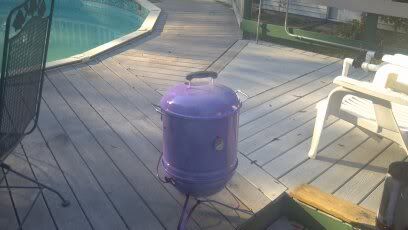
BTW, I lifted the center section to add a hunk of apple for smoking the sausage, and the paint is perfect.....no problems. This experiment definitely will work if the proper products are used, and the directions are followed. The dampers work smooth and efficient as well. While all this was going on today, I painted a vent handle from my Performer score to match. I will install it when I finish this cook, and things cool down. So far, nothing more than 239 on the outside for temps, and the ambient has dropped from 80 to 68.
I am grinning from ear to ear over this success.
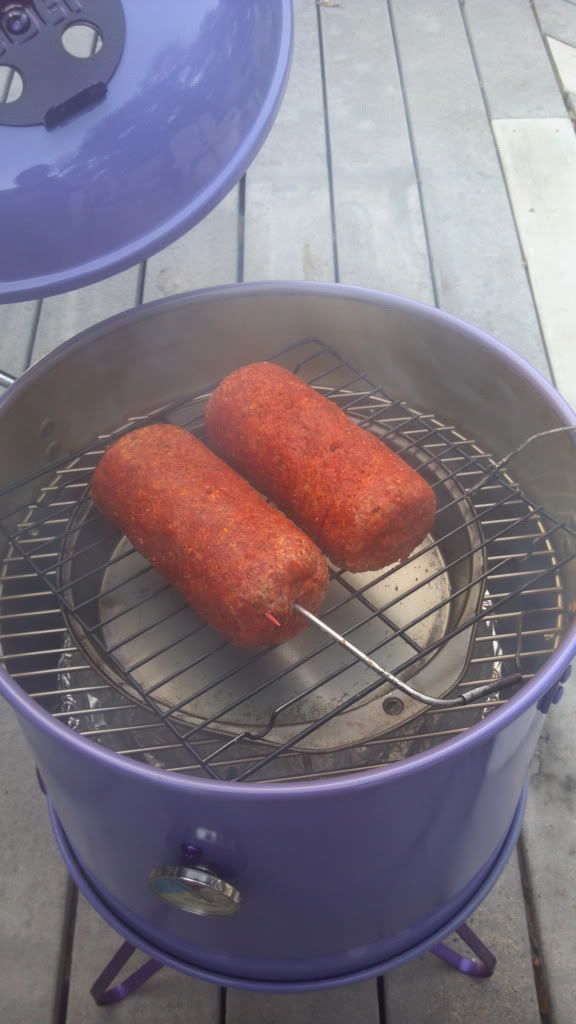
OK, some pics
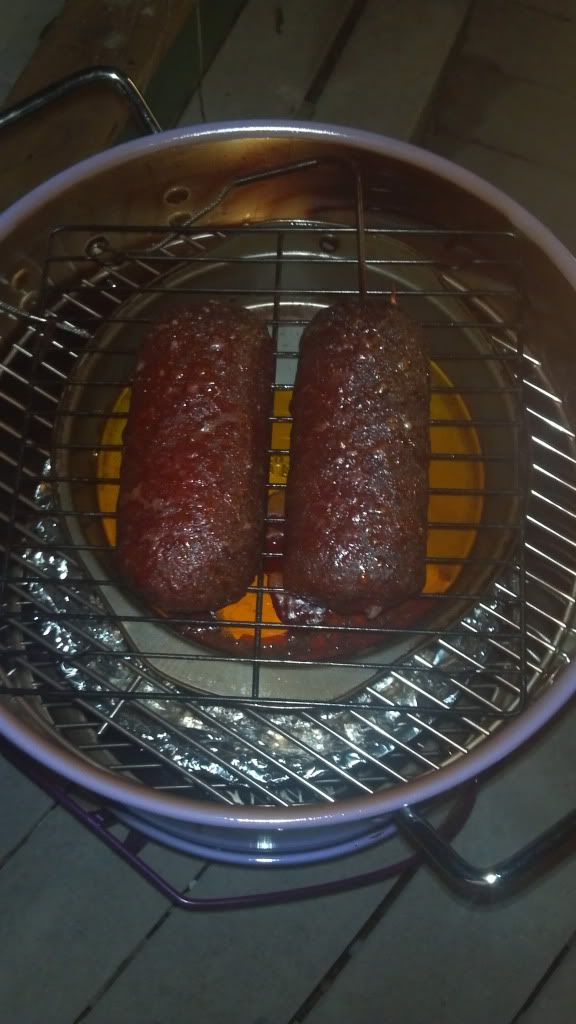
The Chubs go on:
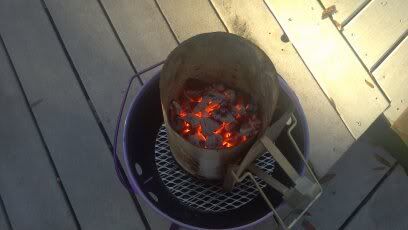
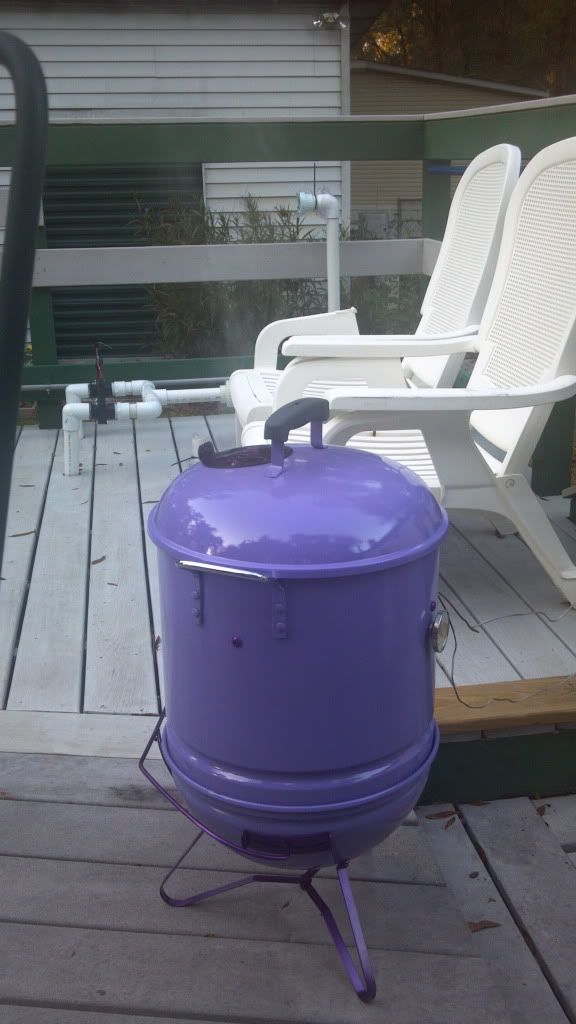
Puff, puff:
Just a cookin':
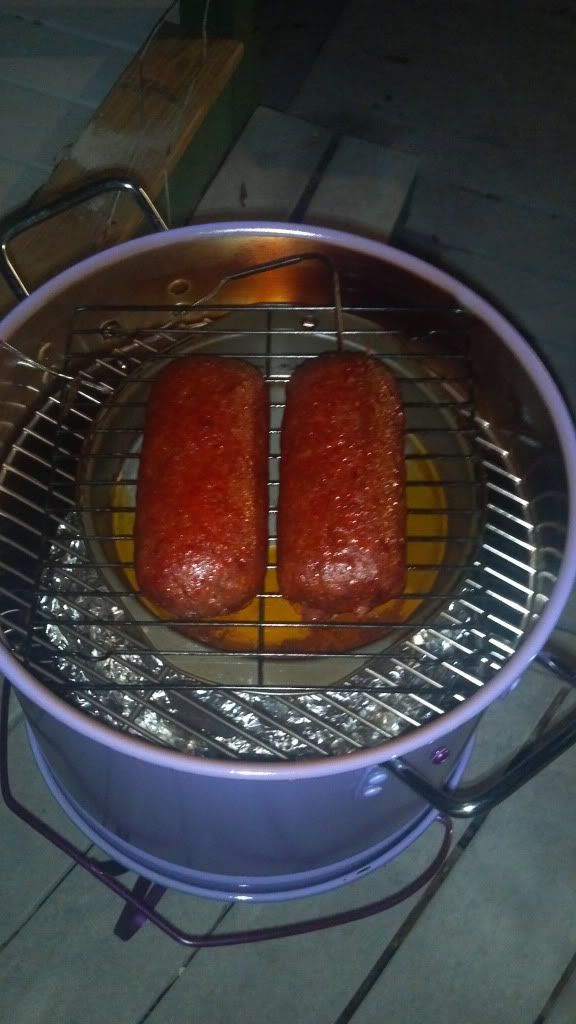
OK, it's been a hour and a half, and the meat is up to 140 degrees. Can't resist the temptation to peek......
Chubs are done, ready to rest:
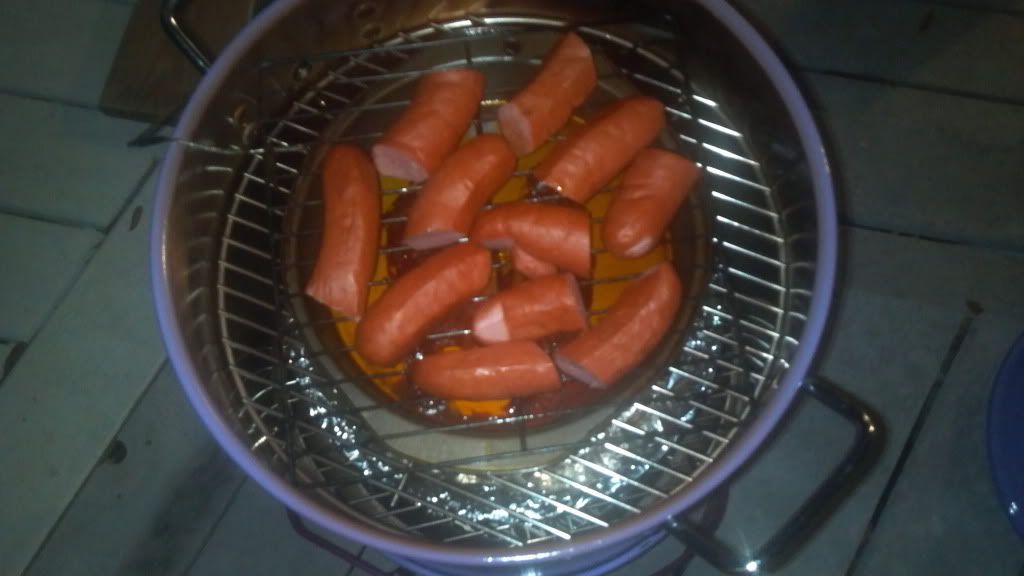
On go some cut up links: