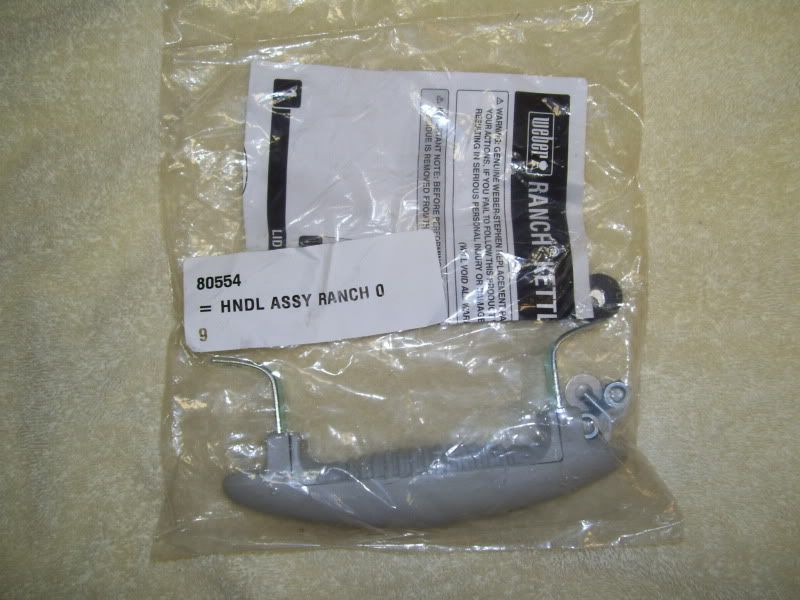
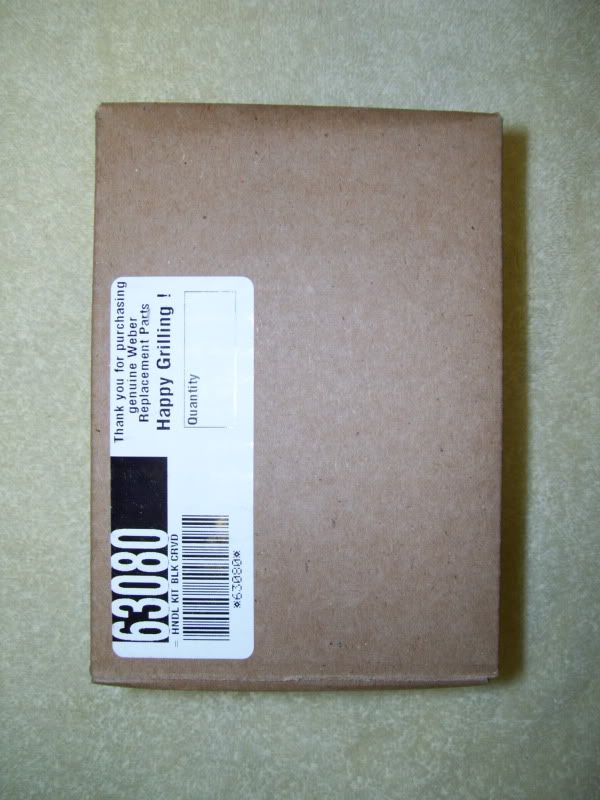
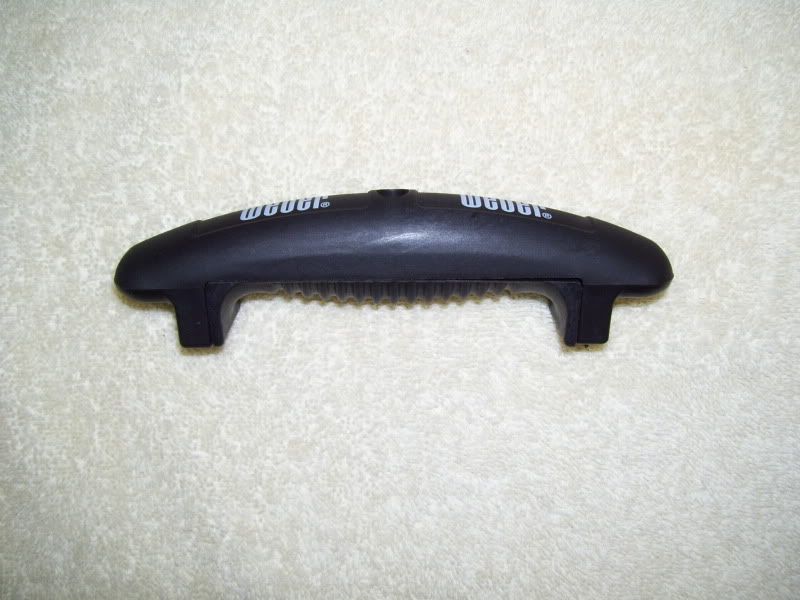
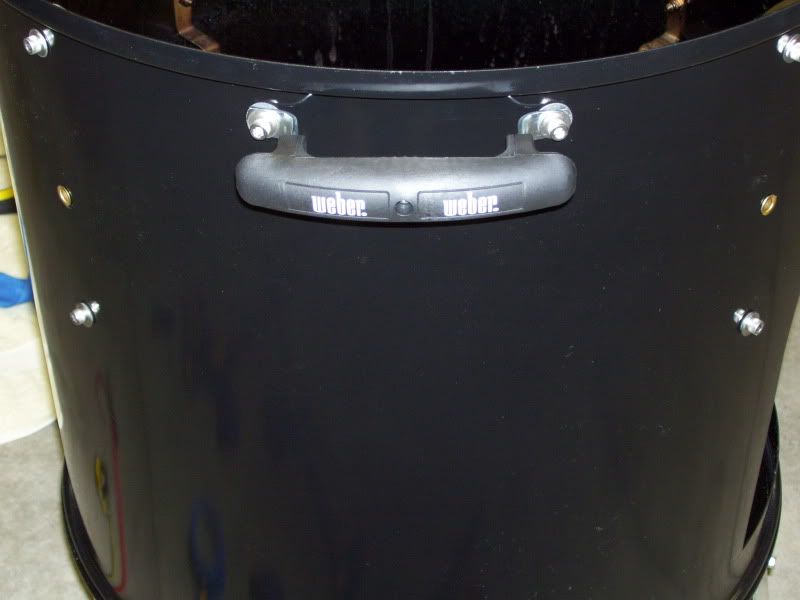
After being unsuccessful on two previous occasions, I was lucky enough to call and sweet talk a very helpful customer service rep at Weber and purchased a pair of ranch handle assemblies and some black handles. The parts arrived this morning and I had the day off so I got these installed.
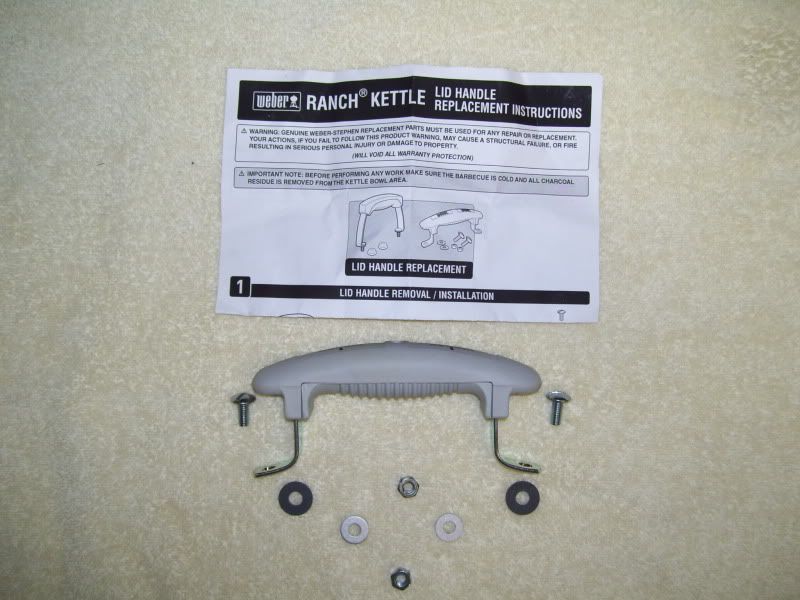
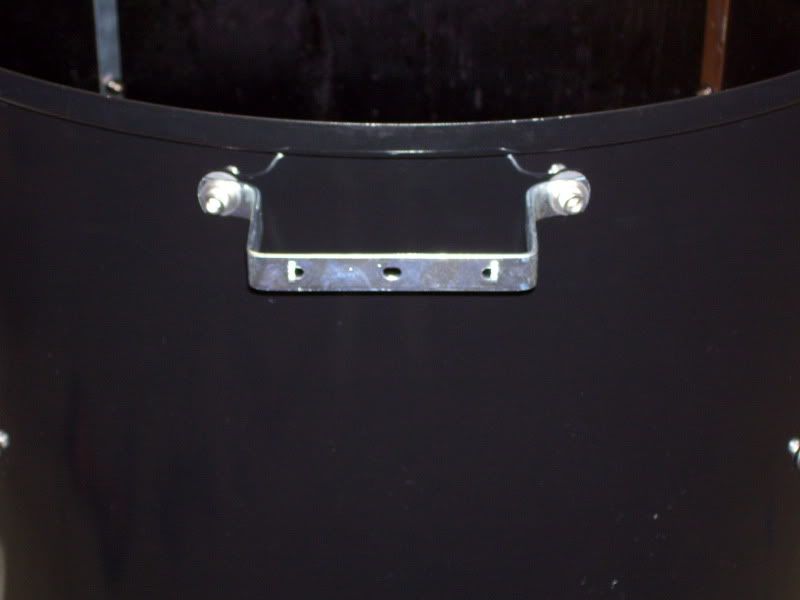
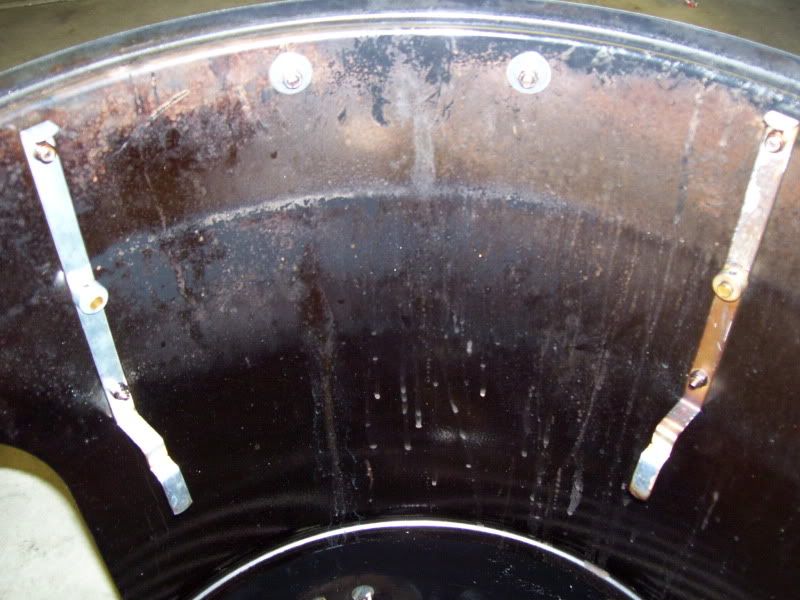
I mounted the metal metal inner handle brackets to the body of my 22" WSM with stainless hardware that I had and the fiber washers in the parts kit. I used stainless fender washers on the inside of the body of the WSM hoping to spread the load of the handle mounting points when the body of the WSM is lifted off the bottom bowl. I used a cloth tailor's tape from my wife's sewing supplies to measure along the outside diameter of the WSM and center the handles on the perimeter the middle section of the WSM. I measured down from the top lip of the WSM center section the same distance as the top mounting screws are for the grill staps from the top lip.
The holes were drilled with a brad point bit after measuring multiple times to make sure I had the mounting hole locations where I wanted. I used blue painters tape on the body of the WSM to mark where I would drill and to keep the bit from skating on the smooth surface of the WSM. I used heavy feed pressure on the drill and a slow drill speed to get through the porcelain coating with out chipping.
