My MINI (pic heavy)


BrianBishop

TVWBB Member
First I'd like to thank everyone here for the inspiration to take on this project, I couldn't have done it without you!

So here is my interpretation of the perfect Mini WSM...

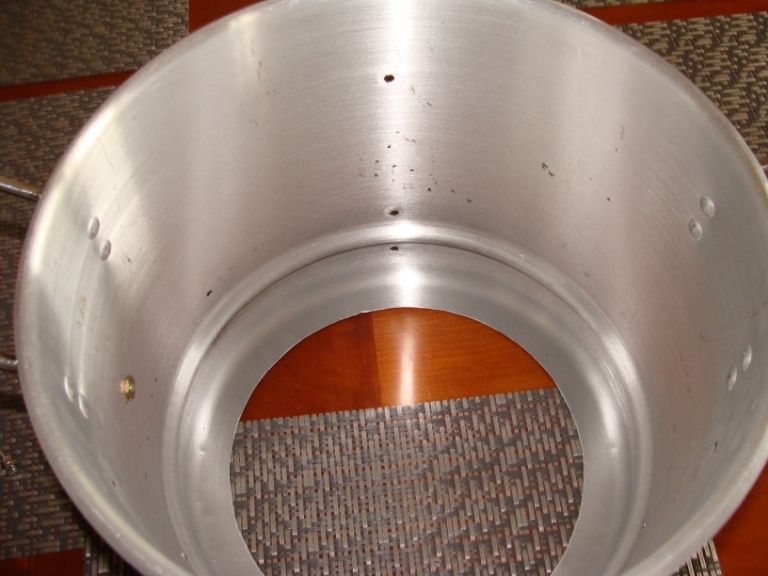
Here's the inside. Bottom removed and all the holes drilled and lamp rod installed for probe passthrough.


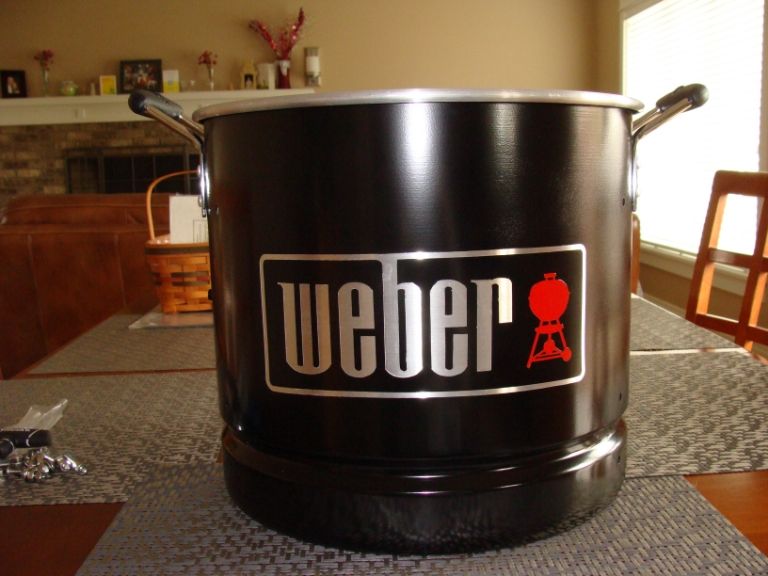
All Painted and Stencil Pulled


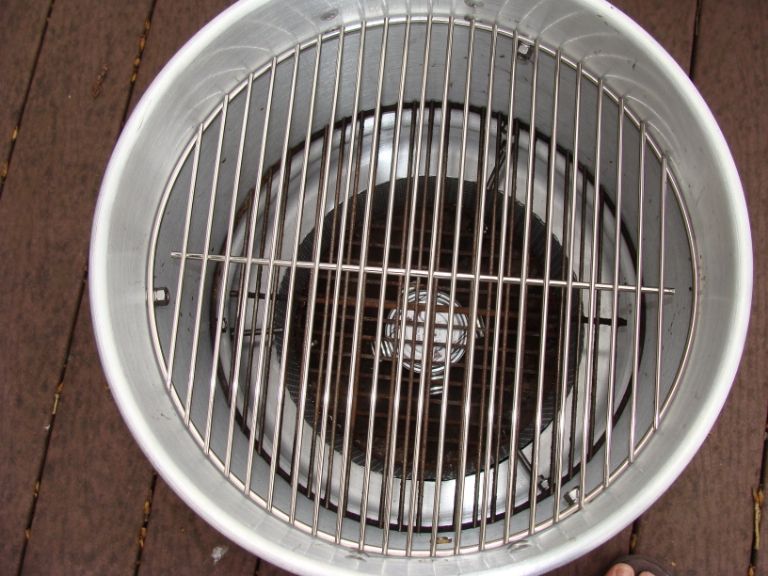
Inside view with the racks installed. You may also notice the longer bolts ready to accept the tbd diffuser (I have a clay saucer but also like the idea of a pizza pan)


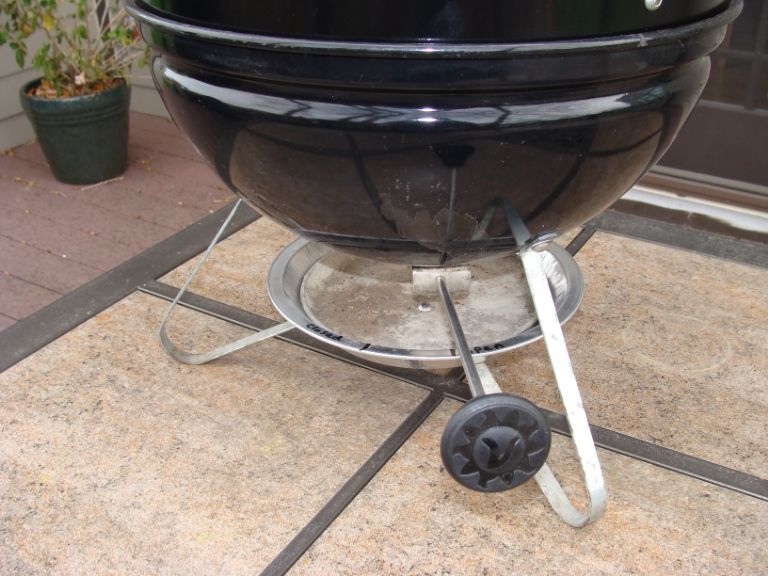
I bent the vent control handle from 1/4" ss rod I found at Ace Hardware and used my tap and die set to thread the ends 1/4-20


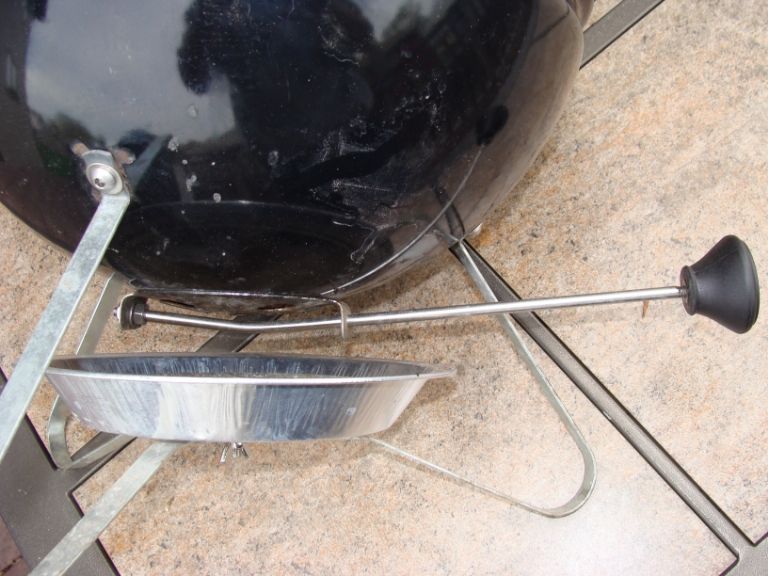
Another view of the vent control. Here you will notice I used the knob from the lid of the visconia pot as my handle.


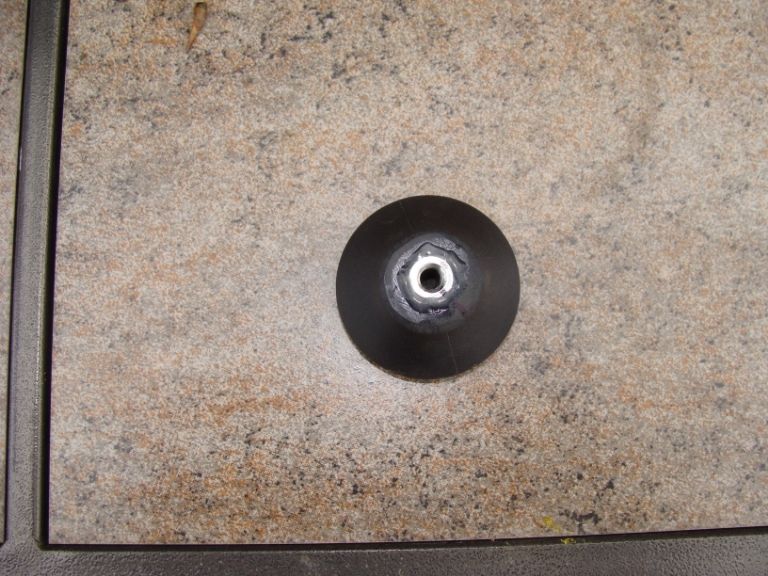
I drilled out the original threaded insert, mortised in a 1/4-20 nut and epoxied it in place


Here's the charcoal basket I built using gutter guard as I couldn't find expanded metal.


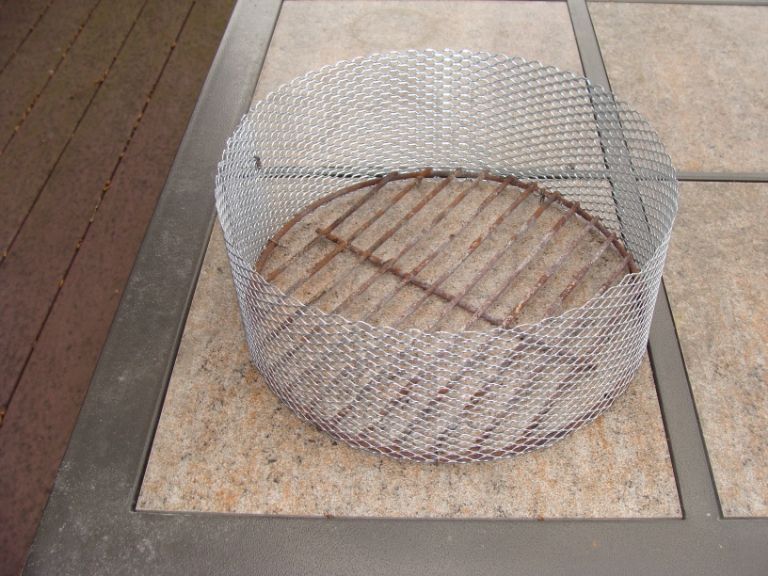
Here it is assembled and ready for action!


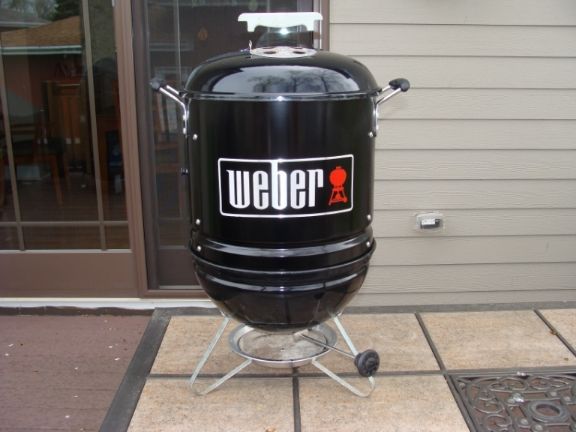
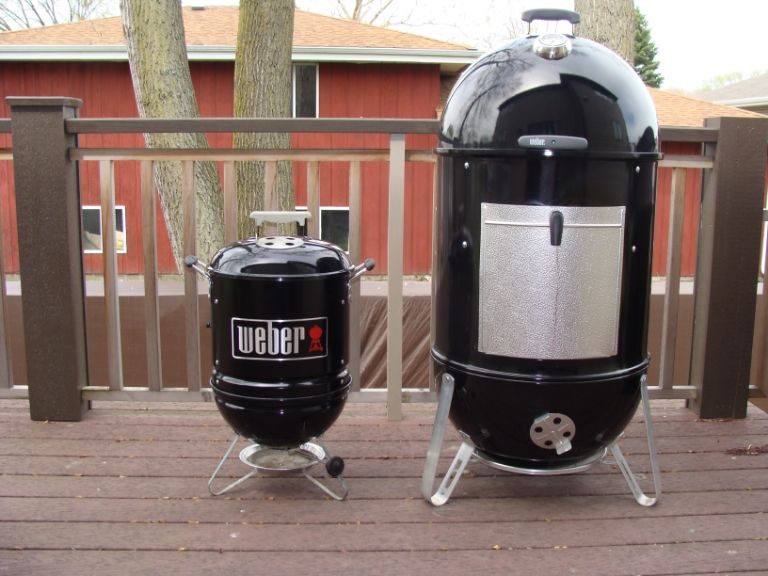
All assembled sitting next to BIG BROTHER


This was an incredibly fun project and I couldn't be happier with how it turned out! I can't wait to have my first cook on something I essentially built myself. Thanks again to everyone here for the guidance and a special shout out to Chad Bman for pushing me to go the extra mile on the paint job!
 
Ha, and I just happened to log in. :D
OUTSTANDING job on the 'mini-me' build. For obvious reasons, I love it. It was a long 7 day paint-curing-waiting-period, but it was worth it.
Congrats on the new toy. Maybe we started a new painting phenomenon. :cool:
 
may i make a suggestion or two. change the hardware to ss. also install a ss washer between the legs and the bowl. before doing that, dab some pam on the rust spots. this prevents rust but will also strengthen up the leg to bowl area.
 
may i make a suggestion or two. change the hardware to ss. also install a ss washer between the legs and the bowl. before doing that, dab some pam on the rust spots. this prevents rust but will also strengthen up the leg to bowl area.

I should have noted it in my post that all the original fasteners were replaced with stainless and all the new hardware is also SS.
The pam is a good idea as the SJS that served for the build was well used before I stumbled across this website showing the mini... I don't recall how but the bowl got dented where one of the legs attaches and chipped the porcelain, thus the rust.

Thanks for the complements and suggestions alike!
 
Nice job on the mini it looks good.
How did you do the logo?

Nice build, I too would really like to know how you get those decals.

Thanks guys, The logo is actually painted on using VHT Engine Enamel. I can't take credit for coming up with the process though as I followed Chads lead that he outlined in this post http://tvwbb.com/showthread.php?39966-My-*WEBER*-mini-build

Its a bit of tedious work, carefully cutting the logo out, then nerve-racking applying the stencil hoping to keep it straight... but as you can see the effort is well worth it.

The clarify the painting process it goes as follows,

1- Find a suitable logo image online and scale it up to the size you're looking for
2- Print the logo on avery adhesive backed label paper and apply it to clear adhesive backed shelf liner
3- Carefully cut out the logo keeping the border and letters connected but the grill separate
4- Apply the border and letter part of the stencil
5- Spray entire pot with a couple coats of primer
6- Spray grill logo area with red paint
7- Wait 7 days to proceed for paint to cure
8- Apply grill stencil over red area
9- Spray entire pot with a couple coats of gloss black
10-Allow to dry at least a few hours then pull the stencil (I gave it a day)

If you have any questions just ask
 
Just gorgeous....specifically what primer did you use, and did you also use a clear coat on top of the engine enamel?
 
The 10-step logo/painting process is spot on and exactly what I did.

Step 11- Wait 7 more days for the black to dry
Step 12- Cure paint by baking (firing it up) at 200 degrees for an hour. Then let it cool to ambient temps.
 
Just gorgeous....specifically what primer did you use, and did you also use a clear coat on top of the engine enamel?

Chad elaborated in the "Painting the Mini" thread but I'll respond here as well.

The paint I used is as follows

Primer: VHT SP148 Engine Enamel Light Gray Primer
Red: VHT SP121 Engine Enamel Universal Bright Red
Black: VHT SP124 Engine Enamel Gloss Black

I did not elect to use a clear coat, although it would probably not be a bad idea as it would probably soften the sharp edges left in the paint when pulling the stencil an minimize the chance of chipping later... I felt the shine from the colored paints to be sufficient so I skipped it (hopefully I won't regret it).

Thanks! I guess it seems that the primer is crucial, but not so much the clear coat


Back
Top