M Craw
TVWBB Super Fan
I revisited a fire pit method I learned about several years ago, and thought I would share it with you guys here if you're interested. I know it as an "upside down fire" and it's pretty self explanatory (largest logs on the bottom, and go smaller as you go up). It's a great method, and given the wood, will burn hot and quick! I didn't have the most ideal logs, as I only bought a few bundles at the local store, but it worked quite well, and the smoke went straight up while the integrity of the structure remained (before crumbling into hot coals).
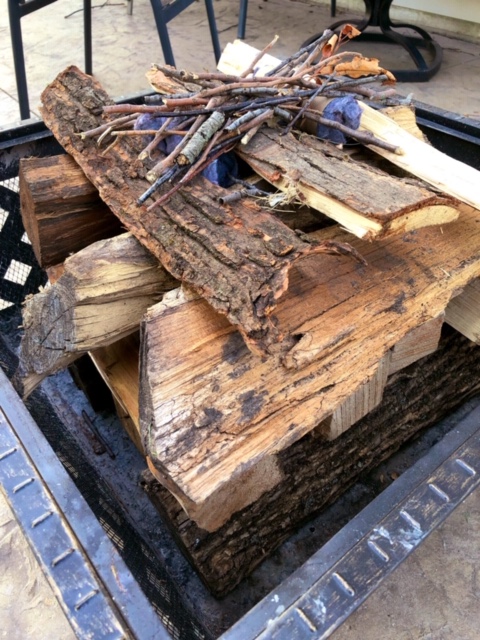
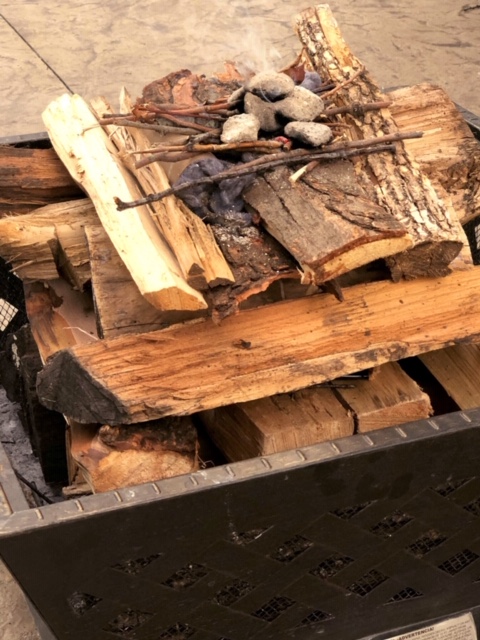
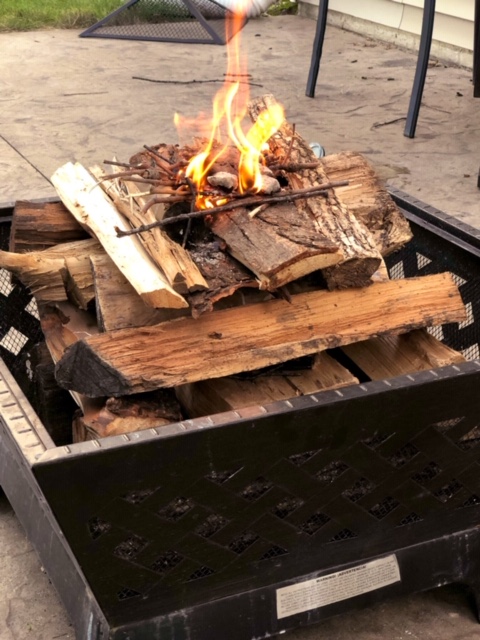
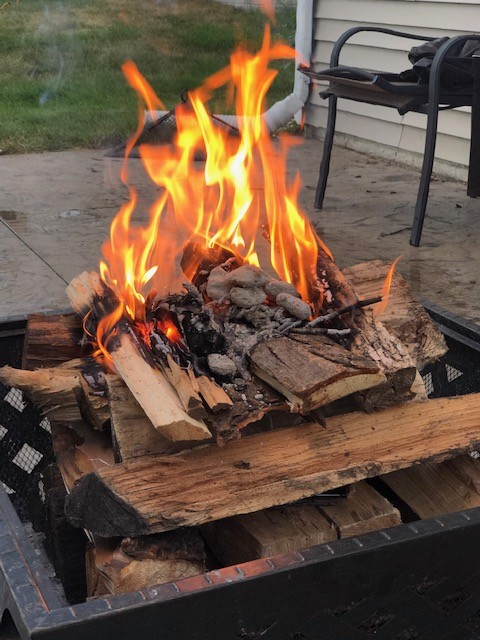
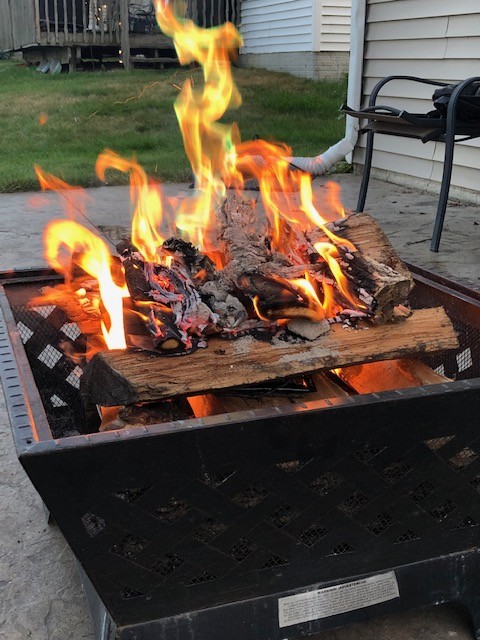

It was a hot (insert exploitative here) for an August night, and would be better suited in September/October, but it was fun and made for some awesome S'mores once the flames and sun went down.
Source: https://www.milkwood.net/2013/01/07/making-an-upside-down-fire/


It was a hot (insert exploitative here) for an August night, and would be better suited in September/October, but it was fun and made for some awesome S'mores once the flames and sun went down.
Why it works:
Heat energy actually radiates equally in all directions from the point of combustion, not just upwards (it’s the displacement of gasses as they expand that sends hot air upwards, not the actual heat energy itself). So once combustion of the top layer of your upside down fire occurs, the heat energy is radiating down as much as it is up.
This in turn means that the wood below the combusting material is getting well heated before it catches fire, which in turn facilitates better and more complete combustion of the wood below when it does catch fire. And more complete combustion means less smoke.
More complete combustion also means a hotter fire, which is usually the point of the exercise.
And in turn better combustion also means better coals (when you get to that stage) which mean better campfire cooking (should you be looking to multi-purpose your evening campfire, which you should).
Source: https://www.milkwood.net/2013/01/07/making-an-upside-down-fire/
Last edited:

