3D Printed Barrel Servo/Fan


Did you continue the test for longer? The reason I ask is that it appears from your graph that all of the fluctuation occurred at the first 2 hours during startup and then you finally reached a steady state, but I can't tell for sure with the limited time at the end. You don't want to tune your PID parameters based on initial startup of the smoker but instead on going from 1 setpoint to another. For instance, the smoker is set around say 210F and then you set the smoker to 230F. The best way to fix the startup problems are by limiting the max fan and, more importantly, arranging your coals and starting your fire properly. There are lots of threads devoted to this stuff so if you search for things like the "minion method" you will find lots of info regarding this topic.
 
Last edited:
I'm finishing up my offset rotary valve build and am wondering if the behavior that I'm seeing is normal.
I'm using an MG90S and default PID setting.
I noticed that when I power on my HM, the rotary moves to the 100% open position with a quick rotation.
However, when I toggle the damper between open and closed, using the Lid-Open override, the rotary moves into position much more slowly.

I've put a video here: http://youtu.be/xNiY5vs3Q_M
The initial, fast rotation from closed to open occurs when I power on the HM.

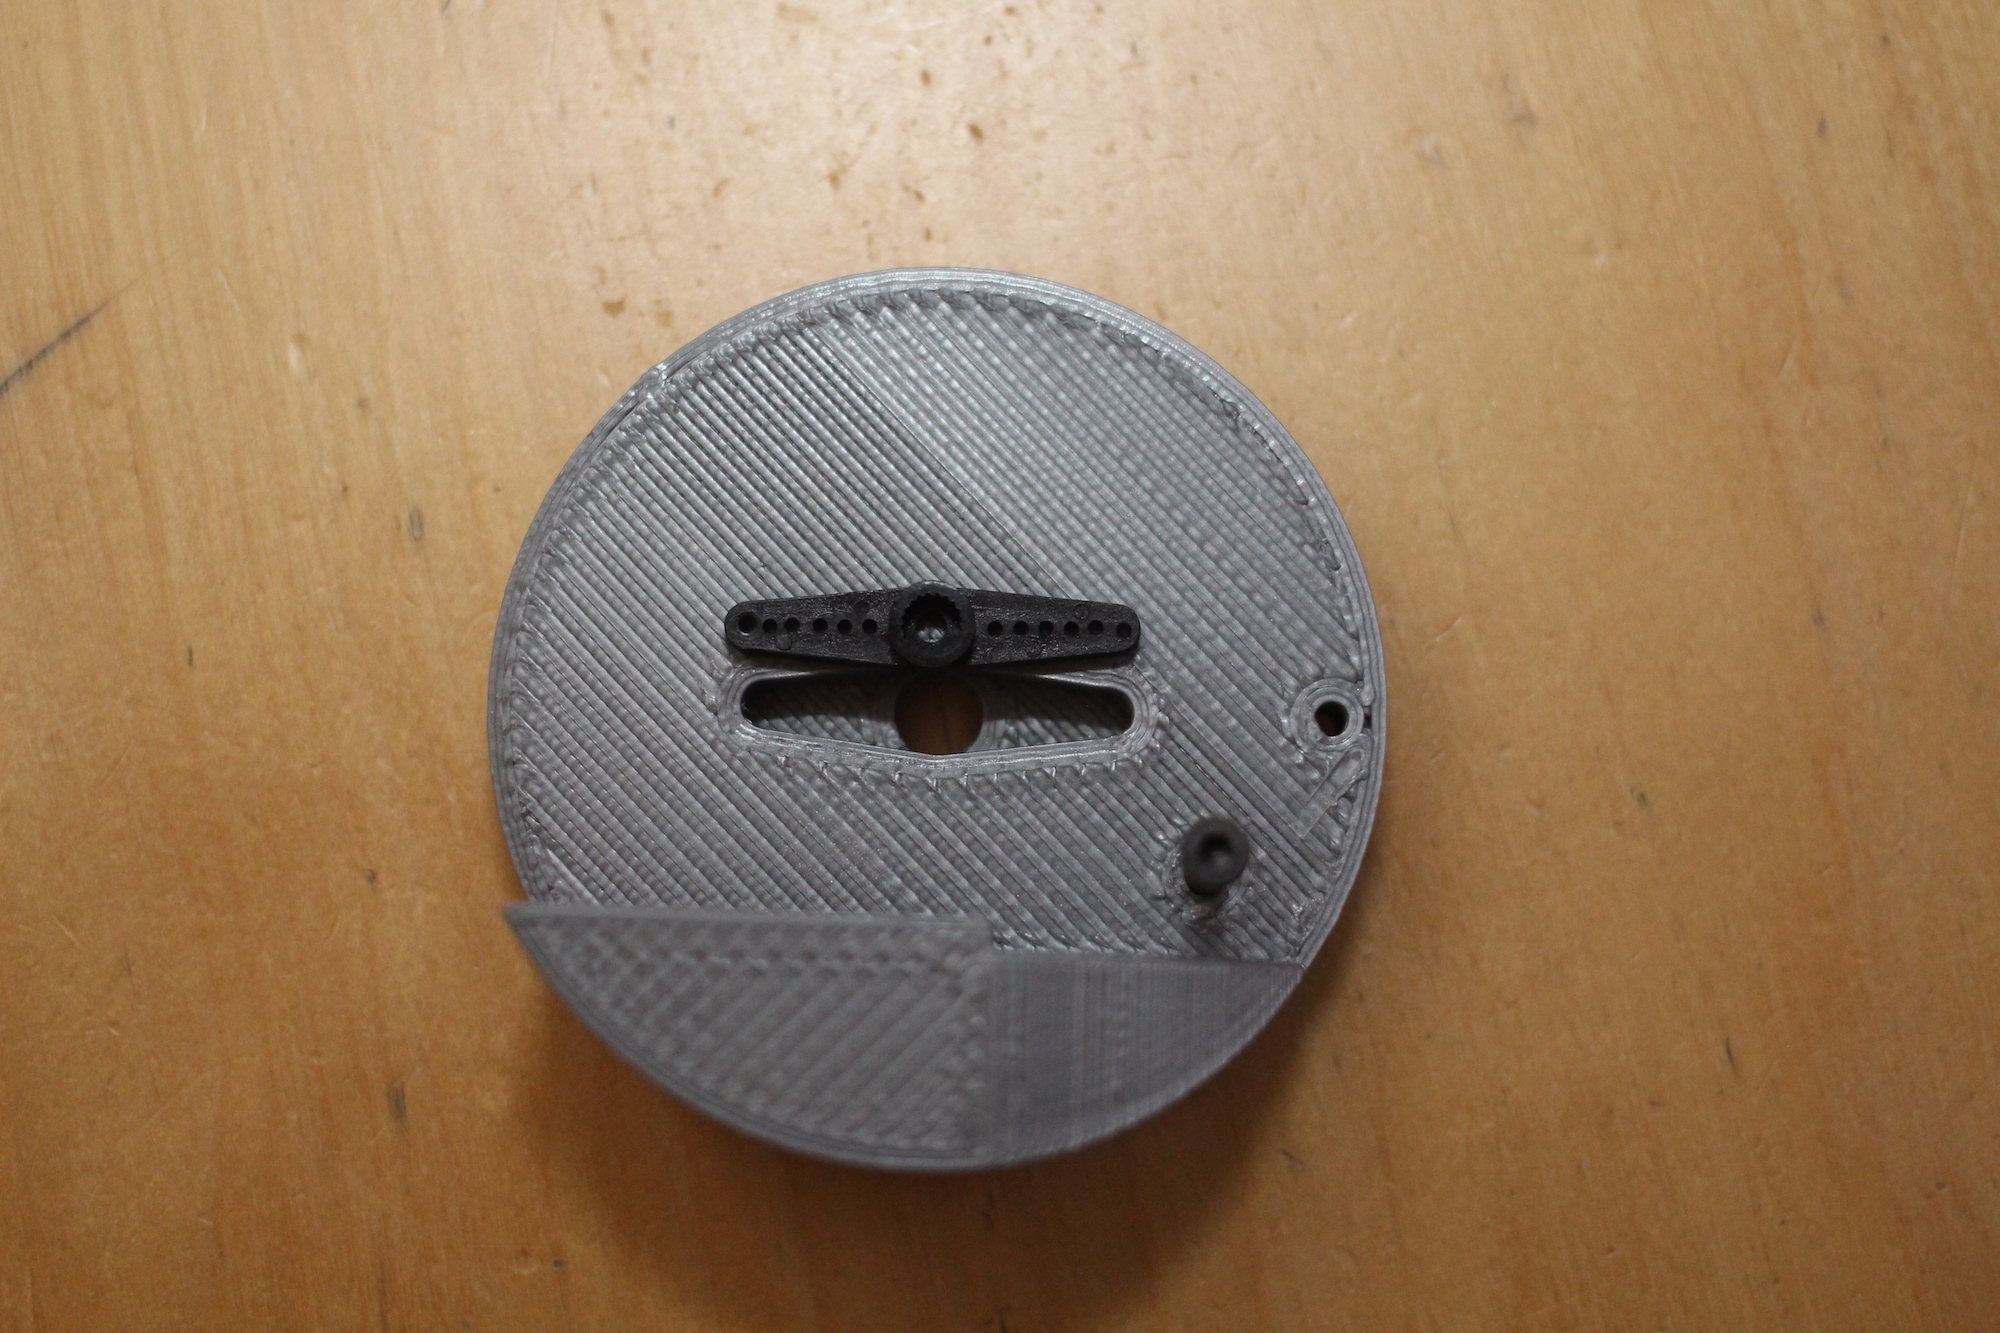
I had a bit of a challenge getting the rotary party screwed into the motor with just the right torque. If I tighten the screw down a bit, the motor doesn't produce enough torque to rotate the damper & fan. My first attempt at cooking with this worked for about an hour and then the rotary failed to move into the open position. Frequently, when the rotary moves into position (open or closed) I can hear the motor humming as it tries to get to 100% open or 100% closed ... if I nudge the rotary a degree, the humming will stop. I've done some sanding and tweaking since then, but am wondering if this is all typical.
 
Last edited:
The screw should just be tightened enough to hold the valve on. If you see chattering, it is too tight. The speed doesn't look off to me but your closed position does. The closed position should be just before the point where the fan wire hits the end of it's track. Try to make sure that you have the valve positioned so that you are not ever getting to the extreme ends of the servo range.
 
Adjusting the closed position made a big difference. Also, after I got the screw to take hold in the motor I gave the valve piece a good pull to re-seat the motor and get the maximum separation between the valve and body pieces. From there, I tightened the screw as needed to close the valve-body gap. Together, these changes eliminated the chattering.

Thanks Tom, both for a great design and for this help!
 
Tom, is it normal for the servo's arm to be a millimeter or two bigger than the hole it goes into? I guess I can sand down each tip a bit to get it to fit snugly.

IMG_9980.JPG
 
Tom, is it normal for the servo's arm to be a millimeter or two bigger than the hole it goes into? I guess I can sand down each tip a bit to get it to fit snugly.

IMG_9980.JPG

The fit is supposed to be very snug. I usually take a Phillips head screw driver and press along the holes in the propeller to snap it in place.
 
Tom, do I need any other fasteners or parts to put this together? Heading to the hardware store and I don't want to have to go back again for some other parts.
 
Yeah, I need to find a 2" x 1" rectangle aluminum tube. Neither Home Depot or Lowe's had one. I should have had you sent me a few inches of what you probably have left over. Do you have the square tube screwed to the case? What size screws if so?
 
Last edited:
You can screw it in with a 3mm or 1/8" screw. I tend to stick with 1/8" thick tube but you could probably get by with thinner if you can find it.
 
confused

Pics

Barrel V2

10573032795_632433d007_o.jpg


10573313223_a97c2df2ab_o.jpg

Total newbie here. I have been reading this thread entirely. Not sure if I quite understand it. I am going to have a barrel V2 printed up. My question is what internal parts go inside the housing to have the capabilities to open and close it? Also which files would I need to print out the parts to accomplish this.

Thanks,
Ramiro
 
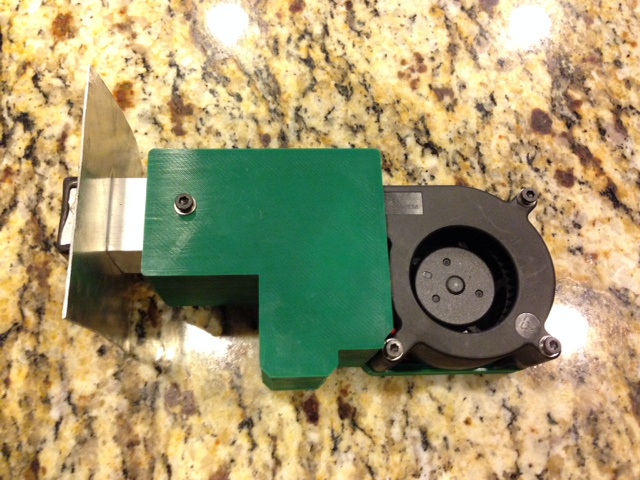
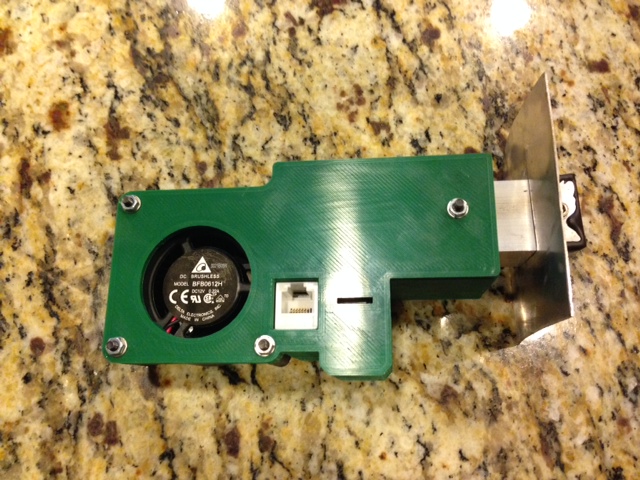
Those pictures are for the barrel servo which is the first printed servo damper that I designed. It works as well or better than any other design I've seen but has the disadvantage that there are several areas for potential leaks depending on how good you are at 3d printing. The servo sits in a fitted slot next to an RJ45 or 11 jack that distributes the servo signals and fan control.

The next design I made was the offset rotary which you can also see in the first post of this thread. This is the design I currently use because it utilizes a smaller more powerful fan, greater cross section for airflow, and a continuous path from the valve to the smoker with no added areas for potential leaks. This is the most airtight servo design I could make and, as a bonus, significantly reduces the required skill of the 3d printer thus opening it up to more people. The servo and RJ45/11 sit in a separate compartment in the body and are covered by a snap on lid to protect from the elements because it always seems to rain when I get the chance to bbq.

The files for both of these designs are in the first post of this thread and can be printed without correction. Both versions require printing of 3 parts (body, valve, and cover). I hope this info helps.
 
The fan I purchased is the fan listed on the hardware list page. To use the offset rotary damper I will need a smaller fan you list?
 
Hi Tom, first of all let me thank you for providing a fantastic design for the damper. I just finished printing my RSD-BGE with Ultimaker 2, and it looks awesome.

I tried to import your .dwg file to SolidWorks, but that didn't work too well. I also tried to edit the design with Inventor, but my Autodesk skills are nonexistent, and I wasn't able to change the dimensions of existing holes. It's probably just my laking skills, but I was wondering if it would be possible for you to make an export from your CAD to a format that might be better suited for SolidWorks.

My goal is to edit the damper to be a better fit for Europeans; e.g. 1x2" opening to 25x50mm, size the RJ11 hole to fit something more easily available from EU stores than the HomeDepot jack and so on.

Cheers,
Antti


Back
Top