RalphTrimble
TVWBB Diamond Member
*Update, 2015:
The RD3 came together this summer and I think it's the best Roto Damper yet!
It's built around the 50mm Delta blower, model BFB0512VHD (Digikey, Mouser), it can only run this blower, no substitutes. That's good news though, since the Delta BFB0512VHD blower is now the default blower for the Heater Meter.
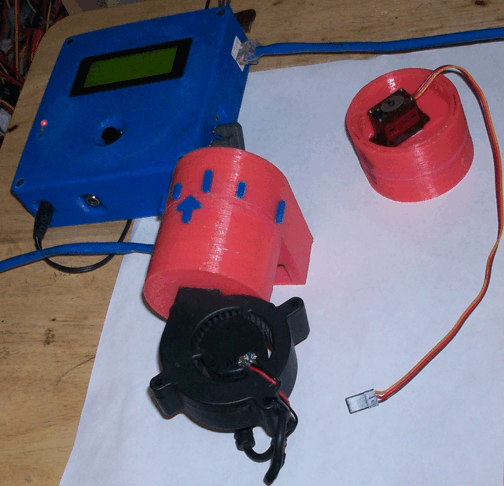
Since the addition of the Thermocouple Pit Probe high heat cooking has become a part of the HM world, so I set out to redesign the Roto Damper to maximize the top end air flow capabilities for high heat cooking. At the same time I wanted to reduce the amount of moving parts/wires to increase the long term reliability. The blower is inside the RD3 as are all the wires, none of the electronic parts or wires move, the only moving part is the outer damper disc. The blower output shoots directly into the grill unobstructed, no twists and turns or valves to travel through, with the 1" conduit adapter there is a full open path from the blower output into the grill. Due to this design change and the larger opening of the valve itself the RD3 is capable of achieving much higher air flow than the original Roto Damper, yet still maintains low and slow like a champ.
"and so, without further adieu, I present to you, the "Roto Damper 3"" (Code Name RD3)
The RD3 shares many of the same elements with the orininal Roto Damper. It uses the same Tower Pro MG90s servo, it also uses the same removable control/wiring box as the original RD. There are two options for wiring (both the original RD and RD3), either hand wired or the Aux Thermocouple "RDTC" board that John Bostwick and I worked together on.
The hand wired RD(3) uses the CAT5 jack from Home Depot that will snap into the RD(3) control box. You punch down the wires from the servo and blower to this CAT5 jack, Here is a link to the HM Wiki that shows what pin number on the CAT5 jack you punch each wire to. You can also install up to 3 (optional) panel mount probe jacks in this control box and punch those wires down to the 4 spare wires on the CAT5 jack. You will also need to add some jumper wires on your HM board from the CAT5 jack to the probe jacks before the probe jacks will function.
The RDTC is a small all SMD circuit board that has the CAT5 jack (the same type used on the HM board, NOT the Home Depot type), a Thermocouple Amp, Thermocouple Jack, and two standard food probe jacks on board. It also has a 3.3v regulator on board (to free up a wire for the second food probe) and an optional "REF Offset" circuit. The REF offset circuit will allow you to tune the TC to register temperatures below the natural bottom end of the HM at about 37F. The TC will function below 37F without the REF offset, but it will flat line at 37F until the pit temp rises above. This would only be needed if you wanted to have the ability to monitor very cold temperatures and see how miserable things are in the winter... lol
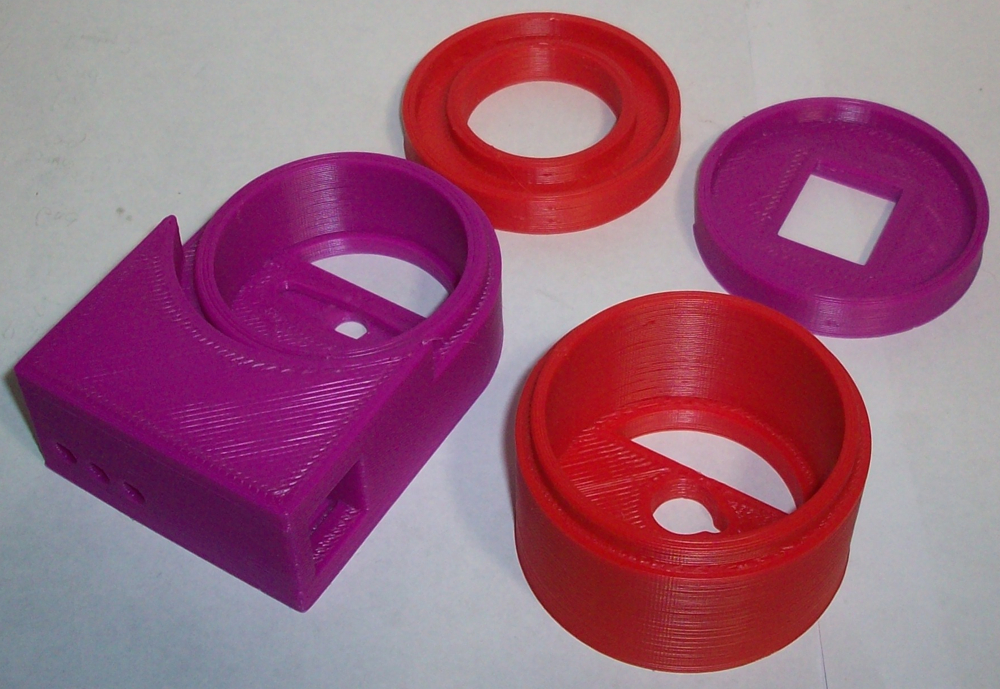
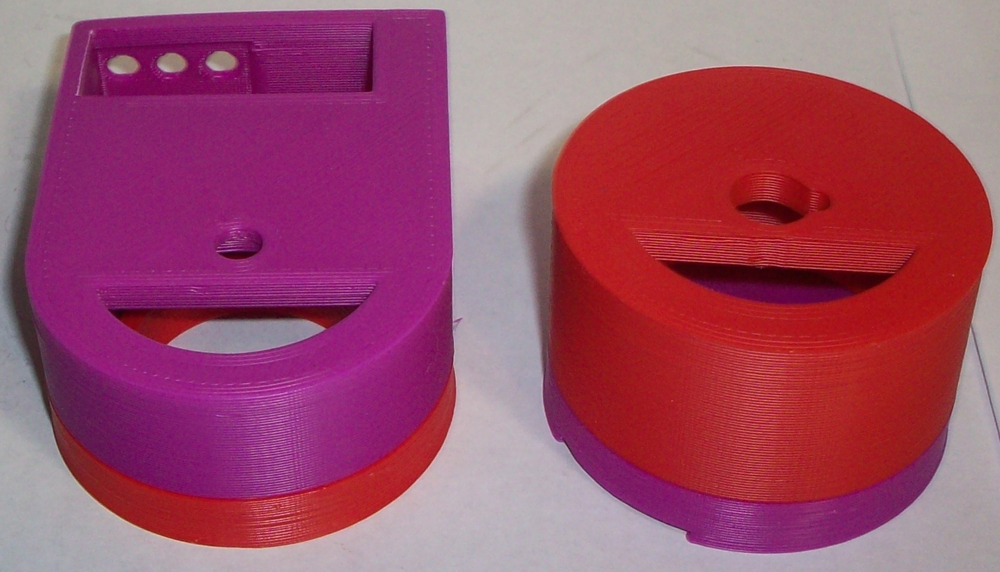
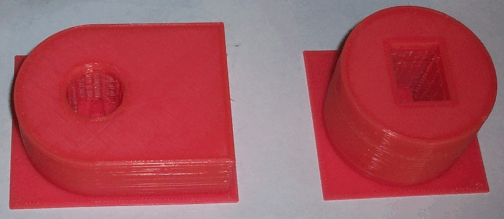
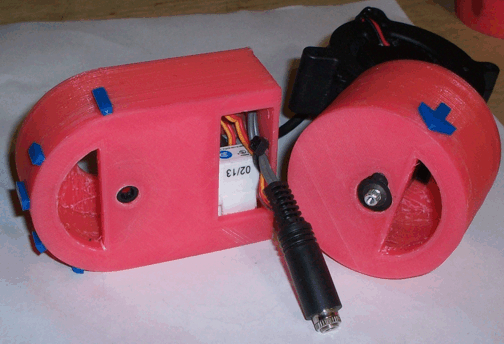
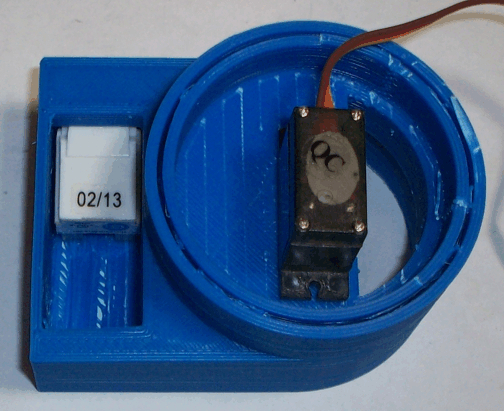
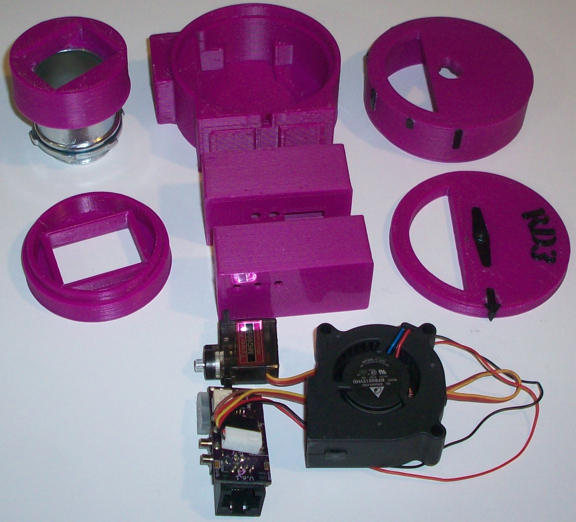
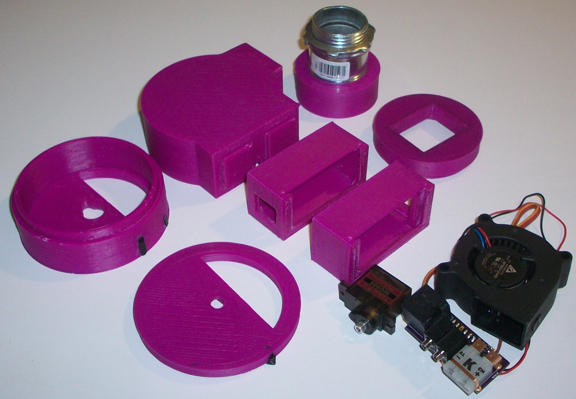
Here's a couple pics of the RD3 parts, including the RDTC board and hand wired control box:
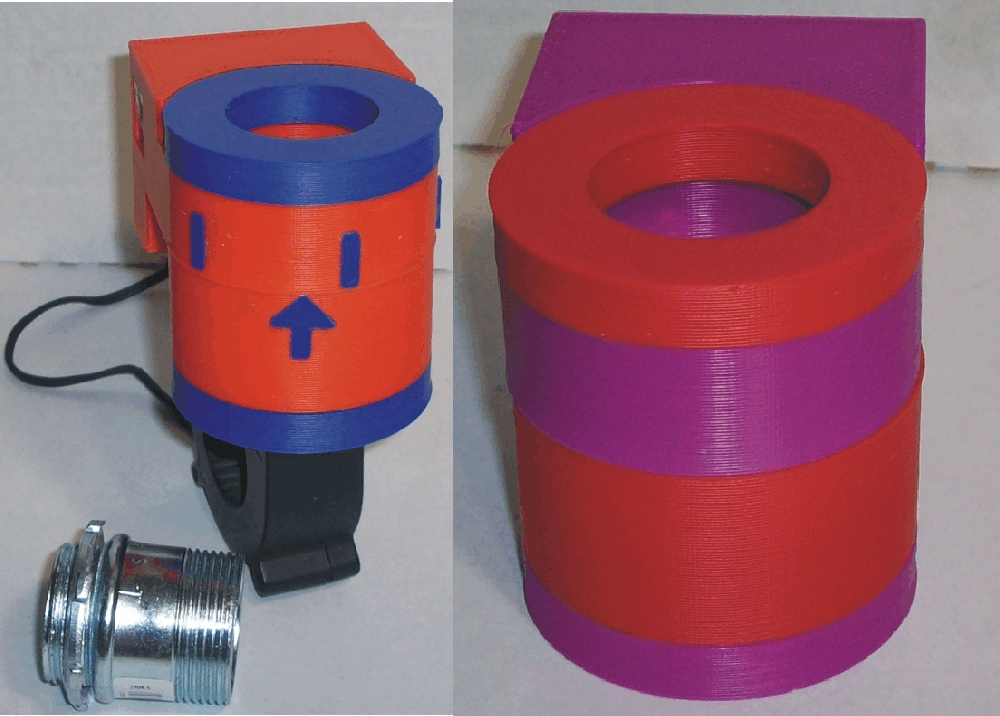
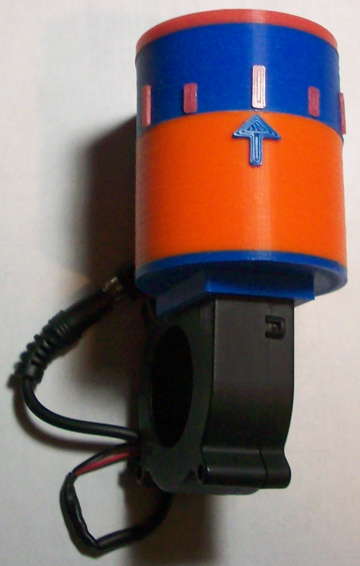
...and a handsome shot of the RD3 assembled and ready for action...
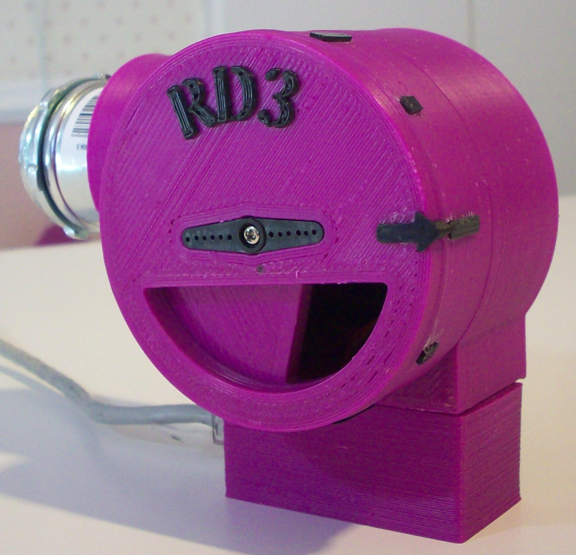
The above picture also shows the standard output cap with the 1" conduit adapter from Home Depot attached, the other end of the conduit adapter goes through your kamado vent plate or "dog bowl" and secures with the ring nut provided to make the connection to your grill. The RD3 to original RD output adapter is also pictured above. The orRD adapter is ideal for someone who may have both, it is also nice because the RD3 will pop on/off the round output cap from the original RD much easier than the square RD3 output. This is also a good option for someone who has a couple grills they want to use the RD(3) on, just put an original RD output cap on each grill and you can move the RD(3) from grill to grill with ease.
If you have a 3D printer and are interested in getting the RD3 stl's just shoot me a PM or email...
*The first post about the Original Roto Damper has been moved down a few posts to allow room for the above information about the RD3.
The RD3 came together this summer and I think it's the best Roto Damper yet!
It's built around the 50mm Delta blower, model BFB0512VHD (Digikey, Mouser), it can only run this blower, no substitutes. That's good news though, since the Delta BFB0512VHD blower is now the default blower for the Heater Meter.
Since the addition of the Thermocouple Pit Probe high heat cooking has become a part of the HM world, so I set out to redesign the Roto Damper to maximize the top end air flow capabilities for high heat cooking. At the same time I wanted to reduce the amount of moving parts/wires to increase the long term reliability. The blower is inside the RD3 as are all the wires, none of the electronic parts or wires move, the only moving part is the outer damper disc. The blower output shoots directly into the grill unobstructed, no twists and turns or valves to travel through, with the 1" conduit adapter there is a full open path from the blower output into the grill. Due to this design change and the larger opening of the valve itself the RD3 is capable of achieving much higher air flow than the original Roto Damper, yet still maintains low and slow like a champ.
"and so, without further adieu, I present to you, the "Roto Damper 3"" (Code Name RD3)
The RD3 shares many of the same elements with the orininal Roto Damper. It uses the same Tower Pro MG90s servo, it also uses the same removable control/wiring box as the original RD. There are two options for wiring (both the original RD and RD3), either hand wired or the Aux Thermocouple "RDTC" board that John Bostwick and I worked together on.
The hand wired RD(3) uses the CAT5 jack from Home Depot that will snap into the RD(3) control box. You punch down the wires from the servo and blower to this CAT5 jack, Here is a link to the HM Wiki that shows what pin number on the CAT5 jack you punch each wire to. You can also install up to 3 (optional) panel mount probe jacks in this control box and punch those wires down to the 4 spare wires on the CAT5 jack. You will also need to add some jumper wires on your HM board from the CAT5 jack to the probe jacks before the probe jacks will function.
The RDTC is a small all SMD circuit board that has the CAT5 jack (the same type used on the HM board, NOT the Home Depot type), a Thermocouple Amp, Thermocouple Jack, and two standard food probe jacks on board. It also has a 3.3v regulator on board (to free up a wire for the second food probe) and an optional "REF Offset" circuit. The REF offset circuit will allow you to tune the TC to register temperatures below the natural bottom end of the HM at about 37F. The TC will function below 37F without the REF offset, but it will flat line at 37F until the pit temp rises above. This would only be needed if you wanted to have the ability to monitor very cold temperatures and see how miserable things are in the winter... lol
Here's a couple pics of the RD3 parts, including the RDTC board and hand wired control box:


...and a handsome shot of the RD3 assembled and ready for action...

The above picture also shows the standard output cap with the 1" conduit adapter from Home Depot attached, the other end of the conduit adapter goes through your kamado vent plate or "dog bowl" and secures with the ring nut provided to make the connection to your grill. The RD3 to original RD output adapter is also pictured above. The orRD adapter is ideal for someone who may have both, it is also nice because the RD3 will pop on/off the round output cap from the original RD much easier than the square RD3 output. This is also a good option for someone who has a couple grills they want to use the RD(3) on, just put an original RD output cap on each grill and you can move the RD(3) from grill to grill with ease.
If you have a 3D printer and are interested in getting the RD3 stl's just shoot me a PM or email...
*The first post about the Original Roto Damper has been moved down a few posts to allow room for the above information about the RD3.
Last edited:

