How do I edit the main Heatermeter display page


edit nevermind got it for now
bah now its asking for libusb
Whats the best way to just start over i have no problem reconfiguring it all.......;)
 
Last edited:
Thanks for linking me over to this thread, I dont know how I missed it....

I too have never been fond of the blue overlay, I had used IE in the beginning (until Bryan shamed me after posting a screen shot! LOL), but I liked the look much better in IE because for some reason it didnt show the overlay. However, IE doesn't update with a continuous stream so it's a little more choppy. So I've gotten used to the look on Chrome and Firefox lately, but your screen shot with the black background and realistic flames really impressed me.... (T. Stinnett)

I still need to update my HM this weekend cause there have been some updates put out that I don't have yet, and I will also look into editing the background to look cool like yours.... I haven't read through this thread yet, got a family function to go to soon, so I am not sure if all the info and graphics are posted here somewhere in this thread or not? If not, would you be willing to share your awesome graphics? (again, I will read the entire thread later, so if it is all there already no need to respond)
Thanks for the inspiration, like I said, your graph looks really great! Cheers!
 
Last edited:
I setup and ubuntu machine tonight, now I can see the drives and files, but I don't have permission to change them.... I'm wondering what I need to do to edit the files in these folders? If anyone could help me figure this out I would be very appreciative.... thanks
 
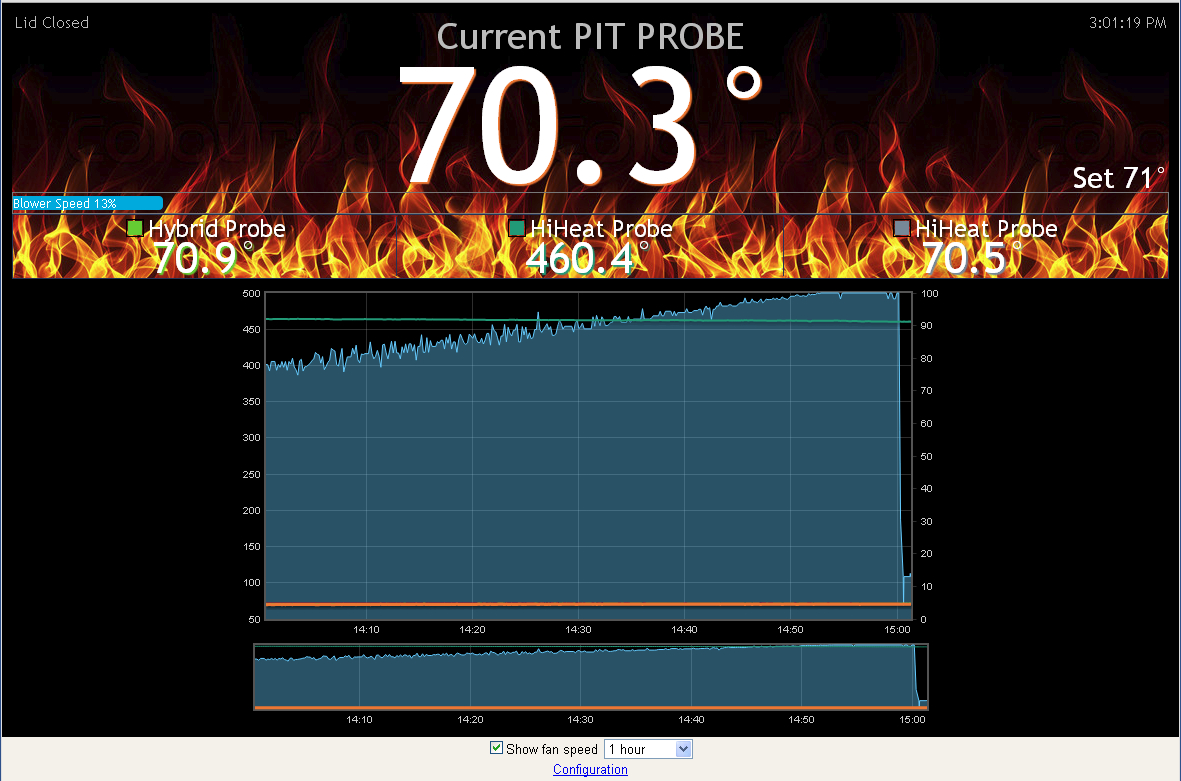
Here is mine as it sits today, I saw the black background earlier in this thread and then ran with it. Spent a bit of time making sure things looked good on mobile devices.

o3eu.jpg


Like the others in this thread I used Google Chrome to identify and find the style elements of the Heater Meter page. Right click on an item on the page and go to inspect element. You can change items in you browser on the fly. Your only editing what is currently in you browser window so there is no harm in any changes you make in playing around in Chrome.

I'm not a command line guy so using Putty and the VI editor is challenging at best for me. So how do we rectify that? WINSCP, free download here: http://winscp.net/eng/index.php

Open WINSCP and use your Heater Meter Credentials and IP address to create a connection to your controller. You'll probably get a message about encryption and trusting the target, this is normal, click ok

Once connected you be presented with a file explorer type interface and you can navigate the files and directories within you openwrt powered PI. There are 2 locations:
1. /usr/lib/lua/luci/view/linkmeter/index.htm - 99% of your editing will be here in the index.htm file
2. /www/luci-static/resources - this holds your background image(s), upload any image you wish to use here and just change the file name in you index.htm to point to it (line 819)

I recommend making a backup of you index.htm. I called mine indexold.htm and left it on the Pi and also copied it to my PC, just right click on the file within WINSCP and you'll be presented with a menu to copy/save you can also drag n drop.

Double click on your index.htm and the editor will open up, find the lines you wish to edit, make the change, then save you file. Refresh Chrome and you should see the change. There is an Undo button if you tear it up. Just Undo, save the change and refresh and you should be good to go.

Below is a Diff from the original file that shows the exact changes I've made by line number:

Set Border Colors to Black and remove opacity:
773 + div.content { background: #246; border: 1px solid #000; }
774 + table.probelist { width: 100%; background: #8ab; background: rgba(99, 162, 230, 0.0); border: 1px solid #235; padding: 0; }

Colored legend boxes slightly enlarged and border changed to black around them to stand out, and the last 2 lines change the font color on Temp boxes to White so you can use the black background.
776 + div.legbord { border: 2px solid #000; display: inline-block; }
777 + div.legfill { width: 16px; height: 16px; }
778 + div.dph { color: #fff; font-size: 12pt; text-align: right; font-weight: bold; position: absolute; right: 0; bottom: 0; }
779 + div.pname { color: #fff; font-size: 24pt; line-height: 16pt; display: inline-block; }

These (2) lines are biggies, 819 - Font defaulted and different (custom) background image file name specified. 820 - Change the verbage "Current Pit Temp" to "Insert-name here Temp"
819 + <div style="/* font-family: Trebuchet MS; */ background: #000 url('<%=resource%>/fire3.jpg') repeat-x scroll left bottom;">
820 + <div style="color: #bbb; font-size: 28pt;">My <span id="pn0">Pit</span></div>

Add black drop shadow on white text on Set Temp to stand out on the lighter portion of background image (I think)
825 + <div style="font-size: 22pt; line-height: 22pt; position: absolute; bottom: 0; text-shadow:2px 2px 4px #000000; right:0;">

Add opacity to fan speed box (looks cool)849, more fan speed resizing 850-51
849 + <div style="background: rgba(0, 0, 0, 0.44); border: 1px solid #777; height: 20px; position: relative;">
850 + <div id="fanc" style="position: absolute; left: 0; top: 2px; z-index: 0; background: #0ad; width: 0%; height: 16px; border-top-right-radius: 4px; border-bottom-right-radius: 4px;"></div>
851 + <div id="fanl" style="position: absolute; left: 0; top: 1px; z-index: 1; color: #FFF; font-size: 12pt;"></div>

Adds a Black drop shadow to the Text for the Probe Names for better contrast.
856 + <td class="probe" style="border-right: 1px solid #235; text-shadow:2px 2px 4px #000000">
866 + <div style="position: relative; text-shadow:2px 2px 4px #000000">
874 + <td class="probe" style="border-left: 1px solid #235; text-shadow:2px 2px 4px #000000">


Hope this helps some others...Enjoy!

WIP - Increase the contrast on the actual displayed temps of the probes, this is tied by a variable to the graph colors as a drop shadow. I may try to add a second black drop shadow to see if they will pop out a bit.
 
Last edited:
YOU ROCK MAN! Thanks a bunch! That worked out really easy for me, gave me access to the HM file system right through windows and I was able to get my home page customized right quick...

Hope you don't mind, but I just right clicked your home page from your live cook and "saved as" HTML ONLY then renamed the file to index.htm, then I saved "fire3.jpg" from your system to my hard drive. I made a backup copy of the original index.htm on my HM then copied over the two files to the folders you reference and.... whoomp there it is.... lol

Thanks again for helping me out....

EDIT: Well, guess that was TOO easy, for some reason it doesn't stay logged in to the home page now (can't click and edit anything after entering the password), however, I can log in to the config page etc. I guess I will have to restore my original index.htm and edit it manually....
 
Last edited:
I started over (a couple times) attempting to manually edit the HM home page. I've made SOME progress but am not quite there yet. I like the look I have now but there are still a few elements that need a touch up.

I would like to add a black shadow to the text for the probe names and temperatures, at one point I had accomplished that but had somehow hosed up the html so that it wouldn't stay logged in. Now I can't seem to get those shadows back for some reason (maybe I need to take a step back from it)

Also, the peak line on the blower speed indicator bar is not very visible over the flames, I would like to change that color too...

but so far so good, I can still log in and stay logged in, and I like the look I've got going. Here is a snap shot of what I have so far....
HMHome.jpg
 
Look at line 849 and you can make the blower speed bar transparent/black and control the opacity so the blower average indicator stands out. Look at my screenshot and the blower bar.

849 + <div style="background: rgba(0, 0, 0, 0.44); border: 1px solid #777; height: 20px; position: relative;">..... mines currently at 0.44.

The text shadow is there on the probe names looks like, but my text is a size or so larger (making the shadow and letters stand out more). Make sure you look closely at my lines.

You should be able to cut/paste my lines from "<.......to.....>" in place of the originals.

Great CSS site here: http://www.w3schools.com/cssref/css3_pr_text-shadow.asp to try out the CSS styles that can be applied.
 
I kinda like the fan speed bar transparent, and I was able to get that indicator line to be white now so it is visible above the flames. I also got the black shadows under the probe names now by adding style="text-shadow: rgb(0,0,0) 2px 2px 1px;"
to the pname lines, but when I add that same string to the ptemp lines it doesn't seem to change the shadows on the probe temps to black? That one has got me stumped..... It looks like you left the default shadow on the temps I guess, cause they look like mine...
Here is pic of what I have now:
HMHome2.jpg

It's getting there....
 
Last edited:
Perhaps these alternate index.htm files and background images could be posted on the HeaterMeter wiki page
 
I'd be glad to share mine if any were interested, I was just gonna post them here in this thread though.... I've been taking it a little bit at a time so I don't get frustrated and screw something up and have to start over (like last night).... I figured I would wait until I was done editing to post them....
 
It's kinda a bad idea to put them in the wiki because there's a good chance they'll not be up to date and every new LinkMeter version could break them (and will always wipe out your changes).
 
Perhaps these alternate index.htm files and background images could be posted on the HeaterMeter wiki page

Go figure, my edited home page is obsolete already! LOL That's what I feared in the first place, but I expected it to remain valid for at least 24 hours! LOL
 
OK, New HeaterMeter V10 release today that has some changes in the home page....

I made some basic edits to my v10 home page, it now looks like this:
HMHomeV10.jpg


I will probably take the editing further, but for now I've got the basics covered....

The background image has been customized, the blue overlay has been removed, I changed the background of the table that holds the new navigation links to black so it can been seen without the blue overlay, I changed "Blower Speed" to "Air Volume" and made that text white, it's color bar semi transparent, the indicator line white and the overall background transparent. Everything is still functioning properly and looking pretty good. I haven't removed the blue overlay from the Probe windows yet because the text can kinda get lost in the flames without it, I'll have to change text colors and add shadows to make them more vivid without the overlay another day, I just left it alone for now (I might have lightened up the overlay a bit, can't quite remember now)

You can download my edited version of the Heater Meter home page here if you like. I zipped up the customized index.htm from my HM then uploaded/downloaded/extracted then replaced the index.htm on my HM to test and everything is still functioning properly, so I assume it should be an easy update for anyone. If/when I customize my home page further I will share it here.

The background image I am using I got from Colourbox.com. Just search for "fire" or "flames" and pick the one you like best, save the sample pic as "fire.jpg" on your hard drive somewhere (or use any other jpg file you like as the background image, just name it "fire.jpg").

The process to change the home page is pretty simple (thanks to T. Stinnett's assistance previously in this thread)

1) download and install WINSCP, a free download here: http://winscp.net/eng/index.php
This will give you a windows explorer type of interface that you can use to manipulate the live files on your Heater Meter. Use the SCP File Protocol to connect to your HM IP and use Admin: root and Password: "your HM password" to connect. If any errors pop up when you connect just hit ok and ignore them.

2) on the right pane navigate to /www/luci-static/resources. Now drag your fire.jpg file into this window to upload it.

3) on the right pane navigate to /usr/lib/lua/luci/view/linkmeter. This is where your index.htm file resides. On the left pane navigate to somewhere on your hard drive to store a backup of your original index.htm file, then drag the index.htm from the right pane to the left to make a backup of your original index file from your HM to your hard drive.

4) Unzip the customized index.htm from the zip file I linked above to somewhere on your hard drive (do not over write the backup your original index file!), now drag the customized index.htm file into the right pane to upload it, say YES to replace the original file and let it upload.

5) close WinSCP, you're done!

Enjoy!
 
Last edited:
Rebuilt mine last night after the new release. Here's my current v10 with customization's, I think I've got everything dialed in pretty well now. I can post my index.htm if others are interested.

Update: My v10 index.htm is located here.

ubpk.jpg
 
Last edited:
My v10 index.htm is located here.

Instructions are the same as Ralph's a few post's back.

Using WinSCP, backup you old index at /usr/lib/lua/luci/view/linkmeter, and copy this index.htm to your Pi.
Add the image of you choice to the /www/luci-static/resources and name it fire.jpg.

Enjoy and let me know if you have any feedback.
 
Here's mine. Only slight differences from yours. I'm not sure I like my image all that much. It's one of my own images. I might have to work on it some more.

10258248143_29283f1e82_c.jpg


Back
Top