Cody Bratton
TVWBB Emerald Member
As recommended by others, I do an overnight soak in a bleach and dawn mixture. Use a scrub daddy (i love those things for cleaning grills) to get any major gunk or buildup off.
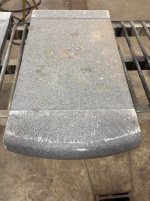
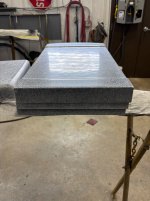
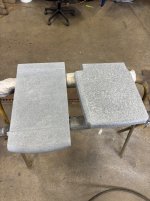
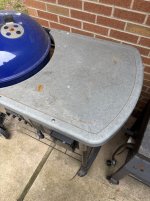
As you can see, I decided to go after one of the very worst ones I had. Looks like it was dragged behind a car for a few blocks.
Tools/materials used:
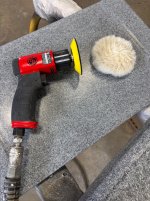
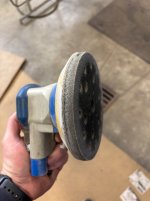
6” dual action orbital sander with a foam backing pad
80, 120, 220, 400 and 600 grit paper.
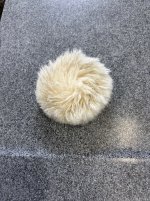
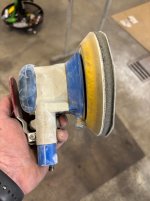
3” buffer with a “wool” pad.
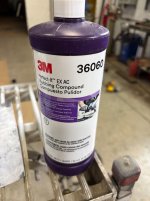
3M Rubbing compound (I will be checking for a cheaper option, but for this application I wanted to see if it worked before buying something). Most any rubbing compound should work just fine.
For tables in better condition 80, 120, 220 grits aren’t really necessary.
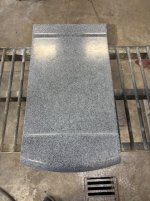
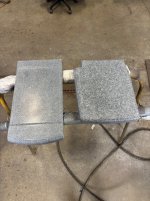
On this one I had to sand a good bit off to get the scratches/gauges out. The biggest key is to always keep the DA moving (especially with the rougher grits), and away from the edges. After sanding, blow the dust off and wipe with a clean dry rag.
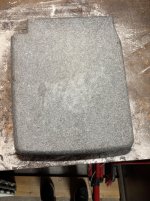
Put a dab a little bigger than a quarter into the middle and kind of smear it around at about 1/8 trigger with the buffer so you don’t splatter it all over. Once it’s spread evenly over the surface let it rip. Try to remember that part of the act of buffing is warming the surface. Buff it until the compound just leaves a slight haze. Then wipe with a rag and enjoy your like new table.
Note that if the wool catches an edge it will want to shoot the table out of your hands or off the table.
When the rubbing compound goes on, it darkens up fast, its actually pretty cool to watch it go from light grey to a deeper darker gray.
Pic dump below
This may sound really involved, but between sanding and polishing that really bad table, I have maybe 15 minutes in it. Definitely worth the effort, be it for a flip or a keeper grill.
As you can see, I decided to go after one of the very worst ones I had. Looks like it was dragged behind a car for a few blocks.
Tools/materials used:
6” dual action orbital sander with a foam backing pad
80, 120, 220, 400 and 600 grit paper.
3” buffer with a “wool” pad.
3M Rubbing compound (I will be checking for a cheaper option, but for this application I wanted to see if it worked before buying something). Most any rubbing compound should work just fine.
For tables in better condition 80, 120, 220 grits aren’t really necessary.
On this one I had to sand a good bit off to get the scratches/gauges out. The biggest key is to always keep the DA moving (especially with the rougher grits), and away from the edges. After sanding, blow the dust off and wipe with a clean dry rag.
Put a dab a little bigger than a quarter into the middle and kind of smear it around at about 1/8 trigger with the buffer so you don’t splatter it all over. Once it’s spread evenly over the surface let it rip. Try to remember that part of the act of buffing is warming the surface. Buff it until the compound just leaves a slight haze. Then wipe with a rag and enjoy your like new table.
Note that if the wool catches an edge it will want to shoot the table out of your hands or off the table.
When the rubbing compound goes on, it darkens up fast, its actually pretty cool to watch it go from light grey to a deeper darker gray.
Pic dump below
This may sound really involved, but between sanding and polishing that really bad table, I have maybe 15 minutes in it. Definitely worth the effort, be it for a flip or a keeper grill.