BrunoBronosky
New member
I'm new to this forum. I have spent hours reading but still don't feel confident ordering.
The goal
The goal
- Order all needed electrical parts (PCBs + components) kits for a HeaterMeter v4.3 (or later) to solder and combine with one of my RPi 3B+ SBCs.
- Order all needed mechanical parts for Adapt-a Damper and the HM case
- Soldering skills
- TS100 soldering iron
- Deep knowledge of RPi, Linux, and software development
- Dozens of RPis laying around
- Basic knowledge of Arduino and AVR development
- Hundreds of Arduinos, AVR based boards, loose AVR chips, and ESP8266/ESP32 based boards laying around
- A nearby Home Depot to get the Ethernet stuff
- Money
- Time and patience for mistakes, rework, reorders, etc.
- Basic EE knowledge (I just search for answers and never really learned to do for myself)
- Basic EE components (I just moved cross country and donated everything to my MakerSpace rather than deciding what to keep)
- Understanding of this whole HeaterMeter, RD3 vs Adapt-a-Damper feud, RDTC Aux board, etc. thing
- This is the big one. I don't know what info is current and relevant versus old and outdated.
- HeaterMeter v4.3 Kit with the "Thermocouple / Delta 50mm 6.7cfm" options
- https://store.heatermeter.com/collections/all/products/heatermeter-v4-3-kit?variant=25577213510
- It's very important to me that the TC amplifier be preassembled, I know those can be very sensitive
- 3D printed case for HeaterMeter v4.3
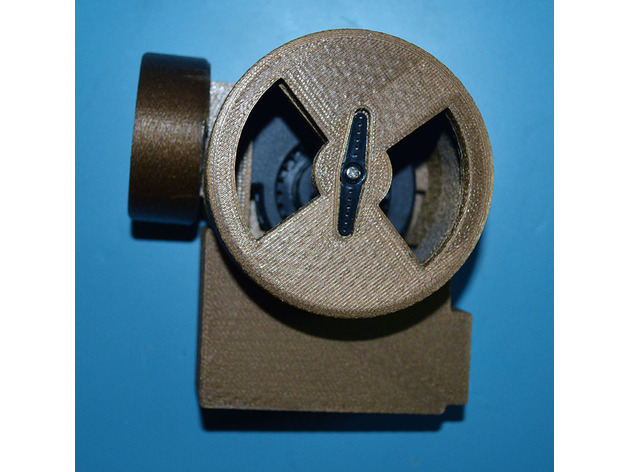
- 3D printed Probe Spool
- 3D printed Adapt-a-Damper case
- I'd like to buy this from Bryan, but it doesn't look like his fits the RDTC Aux board
- RDTC Aux board
- Again: It's very important to me that the TC amplifier be preassembled, I know those can be very sensitive
- Reliable probs and a thermocouple
- 3x Hi-Temp Right Angle 6" Probe https://www.thermoworks.com/TX-1001X-OP?tw=VWB&chan=TVWBB
- 1x Hi-Temp Air Probe with Grate Clip https://www.thermoworks.com/TX-1003X-AP?tw=VWB&chan=TVWBB (just in case)
- 1x Hi-Temp (2200°F!) Flexible Ceramic Fiber-Insulated Probe https://www.thermoworks.com/WD-08467?tw=VWB&chan=TVWBB
- Probe accessories
- Probe Rings https://www.thermoworks.com/high-temp-probe-rings?tw=VWB&chan=TVWBB
- Grate Clip https://www.thermoworks.com/TX-1006X-GC?tw=VWB&chan=TVWBB (if I don't get the Air Probe above)
- Probe Pot Clip https://www.thermoworks.com/PH001?tw=VWB&chan=TVWBB
- Am I missing anything?
- Any advice for running this off of batteries?
- Where can I get the RDTC board? Should I just skip the RDTC board for now? Is it at all less reliable?
- Does anyone have any experience with that -58 to 2200°F ceramic thermocouple?