You are using an out of date browser. It may not display this or other websites correctly.
You should upgrade or use an alternative browser.
You should upgrade or use an alternative browser.
Mini Build Time
- Thread starter Matthew
- Start date
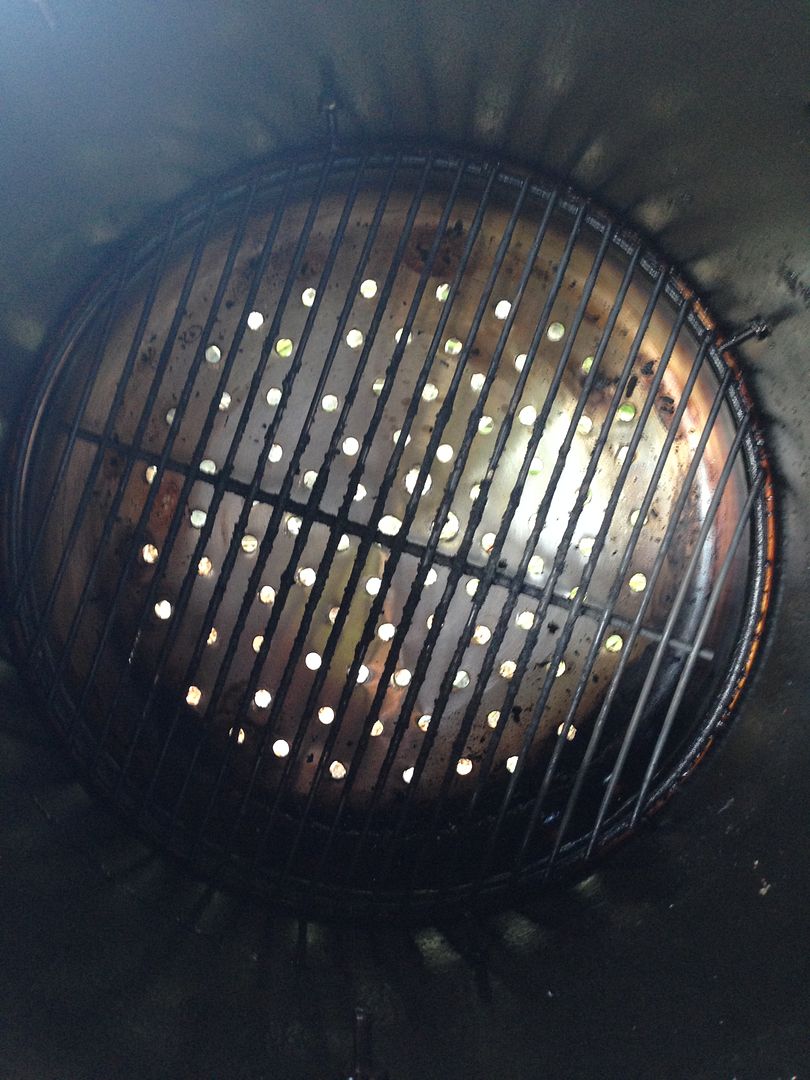
No one said that it would....I got the pot, have the bottom cut out and used the Vasconia 32 qt pot. PROBLEM... The 18 in Weber charcoal grate does not fit to the bottom.. What do I need to do.. I have not drilled any holes and it is STUCK in the steamer part.
Hehehe.....(it's stuck on the "indent")
You have to clip it like this (clipping just one side should do it)

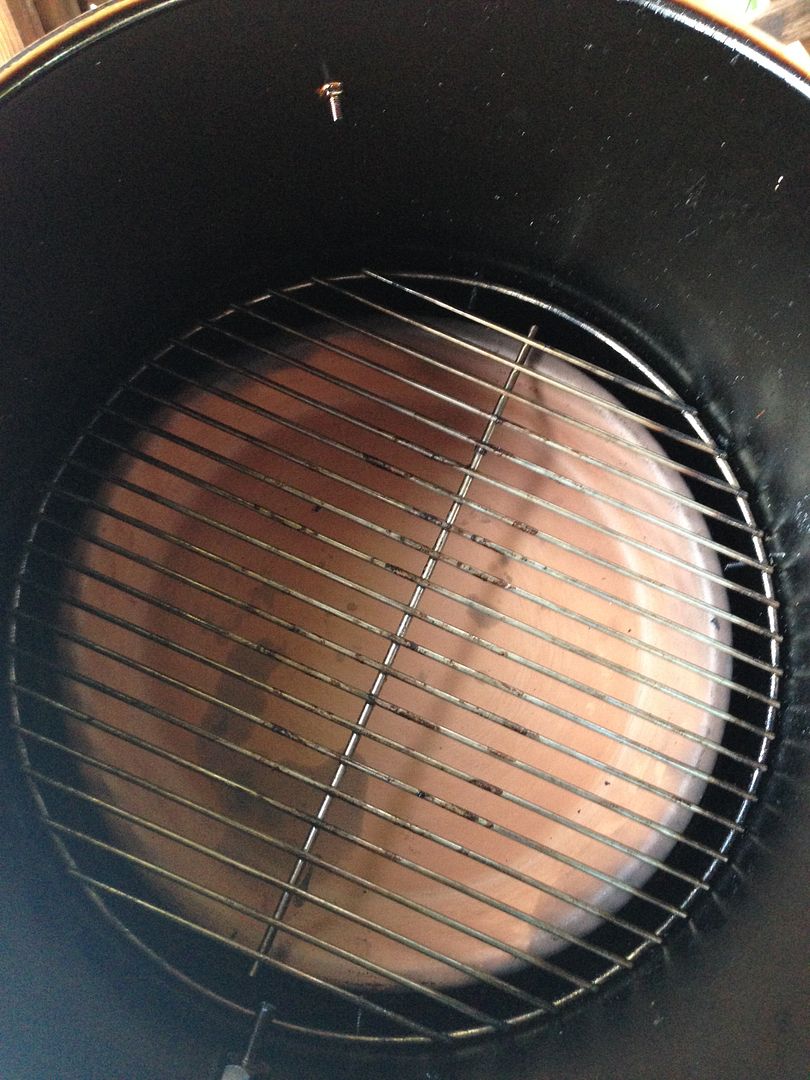
Once you get your charcoal grate (diffuser support) in the bottom, put your diffuser on that.
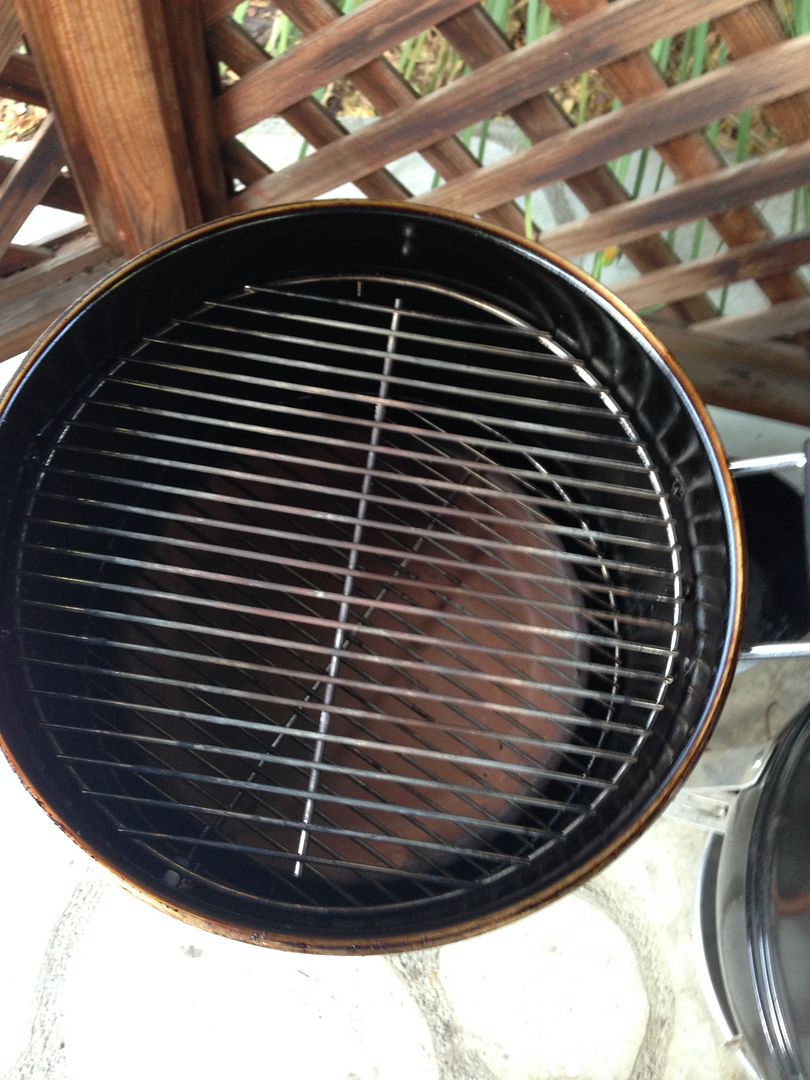
Then your lower cooking grate will nest above, on the indent (no drilling yet)
Then you have to decide where you want your other grates
(drilling required....do a 3 point, not a 4 point grate suspension system)
Last edited:
Matthew
TVWBB Pro
No one said that it would....
Hehehe.....(it's stuck on the "indent")
You have to clip it like this (clipping just one side should do it)

Once you get your charcoal grate (diffuser support) in the bottom, put your diffuser on that.
Then your lower cooking grate will nest above, on the indent (no drilling yet)
Then you have to decide where you want your other grates
(drilling required....do a 3 point, not a 4 point grate suspension system)
I did not read the bottom, but that is my progress..
If you like to do "low profile" type stuff lake sausage or chicken parts, a tip-top grate location can be handy because the access will be easy (no reaching in) just like the Smokey Joe.
If you do that you will have about 9" to split for your mid grate, if wanted.
A stand-up (beer can) chicken should fit nicely on this mid-grate with the tip top grate left out.
If you do that you will have about 9" to split for your mid grate, if wanted.
A stand-up (beer can) chicken should fit nicely on this mid-grate with the tip top grate left out.
I would put it about 1" below your mid-grate so it's about centered in the smoker and not in the way when removing the mid-grate.Thanks, I drilled 3 holes about 3 3/4" from bottom of the lip on outside... I have no screws handy, but will have some tomorrow... All I need to do is attach and drill a hold for therm. Anything needed special for therm?
Also, with your smoker positioned where it will be living (working), put the therm where it is easily readable.
It may be advantageous to place the therm directly below a suspension bolt so it won't create the "4-point problem" when trying to remove the lower grate.
Last edited:
Whatever therm you select will dictate that....they vary.Thanks.. What size hole is needed?
G Savrnoch
TVWBB Super Fan
I think some people have used the steamer insert as a diffuser - can't speak to results.


