I recently restored my 6th SSP. It has been 7 or 8 years since I last restored one.
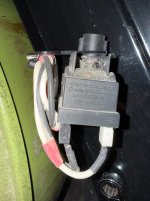
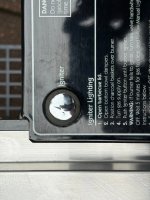
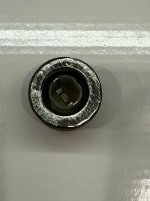
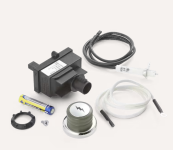
I've always used the 65737 electronic igniter. It's always bothered me how it never fit quite right and was prone to move around and sometimes fall out.
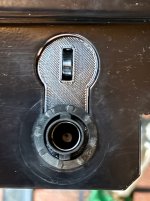
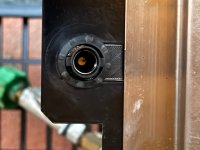
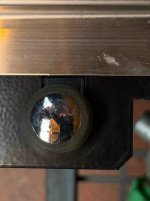
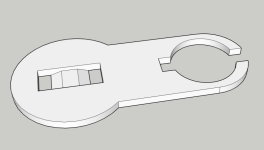
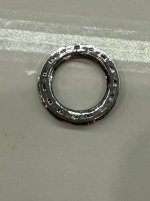
For this one, I designed and 3D printed an adapter that fills the cut out on the SSP Frame and positions the igniter in the correct location.
I added a ty-wrap slot for stashing any extra length of wire.
Download it here:

 www.thingiverse.com
I've always used the 65737 electronic igniter. It's always bothered me how it never fit quite right and was prone to move around and sometimes fall out.
For this one, I designed and 3D printed an adapter that fills the cut out on the SSP Frame and positions the igniter in the correct location.
I added a ty-wrap slot for stashing any extra length of wire.
Download it here:
Weber SSP Adapter for 65737 Igniter by ChapinPL
An adapter for mounting a newer style electronic igniter in an older SSP frame.
www.thingiverse.com