My Mini WSM


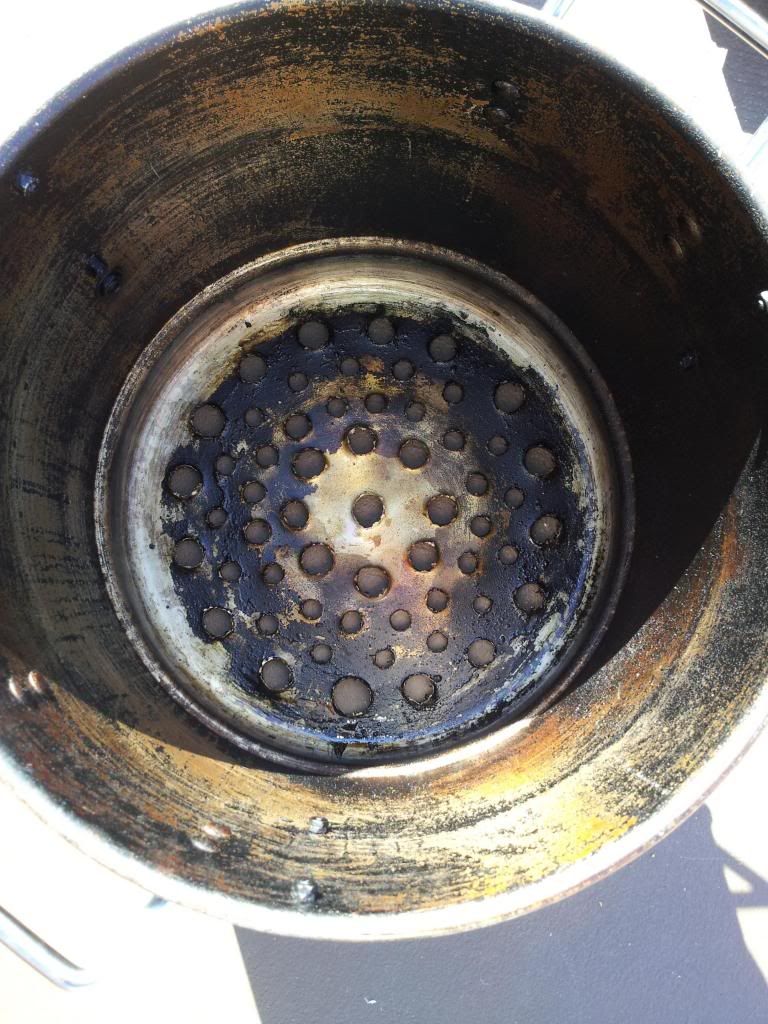
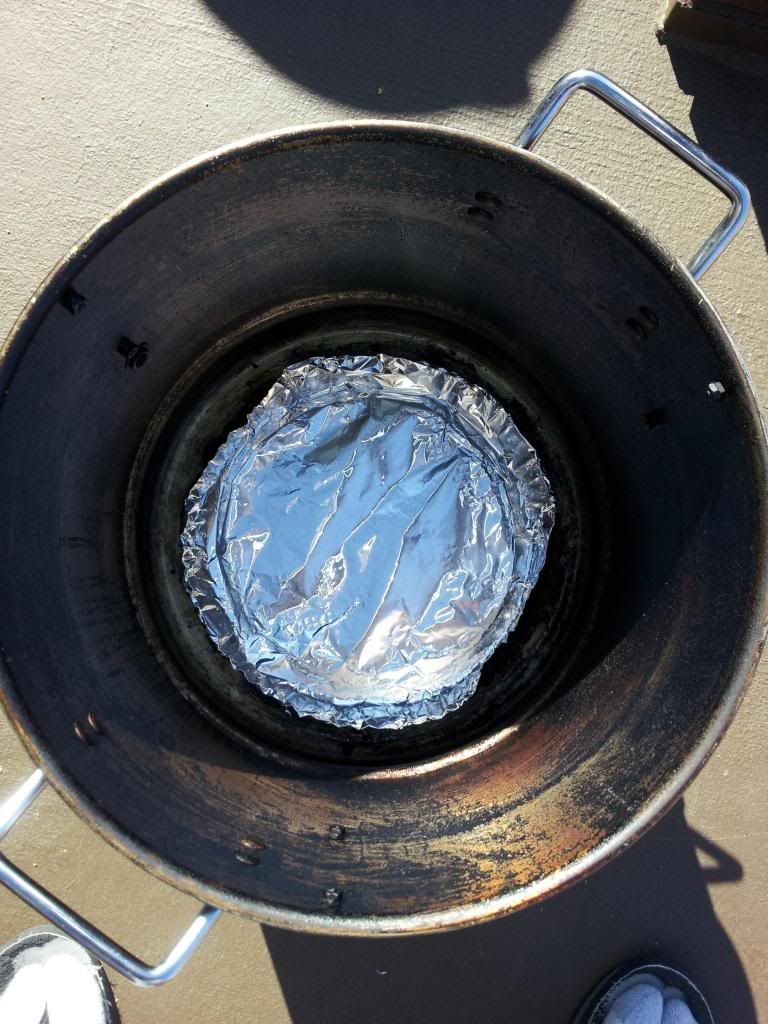
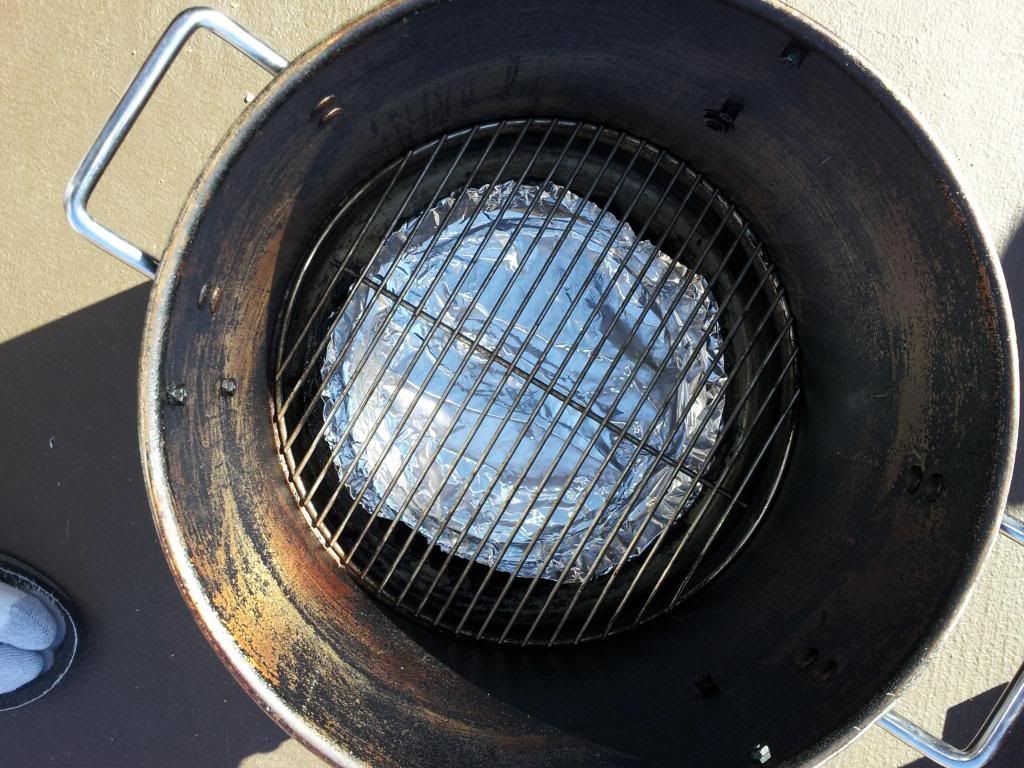
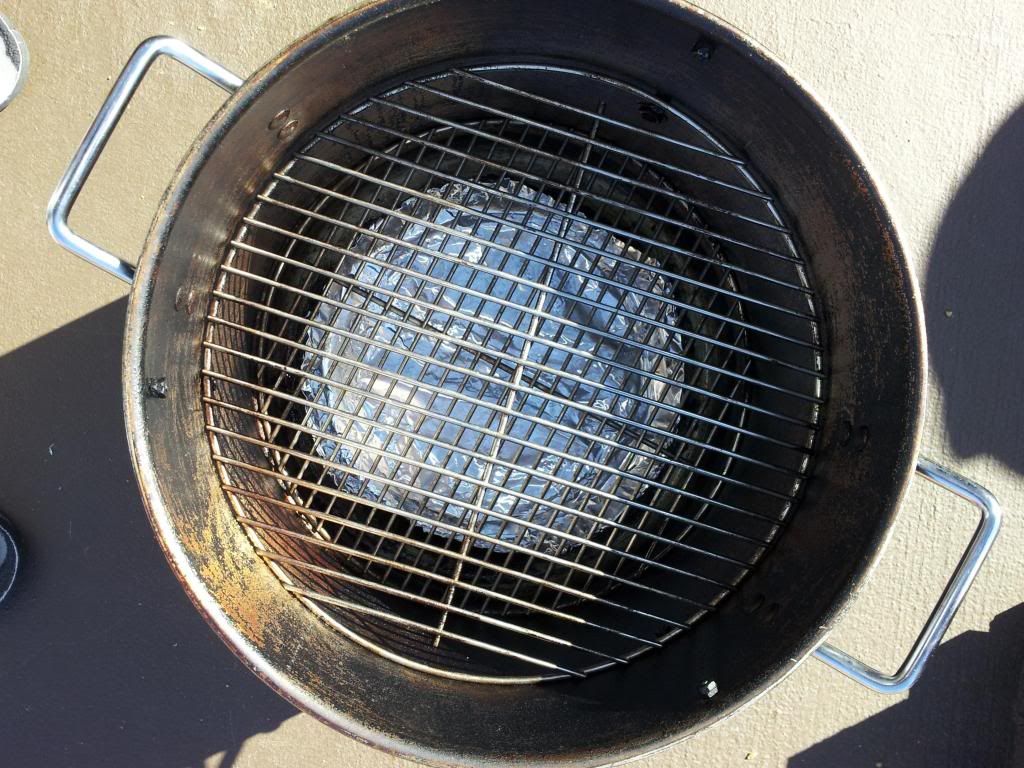
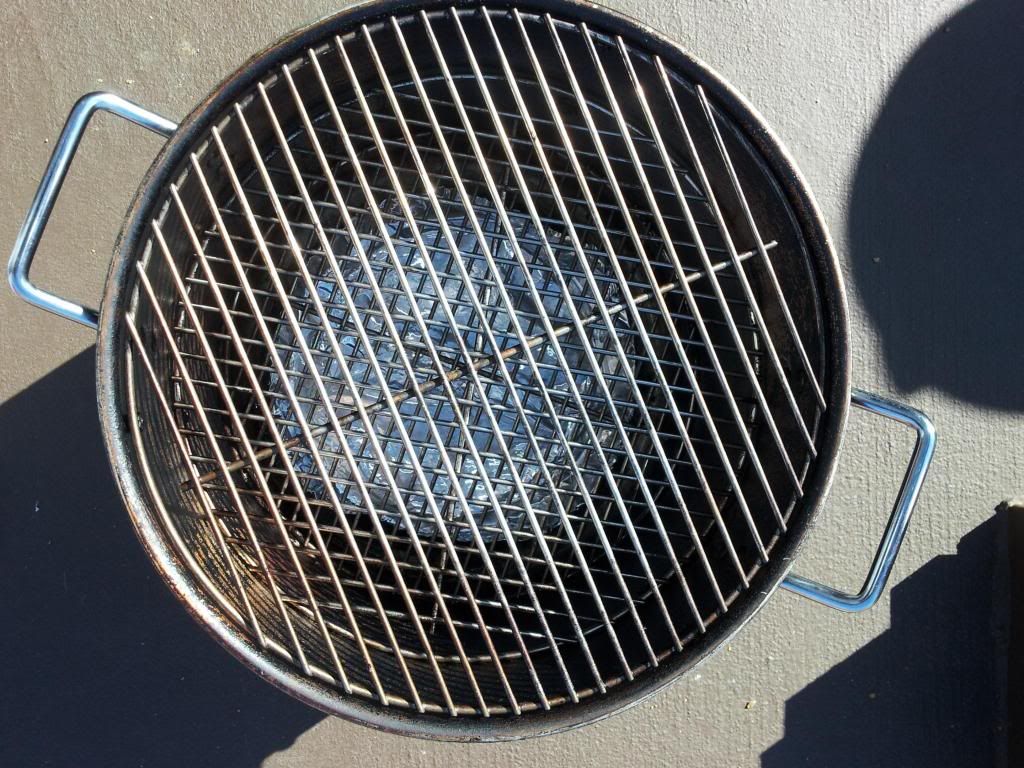
Thanks Tim. I did see postings from others using a pie plate instead of the clay saucer diffuser. The pie plate is working so well, I don't think I will go back to a clay saucer. Up to this point my longest cook on one basket of charcoal has been 10 1/2 hours. With the pie plate I am thinking that I may reach 12 hours. Will see when I cook the 7 lb pork butt I have in the freezer.
 
Here is how I light charcoal.

Large charcoal starter turned upside down (right) and two cans bolted together (left).
miniwsmlightingcharcoal1_zps7386087a.jpg


Pour some vegetable oil over 3-4 paper towel in the top of the cans and put 8 briquets in the chimney starter.
miniwsmlightingcharcoal2_zps7d253b0d.jpg


Light the paper towels.
miniwsmlightingcharcoal3_zpsae08230f.jpg


Place the chimney starter over the cans. The cans are just high enough to sit right under the charcoal basket in the chimney starter.
miniwsmlightingcharcoal4_zps49bd9cba.jpg


Charcoals starting.
miniwsmlightingcharcoal5_zpsbedffaf3.jpg


Charcoals finished (ten minutes).
miniwsmlightingcharcoal6_zpsfac3ff0c.jpg


Use another can with the top and bottom removed to pour the lit charcoals into.
miniwsmlightingcharcoal7_zpsf3e8e8da.jpg


miniwsmlightingcharcoal8_zpscb3388e1.jpg


Remove the can and ready to cook.
miniwsmlightingcharcoal9_zps7afd5ed6.jpg
 
Last edited:
TE, you have found out what a couple of us have been screaming for quite a while. On these little smokers, a clay saucer robs you of heat and fuel. With space at a premium, the more fuel used to heat the clay saucer, the shorter your burn times will be. I simply foil the steamer tray, and that has become my diffuser. By not having the clay saucer absorbing heat, you achieve the desired temp faster, and can maintain that temp longer. It's my opinion that the clay saucer acts more as a heat sink then a diffuser. I really like your build, and your "Tin Man" heat shield is nothing short of genius!
Great Work,
Tim

Tim, just so I understand you right...
Are you talking about foiling the steamer tray and placing it down where it would normally go? I'm liking that idea, just wasn't sure how the smoke would get through. Just trying to figure out what your doing.
TE, I like your mini! Sorry for hijacking your thread, I haven't figured out how to pm here yet. :)
 
I chose to to drill holes in the bottom of the steamer pot. I just sit the diffuser right on the bottom. Currently using an 11" pie pan; found it at Ross or Marshalls. I sit the steamer pot up to have 3 grates. The lowest grate sits where the steamer tray would go, the middle grate (measured from the outside under the steamer pot lip) is 4" down and the top grate is just under the steamer pot lip.

Some examples of cooks with the 3 grates:
3 grates - 3 dozen+ wings
3 grates - 60 stuffed bacon wrapped jalapenos
Bottom + middle grates - 2 7-8lb butts
Bottom + middle grates - 4 racks of baby backs
 
Last edited:
Grate Postions:

Bottom grate sits where the steamer tray would go, middle grate is 4" down (measured from the outside under the steamer pot lip) and top grate is just under the steamer pot lip (1/4" down). Temperature gauge grommet is 5" down (1" below the middle grate).

Weber 7431 Cooking Grate - http://www.amazon.com/exec/obidos/ASIN/B000WEIKL0/tvwb-20

miniwsmshelfpositions1_zps68144683.jpg


miniwsmshelfpositions.jpg
 
Last edited:
TE Good,

I chose to to drill holes in the bottom of the steamer pot. I just sit the diffuser right on the bottom. Currently using an 11" pie pan; found it at Ross or Marshalls. I sit the steamer pot up to have 3 grates.

Could you post some pictures of the bottom of your steamer pot and the grate set up.

Thanks
 
Steamer pot bottom (bottom view):
I added more holes from when it was first put together. More holes did not seem to make any difference in the cooking ability.
miniwsmbottom1_zpsd3b80fc6.jpg


Steamer pot bottom (top view):
miniwsmbottom2_zps5b11473d.jpg


Steamer pot bottom with foiled 11" pie plate (top view):
miniwsmbottom3_zps083e5570.jpg


Bottom grate (sitting where the steamer tray would go):
miniwsmgrate1_zps547e9c35.jpg


Middle grate:
miniwsmgrate2_zpsccec957c.jpg


Top grate:
miniwsmgrate3_zpsbfb043b9.jpg
 
Last edited:
Great job on the mini and the pics TE! If you're not an engineer- you should have been. Looks like it was very well thought out and put together.
 
I always just thread my temp probe through the top vent holes since they are always wide open. Anyone else do this? It really isn't tough to take the lid off to check the look of the meat, but I guess it isn't as handy as not having to mess with it all together.
 
I always just thread my temp probe through the top vent holes since they are always wide open. Anyone else do this? It really isn't tough to take the lid off to check the look of the meat, but I guess it isn't as handy as not having to mess with it all together.

I thread it through the vent too. But the grommet would certainly make it easier, I'll have to give that a try.
 
I gotta say, the grommet mod is the best mod I've done. I used to feed my probes through the top vents as well, but inserting them through the hole on the side makes it so much easier from start to finish. Try it, its cheap and easy! (2 of my favorites!)
Tim
 
Over night cook of a 9.8 lbs pork butt. Total cook time 13 hours (avg. cooking temp. 240 degrees) to 197 degrees on 1 basket of charcoal. The photo shows how much charcoal is left in the basket. I think it would easily cook another 1-2 hours, reaching 14-15 hours on 1 basket of charcoal.

miniwsm13hourcook_zps30aa4b80.jpg
 
Last edited:
Hey TE, what size can do you use as an ash cover and what are the dimensions of your charcoal basket? It seems that you used the original charcoal grate and just built up a ring off it.

Thanks,
Chad
 
The ash cover is 3 3/4" width and 1 7/8" height. Used some generic brand of canned chicken.

Ash Cover width 3 3/4"
miniwsmashcoverwidth_zps562c3d43.jpg


Ash cover height 1 7/8" (under 2")
miniwsmashcoverheight_zpsde0dbd33.jpg


Back
Top