HM v4.1 3D printed case


I figured out how to select and hide various pieces. However I do not see any type of description of the various parts. In the browser tree they are named things like "ACAD_FREEWAY_COMPONENT_55_HPI-4.1-v1.dwg…" I have attached a screenshot to prove I am not just being lazy. Maybe it is because I am running IF on a Mac but like I said earlier it will not run on my Windows 8.1 PC.

Screen+Shot+2014-01-07+at+8.22.55+PM.png


Clicking through the various levels of the browser does not give me any type of description either. Maybe I am missing something obvious.

This is my first attempt at posting a pic from picasa, I can see it. Let me know if it isn't showing up for anyone else.
 
Last edited:
It looks like it is automatically renaming them for some reason. It probably has to do with the PC/Mac thing. I had to revert my 8.1 machine to 8.0 so I could run fusion. Autodesk knows about the bug but I haven't found a fix yet.

As for your problem, the case on the left in the middle is the standard 2 line display case for a rpi B.
 
That's kinda odd Eric, like Tom said, must be a Mac thing... I guess my advice seemed kinda odd and frustrating, but I assure you on my Windows machine running Inventor Fusion all the parts DO have descriptive names....
 
I believe you. I am new to OS X and the more I learn to use it the more I end up using my Windows PCs. :)

In the end I got what I needed, a file that is editable in Solidworks.
 
Last edited:
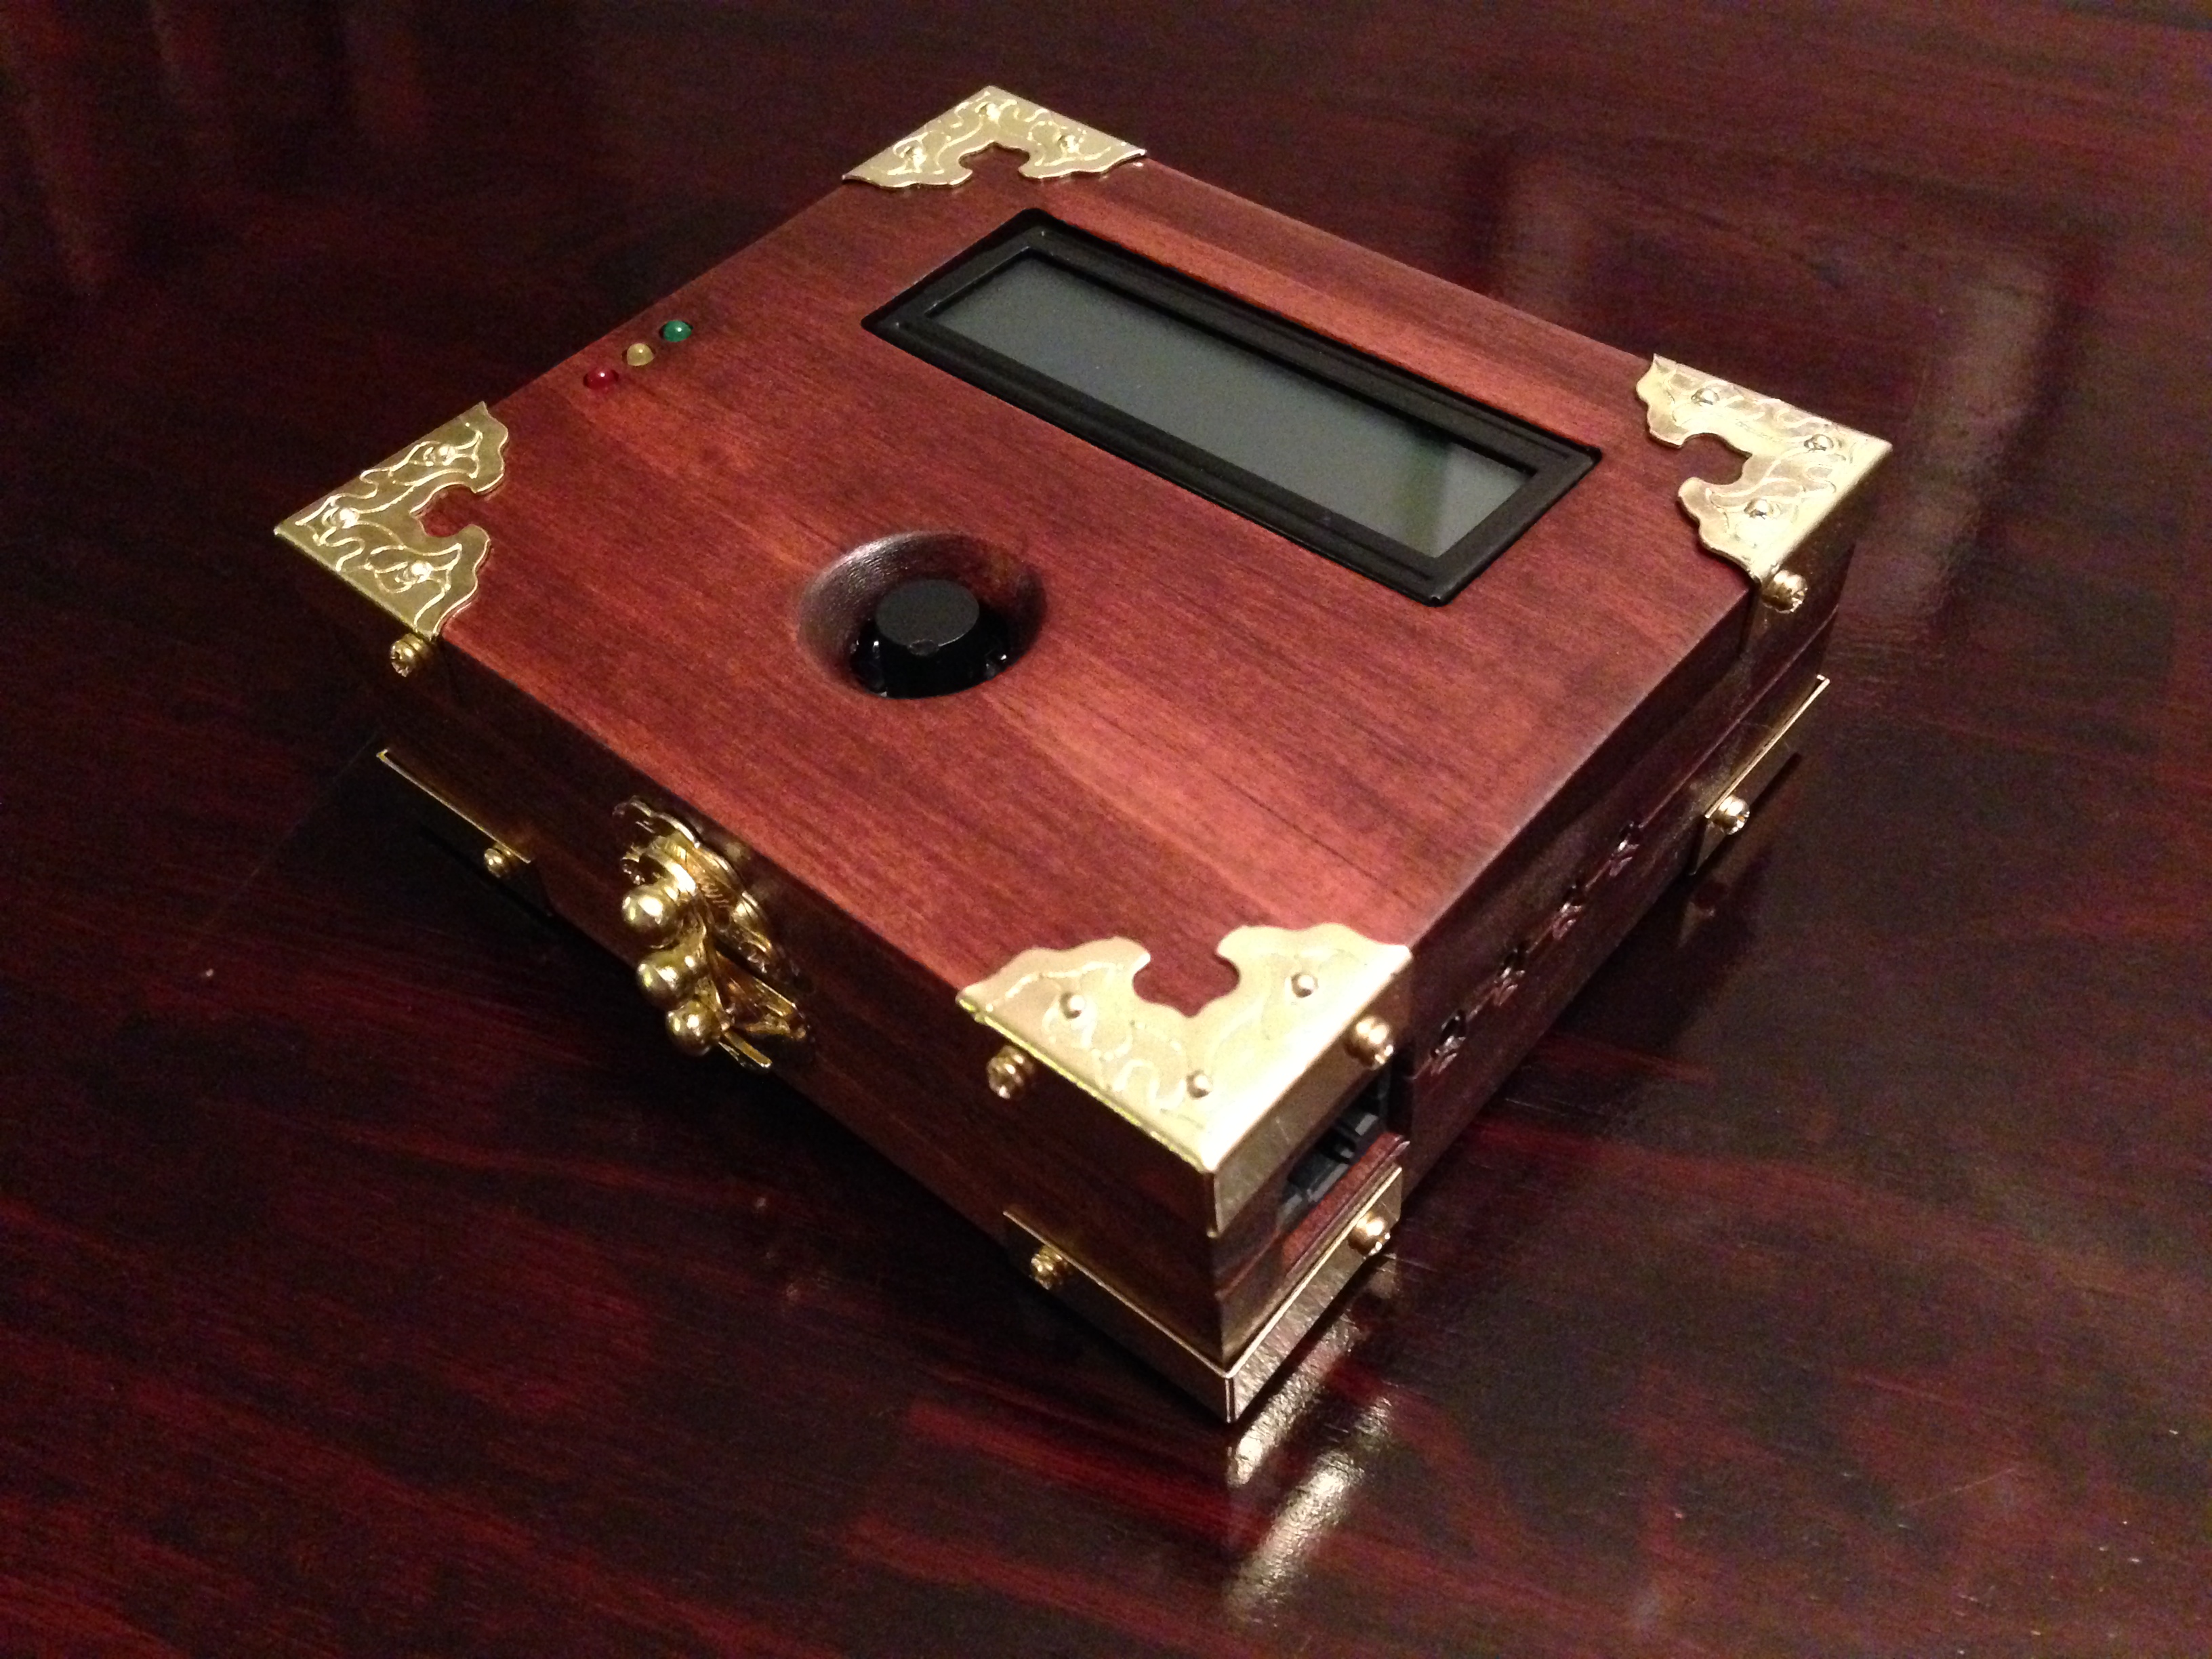
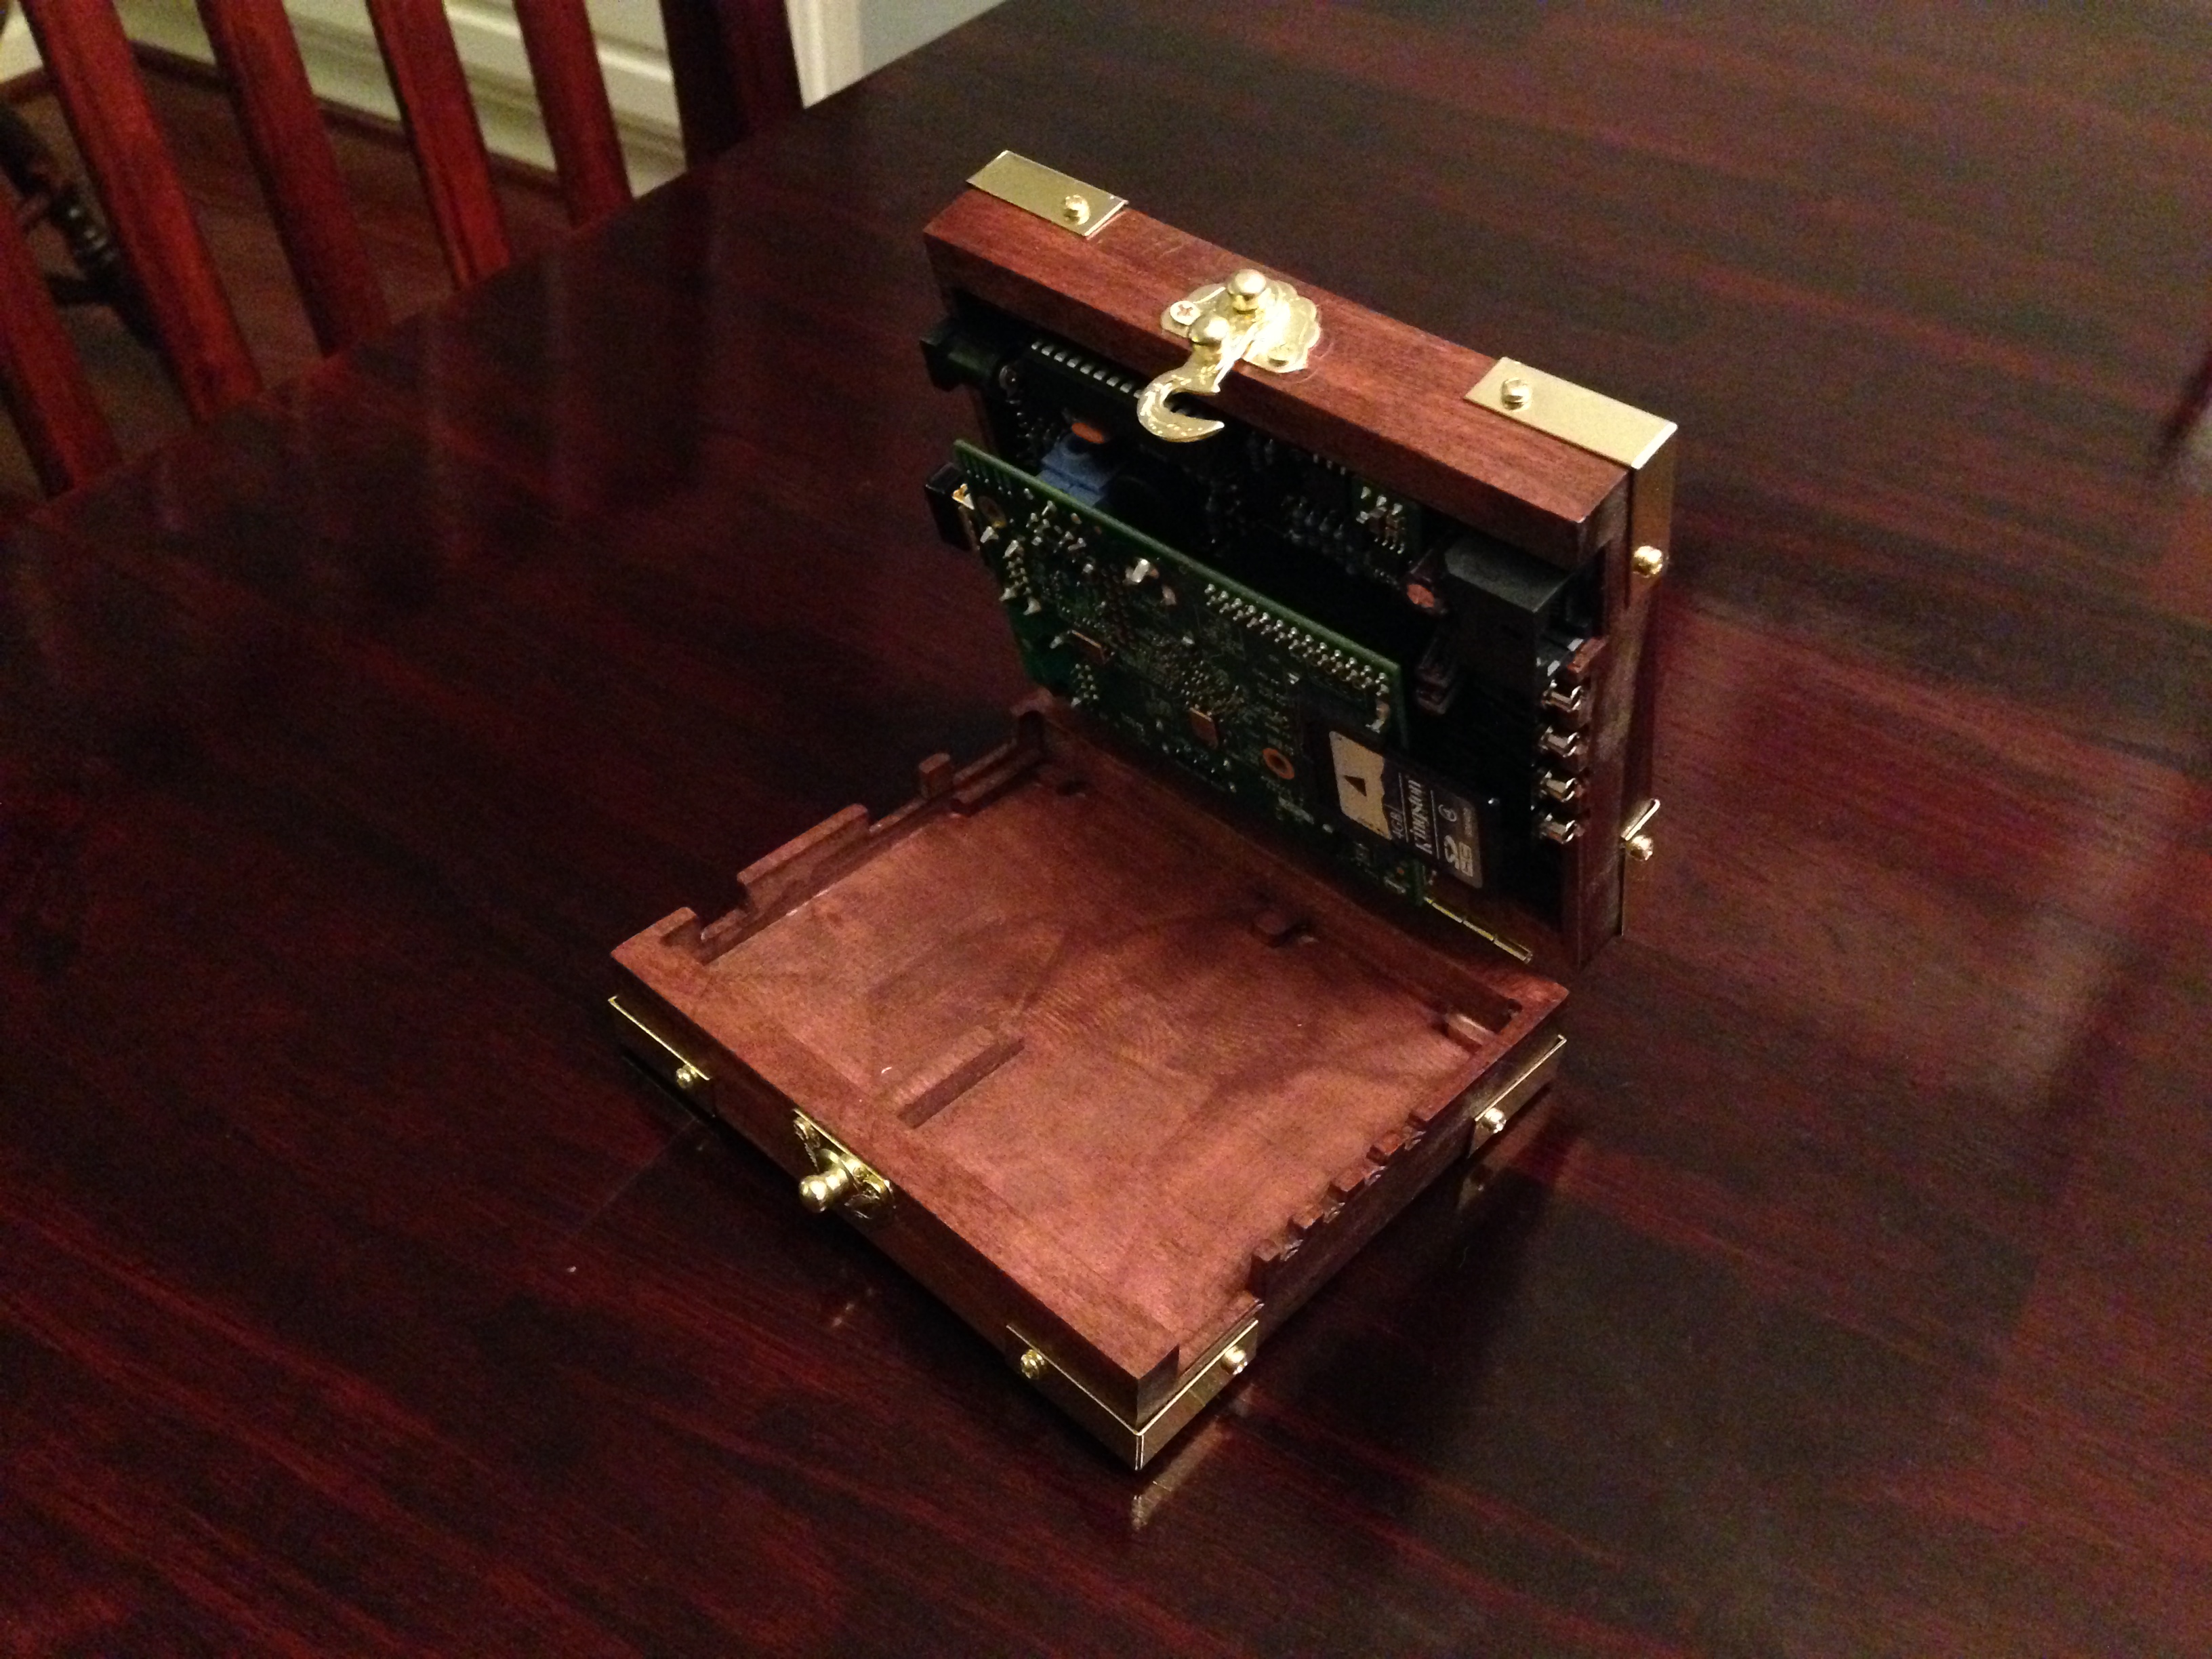
I've updated the 4.1 case files to add more 4 line display options and by popular demand expanded the long axis of the nut traps by 0.2 mm. I also added a version more suitable for milling on a CNC. I wanted to try a 3d machine operation on my CNC so I decided to make an HM case. Here's how it turned out:

12627115954_4902b57e4e_o.jpg


12626791703_79a238d6a3_o.jpg


I had some left over hardware from jewelry boxes that I made for my daughters so I decked it out.
 
Thanks for the compliments. It's made of pine but unfortunately this will be the only one that I make. CNC milling is a much more time consuming process than 3d printing. It was more of a test for my CNC than anything else. This is the 3d model that I know best so I figured it would be a good way to tweak the performance of my machine and CAM process. I'm happy with the way it turned out.
 
That is simply the greatest thing I've ever seen. I'm actually forwarding that photo to my friends I like it so much!
 
Well I finally took the plunge with my 3d printer and printed one of these cases. I must say it turned out really well. Not that I need it because I don't have a v4.1 HM, but I wanted to see if I could do it.

dave
 
I'm jumping into the middle of this and being lazy by not scouring the threads a little more. I'm confused about the 2-wire/4-wire aspects of the case. It seems like the 4-wire version is the default but the .stl files are named 2line-BOTTOM.stl and 2line-TOP.stl. What am I missing?

I'm just starting the build with a request for a 4.1 PCB from some of the other members that have ordered or received the 3-pack. I have applied the same PID approach to some aspects of my beer brewing. I'm excited about the 3D printing stuff and have access to a Makerspace group through my work that offers 3D printing on a MakerBot using PLA and a uPrint using ABSplus. They charge $0.35 per gram of material for the MakerBot and and $10 per cubic inch of material for the uPrint both with a $5 minimum. Is one preferable over the other? Thanks.

Todd
 
Hey Todd, the 2 line display is the default and most widely used version which is why the stl files are there. 4 line display versions have been designed for people wanting to use a larger display and can be saved from the master .dwg file. You just have to export the versions you want as stl files. The easiest way is to open the .dwg files, only make visible the part you want, and then "save as" .stl.

I actually prefer PLA over ABS now. It is much stronger and more durable than ABS. It does have a lower melting temp than ABS but that doesn't really come into play for what we are doing unless you plan on leaving your HM on top of your smoker, in which case ABS would melt too. In fact, the damper I use the most is even made of PLA and is still as true as the day it came off of the printer.
 
My 3D printing shop quoted me around $33 for the MakerBot PLA at "regular" settings (low infill, raft, no supports). Is that in the ballpark? If a cajoled one of you 3D printer owners to print one to sell, would it be less expensive after shipping? I'm not trying to skimp I just have no idea the going rate for this sort of thing. I guess for a one-off project $33 sounds OK.

Todd
 
I know the LEDs are supposed to be mounted at about 8mm spacing between the board and the bottom of the LED body to fit properly in the case. But, what about the LCD display? Should this just rest on the plastic spacer on top of the 1x16 header, or should this be placed a bit higher? I'm waiting to solder in the LCD display until I know the best spacing for the LCD display.

Thanks...

The LCD should rest on top of the 1x16 header. Make sure it's aligned so that it's parallel to the board, or it will look crooked when the case is on.


Back
Top