I installed the second thermometer port in my Performer this afternoon and took a few pics:
First, here are the parts I used:
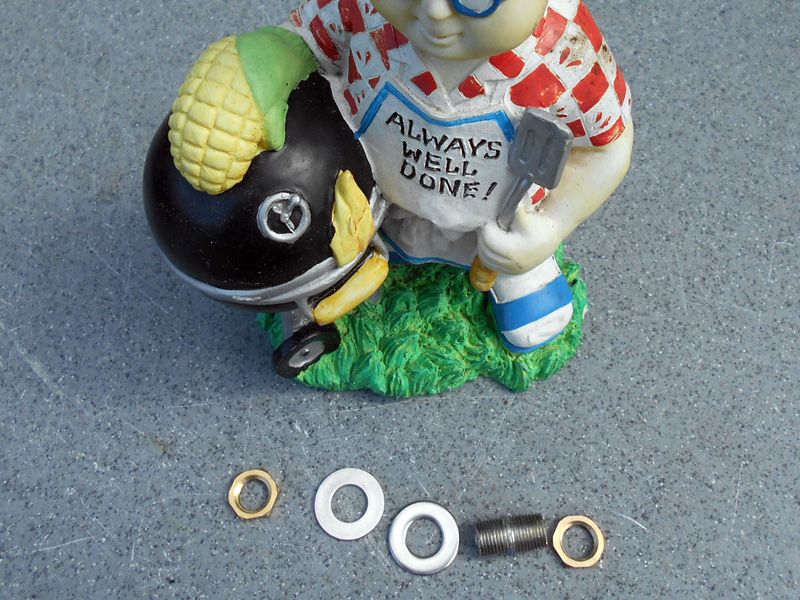
The tube is a 3/4 inch long 1/8 size stainless steel pipe nipple:
http://www.amazon.com/exec/obidos/ASIN/B003JQJMD8/tvwb-20
You could also use the 1 inch piece of lamp rod from Home Depot, but it won't be rust resistant:
http://www.homedepot.com/p/Westingh...=RV-_-RV_search_plp_rr-3-_-NA-_-204836020-_-N
The nuts are brass from the lighting department at Home Depot:
http://www.homedepot.com/p/Westinghouse-12-Solid-Brass-Hex-Nuts-7017200/204836028
The washers are 3/8 inch stainless steel washers.
Not shown above is the brass cap that I use to close off the tube when not in use, from the pipe dept at Home Depot:
http://www.homedepot.com/p/Watts-1-8-in-Lead-Free-Brass-FPT-Cap-LF-A708/202254903
If you enter your Home Depot store, it'll tell you the aisle # for each piece!
Here's how it goes together:
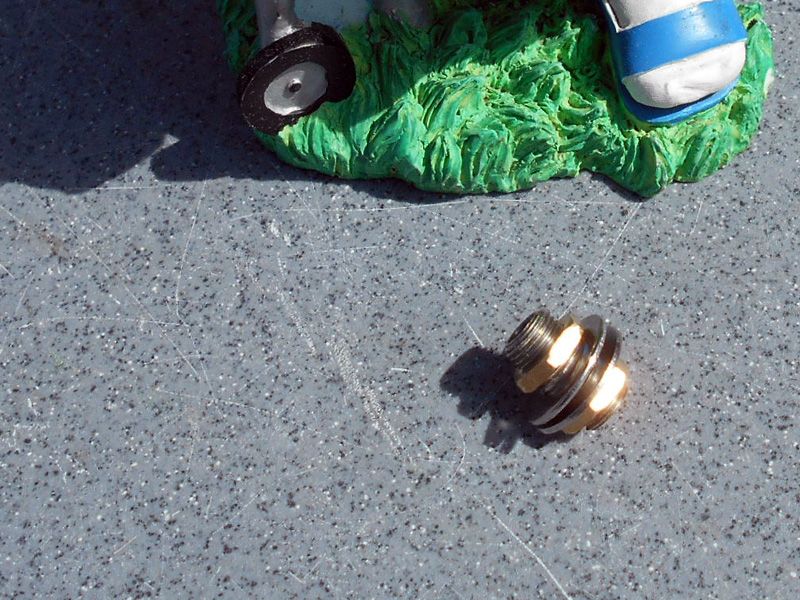
outside nut > outside washer > inside washer >inside nut
You want to run the outside nut in as far as possible to leave a bit of tube exposed for the cap.
All I did was remove one bolt holding the Performer burner tube and drill out the existing 1/4 inch hole to 7/16th, progressively moving up through the drill bit sizes. I left the bracket in place (held by the other bolt) and drilled from the inside. It took a while because I was drilling out the kettle and the steel bracket.
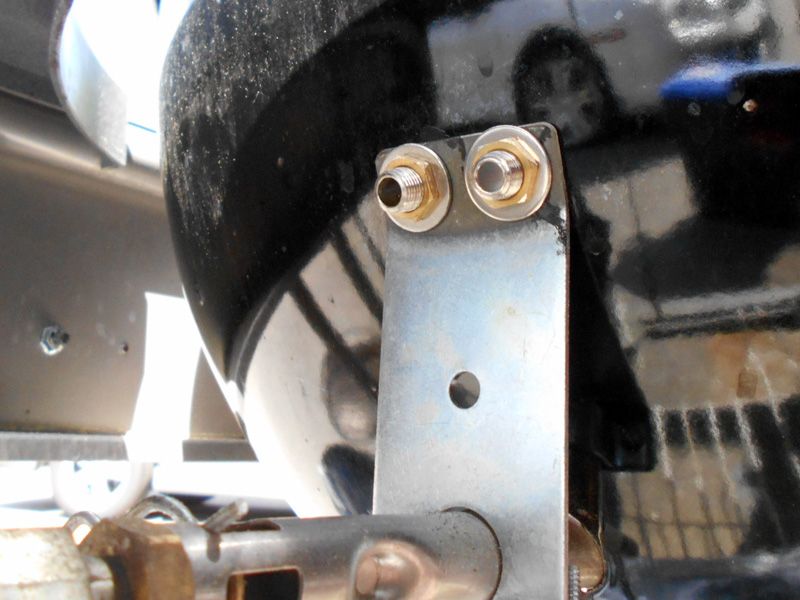
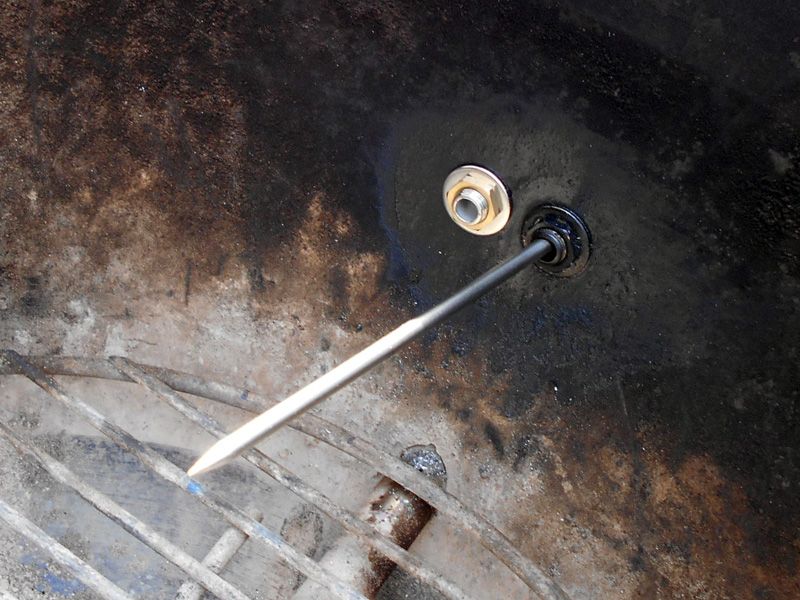
After I drilled out the first hole, I installed the first tube, tightened it up, and then removed the other bolt to drill out that hole. Here's what it looks like from the outside:
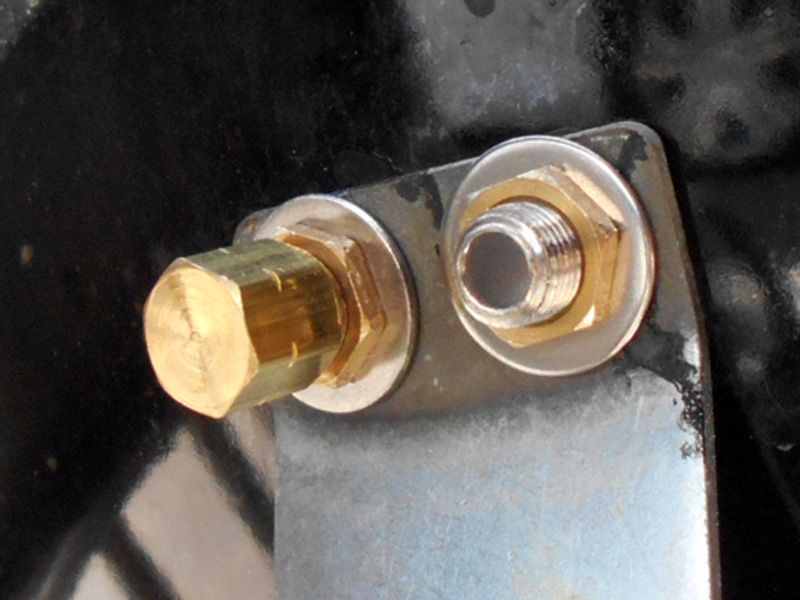
And from the outside with a brass cap on one of the tubes. Normally, both tubes will stay capped unless I'm using a thermo probe. The caps are probably not necessary. I'm pretty sure the fire would still die without the caps.
And from the inside. One is black because I really didn't care to mask it when I was shooting the second hole with a squirt of black high temp enamel. It's gonna turn black anyway:
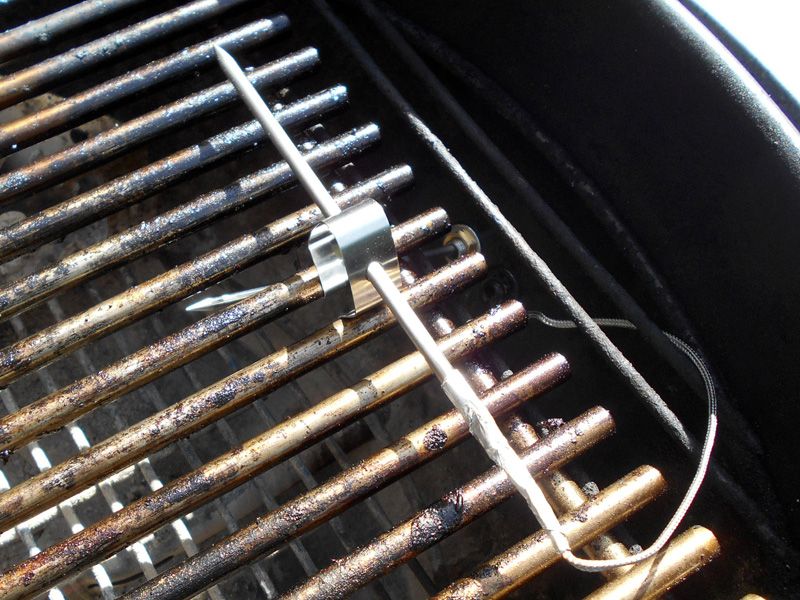
And from the inside with a couple of probes. Note the hybrid probe sticking through the port comes right up under the grate, really a perfect spot for measuring cooking temps. The second probe is in a Maverick clip, but this would normally be stuck in a piece of meat for food temps as there's no point in measure the temps just above and just below the grate. Below is so much more convenient because the probes aren't interfering with the meat.
First, here are the parts I used:
The tube is a 3/4 inch long 1/8 size stainless steel pipe nipple:
http://www.amazon.com/exec/obidos/ASIN/B003JQJMD8/tvwb-20
You could also use the 1 inch piece of lamp rod from Home Depot, but it won't be rust resistant:
http://www.homedepot.com/p/Westingh...=RV-_-RV_search_plp_rr-3-_-NA-_-204836020-_-N
The nuts are brass from the lighting department at Home Depot:
http://www.homedepot.com/p/Westinghouse-12-Solid-Brass-Hex-Nuts-7017200/204836028
The washers are 3/8 inch stainless steel washers.
Not shown above is the brass cap that I use to close off the tube when not in use, from the pipe dept at Home Depot:
http://www.homedepot.com/p/Watts-1-8-in-Lead-Free-Brass-FPT-Cap-LF-A708/202254903
If you enter your Home Depot store, it'll tell you the aisle # for each piece!
Here's how it goes together:
outside nut > outside washer > inside washer >inside nut
You want to run the outside nut in as far as possible to leave a bit of tube exposed for the cap.
All I did was remove one bolt holding the Performer burner tube and drill out the existing 1/4 inch hole to 7/16th, progressively moving up through the drill bit sizes. I left the bracket in place (held by the other bolt) and drilled from the inside. It took a while because I was drilling out the kettle and the steel bracket.
After I drilled out the first hole, I installed the first tube, tightened it up, and then removed the other bolt to drill out that hole. Here's what it looks like from the outside:
And from the outside with a brass cap on one of the tubes. Normally, both tubes will stay capped unless I'm using a thermo probe. The caps are probably not necessary. I'm pretty sure the fire would still die without the caps.
And from the inside. One is black because I really didn't care to mask it when I was shooting the second hole with a squirt of black high temp enamel. It's gonna turn black anyway:
And from the inside with a couple of probes. Note the hybrid probe sticking through the port comes right up under the grate, really a perfect spot for measuring cooking temps. The second probe is in a Maverick clip, but this would normally be stuck in a piece of meat for food temps as there's no point in measure the temps just above and just below the grate. Below is so much more convenient because the probes aren't interfering with the meat.