2001 Weber Performer Deluxe SSP restoration


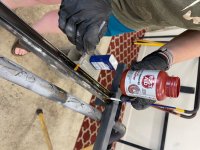
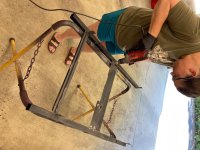
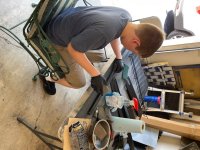
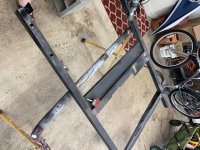
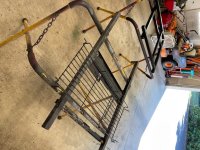
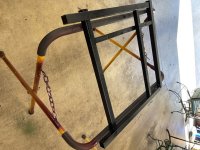
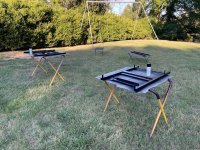
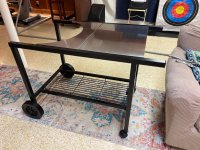
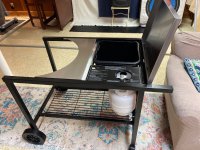
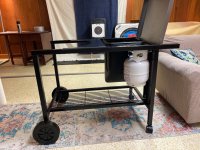
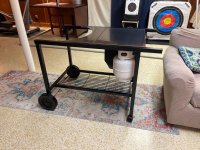
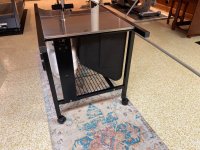
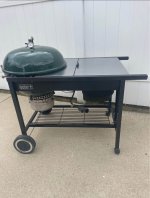
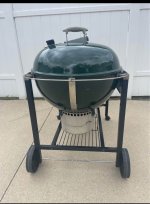
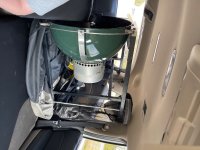
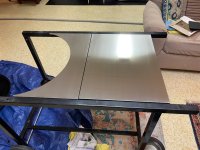
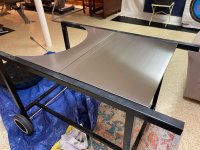
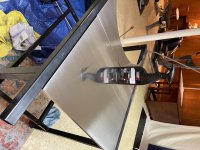
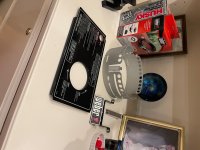
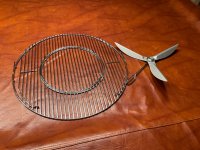
So, we drove 11 hours, round trip on a Sunday, to buy this grill. I’ve been looking for 2 years to find a nice Performer, and I like the older ones..
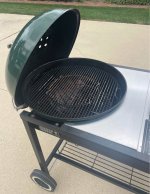
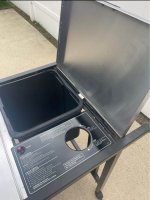
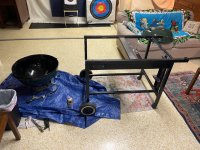
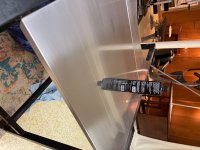
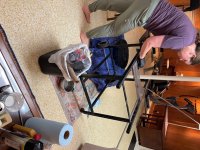
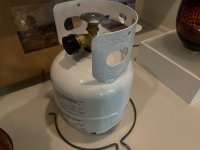
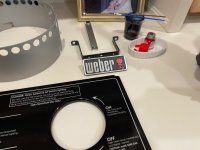
The frame is solid, but the grill requires a lot of attention overall.
👍
 

Attachments

  • IMG_6411.jpeg
    IMG_6411.jpeg
    254.2 KB · Views: 22
  • IMG_6412.jpeg
    IMG_6412.jpeg
    219.7 KB · Views: 22
  • IMG_6413.jpeg
    IMG_6413.jpeg
    281.3 KB · Views: 21
  • IMG_6414.jpeg
    IMG_6414.jpeg
    224 KB · Views: 24
Last edited:
Progress thus far…
 

Attachments

  • IMG_6405.jpeg
    IMG_6405.jpeg
    132.5 KB · Views: 27
  • IMG_6407.jpeg
    IMG_6407.jpeg
    452.6 KB · Views: 29
  • IMG_6425.jpeg
    IMG_6425.jpeg
    180.5 KB · Views: 29
  • IMG_6429.jpeg
    IMG_6429.jpeg
    138.4 KB · Views: 33
  • IMG_6430.jpeg
    IMG_6430.jpeg
    242 KB · Views: 29
  • IMG_6434.jpeg
    IMG_6434.jpeg
    328.2 KB · Views: 29
  • IMG_6435.jpeg
    IMG_6435.jpeg
    332.5 KB · Views: 29
  • IMG_6436.jpeg
    IMG_6436.jpeg
    175.3 KB · Views: 28
  • IMG_6437.jpeg
    IMG_6437.jpeg
    141.5 KB · Views: 26
  • IMG_6438.jpeg
    IMG_6438.jpeg
    385.3 KB · Views: 26
That's cleaning up nicely especially the stainless steel. So, you’re using sandpaper progressing through 400, 800, 2000, & 3000 to get scratches out. Does it end up having brushed pattern similar to stock, a more polished look, or somewhere in between?

Also a tip... since you have the gourmet grates, you can remove the center grate and use a Vortex or make one (I made one from an IKEA bowl). It will allow you to indirectly grill perfect wings without having to tend to them much.
 
Last edited:
(wet sanding also) 320, 400, 800, 2000, 3000, Flitz polish. We tried to show exactly how it looked, and as nice as it is, it will never look exactly as original.

Thanks for the tip on the Vortex. It’s actually the reason we bought those grates.
 
Fantastic job so far, I hope you are going to repaint the frame. It doesn't look terrible obviously, but could use a fresh coat of paint to really put it over the top. Who's that polishing out the stainless in your pic?
 
Last edited:
Fantastic job so far, I hope you are going to repaint the frame. It doesn't look terrible obviously, but could use a fresh coat of paint to really put it over the top. Who's that polishing out the stainless in your pic?
Going to prep the frame and remove the surface rust this weekend, I hope.
Got the badge done, lol.
 

Attachments

  • image.jpg
    image.jpg
    186.8 KB · Views: 8
There are a couple of small surface rust spots on the fire bowl and lid exterior, around the handle and lid bail attachment points (and a spot where it appears a regulator end kept banging against the bowl). Once I Easy off and clean up the lid and bowl, I’m going to remove the rust in those spots and apply this stove bright paint to fill them in. We’ll see how that goes. They’re not large spots, or readily visible, so…
I may also get larger washers and paint them to put between the handle and lid. We’ll see what happens.
 

Attachments

  • IMG_6439.jpeg
    IMG_6439.jpeg
    151.8 KB · Views: 3
Well the family project has progressed. Frame apart, sanded, rust removed, scuffed and painted this afternoon.
Will see how it cures overnight in the garage, and we might reassemble the frame tomorrow with the new hardware.
Need to order end caps and restore the axle and 8” wheels tomorrow and get new casters.
Sideway photos again🤨.
 

Attachments

  • IMG_6446.jpeg
    IMG_6446.jpeg
    168 KB · Views: 12
  • IMG_6445.jpeg
    IMG_6445.jpeg
    183.6 KB · Views: 13
  • IMG_6442.jpeg
    IMG_6442.jpeg
    195.5 KB · Views: 13
  • IMG_6443.jpeg
    IMG_6443.jpeg
    267.7 KB · Views: 12
  • IMG_6448.jpeg
    IMG_6448.jpeg
    232.8 KB · Views: 11
  • IMG_6447.jpeg
    IMG_6447.jpeg
    203.2 KB · Views: 11
  • IMG_6449.jpeg
    IMG_6449.jpeg
    586.6 KB · Views: 11


Back
Top