How many Heatermeter/Raspi built so far


+1 from me. I just put it together this weekend. It power up and the one probe I tested seemed to work. Man I was so happy to see that LCD screen light up. Now I just need to make a wire for the fan(BTW is there a picture or directions for this or am I making it too hard?), and a mount for the BGE then figure out what to test smoke!
 
+1 for me. I'm using it on a BGE as well. I purchased a fan with the BGE adapter from http://www.auberins.com/. It fits perfect. I purchased two DC adaptors intending to solder the DC female instead of the RCA, but the orientation is wrong. I ended up making an adapter with one end, RCA and the other DC female. Works.
 
+1 for me. I'll be using it on my UDS. My next step is to design and print a bracket for the blower fan. Following Brian's assembly instructions made construction very easy. It worked the first time I fired it up.

2qcgnqw.jpg
 
I've ordered the parts to make 2 of them, one of which will be mine, and one which I plan on giving to my pal who turned me on to this site. I'm still after a bracket to mount the fan of anyone has any advice.
 
+1 makes 93. After debugging my display, I now have my second HM working.

The next one I am going to move to a 3.3 V display with a SPI interface, thereby removing IC3 and possibly removing the expensive 5V interface, and go from 12v directly to 3.3v with a different LDO regulator.
 
+1 for me. This was my first electronics project and I was surprised that I didn't make any major mistakes. This is a credit to Bryan and the discussions on this board. Thanks Bryan!
 
+1 for me. I'll be using it on my UDS. My next step is to design and print a bracket for the blower fan. Following Brian's assembly instructions made construction very easy. It worked the first time I fired it up.

2qcgnqw.jpg

Gotta say that you did some really nice soldering work on your board.
 
+1

Just finished mine tonight. It was my first time soldering a PCB from scratch so it was a little getting used to. Once I figured out the proper bending of the resistors with the needle nose it started to go much faster. I started at 9:30pm and finished the HeaterMeter 4.0 board at 12:30. Then after that I had to figure out how to get the blower hooked up. The RCA Jack didn't come in as it was back ordered from DigiKey. I created a lead wire with RCA Jack and soldered to J4 for the blower. I then mounted the button without a spacer by setting it in the PCB with out forcing it. I laid it flat and leveled the top of the button and the tips of the LEDs with the table because USPS won't have my case here until tomorrow and I wanted to get ahead of the game. After I soldered all components down I went to mount the Raspberry Pi. I was going to try and boot it up before taking off the Composite Video jack, but I was getting a case and needed to remove and it was a super tight fit and I didn't want to mess with my 5v regulator. I proceeded to de-solder the Composite video jack and realized that that was the part I was missing for the fan plug! After I got that out I removed my lead wire I made, soldered in the composite jack from the RPi. Everything looked good. I then flashed the SD Card and inserted into the RPi. I read the part about not doing the 12v right away, but I figured if I screwed it up I was just going to blow up the RPi anyway (Maybe I could have just plugged in the heatermeter) But also if I blew it up my night would have been ruined anyway. So trusting my working and doing a quick inspection with a loop I plugged in the 12v supply. After about 20 seconds the LCD was lit and it was reading the ambient temp sensor. I plugged in the Ethernet cable and all was well.

I am moving on to the fan mount, run a test with the Big Green Egg and get prepared to cook a prime rib tomorrow while I drink cocktails on the boat! Thank you everyone who has contributed to this project, and special thanks to Tom for shipping out my case so quickly. I can't wait to post some pictures of the final product and a success story of my cook (after I tune the loop).

Nick

20130720_015600.jpg


https://lh3.googleusercontent.com/-...yxBu5ii9sZ4/w1153-h865-no/20130720_015504.jpg

20130720_015712.jpg
 
+1 here too.

I've been lurking about these forums for a few years and finally got around to building my Heatermeter. I can't wait to put it through its paces at home and then at my team's next competition! It already beats the pants off of my Auber-based controller and was 75% of the cost.

Thanks, Bryan for your hard work in designing this masterpiece.
 
My HM v4.0 PCB just arrived in the mail today! The rest of the parts arrived a week ago and as luck would have it, I'm out of town for the weekend, so I won't be able to start building it for a few days.
 
Got home earlier than expected, so I managed to get things built and so far, things are moving along well.

Still have deal with the fan and getting the correct coefficient data plugged in for the iGrill probes.

The bottom LED should be red, but they were out of stock, so I scrounged around and found another green one at home. I'll replace it with a red one soon.

lKQaPF1l.jpg

QdDF9Npl.jpg

e1viEmHl.jpg
 
Built one, bought 2 pcb's to build another some day, maybe to run my 22.5 OTG
Thank you for designing and supporting it!!!!!
 
+1

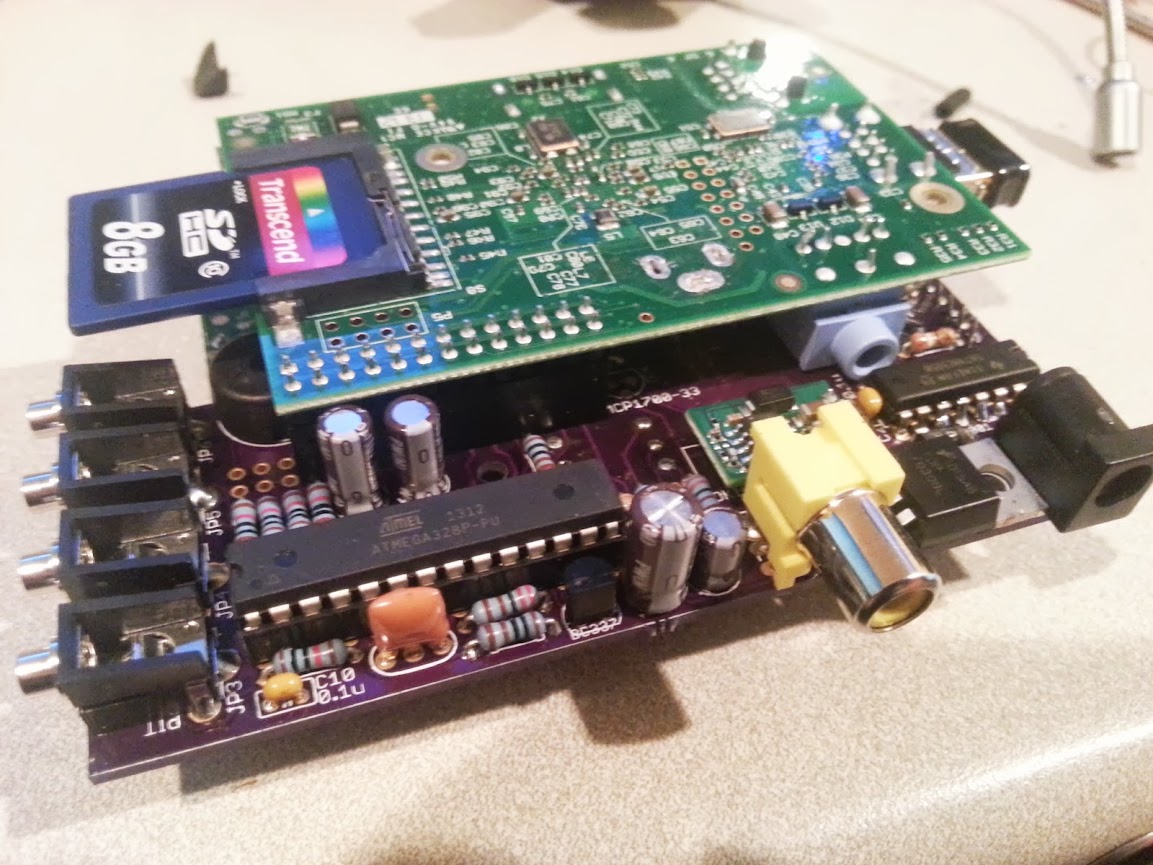
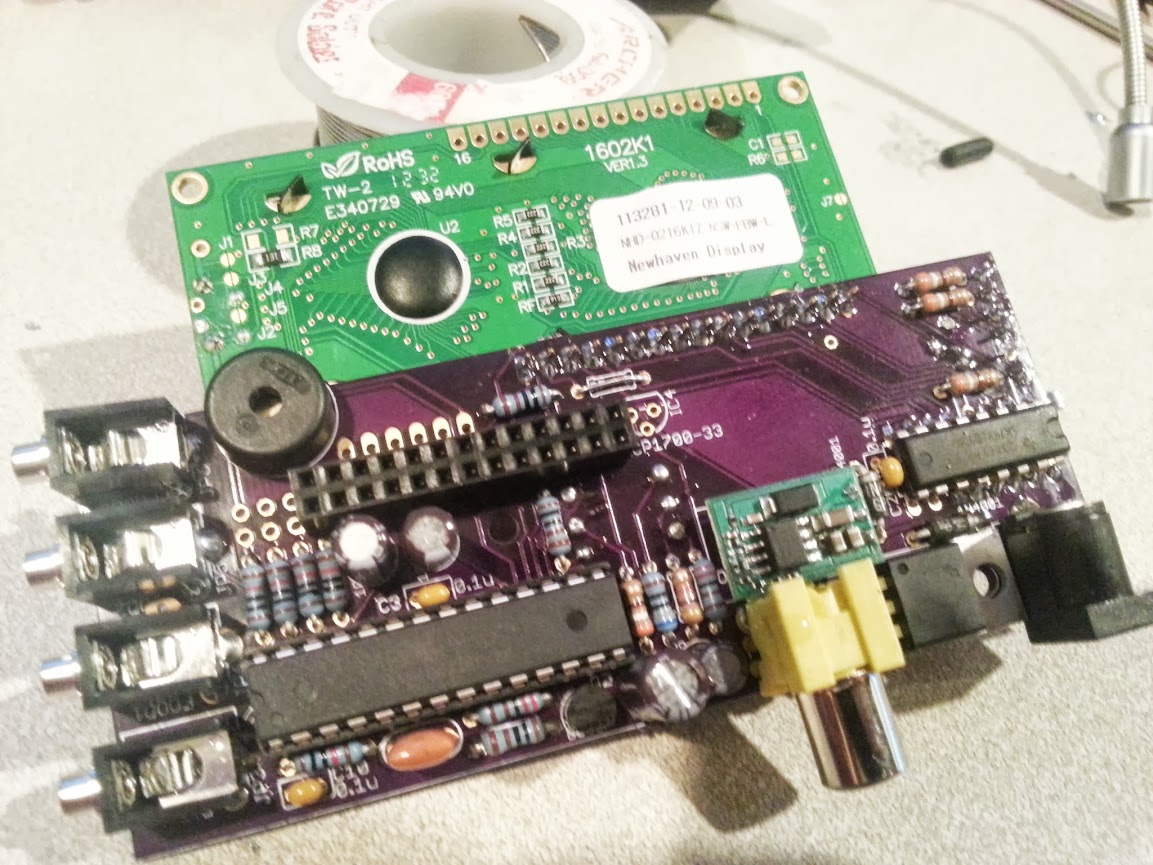
I have finished building mine. I still have to work out the connection to the grill (the fan part). But, the electronics are complete.

Bryan, you are an amazing programmer and hardware guy. Matt, the case is amazing, too. Thank you for your hard work and time. I know you have invested too many hours into this project to count. Thank you and everyone who has contributed.

I hope that I can make a meaningful contribution back to the project someday. I do know Linux really well. And, I am a developer with some experience with web development, not too much C/C++ though. I do have a good bit of SQL experience, as well. I will be keeping my eye out for ways to contribute.
 
Had the parts for mine sitting forever + a case from Matt.. finally assembled and worked on first powerup. Looking forward to using.. once I find those probes I ordered......


Back
Top