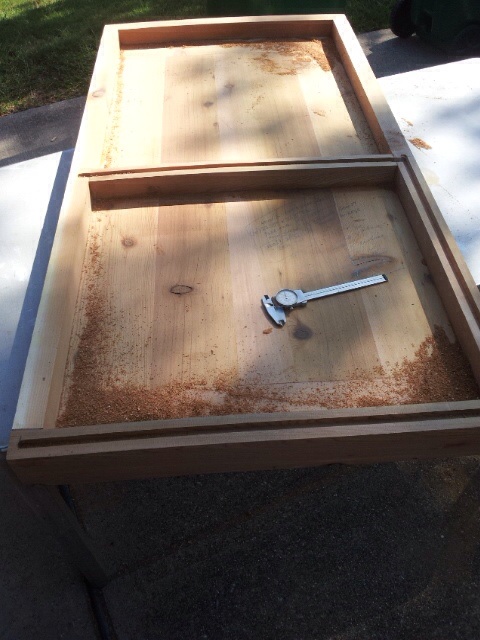
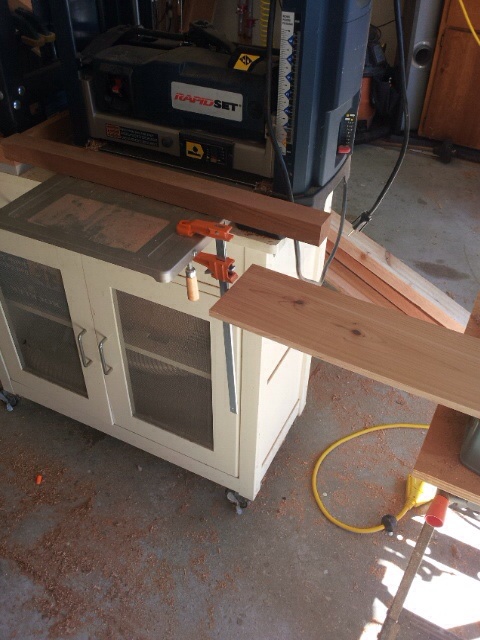
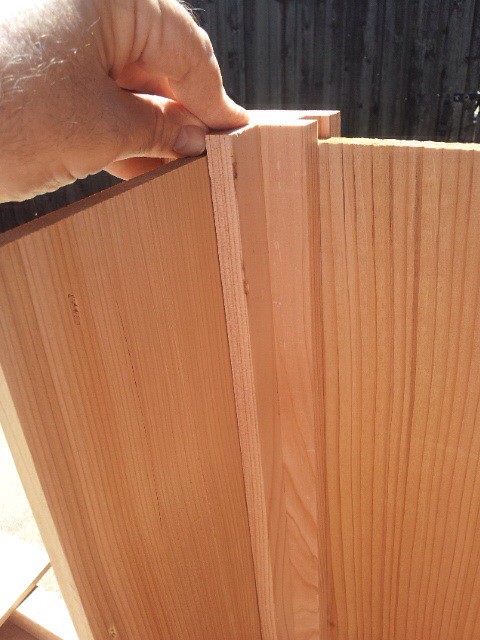
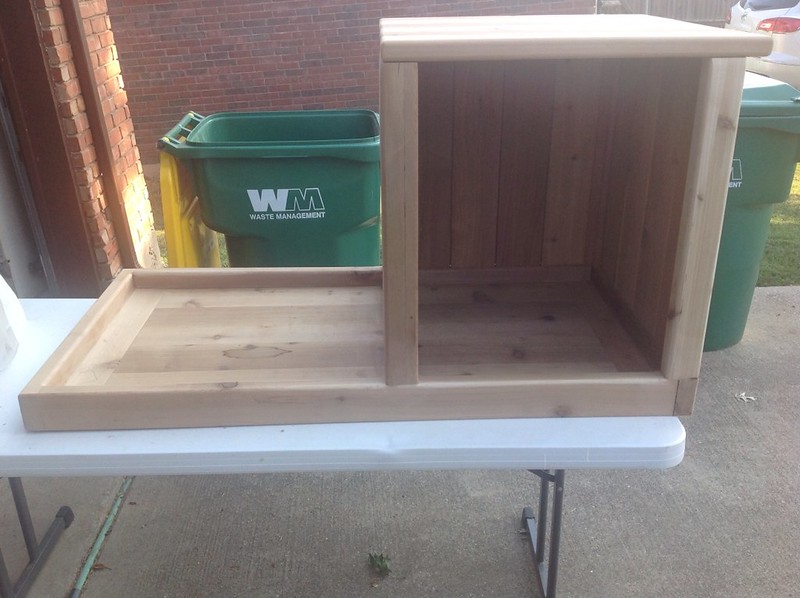
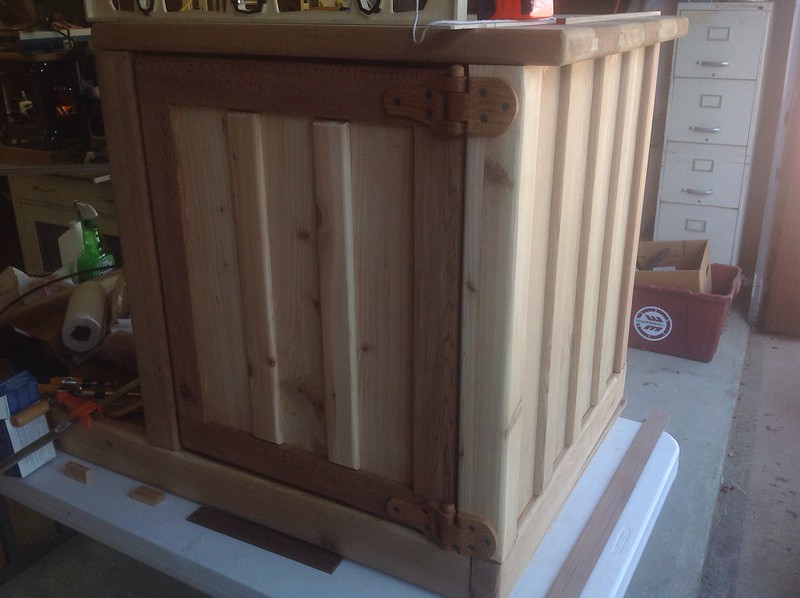
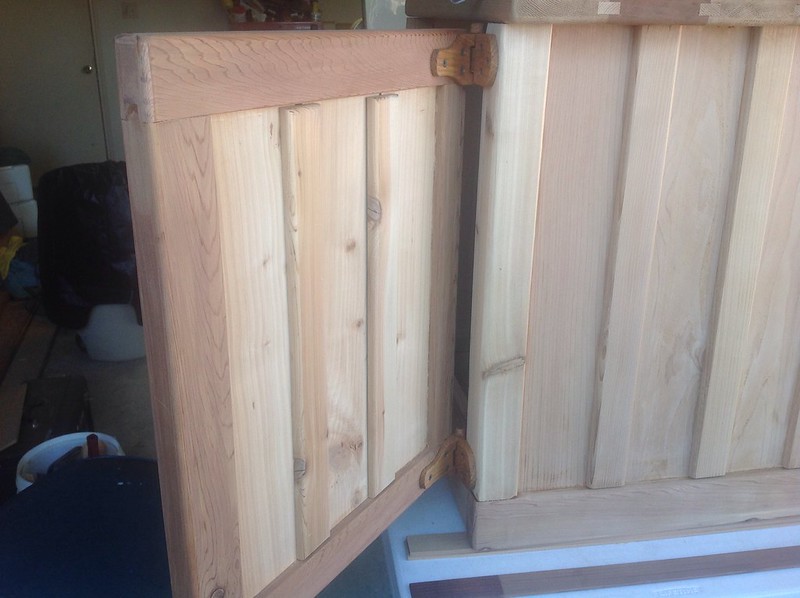
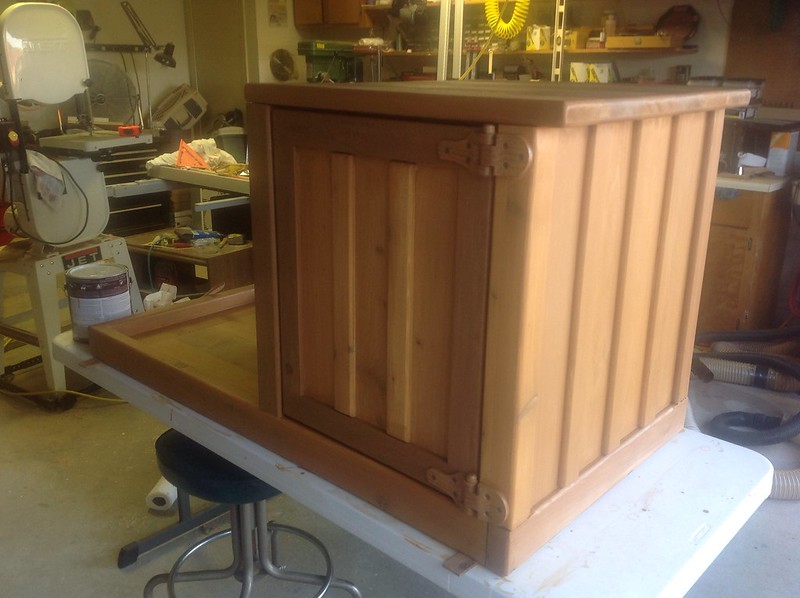
In this photo I am doing a fit check of the door.
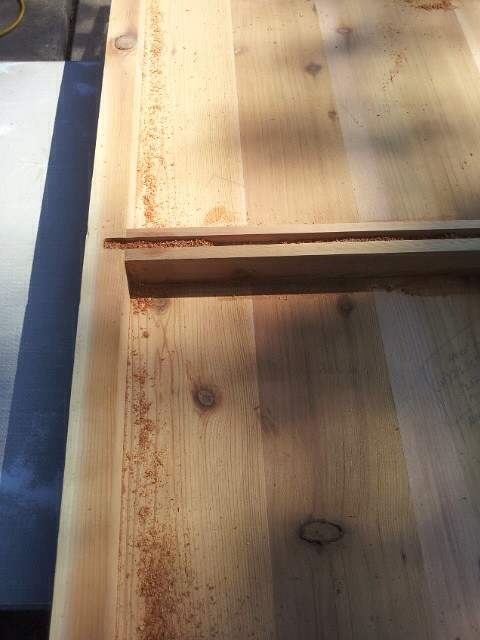
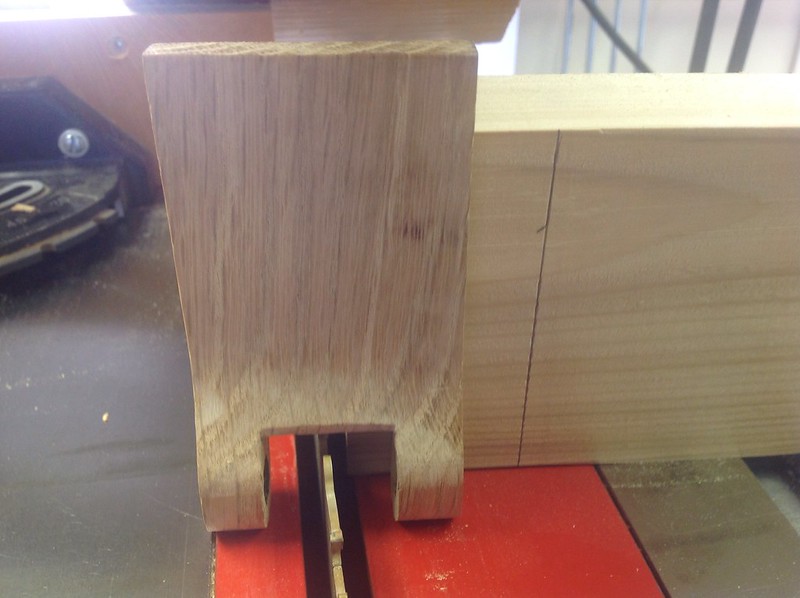
The door is built using the same construction technique as the cabinet.
The frame perimeter is constructed with hidden mortise and tenon joints and the frame perimeter has a 1/2" x 1/2" dado cut into it to capture the vertical planks.
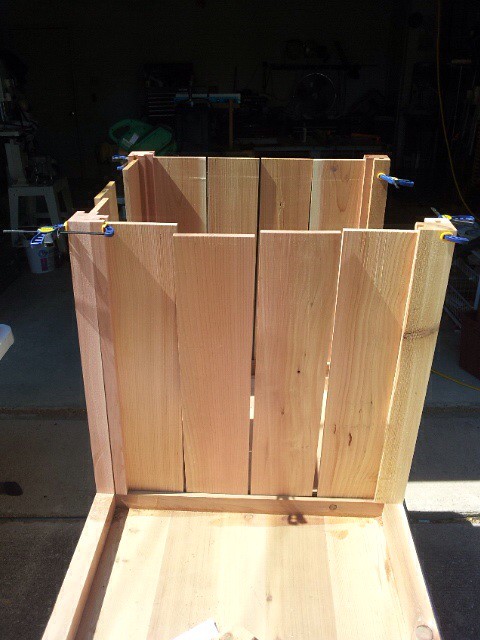
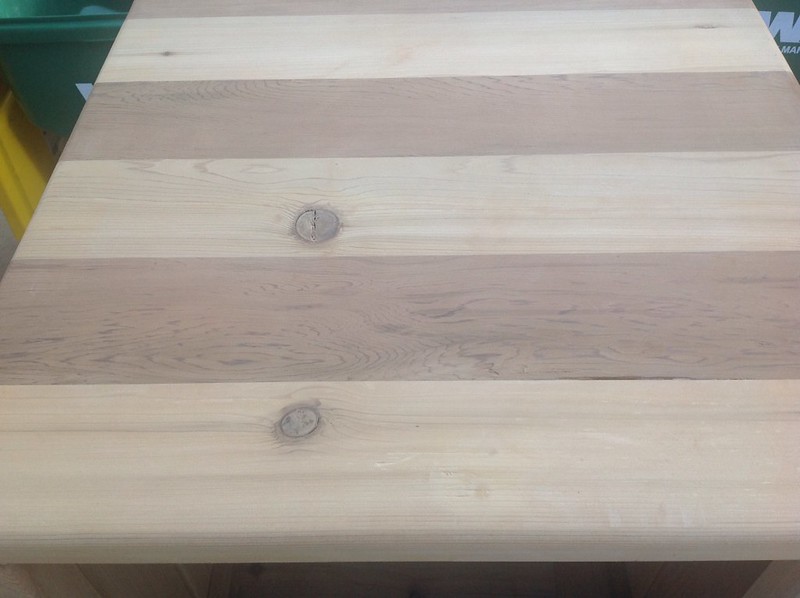
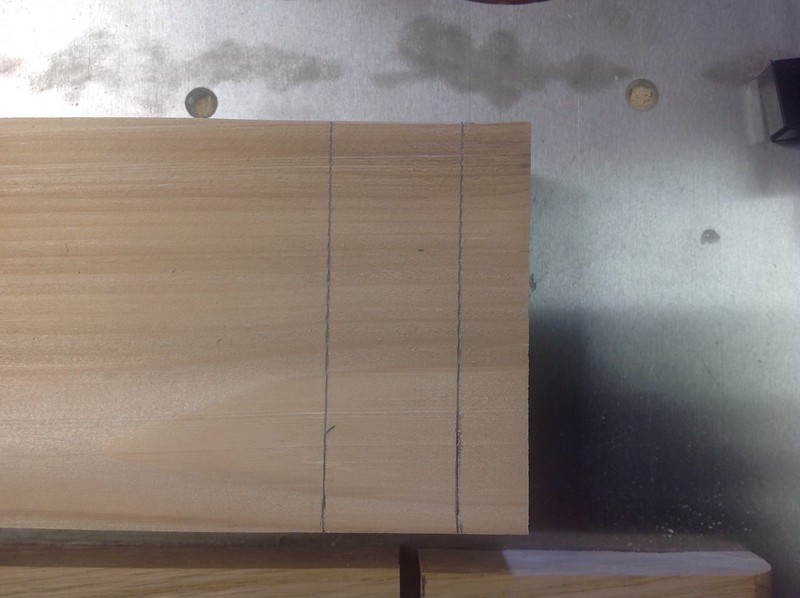
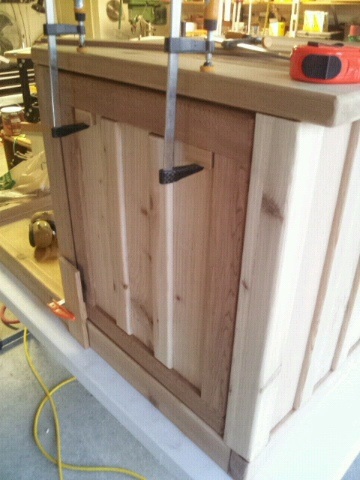 image 4
 by
chashint1, on Flickr
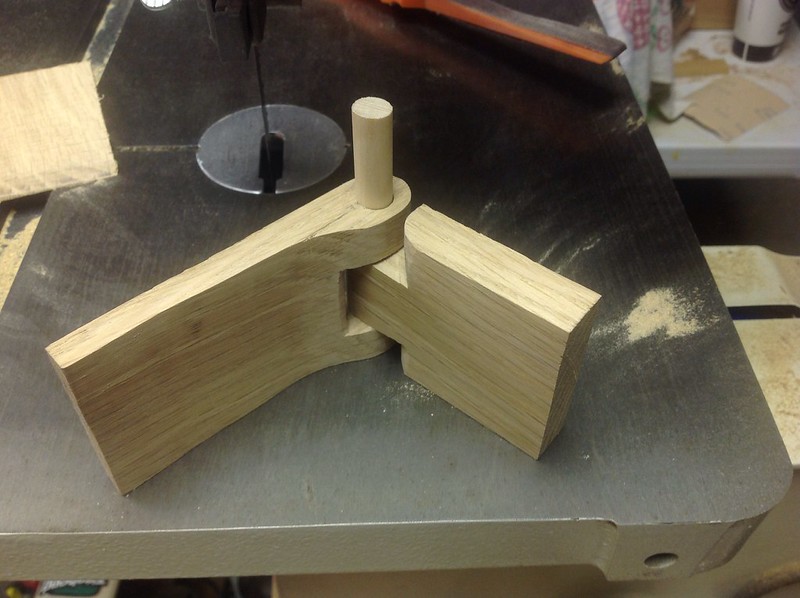
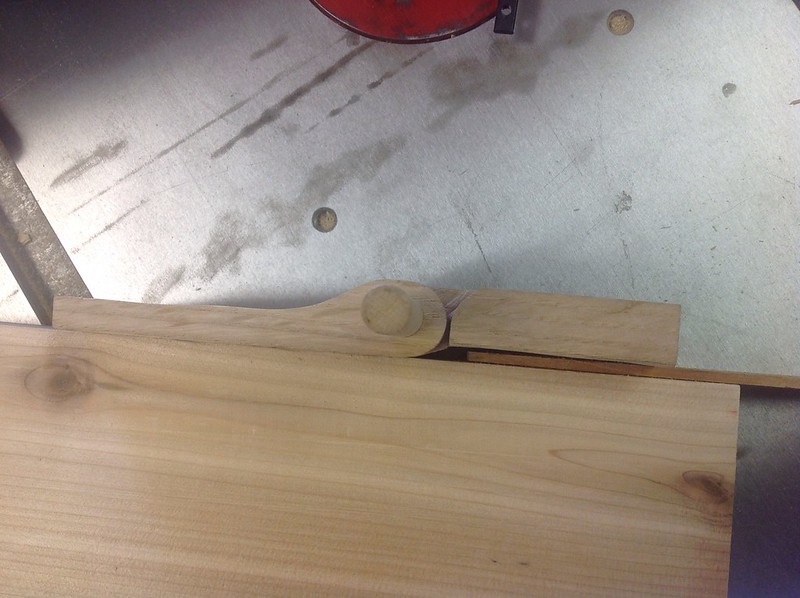
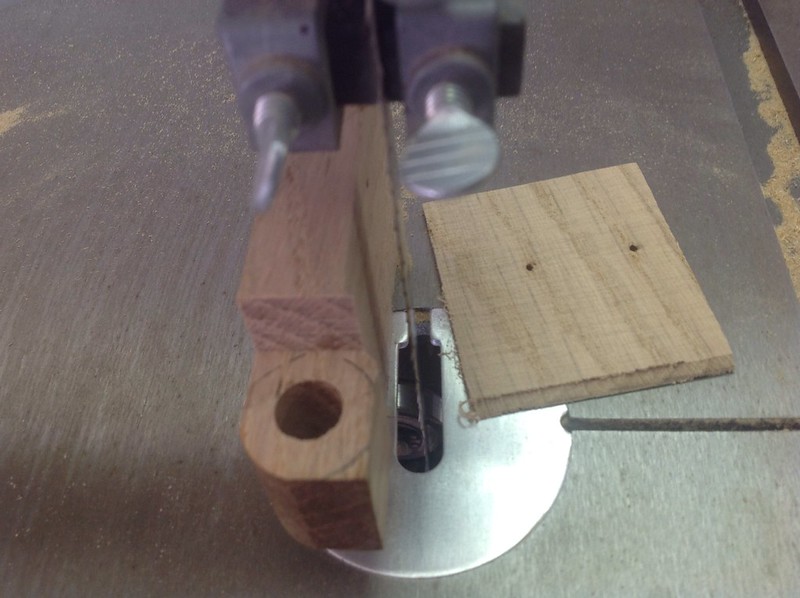
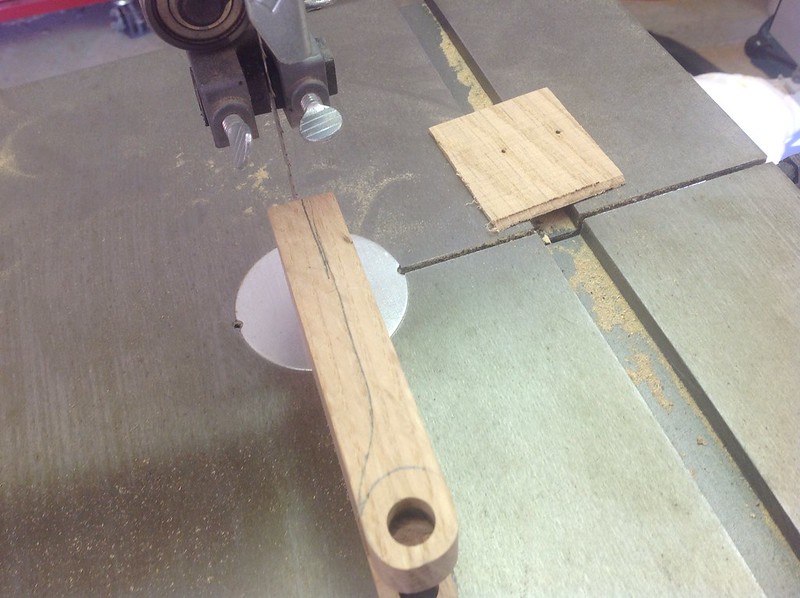
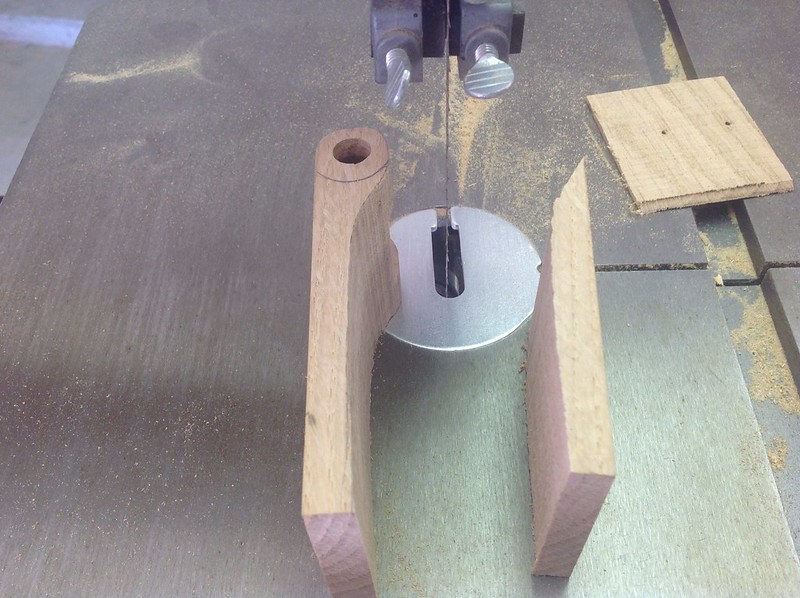
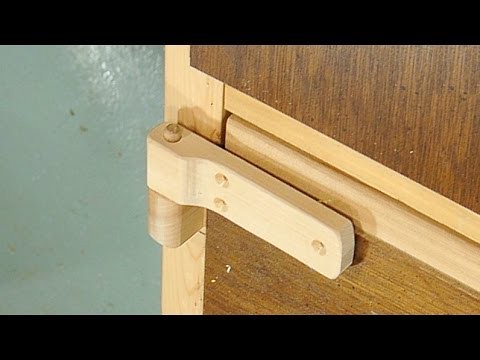
Since this project is just for me and I am using it to learn how to do new (to me) techniques and tricks I have been trying to make my own wooden hinges for the door.
Through the miracle of YouTube there are several very good videos of how to do this.
Just like watching the old New Yankee Workshop it looks like anyone should be able to whip out a couple of fine custom wooden hinges in 10 minutes or so.
I have really struggled getting this done.
It has been over 5 years since I have done a woodworking project and I have had to do maintenance on every power tool I have tried to use.
The latest hiccup is when I tried to use the bandsaw it spit the blade, turns out the tires on the wheels have decayed.
I should have ordered a pair last weekend but I thought I could cut out the parts I need using a jig saw and the table saw.
I really should have ordered new bandsaw tires a week ago.
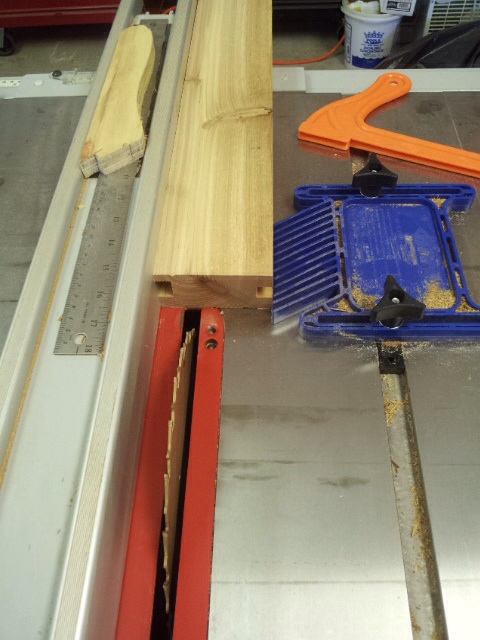
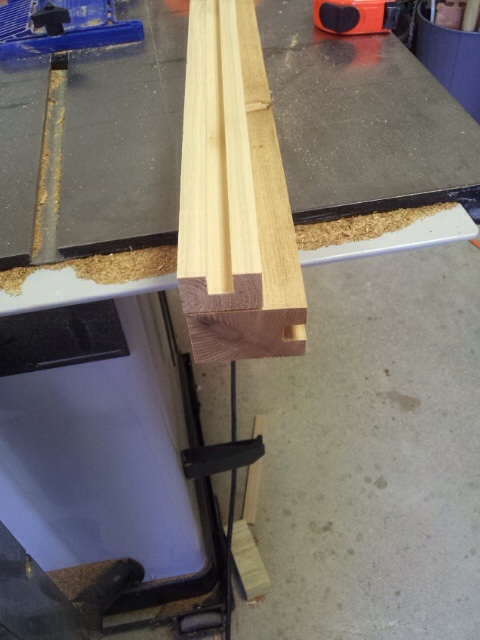
These pictures are examples of what I am trying to do.
 wooden_hinge 3
 by
chashint1, on Flickr
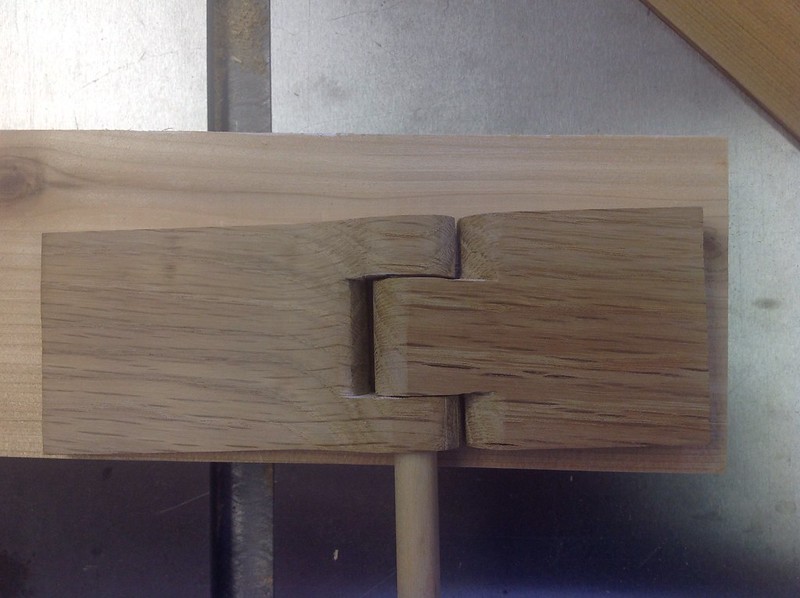
 wooden_hinge 4
 by
chashint1, on Flickr
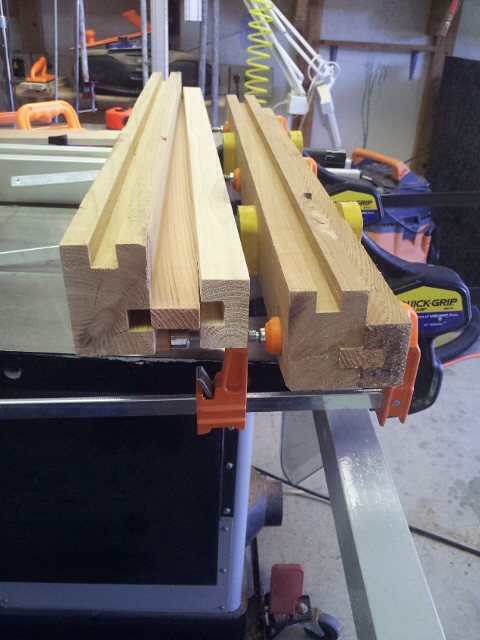
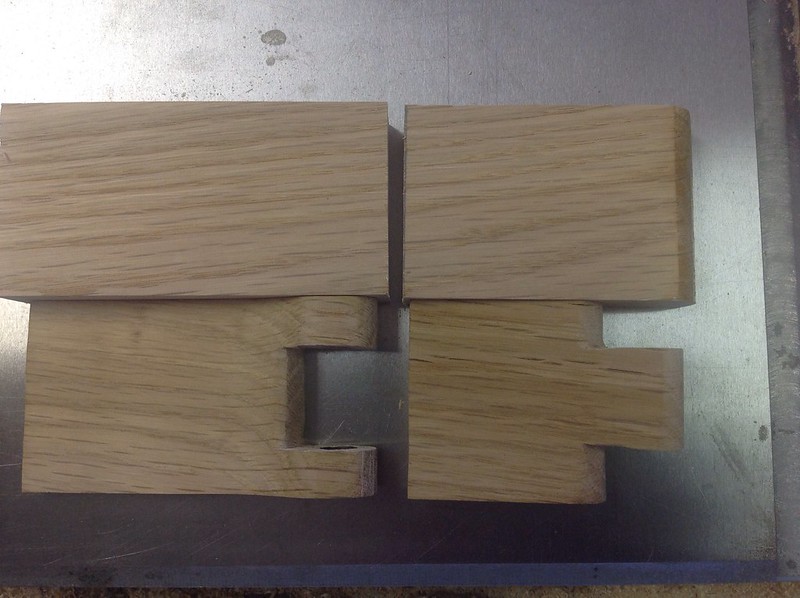
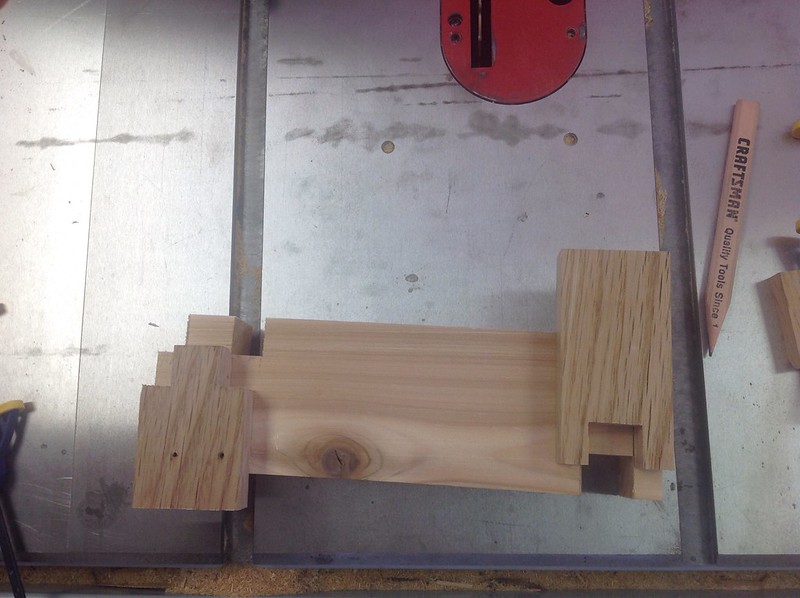
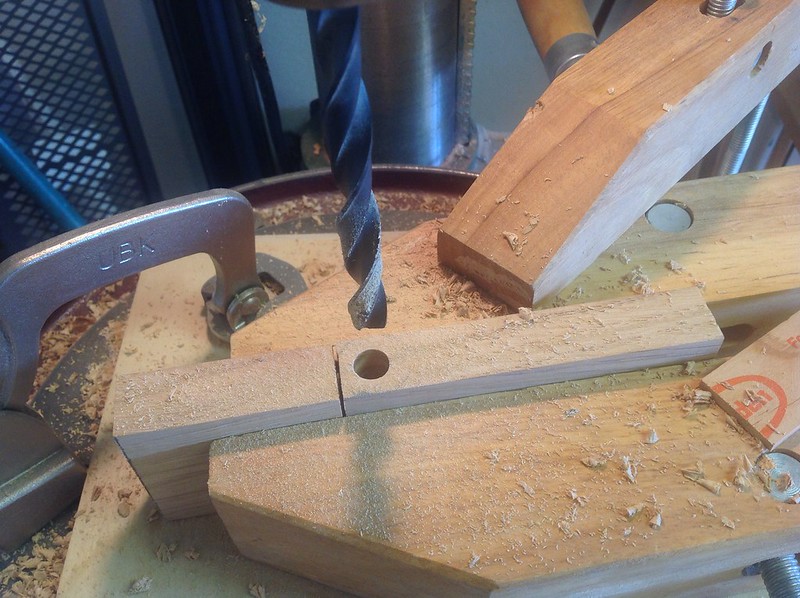
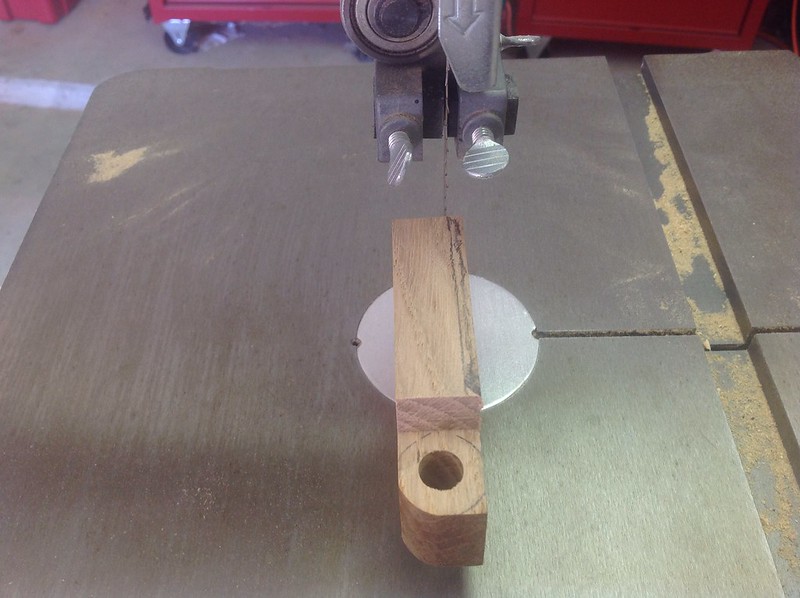
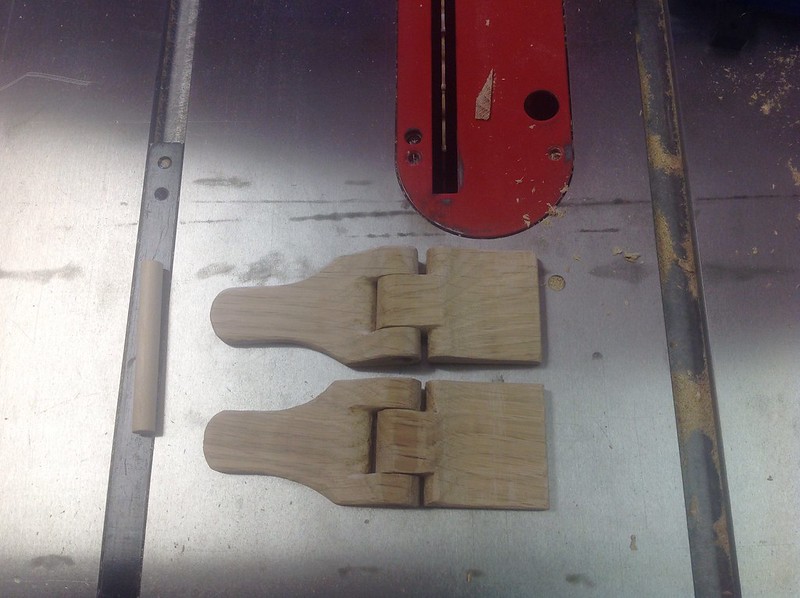
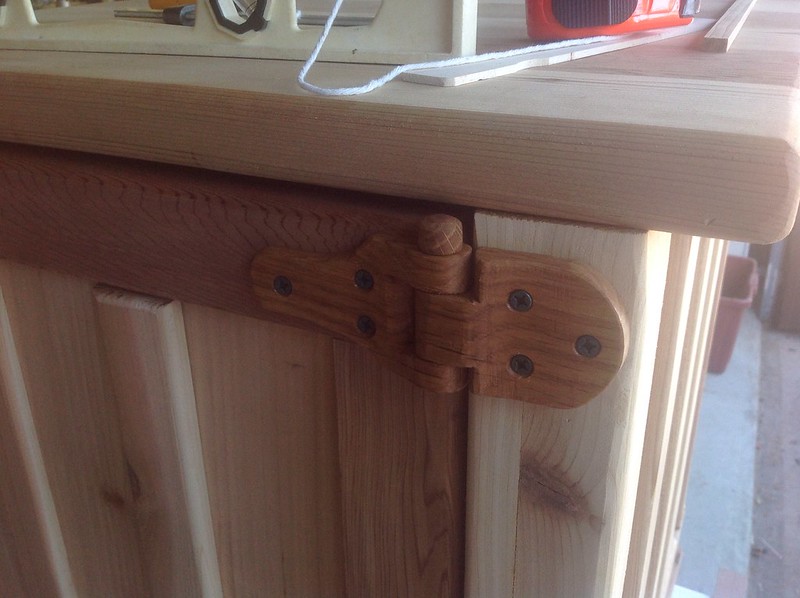
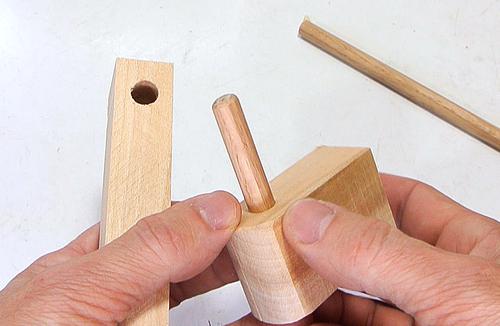
This does not look like it should be so hard for me to do but after many failed attempts this is where I am at right now.
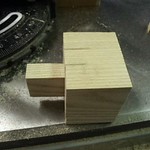 image 1
 by
chashint1, on Flickr
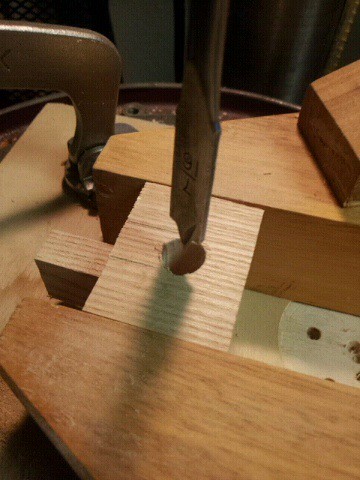 image 2
 by
chashint1, on Flickr
I have two of these that match.
They still need the dowel for the hinge post to be installed and they need to be shaped.
I plan to install this on the face frame of the cabinet using a mortise and tenon joint.
This is made out of white oak that I reclaimed from a discarded end table leg.
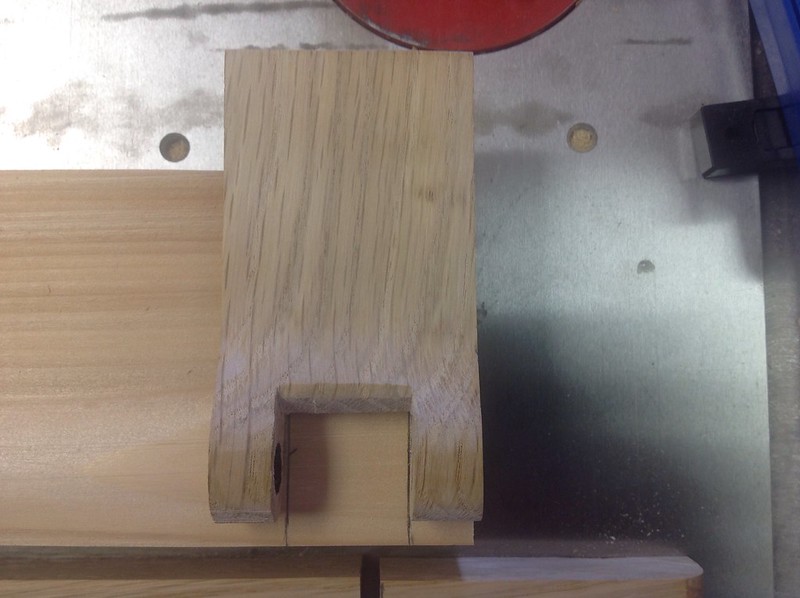
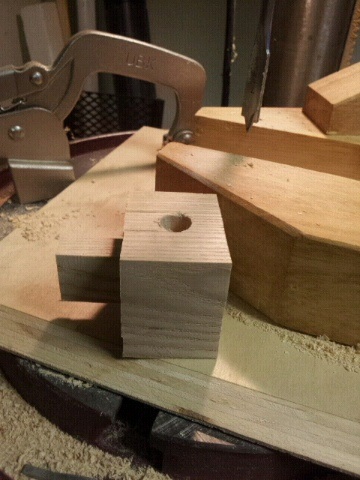 image 3
 by
chashint1, on Flickr
As always thanks for looking.