Here is my writeup with a materials list...
This 18" WSM solution is made up of two parts, the lid hanger and the retaining ring. Both are aluminum which is relatively easy to work with, retains it shape and strength and does not need to be heated to be bent.
You're gonna use the holes and hardware from one of your existing Grill Straps to mount the lid hanger, so pick the one that lines up with the point you want your lid to hang, and using a 7/16" wrench and common screwdriver, remove and retain the strap, bolts, nuts and fiber washers.
DO NOT CUT the 2" wide aluminum stock until you have it bent and marked! You can use the extra length for leverage when you are bending it.
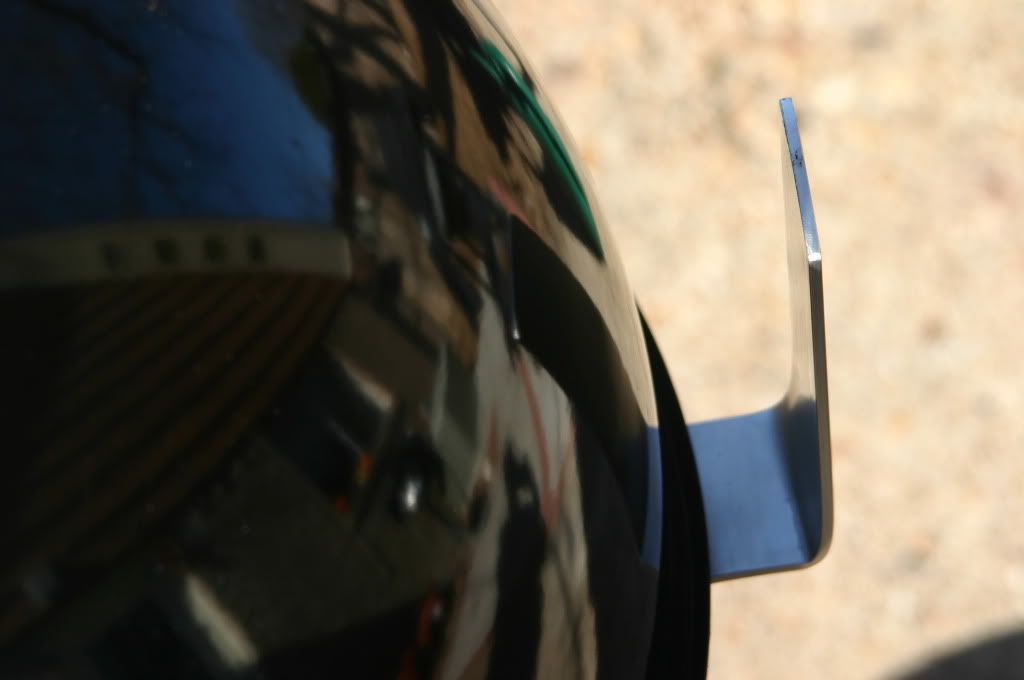
You will need to make two bends in the aluminum so that the lid hanger routes around the lip on the WSM Center Ring.
Put three marks from one end of the aluminum, one at 8 1/4" (first bend), one at 9 1/4" (second bend) and one at 14" (end).
Put the 2" wide aluminum stock in a vice or clamp it to a bench, etc and make the bends, being careful not to gouge or scratch the finish. I used a bench vice and took my time to make the bends....no hammering required, just a little
muscle.
http://i772.photobucket.com/al...0holder/IMG_5152.jpg
Take your new bent lid hanger, align it with center of the WSM lid, and using a sharpie, trace the shape of the lid onto the bracket at the 14" end mark.
http://i772.photobucket.com/al...0holder/IMG_5148.jpg
Using an electric skill saw with a metal blade, or a metal hack saw, follow the curved line you traced at the 14" mark and cut the end of the lid hanger.
Use a metal file to smooth the cut and round the edges of the lid hanger a bit. If you don't have a metal file, you can use fine sandpaper and a sanding block. While you're at, smooth off the corners of the square end too. You don't want
any sharp edges anywhere.
Take a few moments and hold the lid hanger up to your WSM and reassure yourself that it looks and fits right.
Place the lid hanger with the long side facing down, lying flat, on your work surface. Place the Grill Strap on top of the long side, push it against the bend and center it side to side. Using the sharpie, mark the center of the holes and if you have a hole punch, punch the centers.
http://i772.photobucket.com/al...0holder/IMG_5154.jpg
Remove the Grill Strap, or use it as a guide if you need, and using a 1/4" drill bit, drill the two mounting holes. Take a moment to compare the drilled lid hanger with the Grill Strap to ensure the holes are where they should be.
http://i772.photobucket.com/al...0holder/IMG_5157.jpg
Now, you can take some fine steel wool and buff the lid hanger and make it ready to mount. You could also buff with a buffing wheel and some rouge, or apply aluminum polish. For me, I wanted a flat stock look, so I just used a bit of steel wool to knock out the scratches.
Back at the WSM, place the bolts thru the lid hanger, then add the fiber washers, then push them thru the WSM, then thru the Grill Strap, then put the bolts on. Key here is that the fiber washers are between the lid hanger and the side of the WSM. Tighten with screw driver and wrench.
Time to make the retaining ring for the lid....
Take the 3/4" thick aluminum stock and drill a 1/4" hole in center and one at 2" from each end....three holes total.
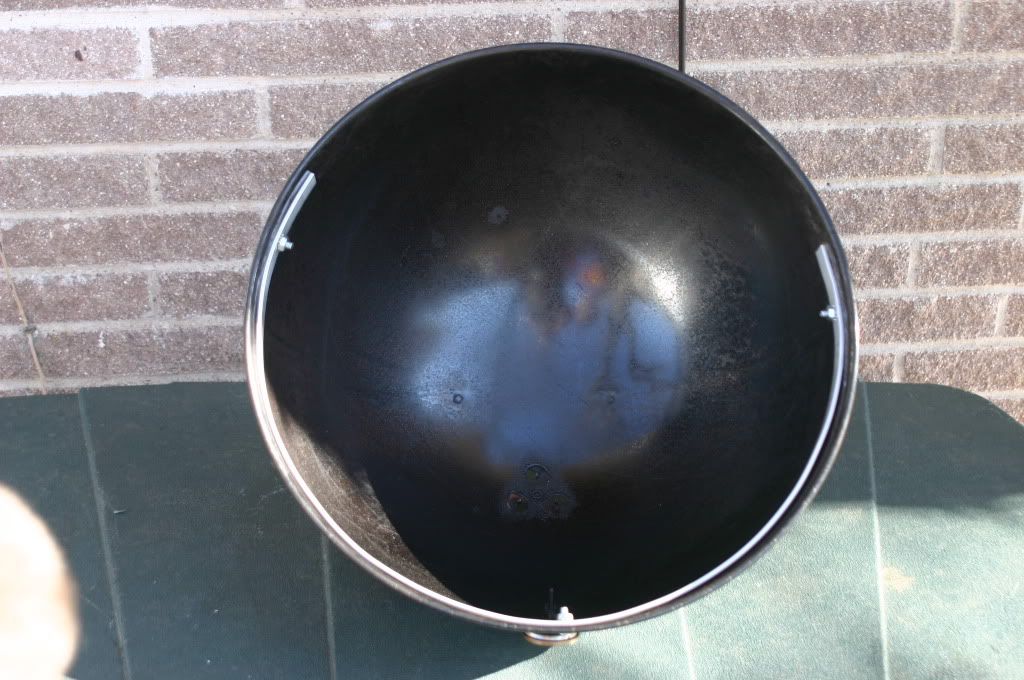
Take the metal in your hands or a vice and start bending and shaping it so that the circumference is the same as the inside of your lid. Put the lid on your work surface, protected by a thick towel or mat and keep bending and tweaking until you have the ring bent just right.
Carefully clamp the bent retaining ring in place, about 3'4" above the lip, centered on the front, vent side, unless you prefer to hang your lid backwards.
Put the lid against a firm, direct contact, surface that you can drill into without risk, and drill thru the center hole in the retaining ring, and thru the lid. Clean the drill hole of any burrs and install the center bolt in this fashion: Bolt - fiber washer - lid - retaining ring - lock washer - nut. Snug tighten only.
http://i772.photobucket.com/al...0holder/IMG_5144.jpg
Now move to the holes at each end of the retaining ring and repeat. Remember to use your clamps and take your time. Firmly tighten all bolts.
http://i772.photobucket.com/al...0holder/IMG_5145.jpg
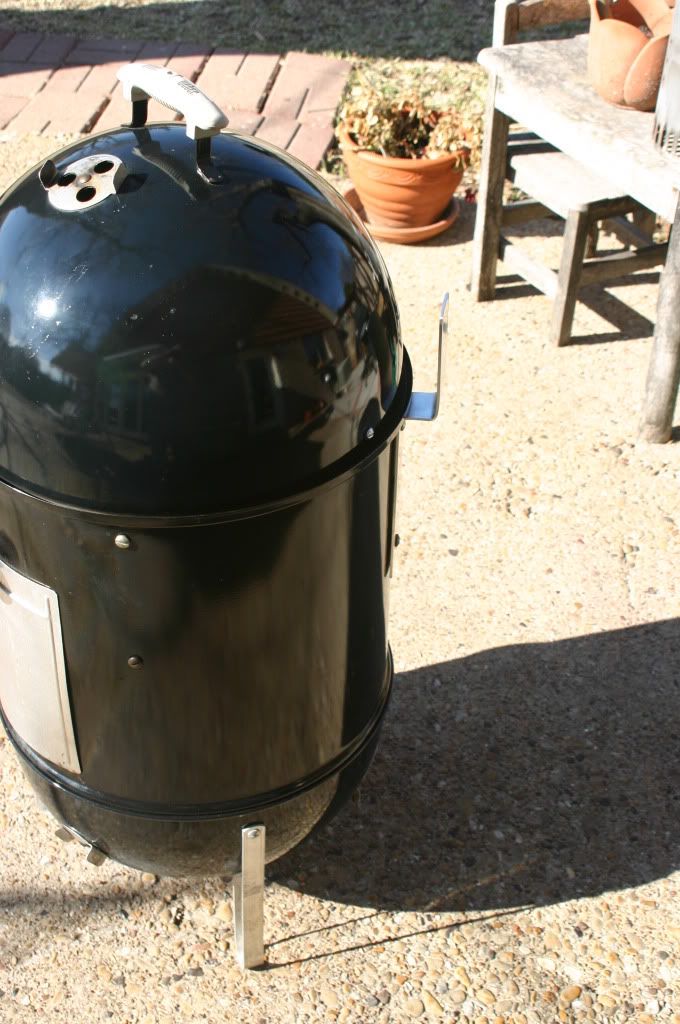
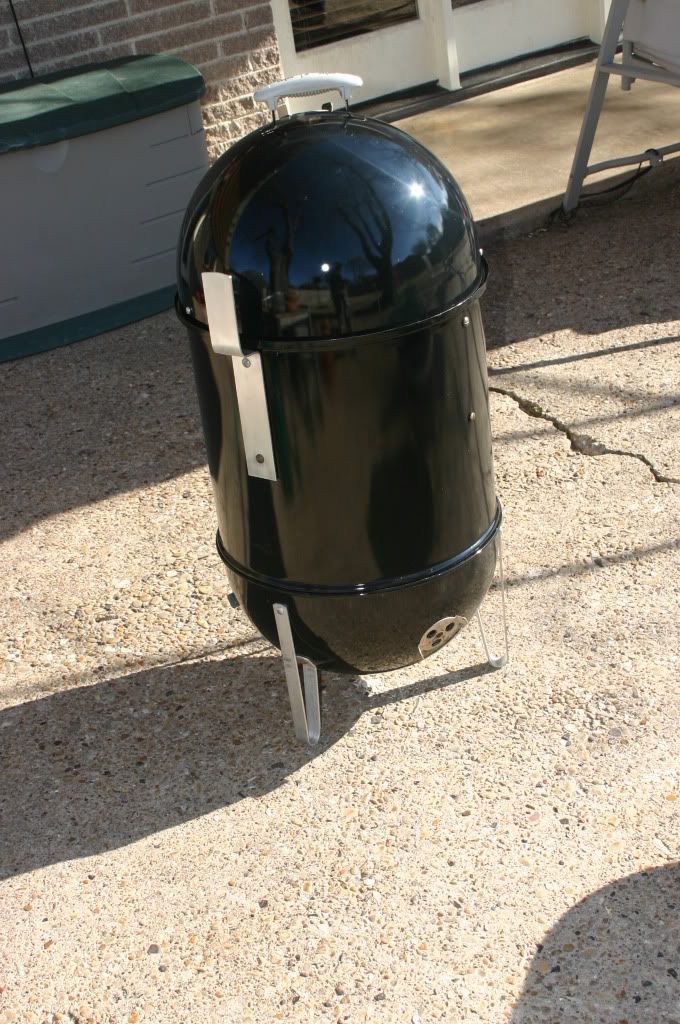
Clean up the aluminum shavings and try it out! Notice that this solution fits neatly inside the WSM's Vinyl Cover.
For maximum stability, align the lid hanger with one of the legs.
http://i772.photobucket.com/al...0holder/IMG_5119.jpg
Bill of Materials - Home Depot
1 ea. Flat 18" Thick 2" x 36" Aluminum flat plate - $10
1 ea. Flat 18" Thick 3/4" x 36" Aluminum flat plate - $4.19
4 ea. 1/4" x 5/8" License Plate Bolt with Nut - $2
4 ea. 1/4" External Tool Lock Washer - $1
4 ea. 1/4" Fiber Washer - $1.26