HankBates
TVWBB Super Fan
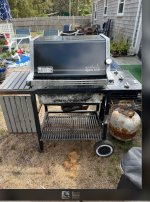
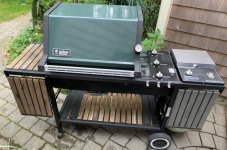
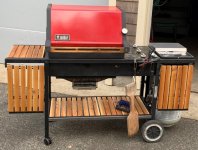
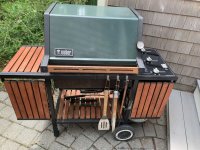
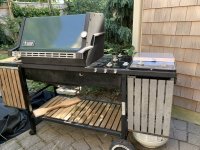
There is lots that I can do (and probly still will) to my recently acquired Gen 3000, but I really wanted a table near the side burner.
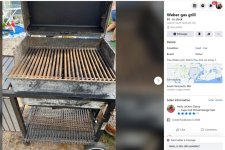
Luckily a week ago I came across what I thought would be a good donor of a left side table, a Skyline 1200 about 2 miles from me.
Turns out that in spite of its almost totally white end caps and cook box the table became a loan, but that's another story.
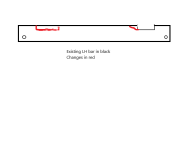
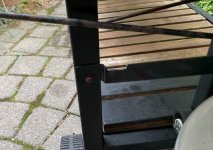
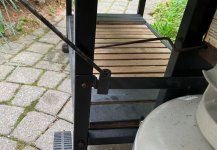
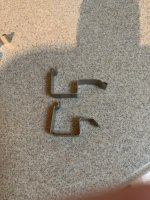
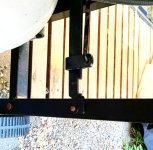
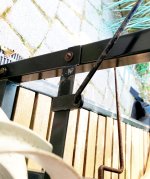
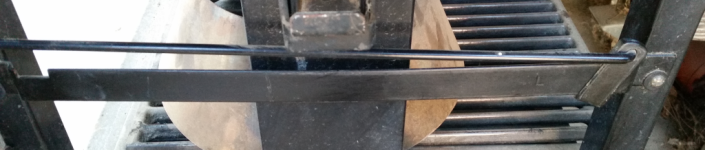
As I have been able to learn from elsewhere on the site, there are two things you can do with the LH slide bar to get the notch in the right place (and also perhaps get the now unused LH notch out of the way):
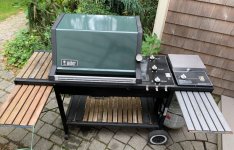
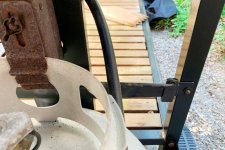
1. Install it in its normal orientation, as seen in the pictures, cutting another notch at the other end (not yet done). The easiest thing to do, but it appears to need some fiddling to get the slider out of the old (LH) notch, still present at the other end, every time you put the table in the up position.
2. Flip it so that the old notch is now at the proper end but facing up, cut the new notch next to the old one, on the other edge, and add new mounting holes because the slide bar is now upside down.
Recommendations? I was pleased to learn from my temporary installation that this will actually work...
Luckily a week ago I came across what I thought would be a good donor of a left side table, a Skyline 1200 about 2 miles from me.
Turns out that in spite of its almost totally white end caps and cook box the table became a loan, but that's another story.
As I have been able to learn from elsewhere on the site, there are two things you can do with the LH slide bar to get the notch in the right place (and also perhaps get the now unused LH notch out of the way):
1. Install it in its normal orientation, as seen in the pictures, cutting another notch at the other end (not yet done). The easiest thing to do, but it appears to need some fiddling to get the slider out of the old (LH) notch, still present at the other end, every time you put the table in the up position.
2. Flip it so that the old notch is now at the proper end but facing up, cut the new notch next to the old one, on the other edge, and add new mounting holes because the slide bar is now upside down.
Recommendations? I was pleased to learn from my temporary installation that this will actually work...
 . Once again, it's a shame that you can no longer purchase the original hardware to make it look 100% factory.