SteveCK
TVWBB Pro
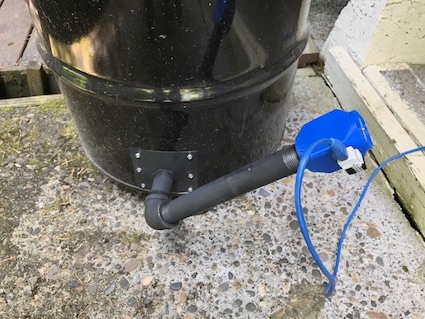
Yeah you had it printed in that fancy metal based filament through Shapeways. Not sure what the printing temperature of that stuff would be. But typical 3D printing plastic is printed around 200 degrees Celsius and for the most part I think these plastics will start distorting around 140 degrees Celsius? I remember Bryan had done some testing on 3D printed cases he had done in black and tested them in the sunlight late last summer. I'd try searching for it now but I'm posting from my phone...not the easiest to do that type of work on.