Bill in NOLA
New member
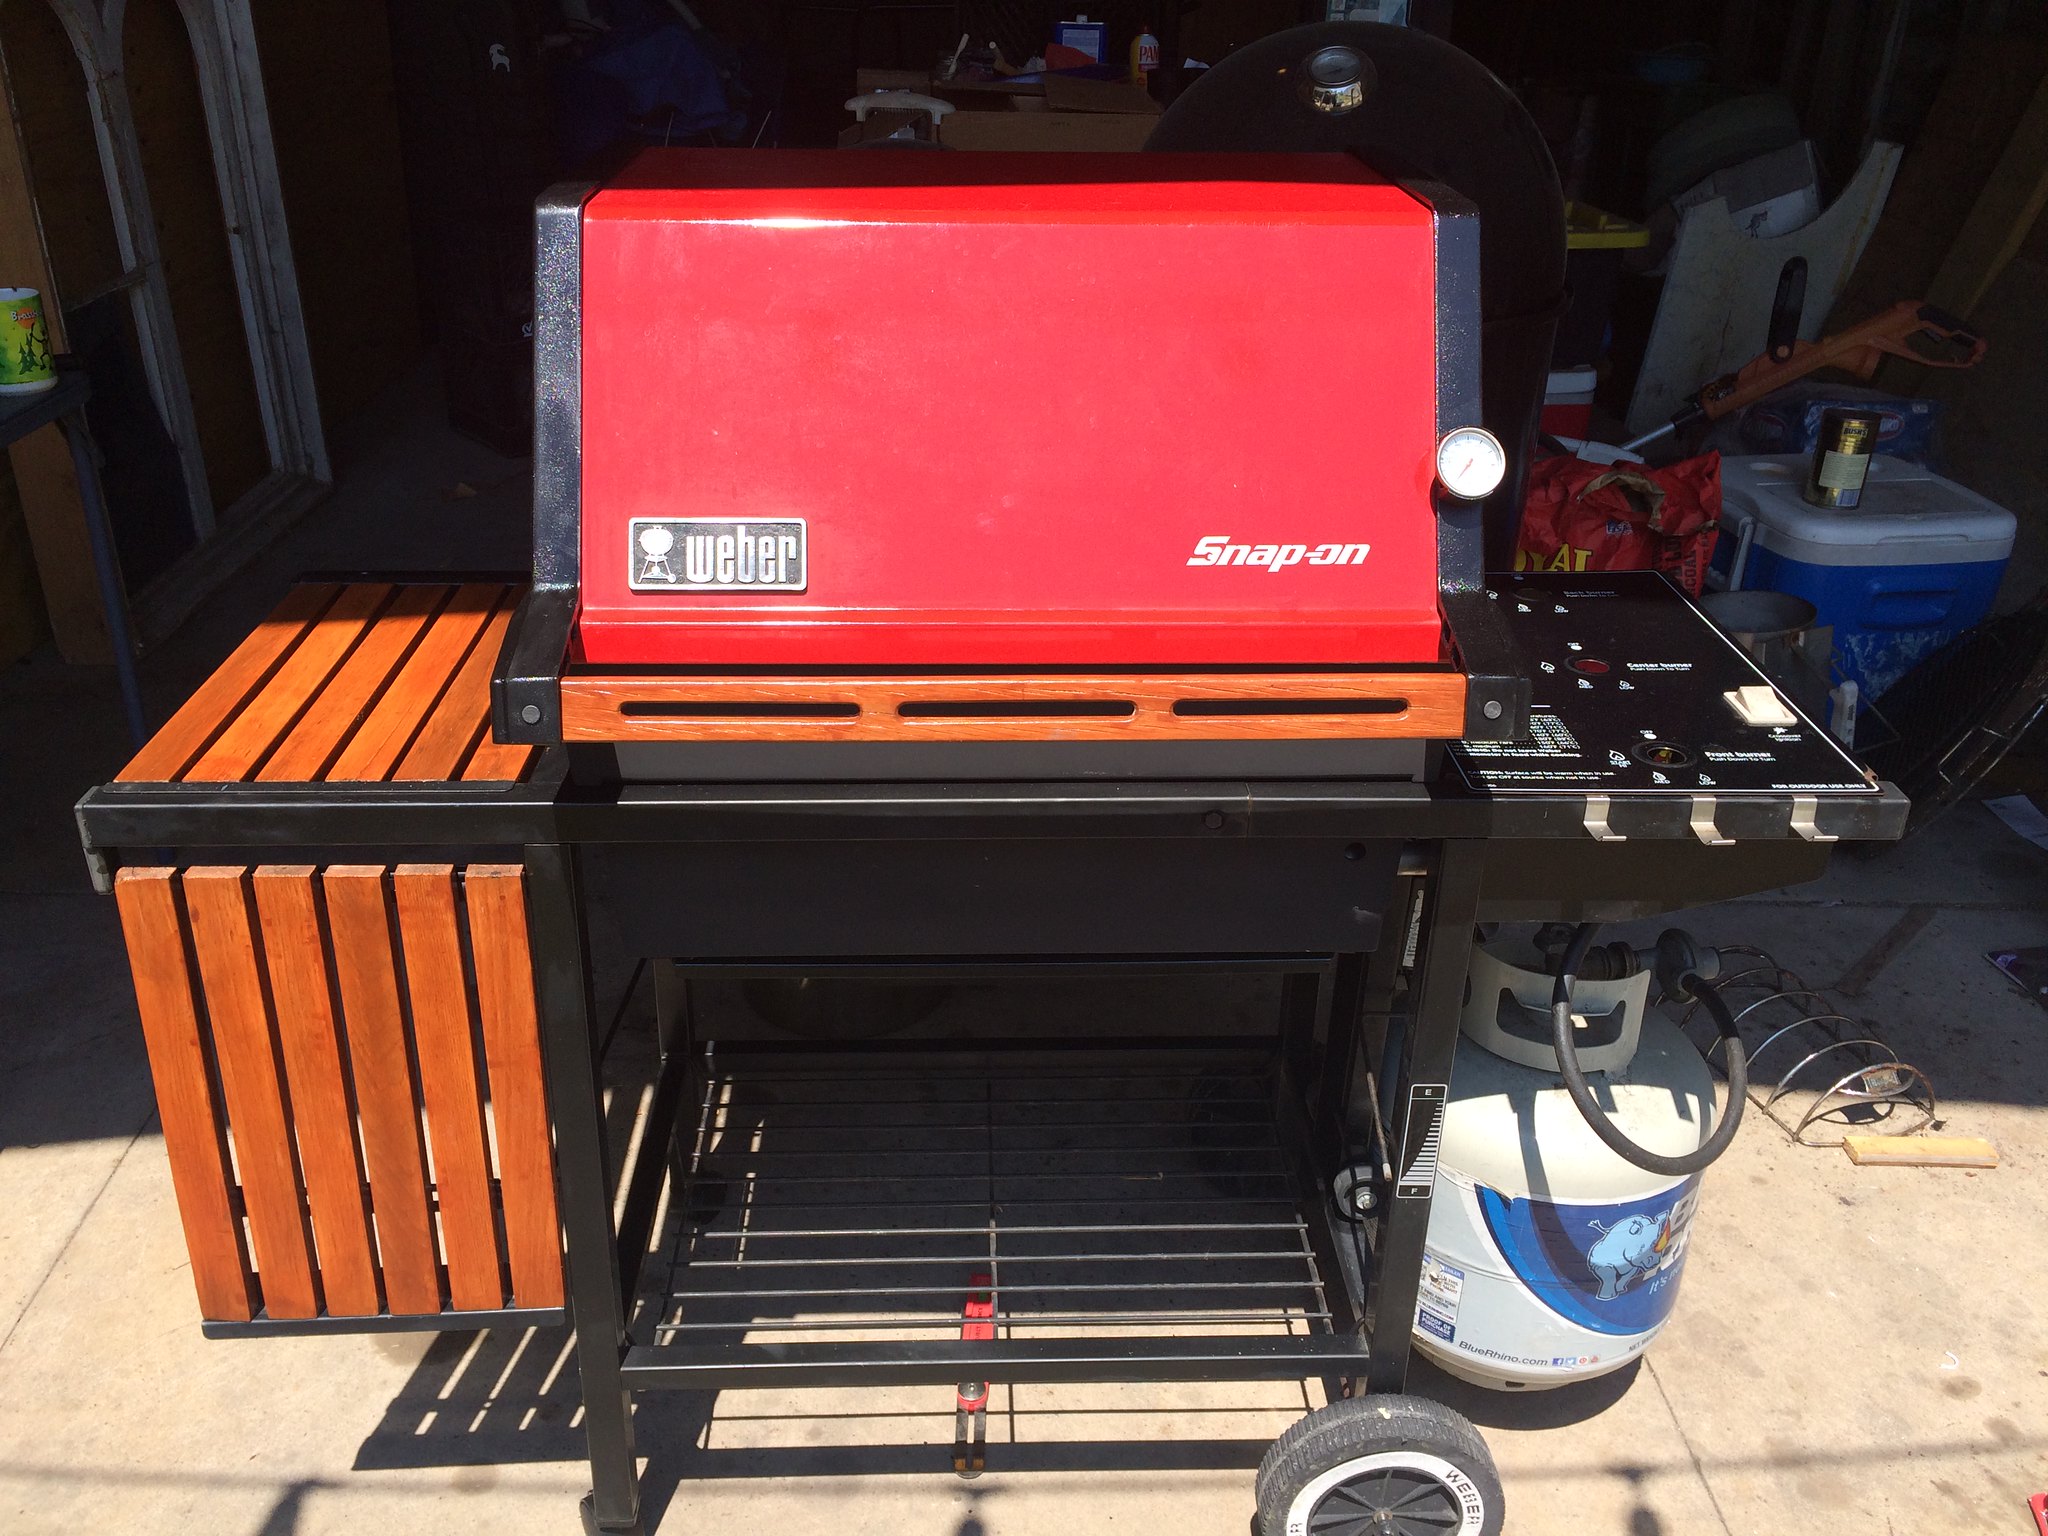
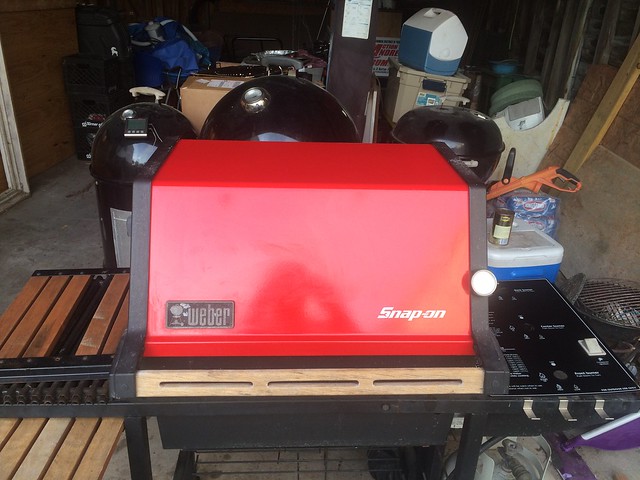
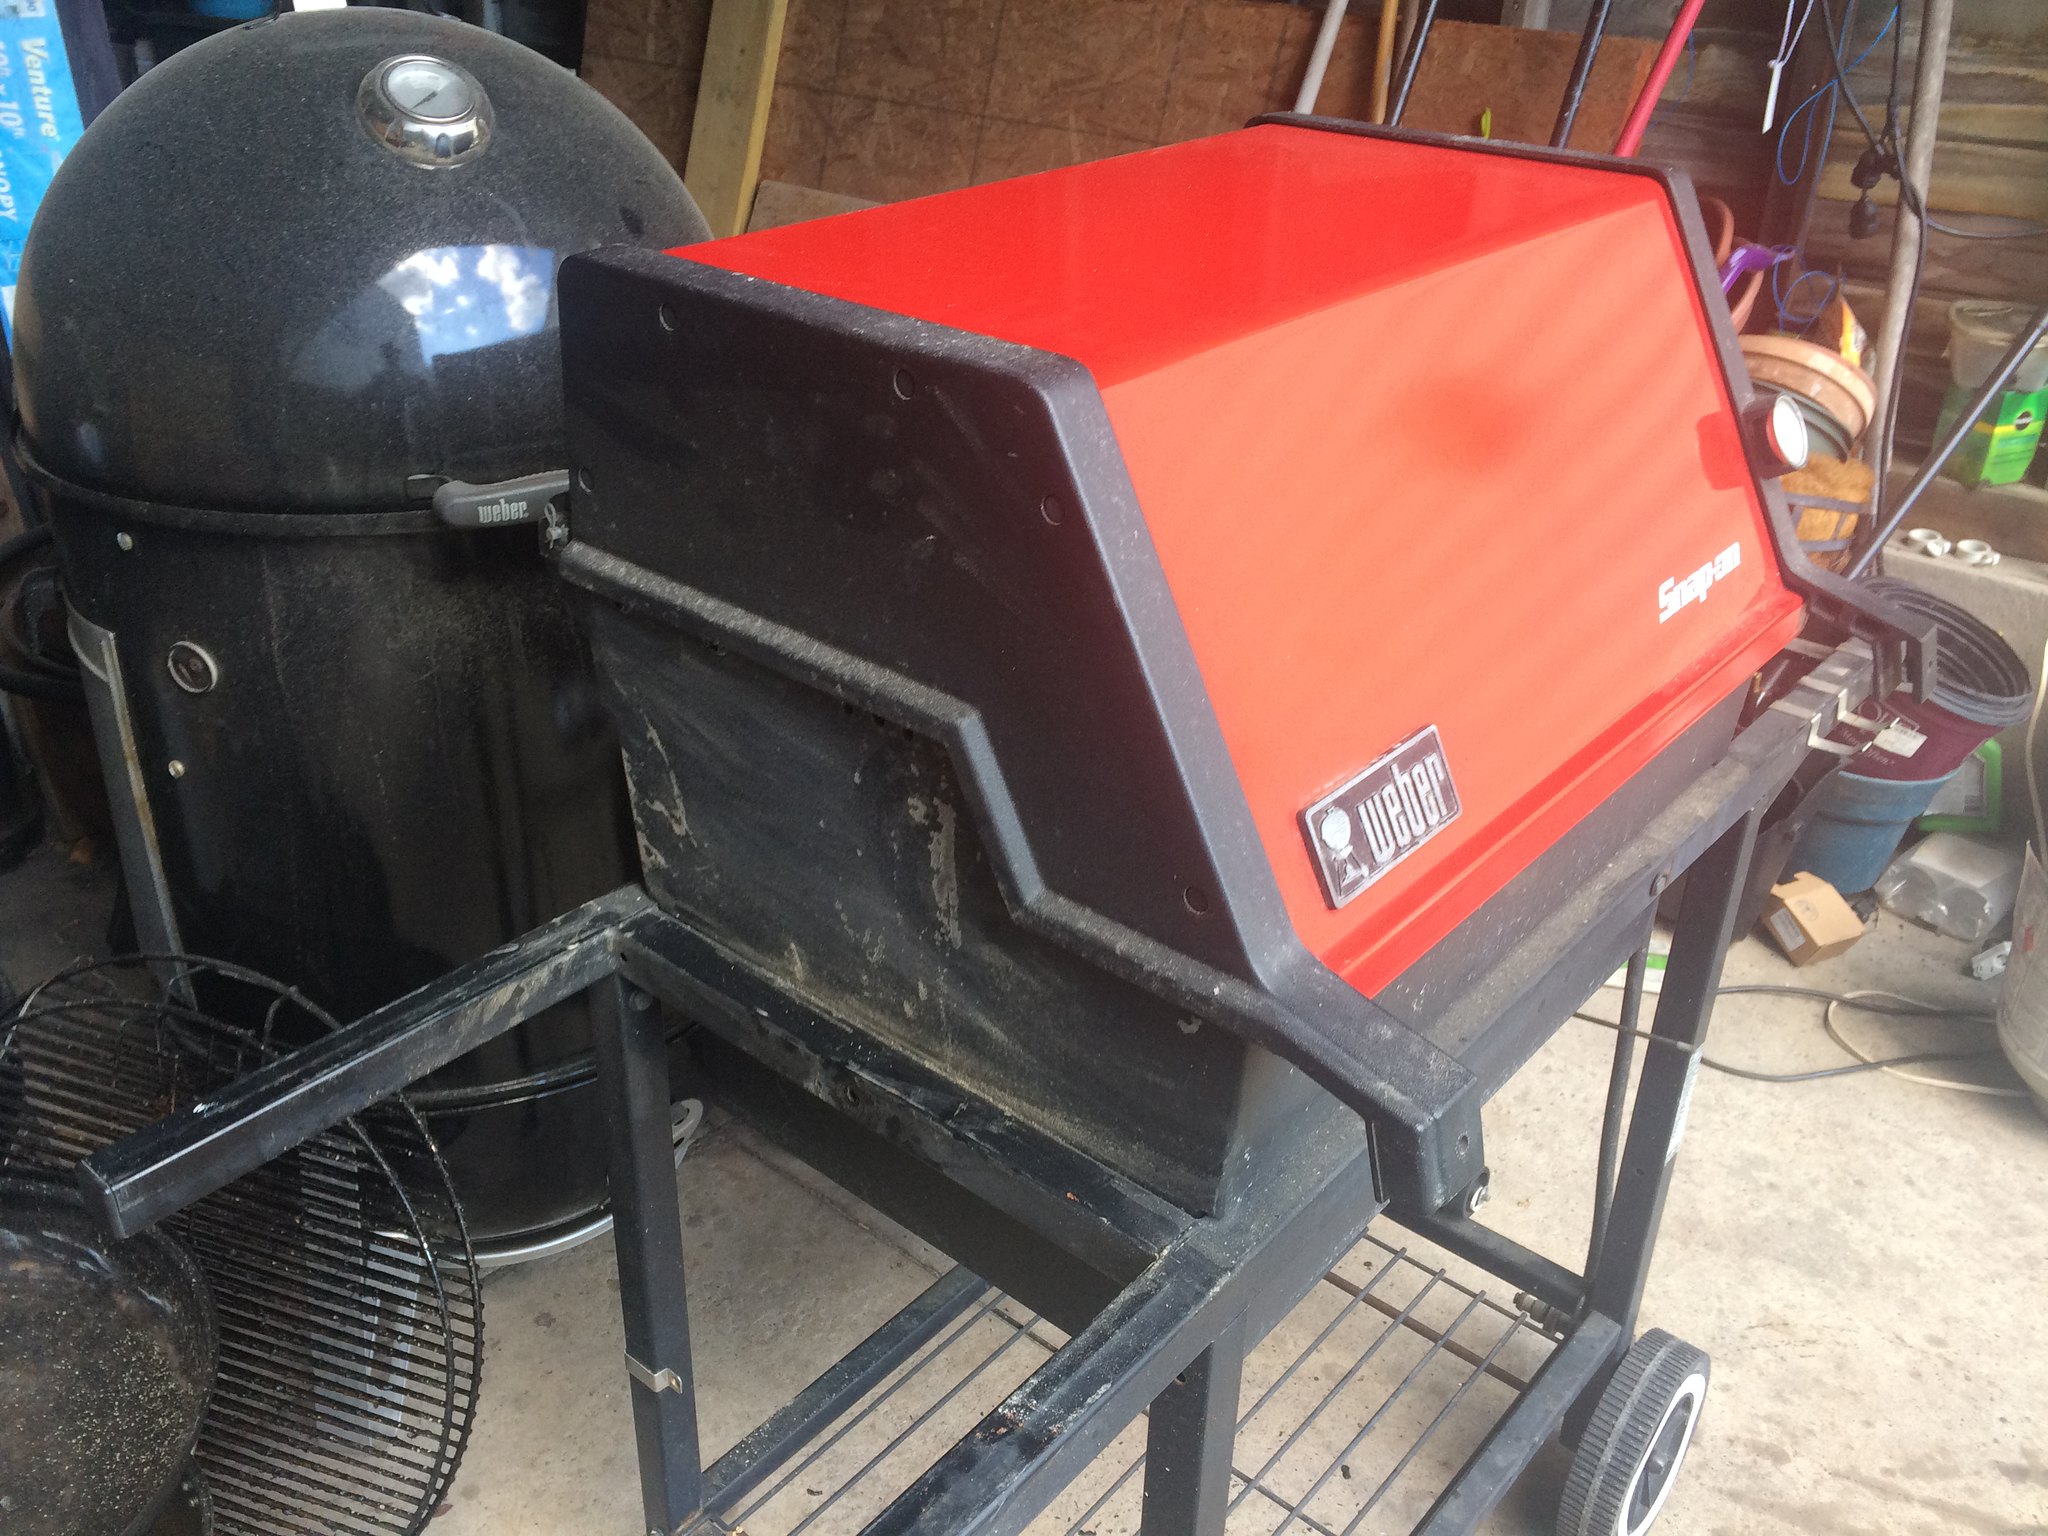
Hi folks, i'm back with another newbie thread! This time with some pics of the start of my Genesis 1000 restoration. Well, it doesn't need much, honestly, and i've probably overpaid in both $$$ and labor, but i plan on having this grill for a while.
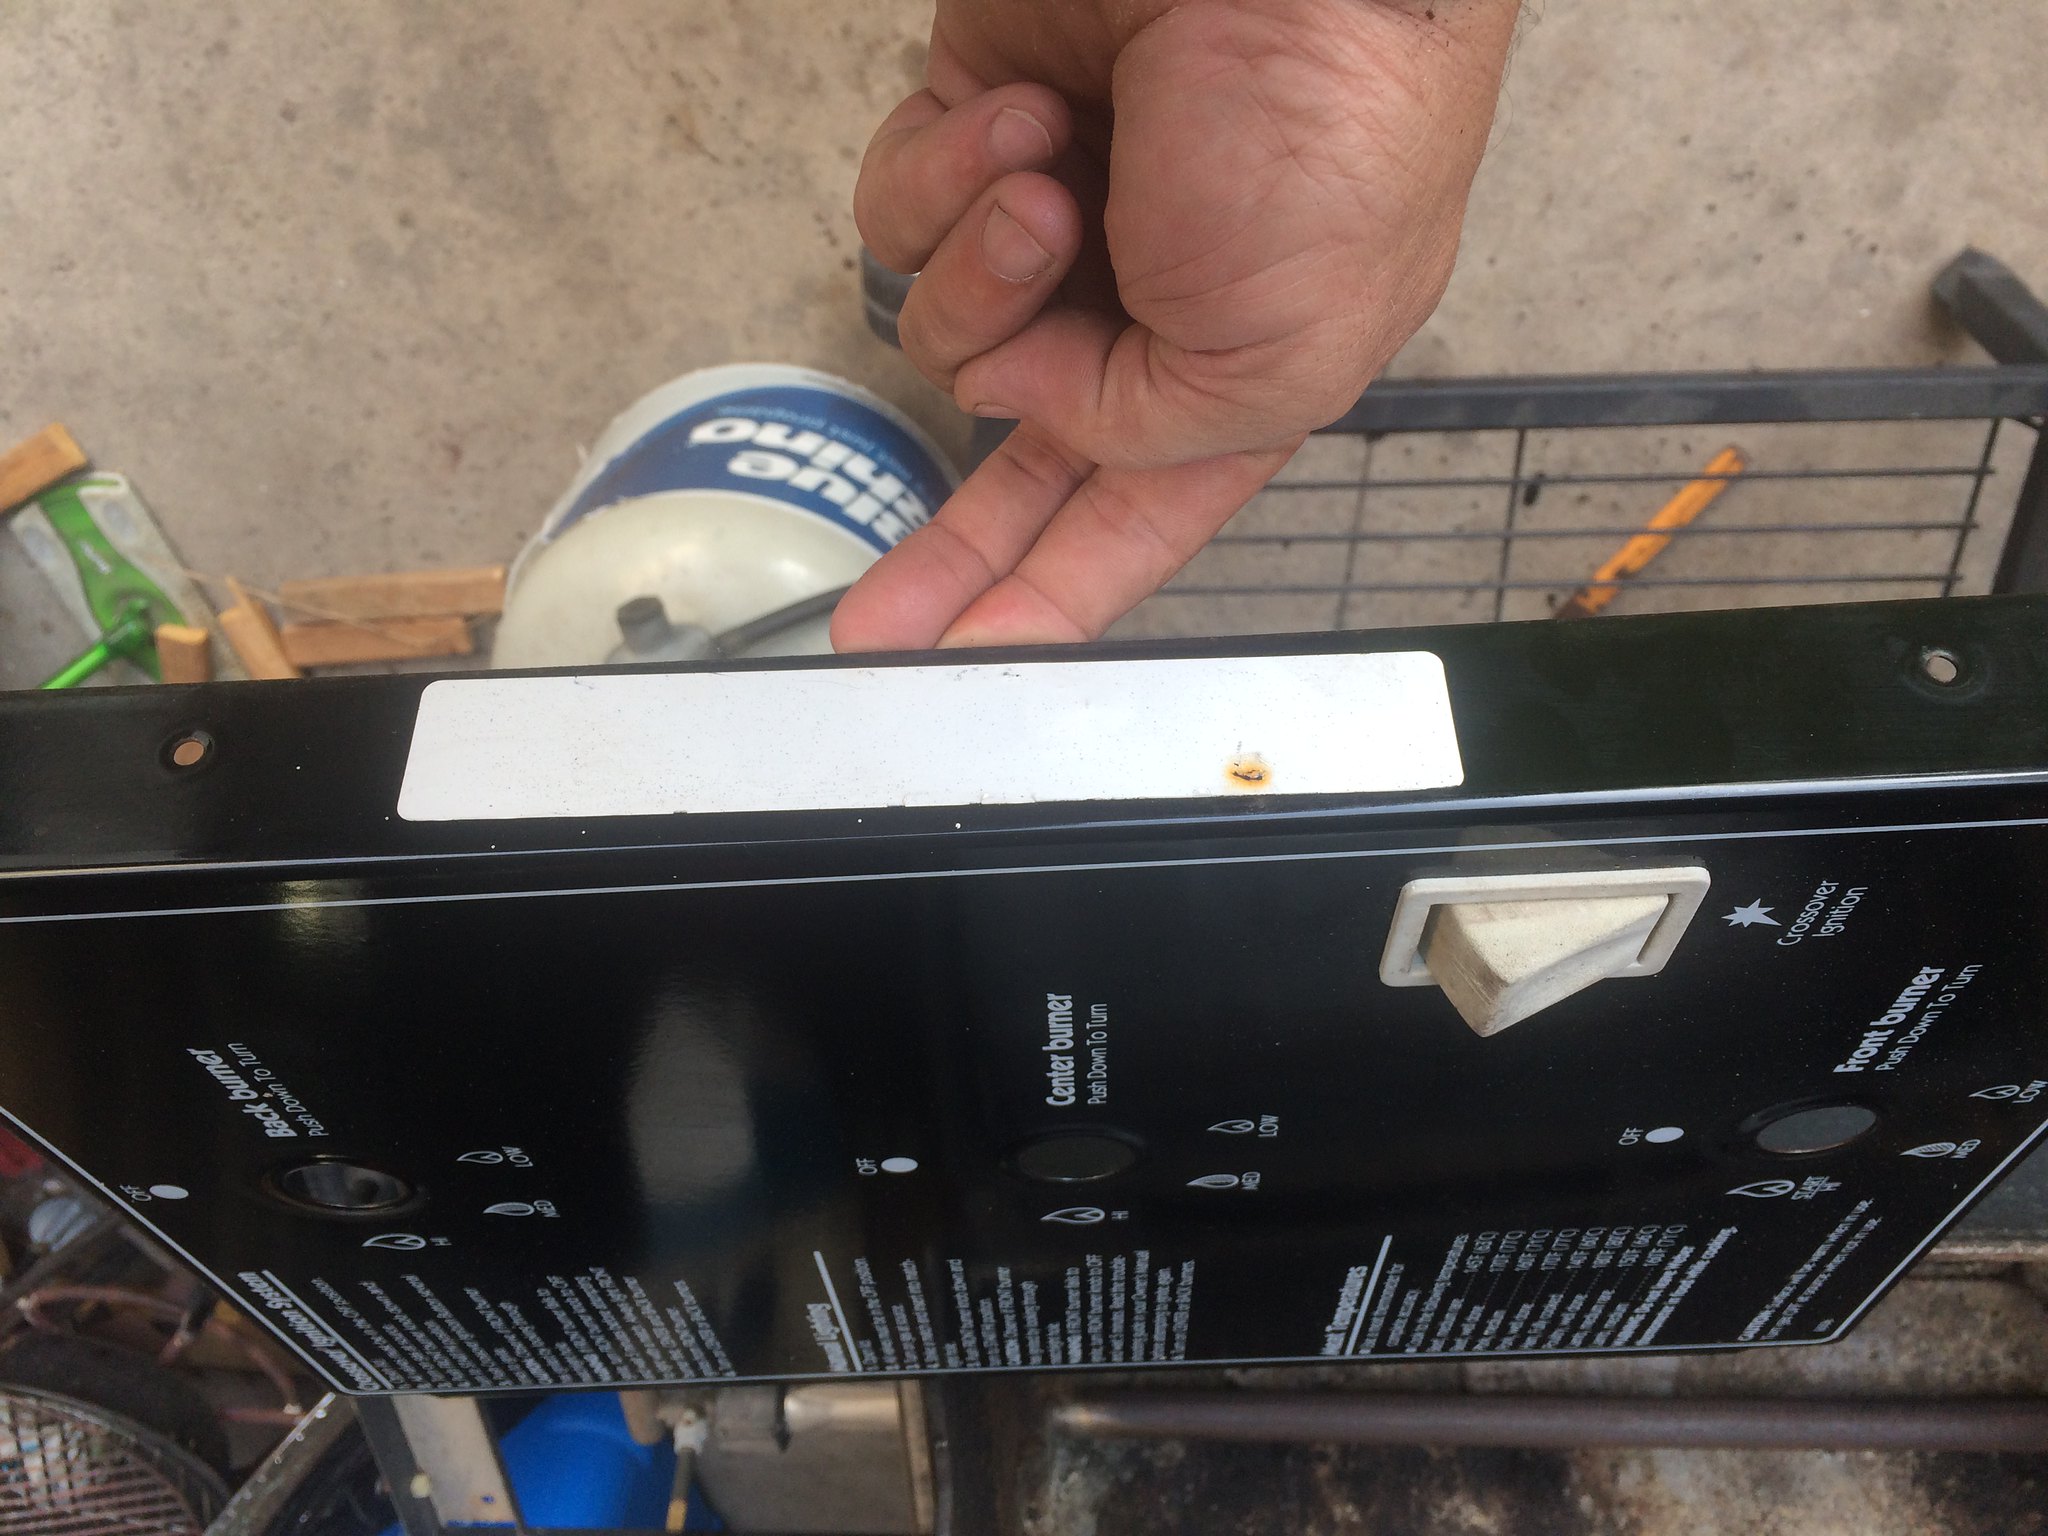
I posted on another thread when i saw this go up on CL, but the seller seemed to be looking for the Snap-On premium, so i let it sit for about 2 weeks. I contacted him and offered $100 if he would fire it up, but only $75 untested, assuming everything else was present and in ok shape. He agreed but admitted he didn't have an LP tank. He said his neighbor, who is retired but used own a SO dealership gave it to him. When i got there, it was in great condition, besides the FB's rusted through. The porcelain grates were ok but showed a bit of deterioration on the underside, but still a few years of life left. All the wood was pretty weathered, but salvageable, the serial number sticker was sun-bleached white and it was missing 1 knob. There was some over spray on the lid, but not very much and not noticeable really. Some roti scratches on the sides of the firebox and a small amount of flaking paint on lid sides. Frame paint was in good shape with no rust that i could see. Burners looked complete. Paid the $75 and took her home. Attached my tank, got a long lighter and it fired right up!
I immediately ordered a new ignitor and the original weber FB's. Yes, i know better now; the next set will be rcplanebuyer's.")
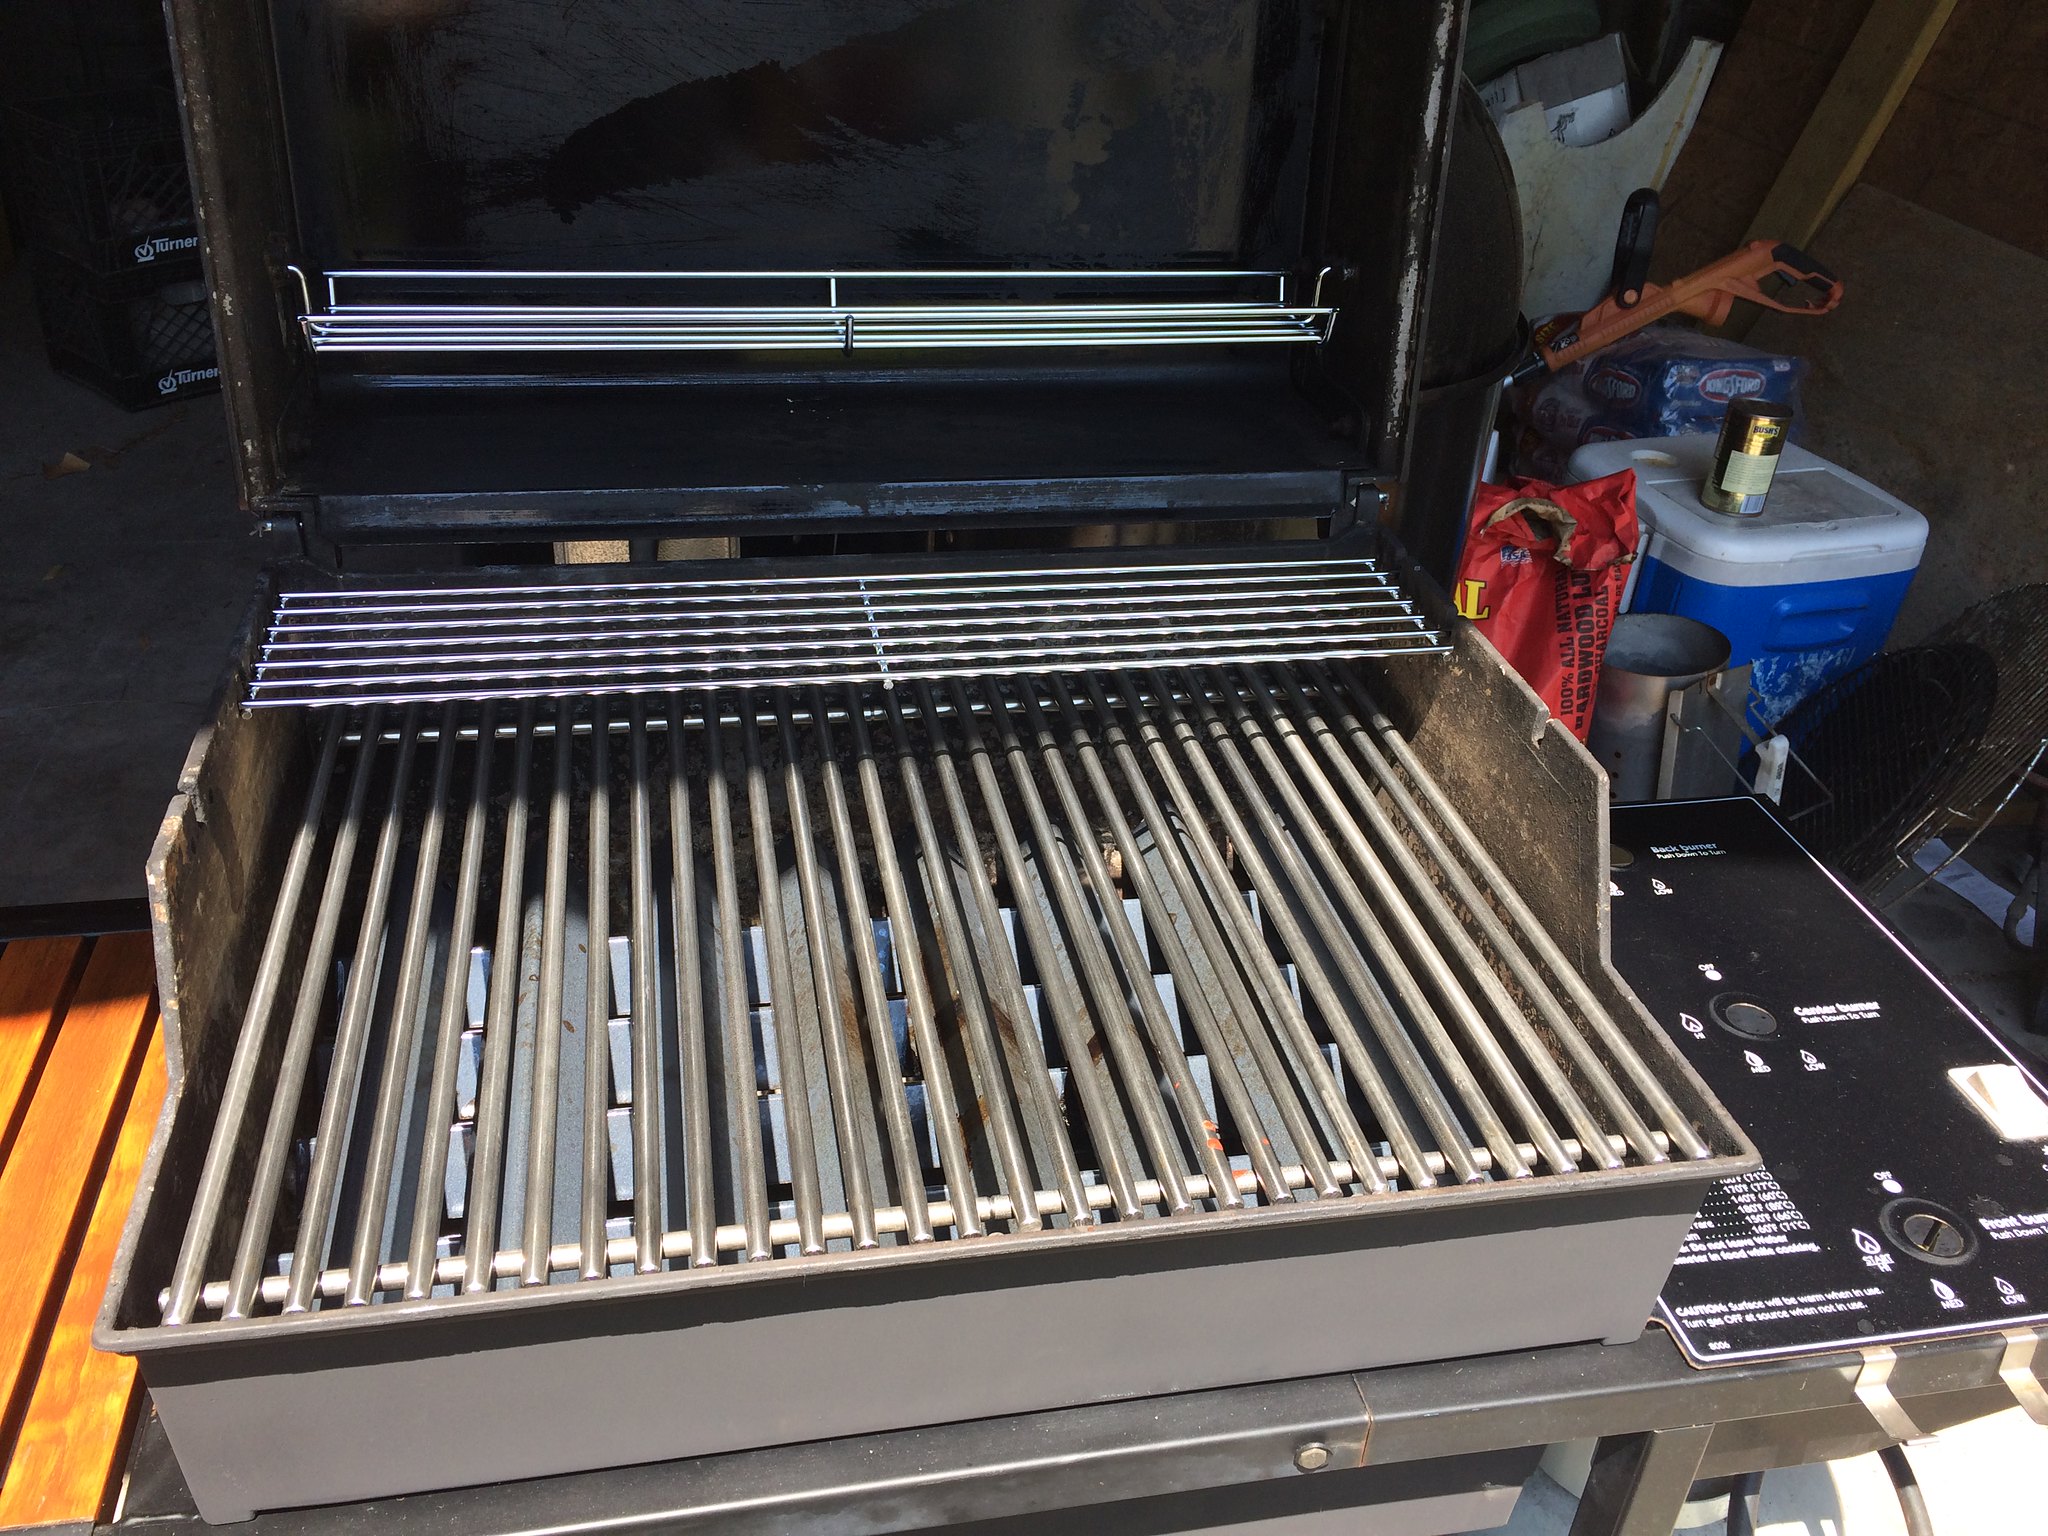
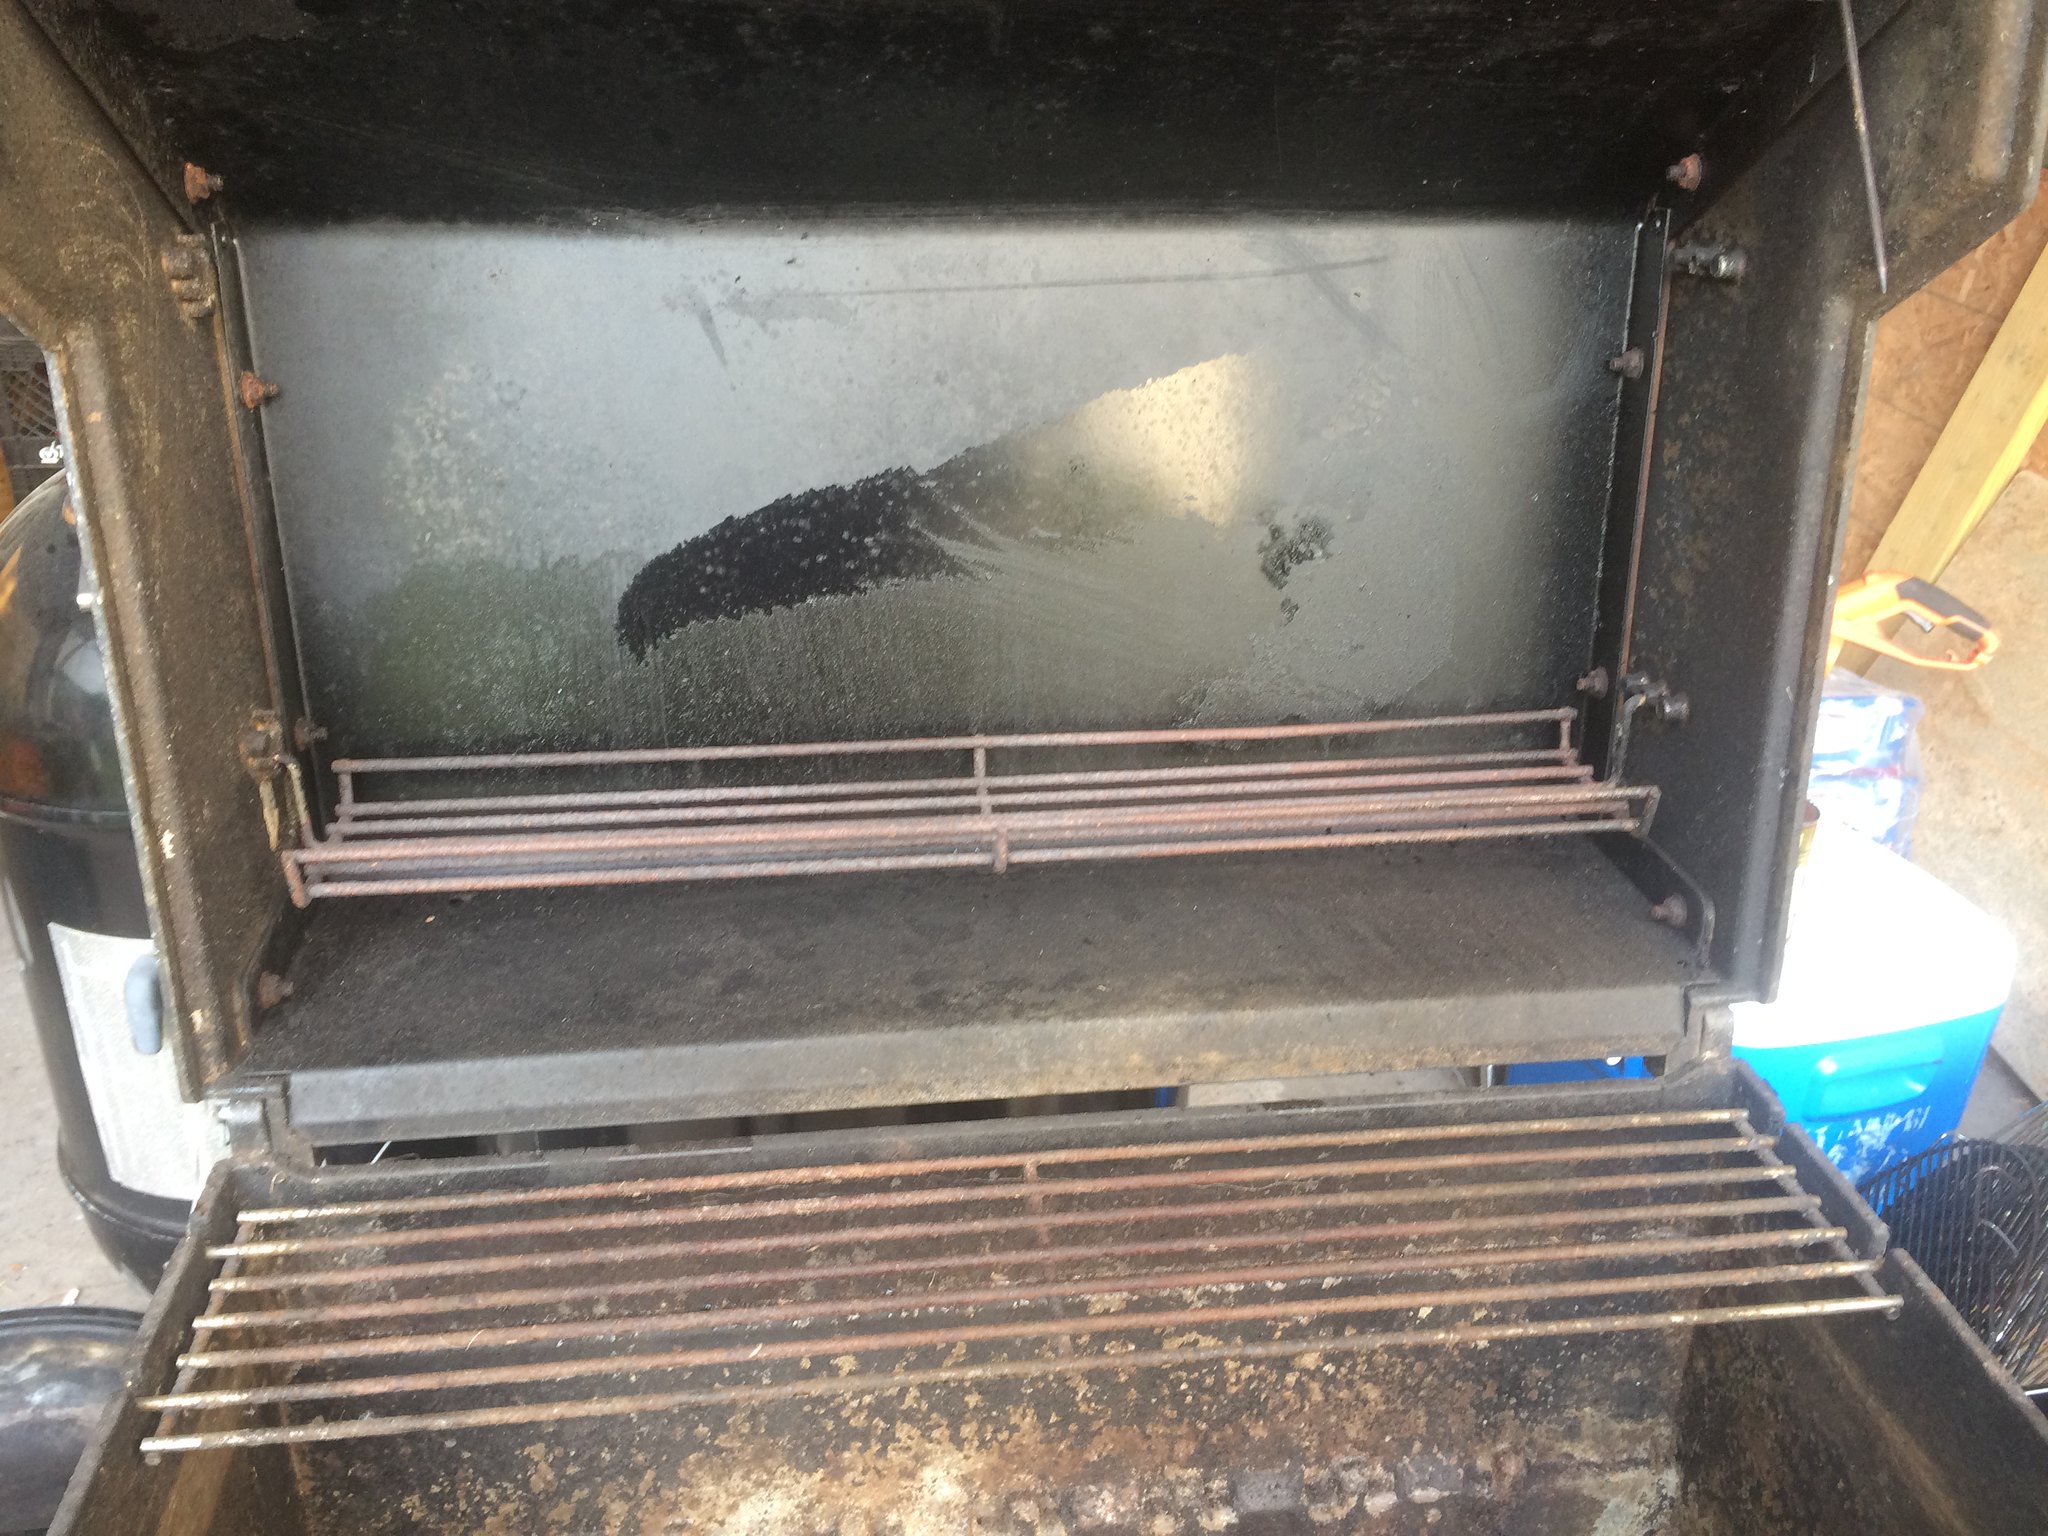
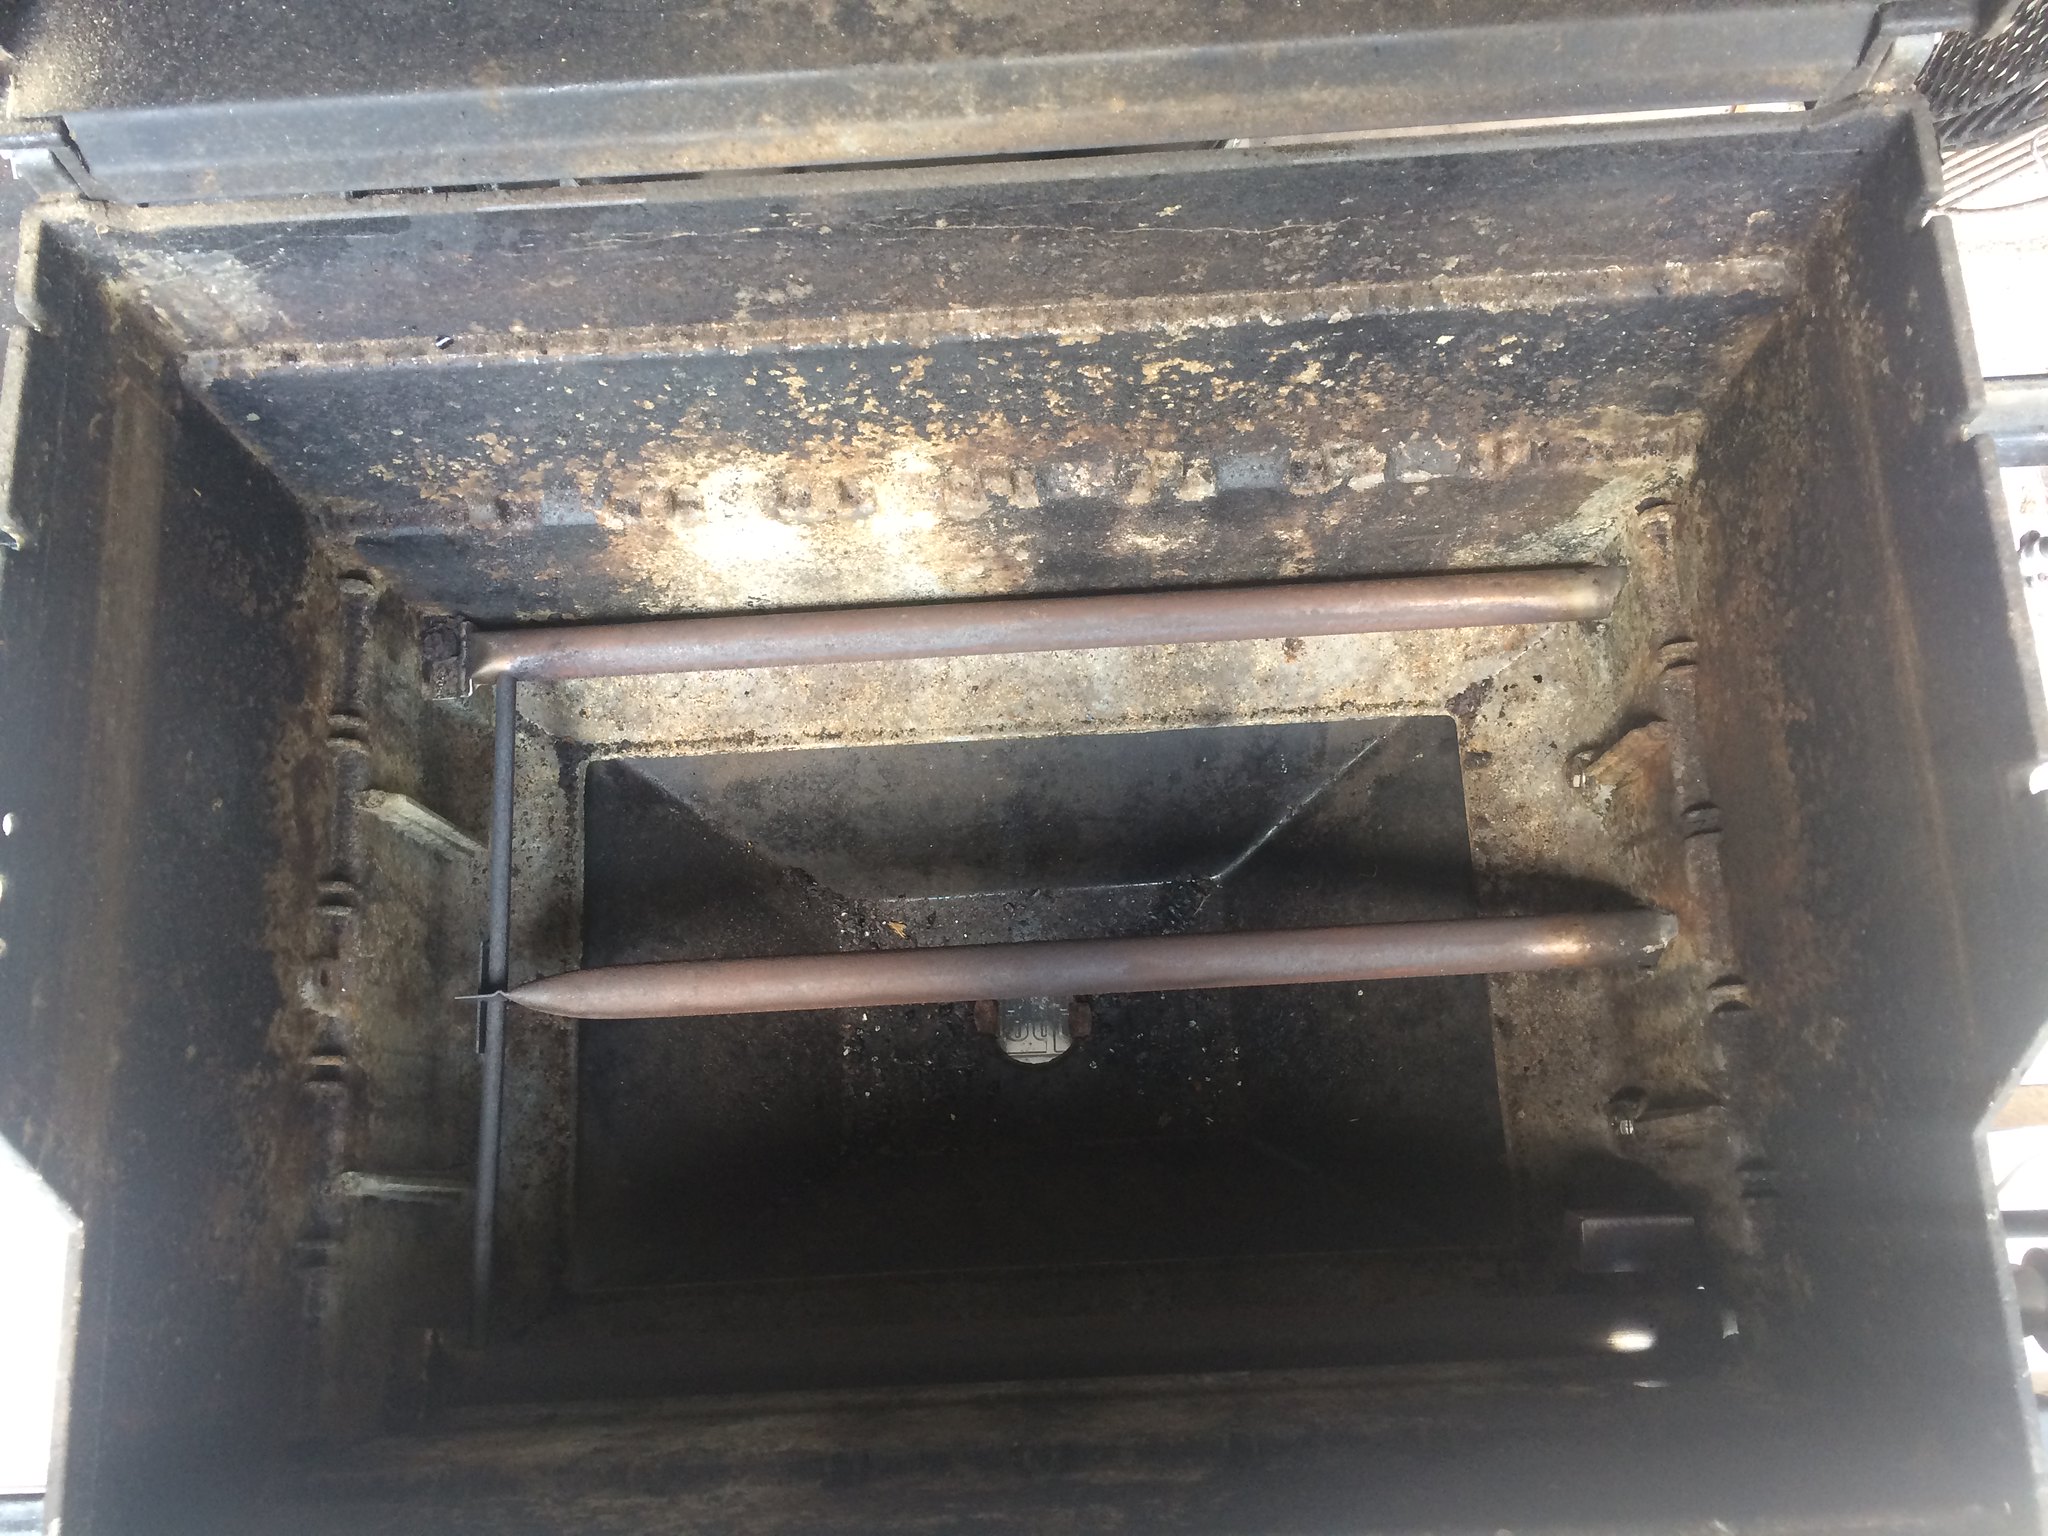
As i went over it more closely at home, i realized that there isn't a bunch of cook funk in the lid or firebox to grind out. The drip tray is quite clean, although the pan holder was pretty rusted. And a quick test of the firebox bolt showed that it was easily removable and even reusable. I think this thing had a pretty sheltered life and wasn't used very much. Sweeeet!
At first i was considering not doing anything besides the refinishing the wood (along with the ignitor and FB's, of course) for a few more years of service before a full on restoration, but after i read some to the stories of seized firebox bolts, i decided to go ahead and take it all the way down to the frame. I've started today with the respray of the lid sides, firebox and drip tray. UHH semi-gloss for the lid sides and drip tray and HH flat for the firebox.
I've sanded down the wood and started with multiple coats of Minwax Pecan poly 1 step in Satin. Not my best work on those so far, but i have a few days to before i am reassembling. I've bought new SS screws for the side tables, along with SS for the firebox, and drip tray bolts. Anti-seize will be applied liberally as well. Drip tray rails are showing a little rust but are still sturdy. Does anyone paint those when they do their firebox?
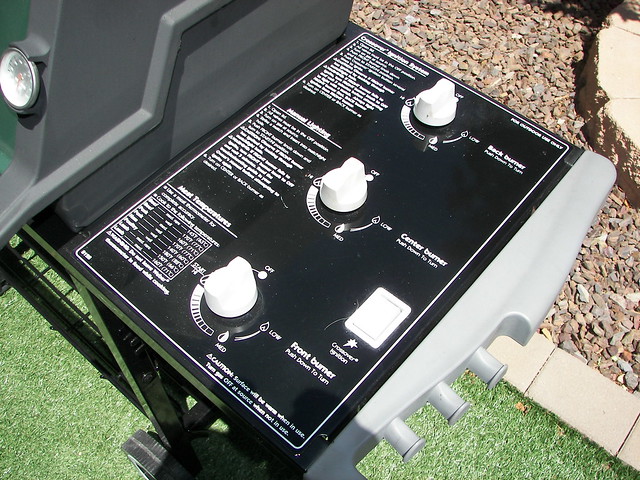
With this being my keeper gasser, i haven't really been bothered about the cost of grabbing new parts. I've ordered new knobs, a set of casters, (am i the only one that notices the inevitable tilt to the left of unlevel grills or is it the photos?) a new drip tray clip, rcplanebuyer SS grates, a new warming tray and lid basket and the various SS replacement of screws and bolts that are still usable.
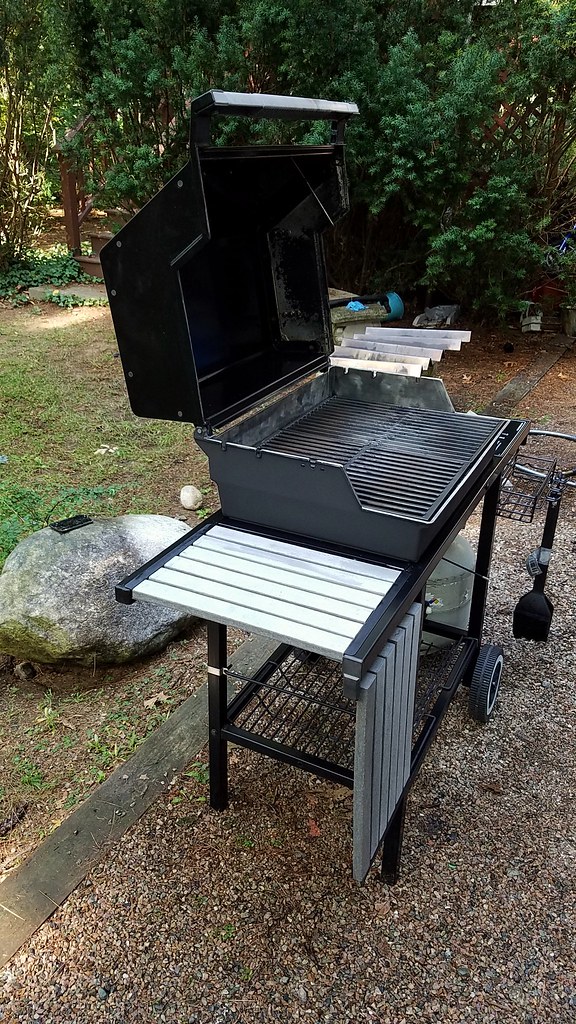
Here are the collection of pics before and during the initial clean up. I'm not good at the photo documentation. Never enough pics and rarely of the proper thing. Its a curse for me. But i'll add more crappy pics as i reassemble, so you're welcome.
 IMG_2728 by wwclements
 IMG_2725 by wwclements
 IMG_2727 by wwclements
 IMG_2729 by wwclements
 IMG_2741 by wwclements
 IMG_2743 by wwclements
IMG_2725 by wwclements
I posted on another thread when i saw this go up on CL, but the seller seemed to be looking for the Snap-On premium, so i let it sit for about 2 weeks. I contacted him and offered $100 if he would fire it up, but only $75 untested, assuming everything else was present and in ok shape. He agreed but admitted he didn't have an LP tank. He said his neighbor, who is retired but used own a SO dealership gave it to him. When i got there, it was in great condition, besides the FB's rusted through. The porcelain grates were ok but showed a bit of deterioration on the underside, but still a few years of life left. All the wood was pretty weathered, but salvageable, the serial number sticker was sun-bleached white and it was missing 1 knob. There was some over spray on the lid, but not very much and not noticeable really. Some roti scratches on the sides of the firebox and a small amount of flaking paint on lid sides. Frame paint was in good shape with no rust that i could see. Burners looked complete. Paid the $75 and took her home. Attached my tank, got a long lighter and it fired right up!
I immediately ordered a new ignitor and the original weber FB's. Yes, i know better now; the next set will be rcplanebuyer's.
As i went over it more closely at home, i realized that there isn't a bunch of cook funk in the lid or firebox to grind out. The drip tray is quite clean, although the pan holder was pretty rusted. And a quick test of the firebox bolt showed that it was easily removable and even reusable. I think this thing had a pretty sheltered life and wasn't used very much. Sweeeet!
At first i was considering not doing anything besides the refinishing the wood (along with the ignitor and FB's, of course) for a few more years of service before a full on restoration, but after i read some to the stories of seized firebox bolts, i decided to go ahead and take it all the way down to the frame. I've started today with the respray of the lid sides, firebox and drip tray. UHH semi-gloss for the lid sides and drip tray and HH flat for the firebox.
I've sanded down the wood and started with multiple coats of Minwax Pecan poly 1 step in Satin. Not my best work on those so far, but i have a few days to before i am reassembling. I've bought new SS screws for the side tables, along with SS for the firebox, and drip tray bolts. Anti-seize will be applied liberally as well. Drip tray rails are showing a little rust but are still sturdy. Does anyone paint those when they do their firebox?
With this being my keeper gasser, i haven't really been bothered about the cost of grabbing new parts. I've ordered new knobs, a set of casters, (am i the only one that notices the inevitable tilt to the left of unlevel grills or is it the photos?) a new drip tray clip, rcplanebuyer SS grates, a new warming tray and lid basket and the various SS replacement of screws and bolts that are still usable.
Here are the collection of pics before and during the initial clean up. I'm not good at the photo documentation. Never enough pics and rarely of the proper thing. Its a curse for me. But i'll add more crappy pics as i reassemble, so you're welcome.
IMG_2728 by wwclementsIMG_2725 by wwclementsIMG_2727 by wwclementsIMG_2729 by wwclementsIMG_2741 by wwclementsIMG_2743 by wwclementsIMG_2725 by wwclements
Last edited: