New everything. Having issues


Justin Dietz

New member
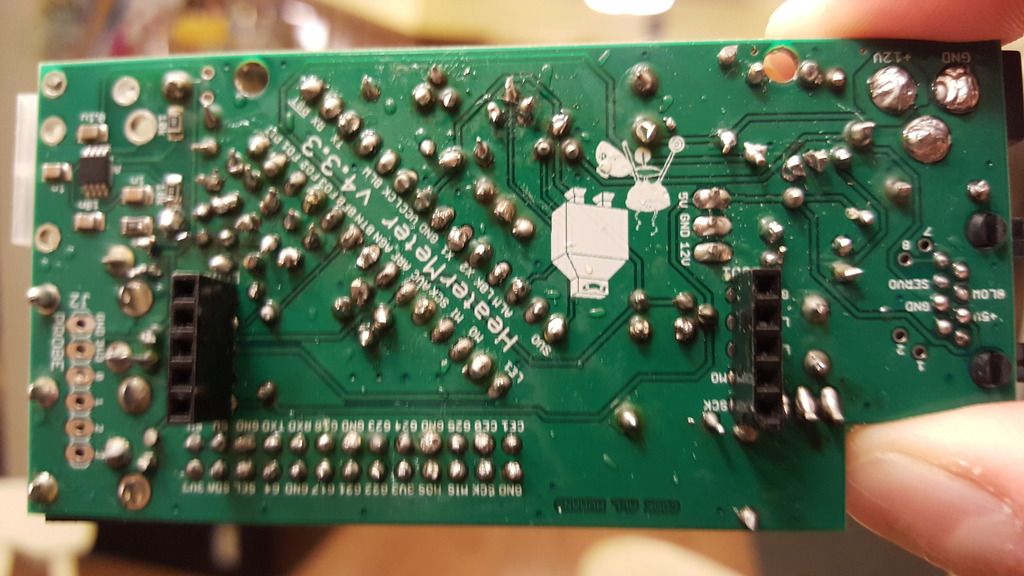
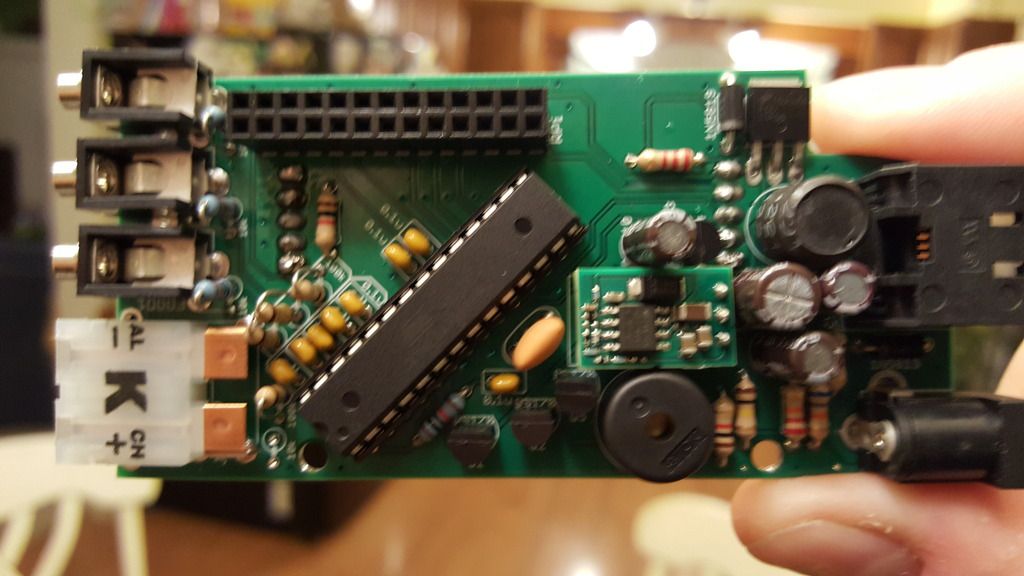
Hello. So lets list what i am new to. Soldering, Raspberry pi, messing with PCB's....yada yada yada.

I have finally soldering everything together. I figured first step would be putting power to the baseboard/lcd board to see what i get. Not comes on the LCD> The green and yellow light light up and stay lit. Is this normal before i move on to attaching the pi? OR should i be seeing something on the LCD?
 
The microcontroller comes un-programmed so everything is just in an uncontrolled state. It needs the Pi to boot up the first time and it should automatically flash the firmware on it.
 
make sure you turn the contrast up on the screen as well, when I got mine and turned it on the screen was blank by default.
You need to turn up that little screw bit.
 
As Bryan noted, without the rPi connect for at least one boot the ATMega will be unprogrammed, so the HM will not function. However, if I recall correctly, the last time I booted an unprogrammed LCD I saw a row of blocks on the LCD... not sure if that happens every time or not. Checking the contrast control is a good idea (that blue box with the adjustment screw in it), you generally need to set that once.
At this point you need to write the HM image to your SD Card and then plug it into the rPi and the rPi into the HM. On the first boot it should see the blank ATMEga and flash the HM code to it, it will reboot (perhaps more than once) and you should see "NO PIT PROBE" on the screen if things go properly.
 
Ok. So i am building the 4.3. I bought the b+ pi. So i just need to flash the openwrt fireware imagine to the SD card. Put it in the Pi. Connect pi to HM. Plug in power? Simple as that?

I've been chasing 3 kids around all day so hoping to do this soon.
 
Yep, that's pretty much it. Optionally you could edit the config file on the SDCard to add your WiFi info before you remove it from your PC, this should make your HM connect to your WiFi automatically after reboot or two... Otherwise you can use a LAN cable to your rPi to connect to your network and manually configure your wifi...
...if you're not worried about connecting to a network right away you can leave the wifi config alone and the HM will come up in Access Point mode, so you can use a wifi device (like cell phone, tablet etc) to scan for a "HeaterMeter" access point, once connected to it you should be able to load the HM web page and get access to configure settings.
 
alright. i got some blocks to show on the LCD. preconfig the config.txt file with wifi worked.. however getting AVR Fuser error.

i found https://tvwbb.com/showthread.php?67...erMeter-Board/page2&highlight=avr+fuses+error

and used my meter and i have connectivity on the 2 spots the user on page 2 said to check. I reseated the chip on the the heatermeter board. Any other ideas?

Also i noticed after taking power away the wifi doesn't stick. I'm guessing that is because of the issue i am having that the config isn't sticking.
 
With the board powered up, do you get 3.3v at the points shown below?

FUs7N9J.jpg
 
If you don't have 3.3v between GND and either of the 3.3v connections, then you probably don't have the right component in the IC4 location. There are 4x BS170 mosfets and 1x mcp1700-33 that look the same. You'll need to verify this and correct it.
 
If you don't have 3.3v between GND and either of the 3.3v connections, then you probably don't have the right component in the IC4 location. There are 4x BS170 mosfets and 1x mcp1700-33 that look the same. You'll need to verify this and correct it.

Steve M. You nailed it! I had hell of a time getting the solder out of those holes once i removed the 2 wrong components. I had to get my wifes help. I know some people know them as solder suckers...but i had to send her up to the baby room to pull out the dreaded SNOT SUCKER as it's known in my house. The kids hate it!

She sucked while i heated up the solder and out. Heatermeter booted up perfectly!

Now i need to make my fan connection and test this thing out.

thank you everyone. I may not be done yet...but hopefully smooth sailing from here!
 
Next question is ...where can i buy a 3d printed damper case? I have zero access to a 3d printer? Anyone know of who i can talk to ?


Back
Top